How to work with multiple time signatures in FL Studio 20
Get your prog on with Image-Line’s freshly updated DAW
Among the many tweaks, enhancements and improvements made to the latest version of Image-Line’s 20-year-old PC and - now - Mac DAW, the ability to program time signature changes is possibly the most musically creative.
If you've never strayed beyond the comfort zone of 4/4 before, this gives the perfect opportunity to spread your compositional wings and discover the joys of odd meter. Here's how it works…
For the full guide to FL Studio 20, pick up the Autumn 2018 edition of Computer Music.
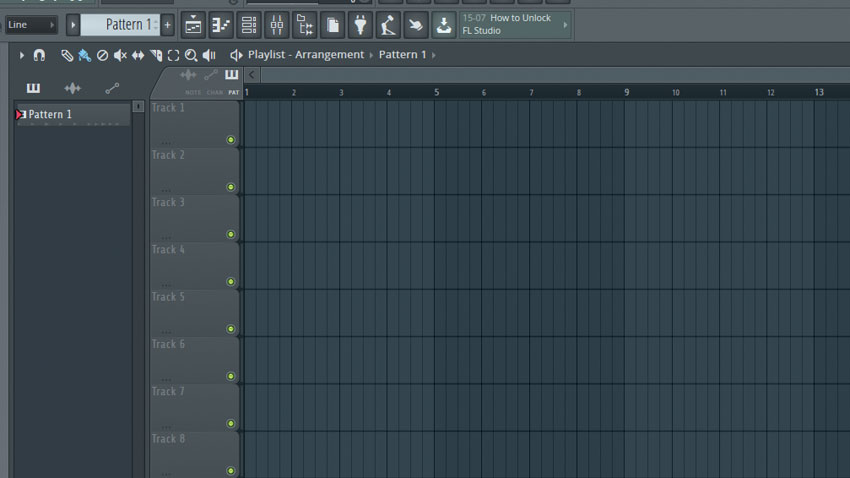
Step 1: Odd metres and changing time signatures are the hallmarks of certain genres, some fashionable, some not. Metrical acrobatics can add interest - or, admittedly, clear the dancefloor! Either way, FL Studio now supports multiple time signatures. Here, our playlist consists of a simple 4/4 pattern.
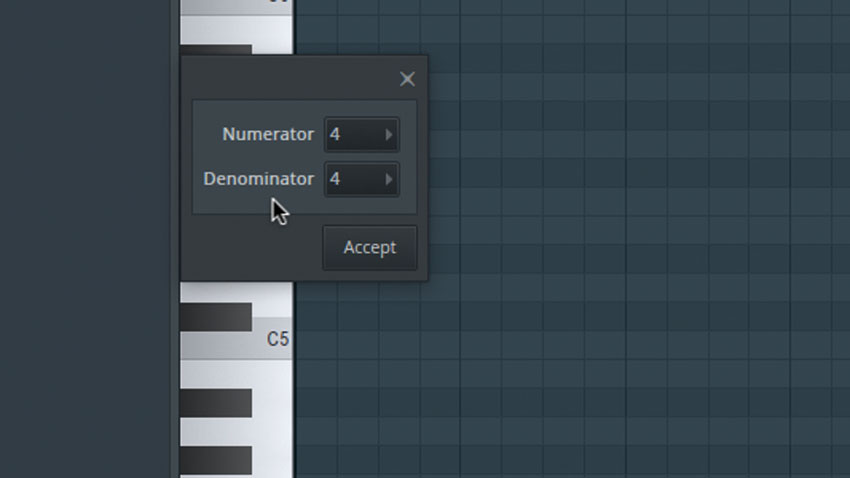
Step 2: We’ll leave that one as it is for now, and add a new pattern to the Playlist. Once we’ve done that, we can right-click it to call up a menu of options. Choose Set Time Signature. We’re met with an empty piano roll and a tiny floating box into which we can enter a numerator and a denominator.
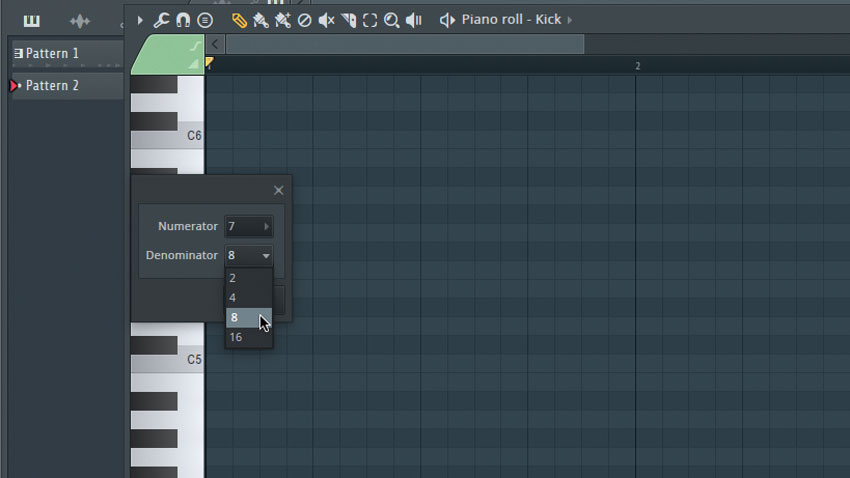
Step 3: Choose 7 for the numerator, and 8 for the Denominator. The latter determines the beat division (1/4 notes, 1/8th notes and so on), while the former denotes the number of beats in a bar. Our selections will give us a metre of 7/8 - an unusual time signature, to say the least!
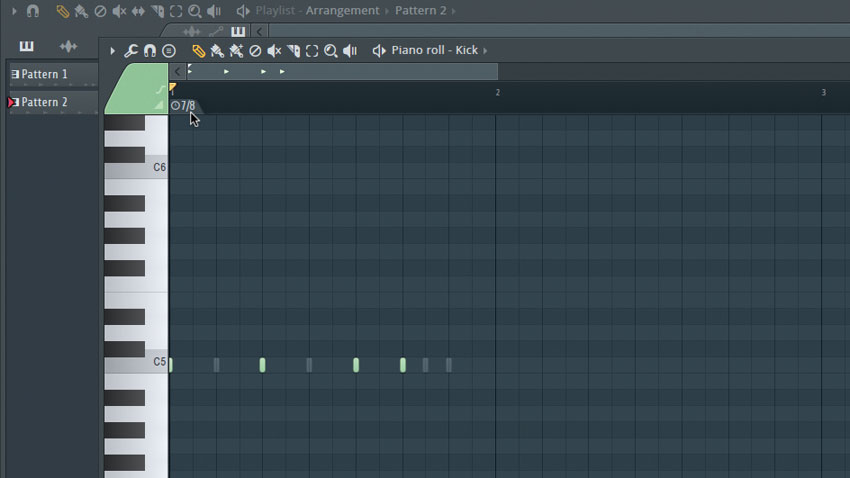
Step 4: Having entered the time signature, click Accept and the step sequencer grid and piano roll will change to reflect it. Let’s create an interesting beat in the step sequencer. Note that there’s a marker in the upper-left of the piano roll that tells us we’re using a 7/8 time signature.
Get the MusicRadar Newsletter
Want all the hottest music and gear news, reviews, deals, features and more, direct to your inbox? Sign up here.

Step 5: Close the piano roll. Next, drag consecutive instances of our two patterns into the arrangement, with the 4/4 pattern appearing first, followed by the 7/8. The second doesn’t fill out the grid, as our playlist isn’t following the pattern’s metre. Open the clip properties for Pattern 2 and select Use current time signature from > Pattern to playlist.
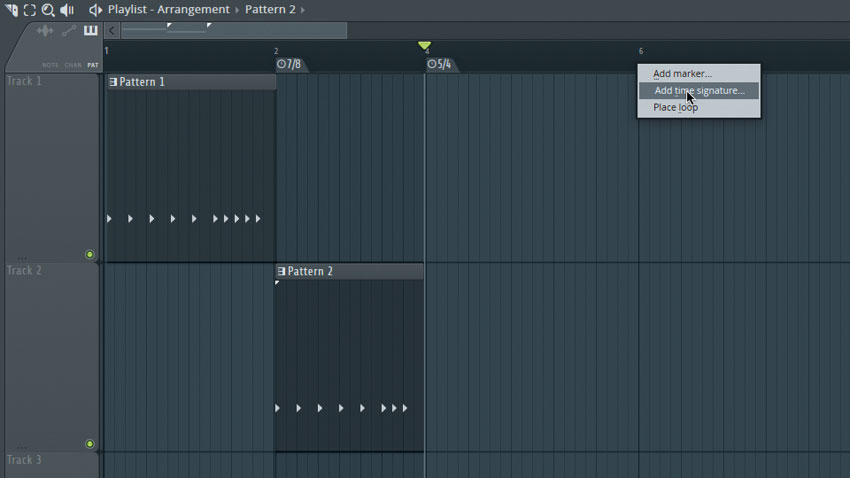
Step 6: As you can see, there’s now a marker at bar 2, beat 1, indicating that our metre changes at that point. We can also enter such markers directly in both the piano roll and the playlist editors. Simply right-click where you’d like the new metre to begin and choose Add time signature. Time signature markers can be dragged to wherever you like.
Computer Music magazine is the world’s best selling publication dedicated solely to making great music with your Mac or PC computer. Each issue it brings its lucky readers the best in cutting-edge tutorials, need-to-know, expert software reviews and even all the tools you actually need to make great music today, courtesy of our legendary CM Plugin Suite.

