How to use parallel compression to add power to your vocals
Try this ever-effective technique the next time the singer needs a boost
Known primarily as a key engineering technique for adding weight to drums and basses, parallel compression combines the punch and impact of a heavily compressed signal with the dynamism of the original recording.
It's not, however, something one generally associates with vocals, but as our walkthrough here demonstrates, it really should be…
For more on vocal processing, check out the May 2018 edition of Future Music.
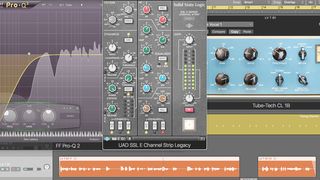
Step 1: In this verse section of the song, we’ve already got a lead vocal channel strip which is providing a decent balance and tone to the backing track. But the vocal feels a little lacking in strength and body - it would benefit from some reinforcement.
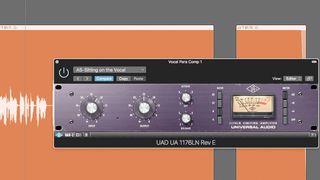
Step 2: We send the lead vocal to a new auxiliary bus, setting up the UAD 1176 Rev E compressor. We set the Input high and Output low, producing a hard compression treatment, with the Ratio set at 8:1. This provides a lot of extra power. This auxiliary’s return level is set at -6dB.
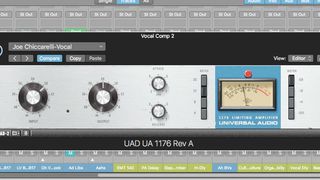
Step 3: We set up a second parallel compression channel using a different version of the UAD 1176 compressor, then set subtly different controls for the compressor to produce an even more flattened response. The subtle variations are crucial, as we hear when we pan the two compressor parallels hard left and right.

Step 4: The 1176 treatments are providing lots of mid-range drive, but we could also use some reinforcement of the higher frequencies. We set up another parallel auxiliary channel using iZotope’s Nectar, and create a high-end, de-essed treatment which offers some slap-back echo and sits ‘on top’ of the lead vocal nicely.
Get the MusicRadar Newsletter
Want all the hottest music and gear news, reviews, deals, features and more, direct to your inbox? Sign up here.
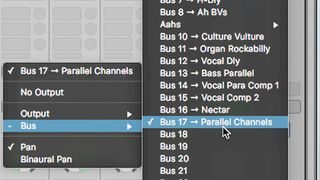
Step 5: We want individual level control over all these parallel treatments, so we route the outputs of all three channels to a new auxiliary. Now we have a single fader controlling them all, and can set up global effects which will have a bearing on all three.
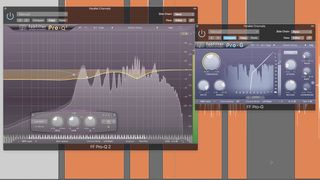
Step 6: We use FabFilter Pro-Q2 to notch out a little unwanted content, and Pro-G to ensure that breaths are gated out on the parallel channels. This tightens things up considerably. In the clip, you can hear the original lead vocal on its own, before it’s joined by the three parallel treatments.
Future Music is the number one magazine for today's producers. Packed with technique and technology we'll help you make great new music. All-access artist interviews, in-depth gear reviews, essential production tutorials and much more. Every marvellous monthly edition features reliable reviews of the latest and greatest hardware and software technology and techniques, unparalleled advice, in-depth interviews, sensational free samples and so much more to improve the experience and outcome of your music-making.

Transform your voice in just 12 months - score a year’s worth of vocal lessons for just $99 with 30 Day Singer

“I want to shout from a mountain top about this incredible technology”: Is Dreamtronic's Synthesizer V Studio 2 Pro really the first artificial vocalist to finally nail the fake factor?

