How to use frozen reverb to create ethereal textures
Turn existing instruments in your mix into atmospheres

Today's wavetable- and sample-based soft synths make it easier than ever to conjure up ambiences and background textures in minutes, but what if you're after something a little more 'bespoke'?
In this walkthrough, we'll create a beautiful, complex and unique frozen reverb sound using UVI’s SparkVerb plugin and a sampled piano. For more on atmospheric sound design, pick up the December 2018 edition of Future Music.
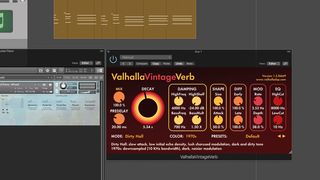
Step 1: We start by programming a part for muted piano, using Spitfire Audio’s Ólafur Arnalds Composer Toolkit. We add Valhalla’s VintageVerb plugin via an auxiliary bus, using the Dirty Hall algorithm (for a little dusty noise), with a generous decay time of 5.34 seconds.
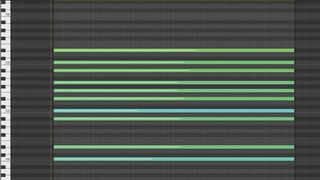
Step 2: Next, we duplicate the piano and copy the region down to this second instance of the instrument. We select notes from the first three chords, dragging them back to the start of the track and deleting notes we don’t like. We end up with a cluster chord.
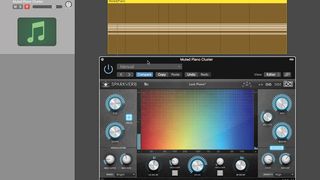
Step 3: We set up UVI’s Sparkverb as an insert on this second instrument, though you can use any reverb plugin with a Freeze option. We click the Freeze button and press play. This produces a decay-free ‘cloud’ of reverb from the notes of our cluster chord.
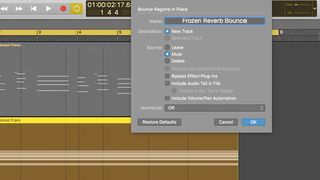
Step 4: We bounce this frozen reverb part down as an audio file so that we have more ready control over both when it starts and stops, and its volume. Having rendered it as an audio file, we can now boost its volume by 12dB.
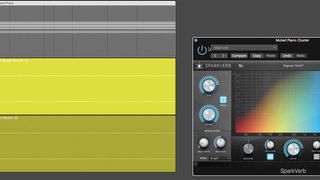
Step 5: We return to the cluster chord and transpose it up an octave. We then change parameters within Sparkverb to select something lighter and airier, so that only a cloud of high frequencies prevails. Again, we bounce this as an audio file and put it on a new track.
Get the MusicRadar Newsletter
Want all the hottest music and gear news, reviews, deals, features and more, direct to your inbox? Sign up here.
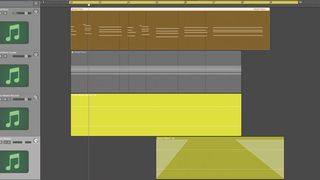
Step 6: We add a tiny fade-out to each bounced audio file to remove clicks at the end, then pan the two frozen reverbs, so that the lower one is across to the left and the higher one mirrored to the right. We move the second, ‘vapour reverb’ file, so that it starts midway through the sequence.
Future Music is the number one magazine for today's producers. Packed with technique and technology we'll help you make great new music. All-access artist interviews, in-depth gear reviews, essential production tutorials and much more. Every marvellous monthly edition features reliable reviews of the latest and greatest hardware and software technology and techniques, unparalleled advice, in-depth interviews, sensational free samples and so much more to improve the experience and outcome of your music-making.

