How to use chops and one-shot effects to spice up your vocals
In this shamelessly pop walkthrough, we’ll see how decorating lead vocal lines with supporting tricks and one-note harmonies can add real detail to your mixes
Vocals form the most immediate bond between ourselves and the music we seek out. Lyrical content can offer us an insight into what makes our favourite artists tick, which helps form a huge part of how we identify with them; but, of course, that link can only be made if the sound of those vocals is a creative and great-sounding addition to a track.
There are countless styles of vocal production and no limits to what can be done to the human voice within the software environment. In this tutorial, we'll reveal some spectacular spot effects that would work well in any energetic, uptempo track.
For more vocal production techniques, pick up the May 2018 edition of Future Music.
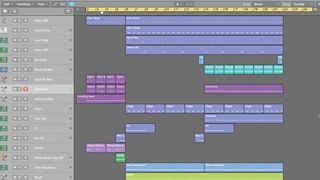
Step 1: Synths, basslines and programmed drums all accompany our lead vocal, which is already benefiting from a vocal chain and some basic volume automation. What we want to do now is to add some one-off touches to the vocal to make its performance that little bit less predictable.
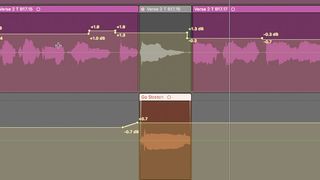
Step 2: We start by saving the word ‘go’ in the second half as a new audio file and timestretching it to make it a solid, sustained ‘block of sound’ until the next phrase starts. We save this on a new audio track, as that will make it easier to automate parameters without affecting the lead vocal.
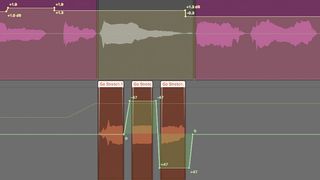
Step 3: We chop this timestretched file to create a rhythm, using fade ins/outs of 2ms on each slice to ensure that there are no digital pops. We then use pan automation to send the second region left and the third one right, creating a wide stereo effect.
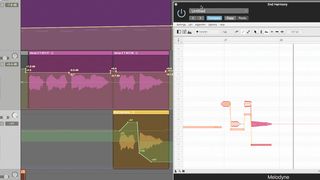
Step 4: Next, we take the last vocal phrase and copy to it to a duplicate track. Here we set up Celemony Melodyne and create a harmony, dragging notes to new pitches. We create a formant offset for each note, too, and use pan automation to widen each two-note phrase.
Get the MusicRadar Newsletter
Want all the hottest music and gear news, reviews, deals, features and more, direct to your inbox? Sign up here.
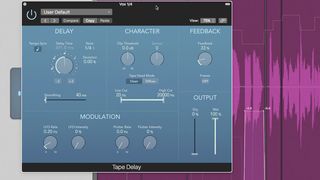
Step 5: We set up two delays - one at a quarter-note and one at a half-note - then automate the Send level from the lead vocal to them to create one-off delay ‘spins’ on specific notes. We also add quarter-note delays to the ‘Go’ effect that we added in step 3.
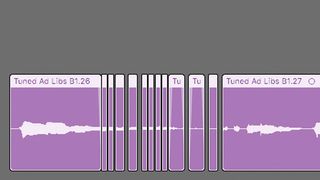
Step 6: We recorded ad libs during the recording session and put these into Melodyne to tune them and create one-note harmonies. Bounce this file and bring it onto a new track, chopping in phrases you like. Create an intro using a quicker version of the stutter vocal technique in step 3.
Future Music is the number one magazine for today's producers. Packed with technique and technology we'll help you make great new music. All-access artist interviews, in-depth gear reviews, essential production tutorials and much more. Every marvellous monthly edition features reliable reviews of the latest and greatest hardware and software technology and techniques, unparalleled advice, in-depth interviews, sensational free samples and so much more to improve the experience and outcome of your music-making.


