How to use a delay’s feedback control to create cascading, building echoes
Learn the ins and outs of this fundamental effects audio processing technique
The feedback knob is one of the most important controls on your delay plugin, extending the one or two delay taps of a basic stereo unit into a malleable series of echoes.
In this walkthrough, we'll show you how to put delay feedback to good use on a drum loop in Reason, although everything we're about to do is 100% applicable to any DAW and delay plugin. For much more on using feedback in your productions, check out the August edition of Computer Music.
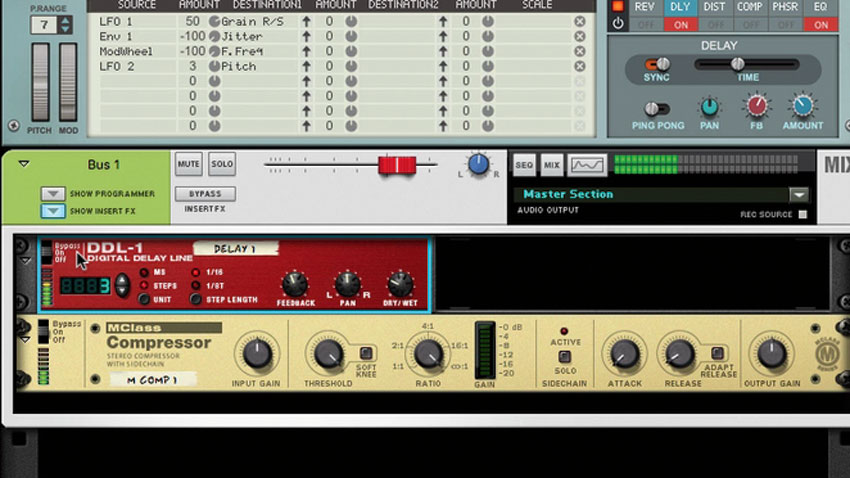
Step 1: Let’s see exactly how a delay’s feedback control works, by checking it out on a simple drum loop. Load a drum loop into your DAW at 116bpm, and load a delay effect onto the channel. Crucially at this point, put a limiter on your master bus, as the feedback effects we’re going to create can really build up if something goes wrong.
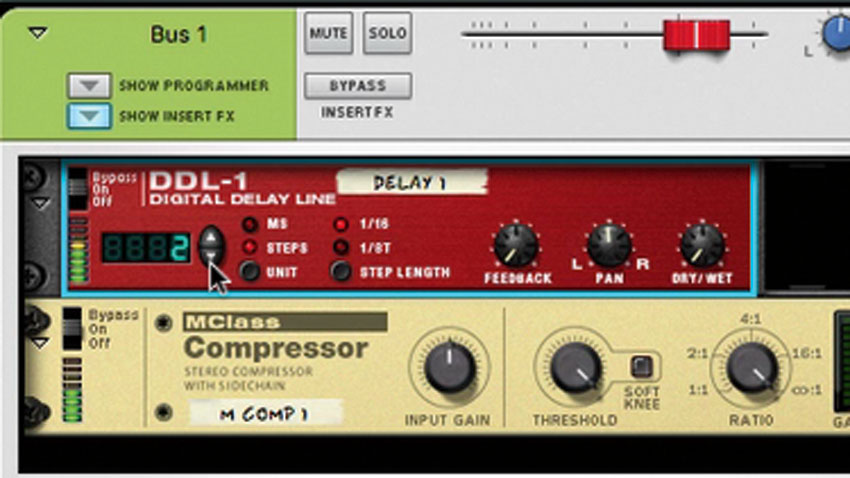
Step 2: Set your delay’s Feedback to 0 - we’ll get to it soon. Set the Dry/Wet Mix control to fully dry (0%) and the delay time to 1/8, synced to the host project’s tempo. If your delay has any modulation options, disable them. You shouldn’t be able to hear any effect at this point.
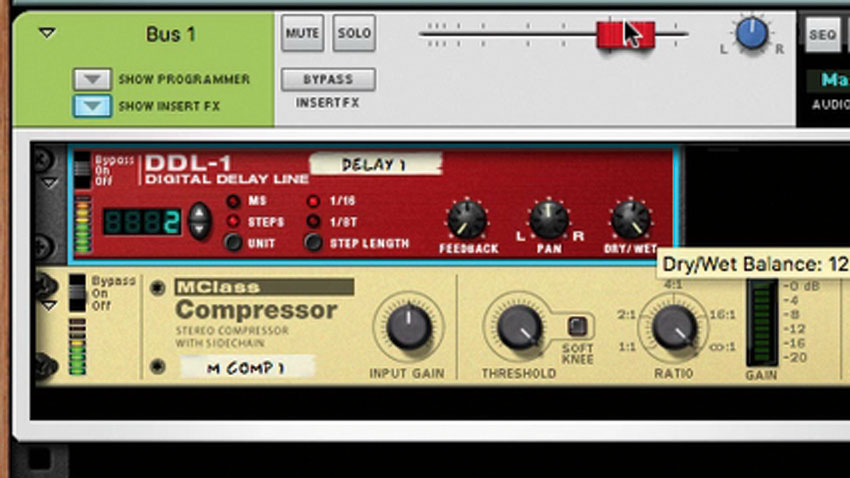
Step 3: Now turn the Mix control to blend the delay in with the main signal. When set to fully dry (0%), no delay is audible; fully wet (100%) means that all you hear is the delayed signal; anywhere between gives you both. Set the delay to only about a quarter or a third wet - that’ll be around 30%.
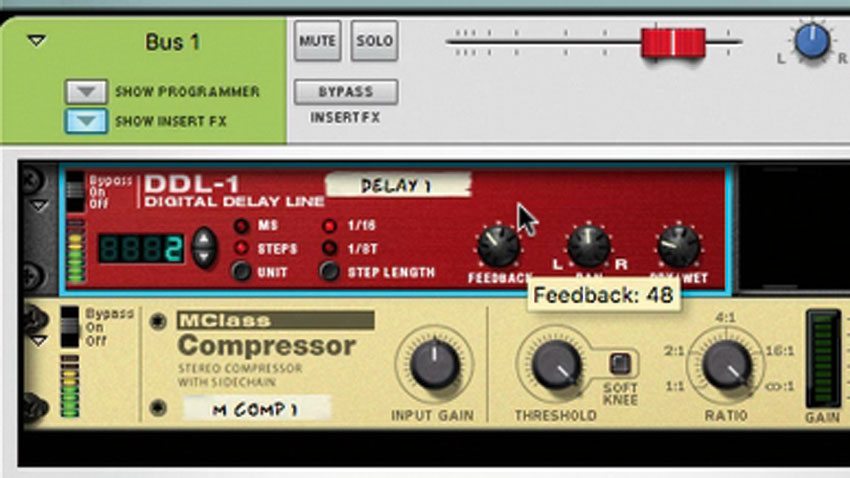
Step 4: Now it’s time to push up the Feedback control. This will feed the delayed signal back into the input, generating loads of copies of the signal that gradually die away. Raise the Feedback to 50% to increase the level of this loop, making our cascading echoes more immediate and longer-lasting. Almost dubby.
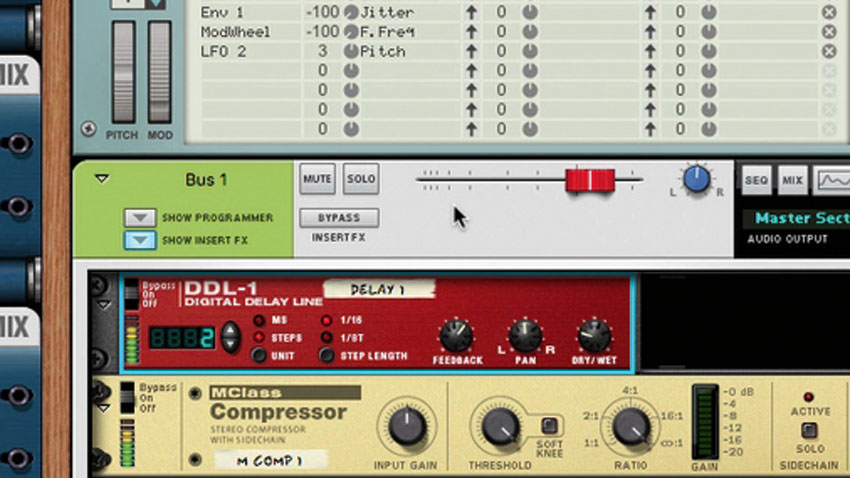
Step 5: If you push the delay all the way up to maximum, things really start to build up and get out of control. That’s why we loaded the limiter after the delay unit for protection. If we’re careful, though, we can use this control as a sort of basic performance effect, ramping up the feedback, then releasing it again as the beat restarts.
Get the MusicRadar Newsletter
Want all the hottest music and gear news, reviews, deals, features and more, direct to your inbox? Sign up here.
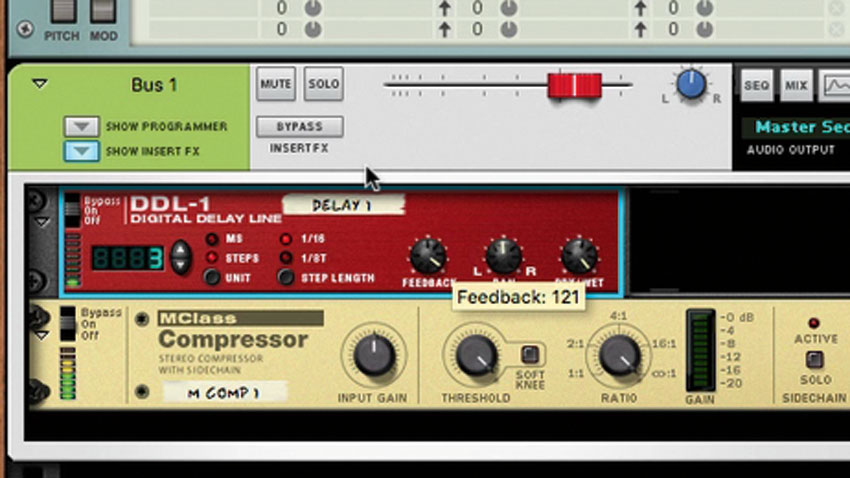
Step 6: Finally, try the same thing with the Wet level set at 100%. Every time you crank the feedback up, the input signal is trapped in an endless loop, until you bring it back down again. At short delay times, this leads to glitch/buffer effects (see below). The whole signal, in this case, will be retimed in relation to any other tracks.
Computer Music magazine is the world’s best selling publication dedicated solely to making great music with your Mac or PC computer. Each issue it brings its lucky readers the best in cutting-edge tutorials, need-to-know, expert software reviews and even all the tools you actually need to make great music today, courtesy of our legendary CM Plugin Suite.
"If I wasn't recording albums every month, multiple albums, and I wasn't playing on everyone's songs, I wouldn't need any of this”: Travis Barker reveals his production tricks and gear in a new studio tour
“My management and agent have always tried to cover my back on the road”: Neil Young just axed premium gig tickets following advice from The Cure’s Robert Smith


