How to trigger one effect with another to add atmosphere
How often do you ‘link’ your effects treatments so that one is triggered by another? Doing this can add unpredictability and depth to your mixes
Given how spectacular many of today's cutting-edge plugin effects can be on their own, imagine the sonic fireworks that can result from cascading multiple processors into each other.
In this walkthrough we'll show you how to do set up just such a scheme, forwarding effects outputs on to each other via a chain of auxiliary sends.
For more on the subject of atmosphere effects processing, pick up the April edition of Future Music.
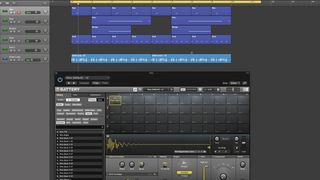
Step 1: We’ve got a down-tempo groove playing, made up from a number of sampled sources. It’s the rimshot sound on beat 2 we’re looking to process, taking the opportunity provided by it only playing a single hit per bar to fill in the space between hits. Here’s the groove without any processing.

Step 2: Next we set up a first reverb solution for the rim sample using FabFilter’s Pro-R Reverb. We choose a long decay time alongside a dark overall character. Pro-R lets you clock pre-delay time to tempo, so we select an 1/8th note here.
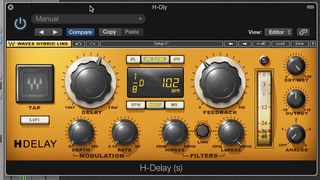
Step 3: This reverb sounds a little predictable after a while, so we set up an auxiliary send from the Pro-R’s auxiliary channel, so that the reverb can be further processed by another effect. We set up Waves’ H-Delay, with a ping-pong treatment, to bounce smeared delay taps across the stereo field.
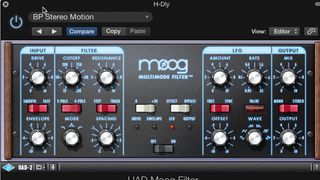
Step 4: After the H-Delay, we place the UAD Moog Filter plugin, using a preset called Stereo Motion as a foundation. This rotates the cutoff point of the filter so that it’s low on the left while being high on the right, via LFO movement.
Get the MusicRadar Newsletter
Want all the hottest music and gear news, reviews, deals, features and more, direct to your inbox? Sign up here.
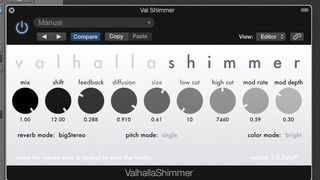
Step 5: We send this second auxiliary to a third one. We add the ValhallaShimmer plug-in to produce a super high, ultra-wide reverb treatment with pitchshifting to create a slightly ghostly, unreal treatment. We can vary the volume of all of these auxiliary treatments simply by balancing the Mixer’s faders.

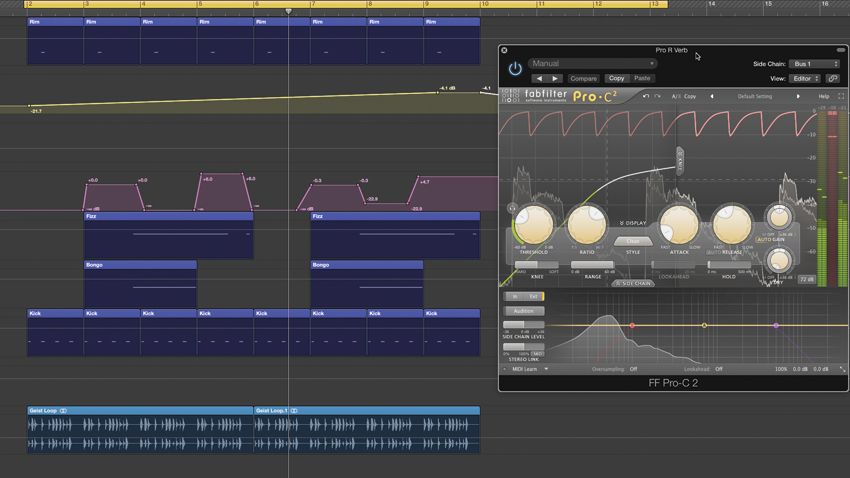
Step 6: However, the whole effects layer is now dense and predictable. We automate the sends from one auxiliary to the next, so that the balance of each hit is always different. Lastly, we place a sidechained FabFilter Pro-C 2 compressor at the end of each auxiliary channel strip and sidechain these from the kick drum.
Future Music is the number one magazine for today's producers. Packed with technique and technology we'll help you make great new music. All-access artist interviews, in-depth gear reviews, essential production tutorials and much more. Every marvellous monthly edition features reliable reviews of the latest and greatest hardware and software technology and techniques, unparalleled advice, in-depth interviews, sensational free samples and so much more to improve the experience and outcome of your music-making.

"If I wasn't recording albums every month, multiple albums, and I wasn't playing on everyone's songs, I wouldn't need any of this”: Travis Barker reveals his production tricks and gear in a new studio tour

“My management and agent have always tried to cover my back on the road”: Neil Young just axed premium gig tickets following advice from The Cure’s Robert Smith


