How to synthesize an old-school rave pad using Arturia's DX7 V
Bring back the sound of '90s dance music without having to go anywhere the North Circular, with our synth programming guide
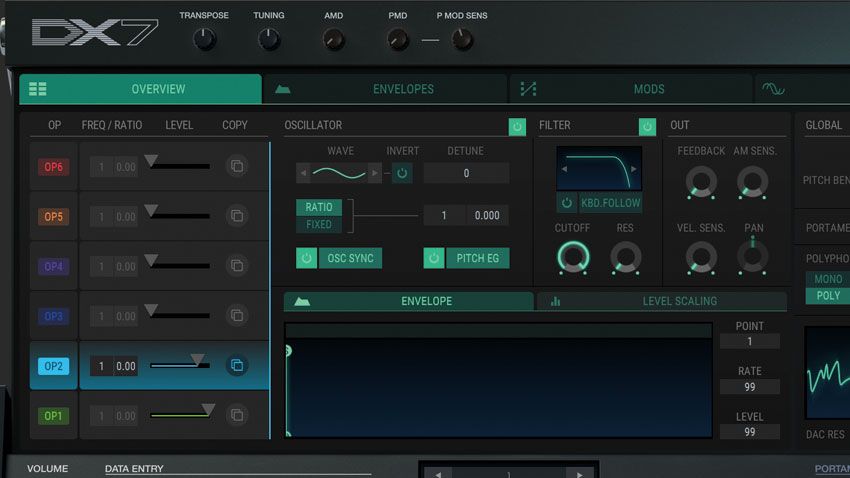
Unless you’ve been living under a rock for the last 30 years, you’ll most likely be familiar with the signature synth sounds of rave: those piercing stabs, upbeat piano licks and dirty hoovers that are synonymous with the genre’s heyday. Their retro appeal is still a big part of modern electronic music, with many classic sounds such as the Reese bass, Dominator hoover and Mentasm stab still popping regularly up in tracks today.
Though the original sounds were sourced from hardware synths such as the Yamaha DX7 and Roland Alpha Juno, it was even more common for rave producers to simply sample them from house and techno records. If you’re looking to add a splash of rave colour to your tracks, you could do the same and sample the sounds - from either a rave track or the original source - but it’s obviously much more fun and creatively empowering to learn how to make them yourself from scratch, directly within your DAW. With that in mind, let's program a pad using Arturia’s superb DX7 emulation, DX7 V.
Learn how to make more rave sounds with the November 2018 edition of Computer Music.
Step 1: The complex nature of FM synthesis makes it a winner for creating dense, rich sounds, such as a classic rave-style pad. Let’s see how it’s done using Arturia’s DX7 V, a faithful software recreation of the classic Yamaha DX7. Start by importing the tutorial files into a blank 160bpm project, then add DX7 V to the Rave Pad MIDI track.
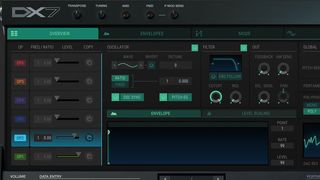
Step 2: Reset DX7 V to its default settings by opening the Preset menu (top left) and selecting Init from the Template folder. Change the waveform of Operator 1 to Rounded Saw to introduce extra harmonics compared to the default sine wave. Turning Operator 2’s Output level up to 80 adds a sine wave to the sound, increasing its complexity.
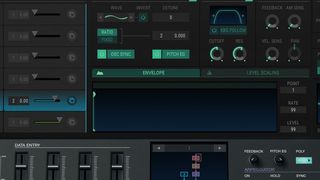
Step 3: Setting Operator 2’s Coarse Tuning to 2 pitches it up an octave, helping to fill the higher frequencies; while changing the waveform to Additive 3 gives the sound a less shrill, more gritty tone. We also change the Filter type to Bandpass with Cutoff at around 2-3kHz and 20% resonance - we can modulate this later on to add interest.
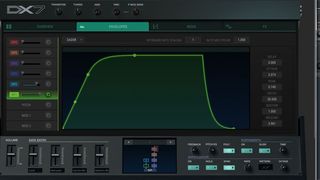
Step 4: We can use Operator 1’s DADSR envelope to give our pad a more authentic sound. Click the Envelopes tab (top centre), and push the Attack amount to around 2 to give it a slower attack. Setting the Peak level to roughly 0.7 embellishes this further, and increasing the Release makes the chords merge into each other.
Get the MusicRadar Newsletter
Want all the hottest music and gear news, reviews, deals, features and more, direct to your inbox? Sign up here.
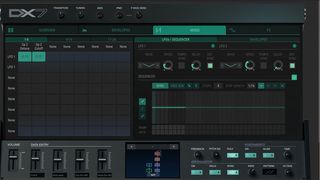
Step 5: DX7 V’s Mod Matrix is ideal for adding texture. Set Amount 1’s source to LFO1 and destination to Op 2 Detune, then Amount 2 to Op 2 Cutoff. Adjust the modulation amounts to -0.10 and +0.10 respectively - the LFO now modulates Operator 2’s detuning and band-pass filter. LFO1’s Speed and Delay dials offer extra control over the modulation speed.
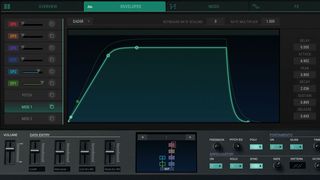
Step 6: To give the pad a less abrasive sound, let’s modulate Operator 1’s Filter. Start by fully assigning Mod Env 1 to Op 1 Filter in the Mod Matrix, then pull Operator 1’s Filter Cutoff down to 3kHz. Now, open Mod Env 1 in the DADSR, and dial in a long Attack and medium Sustain, so that the filter gradually opens out during each chord.
Computer Music magazine is the world’s best selling publication dedicated solely to making great music with your Mac or PC computer. Each issue it brings its lucky readers the best in cutting-edge tutorials, need-to-know, expert software reviews and even all the tools you actually need to make great music today, courtesy of our legendary CM Plugin Suite.

