How to set up a single mic for recording
Get the right mic in the right position
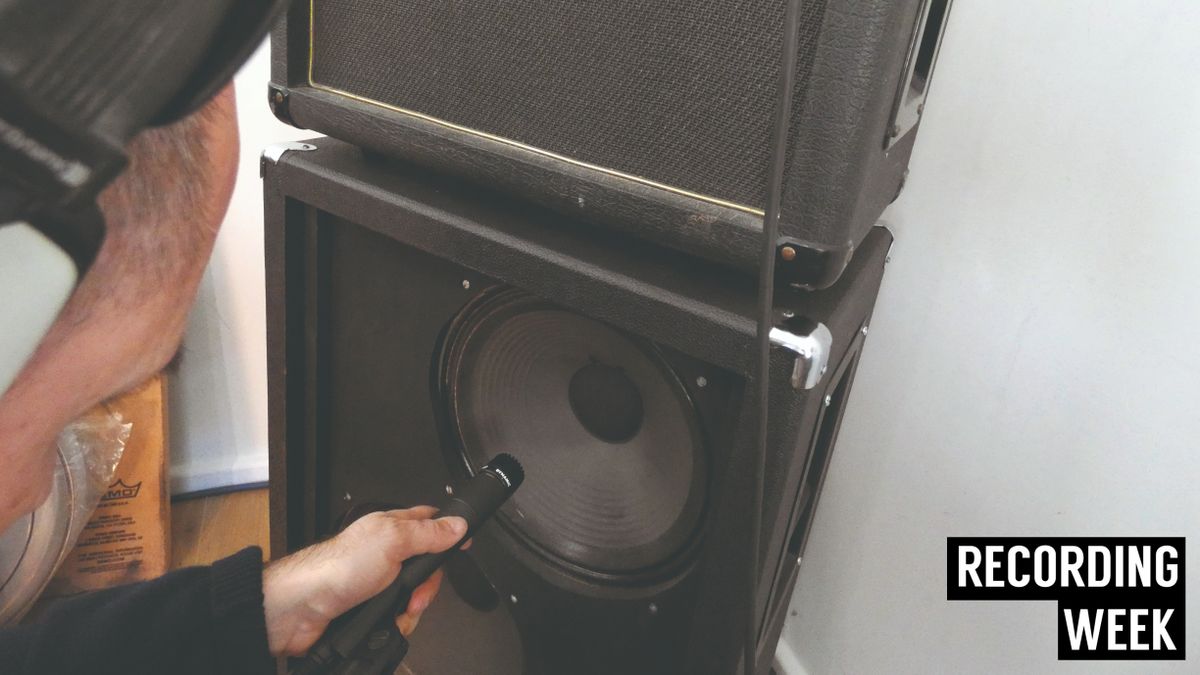
RECORDING WEEK: Microphones are our electronic ‘ears’ in the recording process, but unfortunately, they don’t hear things in quite the same way that our ears do, which is why we have to learn how to use them correctly.
Read through these three steps to master the one mic set up.
• Recording Week is brought to you in association with Universal Audio
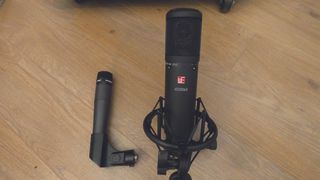
Step 1: Recording with a single mic should be reasonably straightforward. The first job is to select a microphone based on its pickup pattern and suitability for the job.
This could simply be a case of choosing something small or robust enough if it’s going to be near drumsticks. Choose a cardioid or hypercardioid to help isolate an instrument from its surroundings.
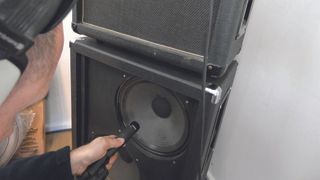
Step 2: Next, use your ears to establish where the instrument’s sound is coming from and position the mic accordingly.
To find the sweet spot, get someone to move the mic as you listen on your monitors, or try listening via headphones as you move the mic yourself. Try right up close and gradually move away to establish a satisfactory representation.
Get the MusicRadar Newsletter
Want all the hottest music and gear news, reviews, deals, features and more, direct to your inbox? Sign up here.
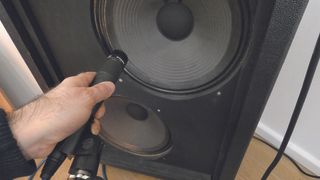
Step 3: If the sound you’re after isn’t translating, and you’re certain the instrument sounds good in itself, try a different mic, as each one has its own frequency response.
Alternatively, if you’re using a directional mic, try angling it slightly off axis to help make things less edgy.
Computer Music magazine is the world’s best selling publication dedicated solely to making great music with your Mac or PC computer. Each issue it brings its lucky readers the best in cutting-edge tutorials, need-to-know, expert software reviews and even all the tools you actually need to make great music today, courtesy of our legendary CM Plugin Suite.
"A classic compressor for free on Valentine's Day – it must be love!": Universal Audio is giving away an 1176 plugin as a Valentine's gift - here's how to get it and use it

“A magical part is this sidechain with the bass”: Lady Gaga breaks down Disease in new studio video


