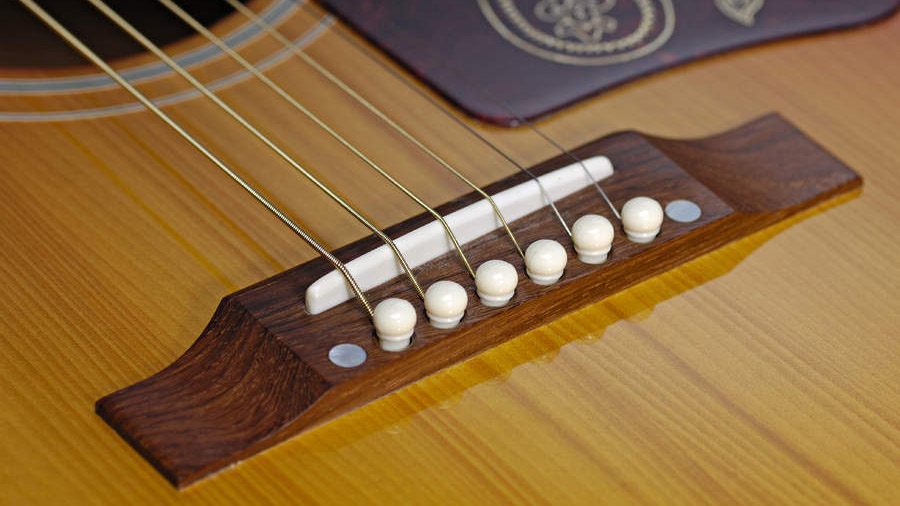
How to set acoustic guitar saddle height
A step-by-step guide to DIYing your bridge saddle height to get a better action
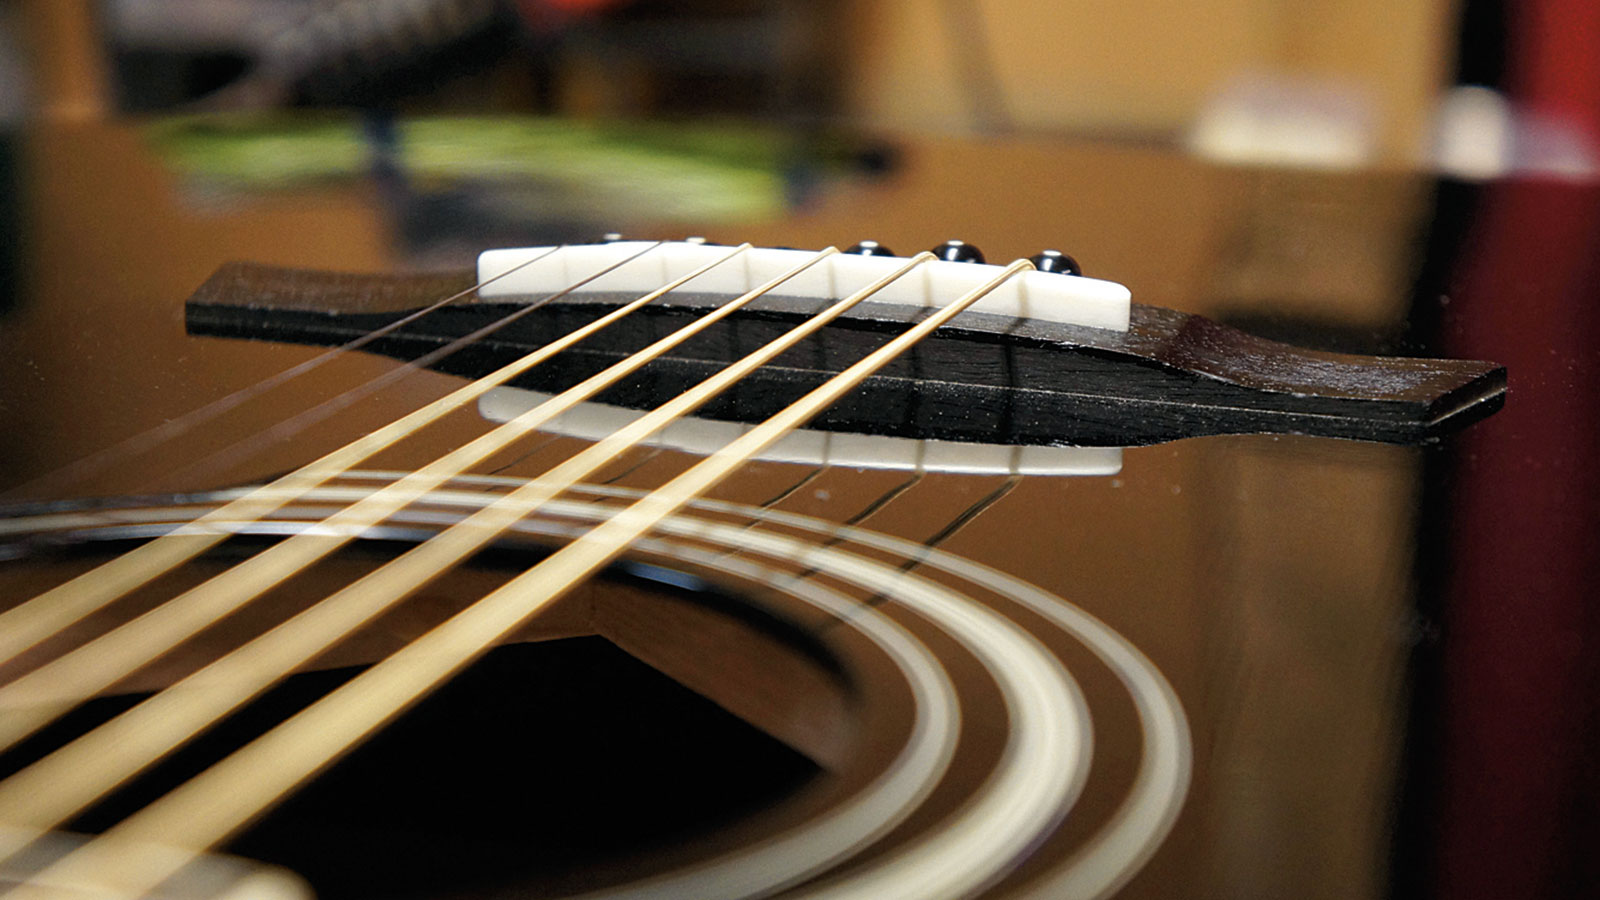
Acoustics are not as friendly as electrics when it comes to setting saddle height. As a consequence a lot of acoustic guitars are left with the wrong action. Electric guitars have adjustable bridge saddles meaning you can twiddle or undo your work, but with a careful and methodical approach there is a way to give your acoustic a better action.
It’s vital that you check the rest of the guitar is set up correctly first. The truss rod, the nut slot depths, the bridge saddle radius, the fret tops condition and the playing style all have a role to play in the final string height achievable without fret buzz. Truss rod setting was covered previously, if you need to refer back.
The bridge saddle for your guitar is unique. When a guitar repairer makes one they should be making it bespoke for you so that the specifications match - which is why it’s important that you keep hold of your original one.
Follow these steps, work slowly and check your progress to test for fret buzzing. Saddle up and let’s go!
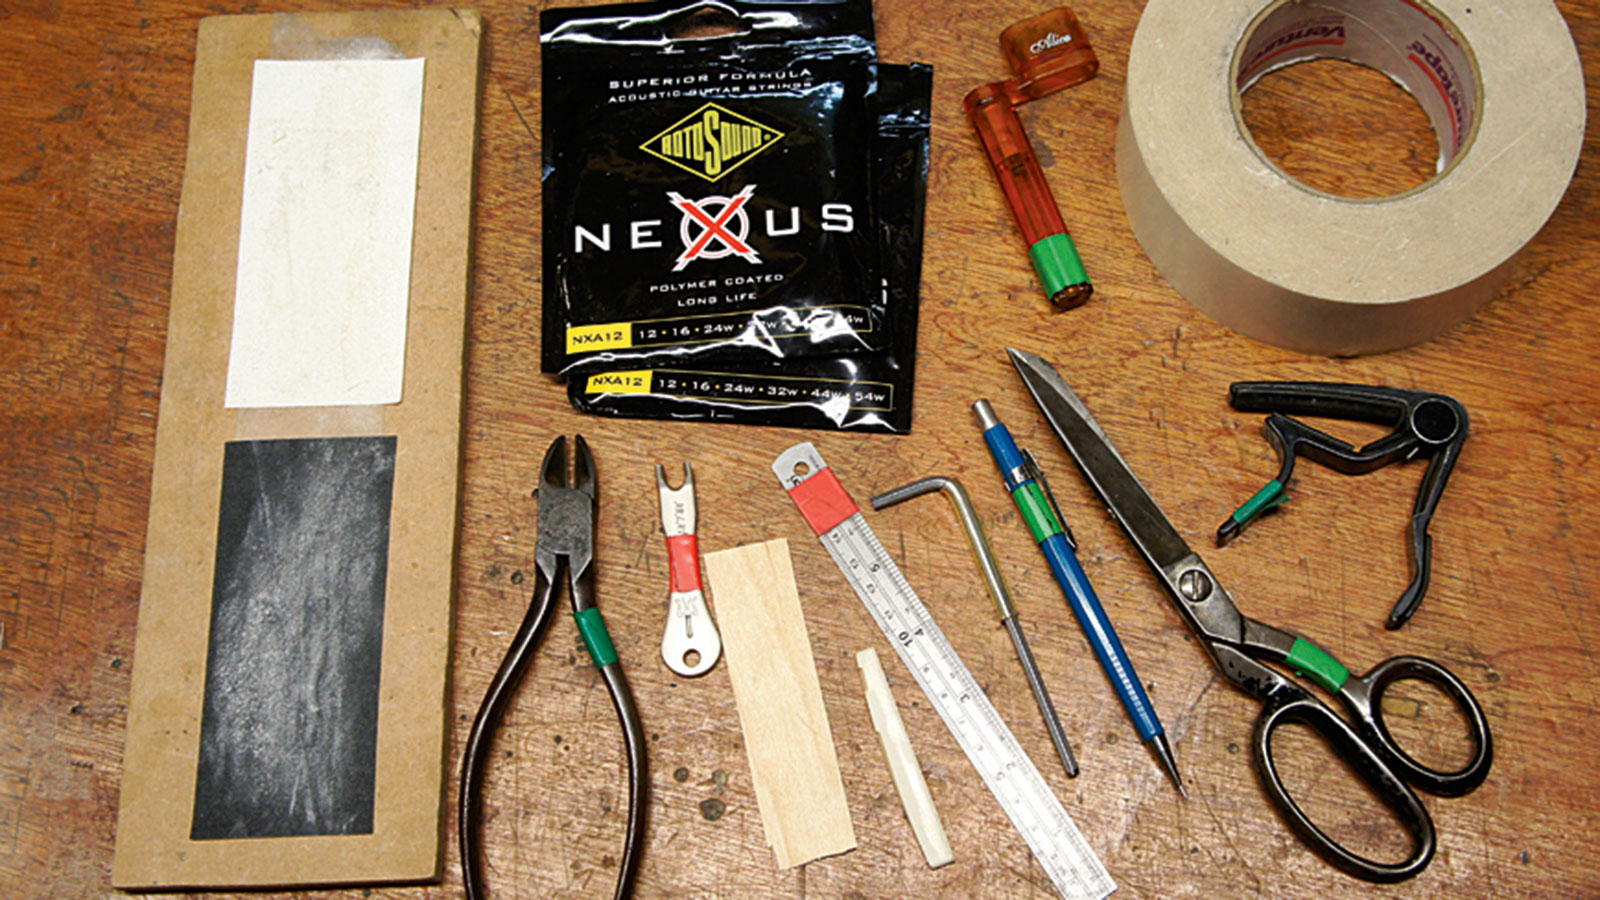
What you need
- 2 packs of strings
- String winder
- String cutters
- Bridge pin puller [can be built into a string winder)
- Capo
- Scissors
- Double-sided tape
- Mechanical pencil
- Truss rod tools
- Engineers ruler
- Coarse 80 grit abrasive paper
- Medium 240 grit abrasive paper
- A flat surface
- Superglue
- 0.6mm hardwood veneer
Step 1
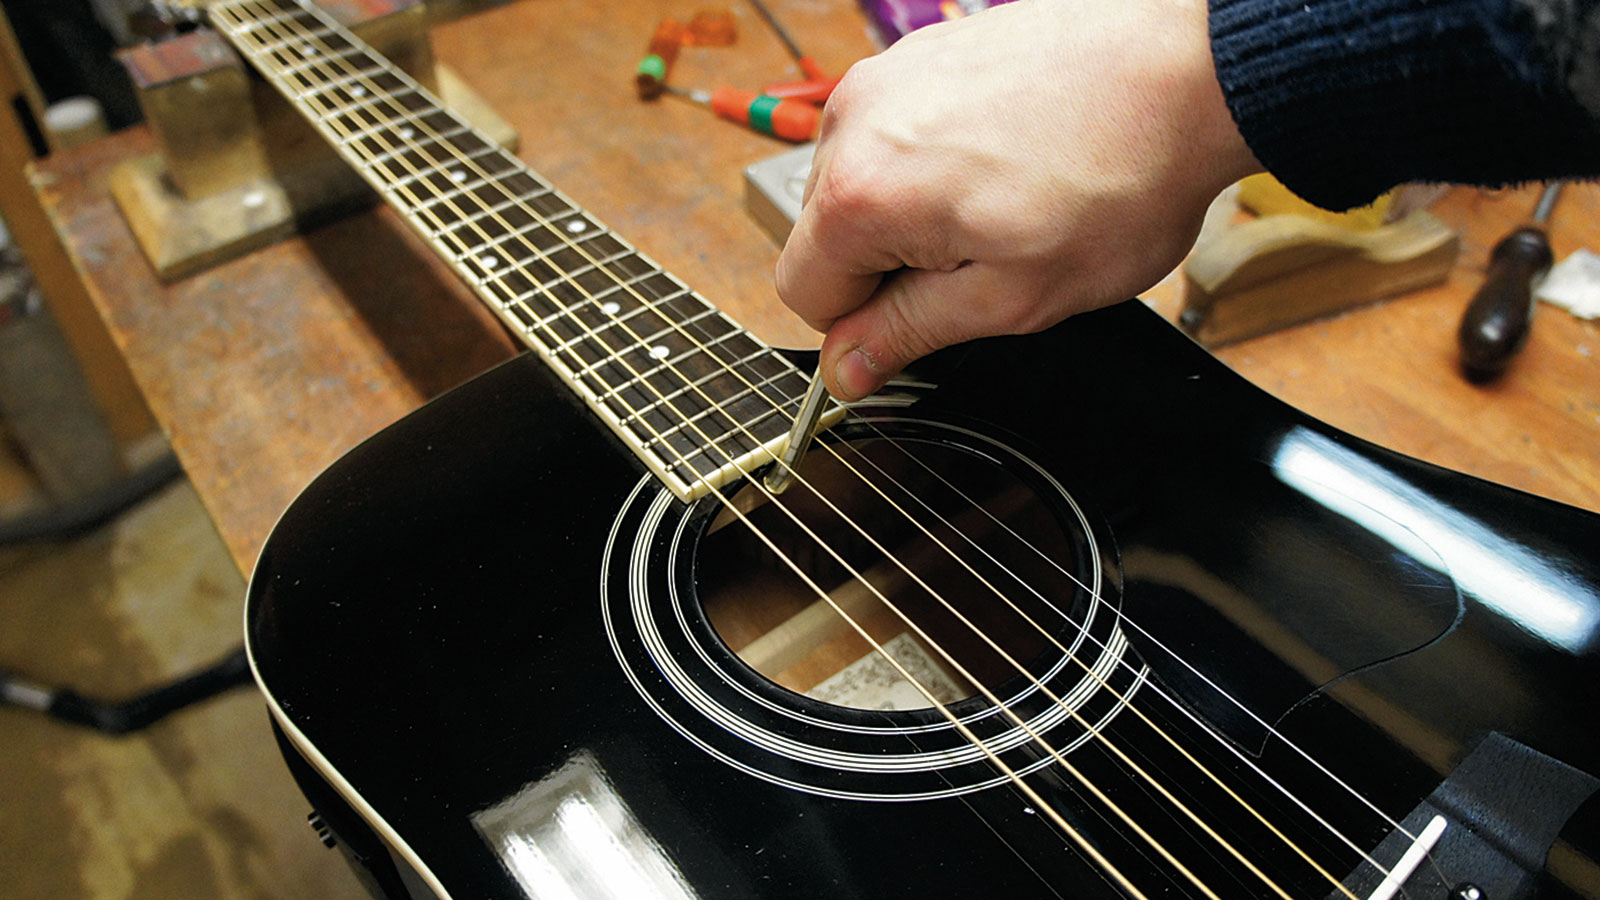
To set the bridge saddle height we need to be sure that the truss rod and nut slot depths are okay.
String and tune up with your desired gauge and tuning. The bow in the neck should be set to a roughly .012" gap. The nuts slots should be set - they’re often correct from the factory but should be checked out by a pro to be sure.
Step 2
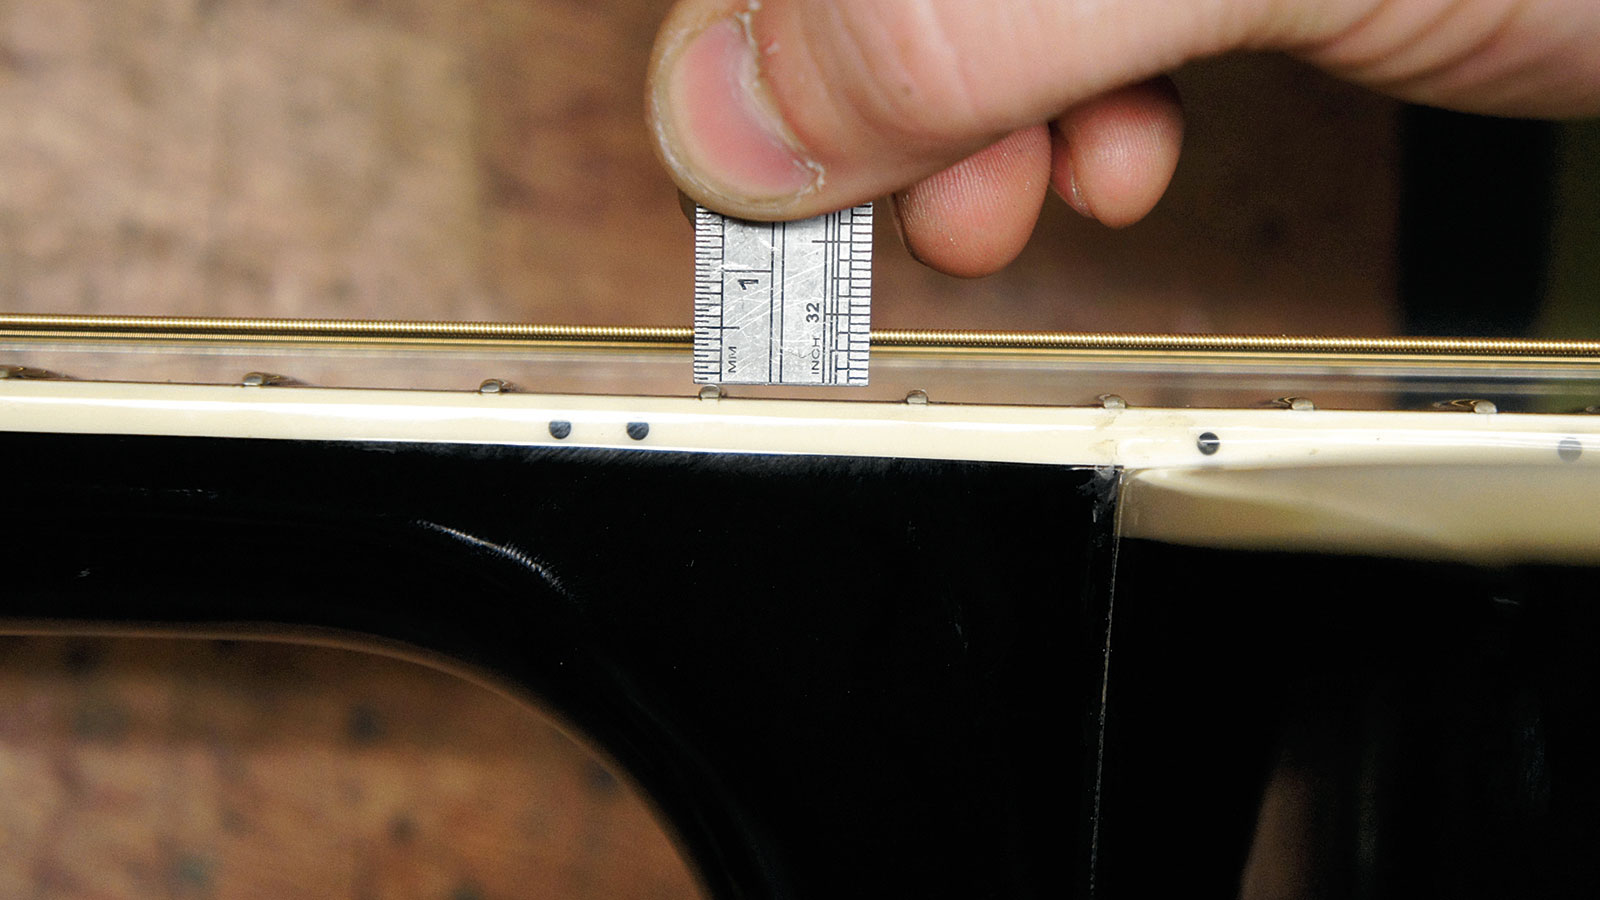
Measure the sixth and first string's height at the 12th fret from the top of the frets to the bottom of the strings.
The recommended gap should be sixth string = 2.2mm and first string = 1.6mm for most players. If the gaps are larger, drop the saddle height; if they’re too low you will need to shim your saddle or get a replacement saddle made.
Step 3
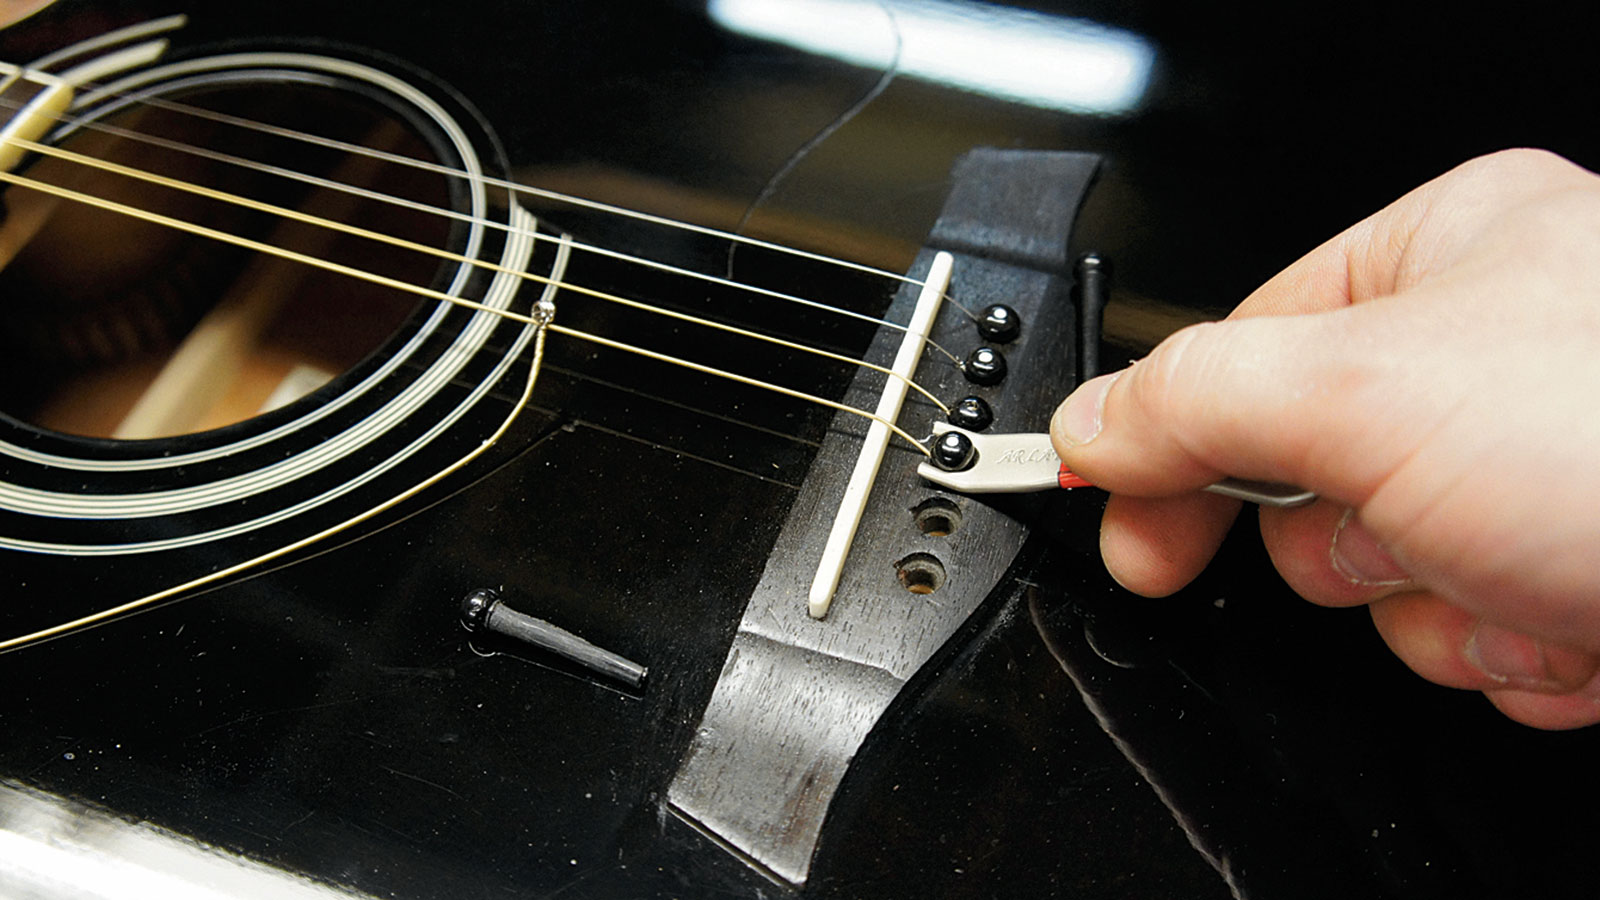
Put a capo over the nut of the guitar and de-string it.
When you pull out the pins the strings will try to tangle up so the capo will stop the tuner windings from going haywire. Don’t lose any of those string pins! Pull out the saddle from the bridge; sometimes end cutter pliers are useful for this.
Step 4
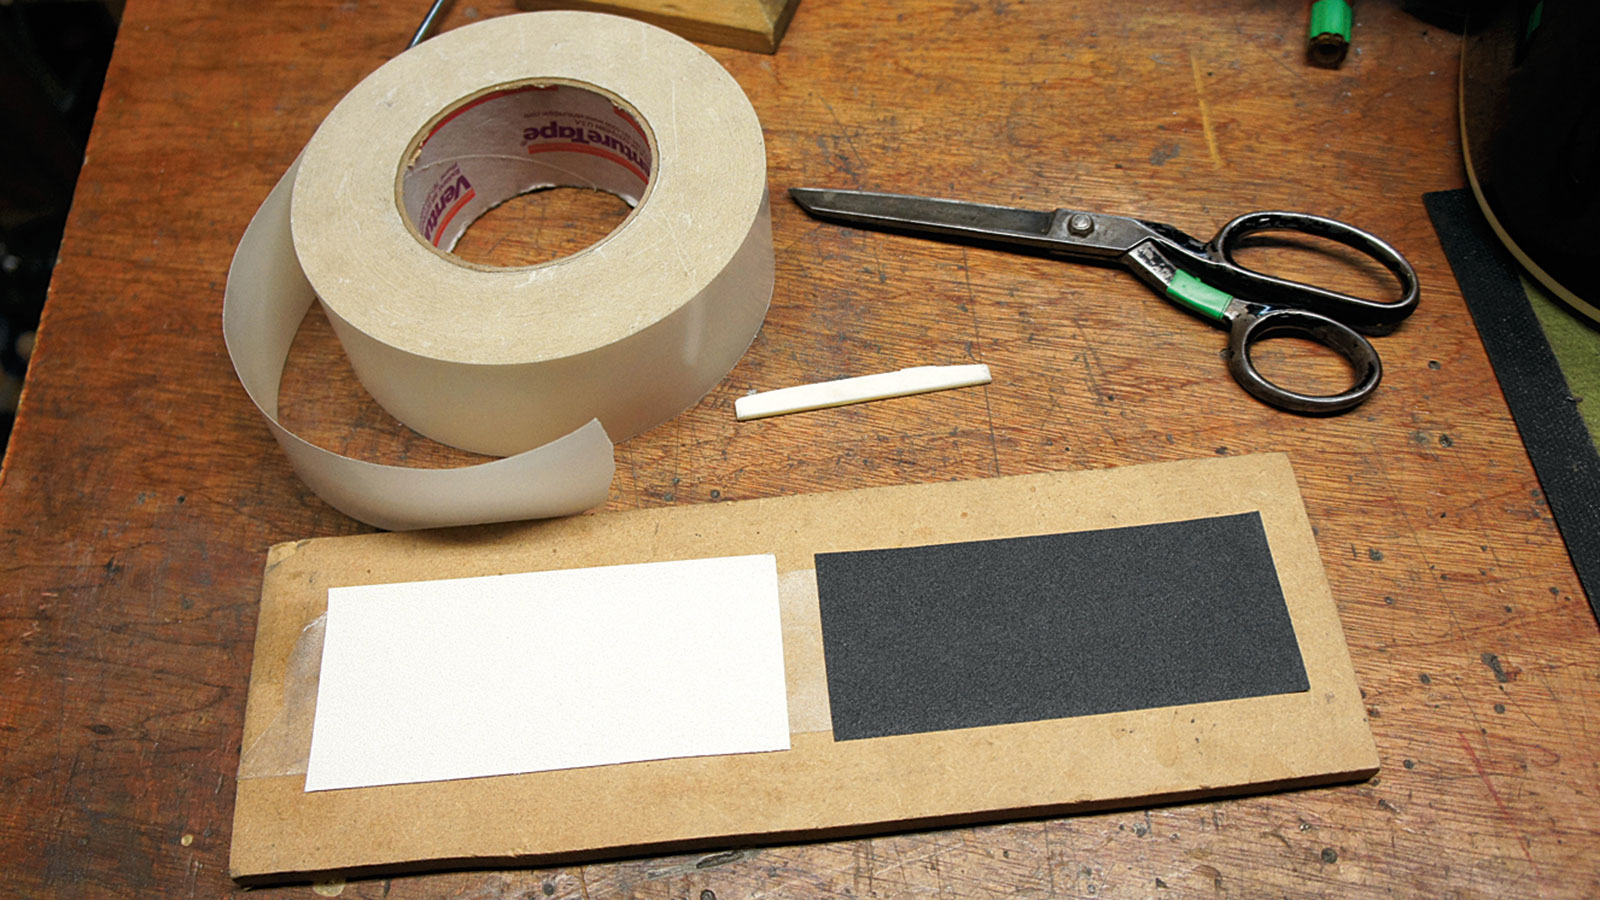
Cut out a piece of both the 80 and 240 grit abrasive paper.
These will be stuck to a board that’s flat with double-sided tape so we can rub the saddle on there. You can use a worktop or table top for this but a board would be handy for when you need to do it next time.
Step 5
Using our earlier measurements, we can work out how much to sand off.
If you want to reduce the action at the 12th fret by 1mm you will have to sand off 1.5mm from the saddle bottom. Remember, you will need to have a different reading for the sixth and first strings, it’s likely that one side of the saddle will need more sanding than the other.
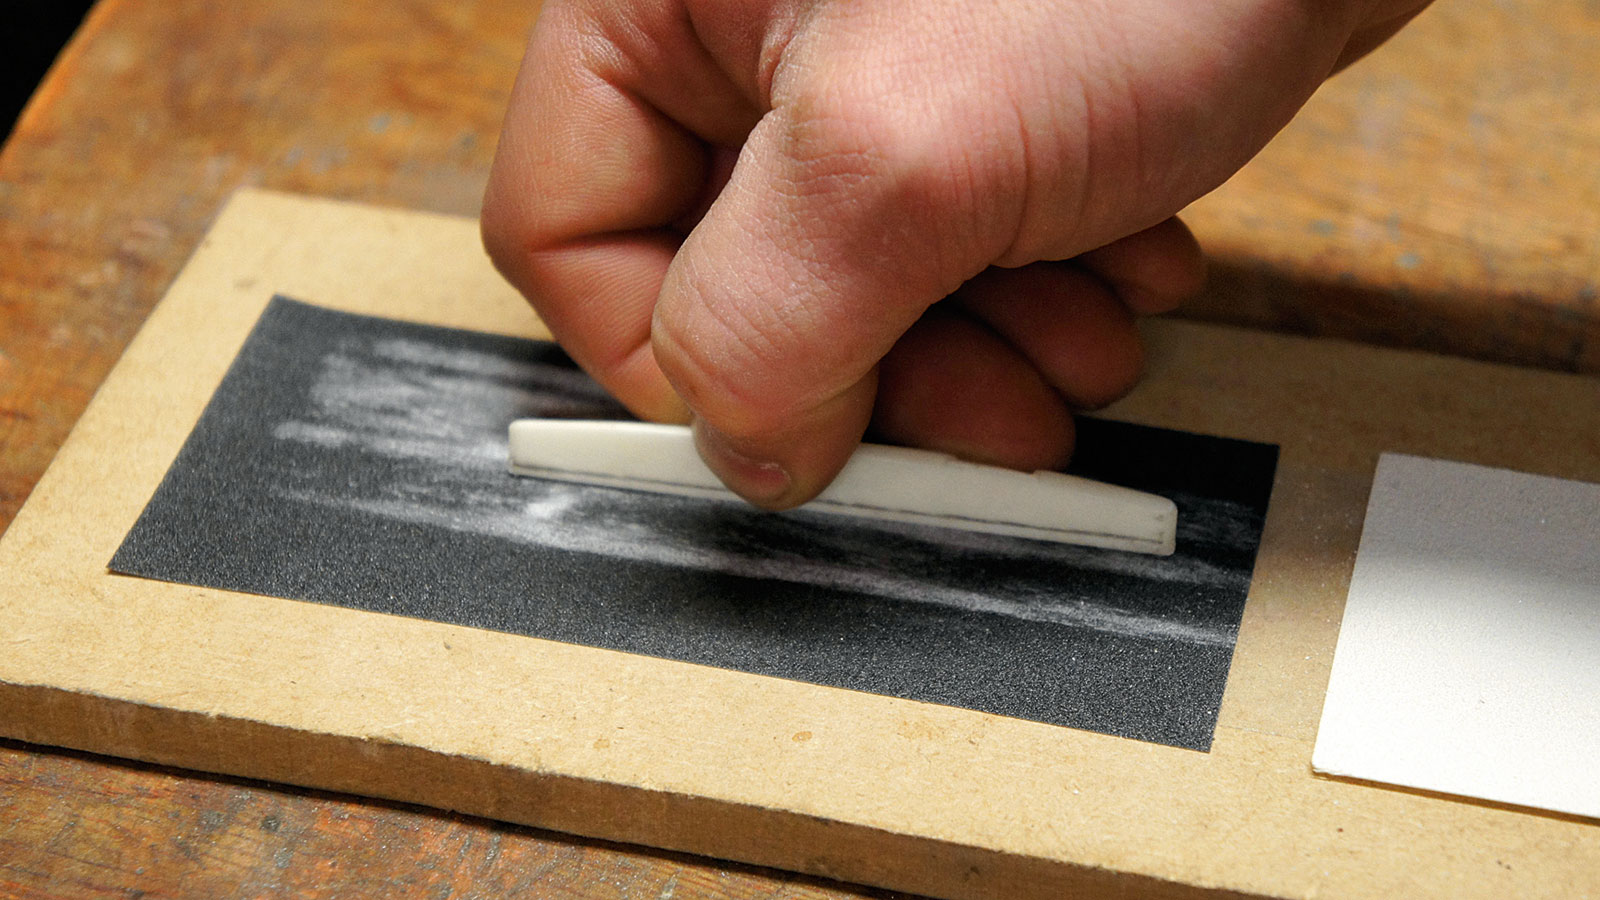
Step 6
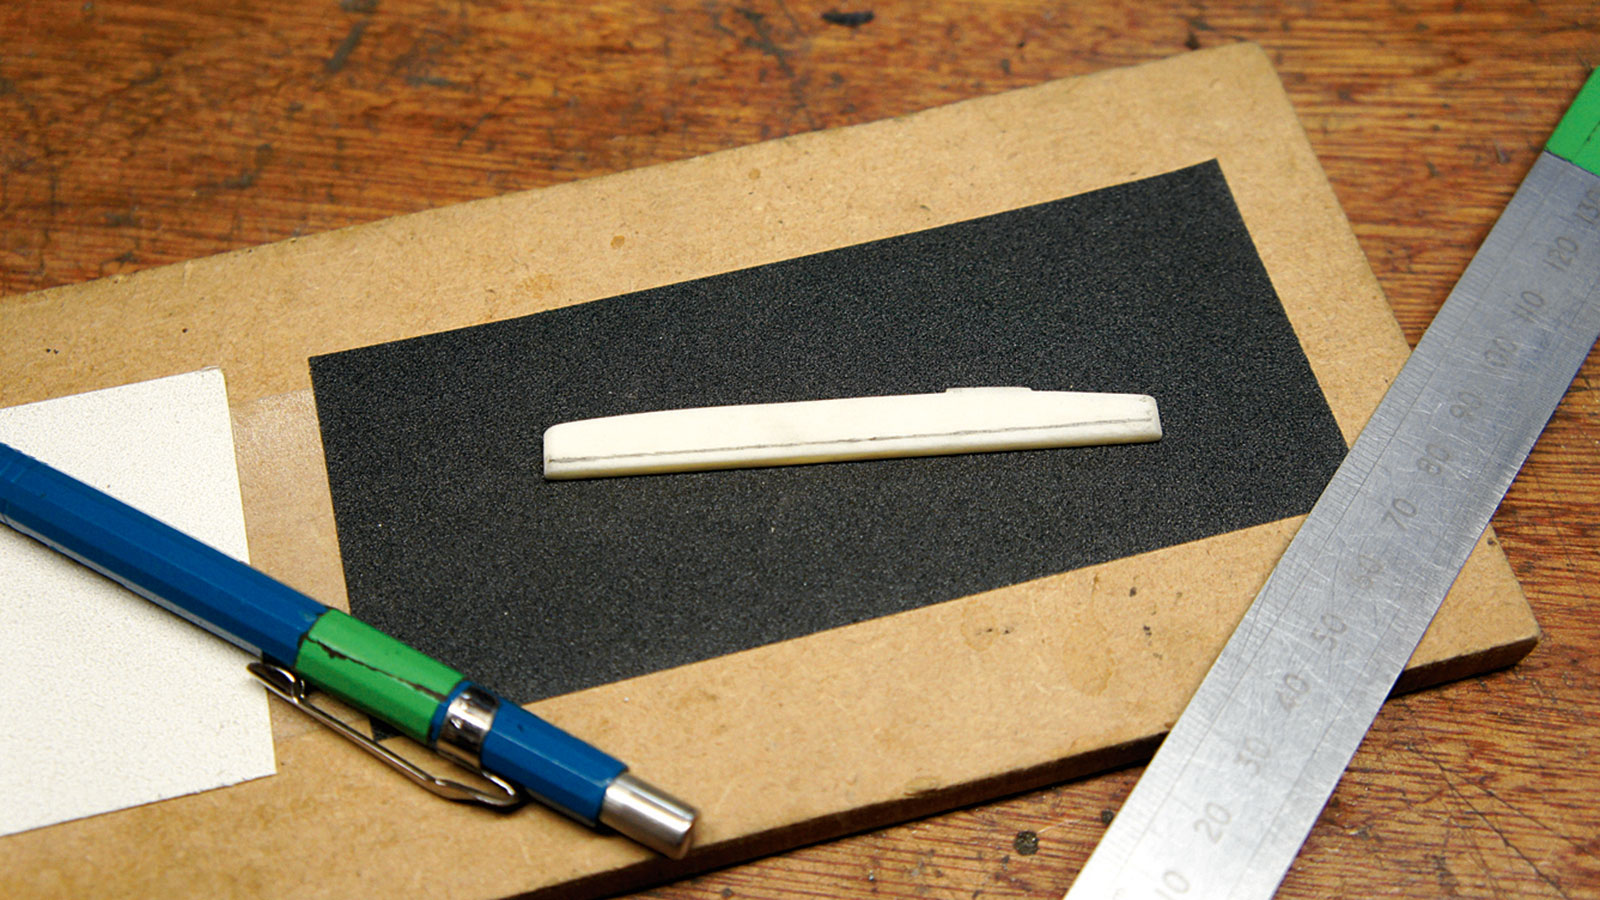
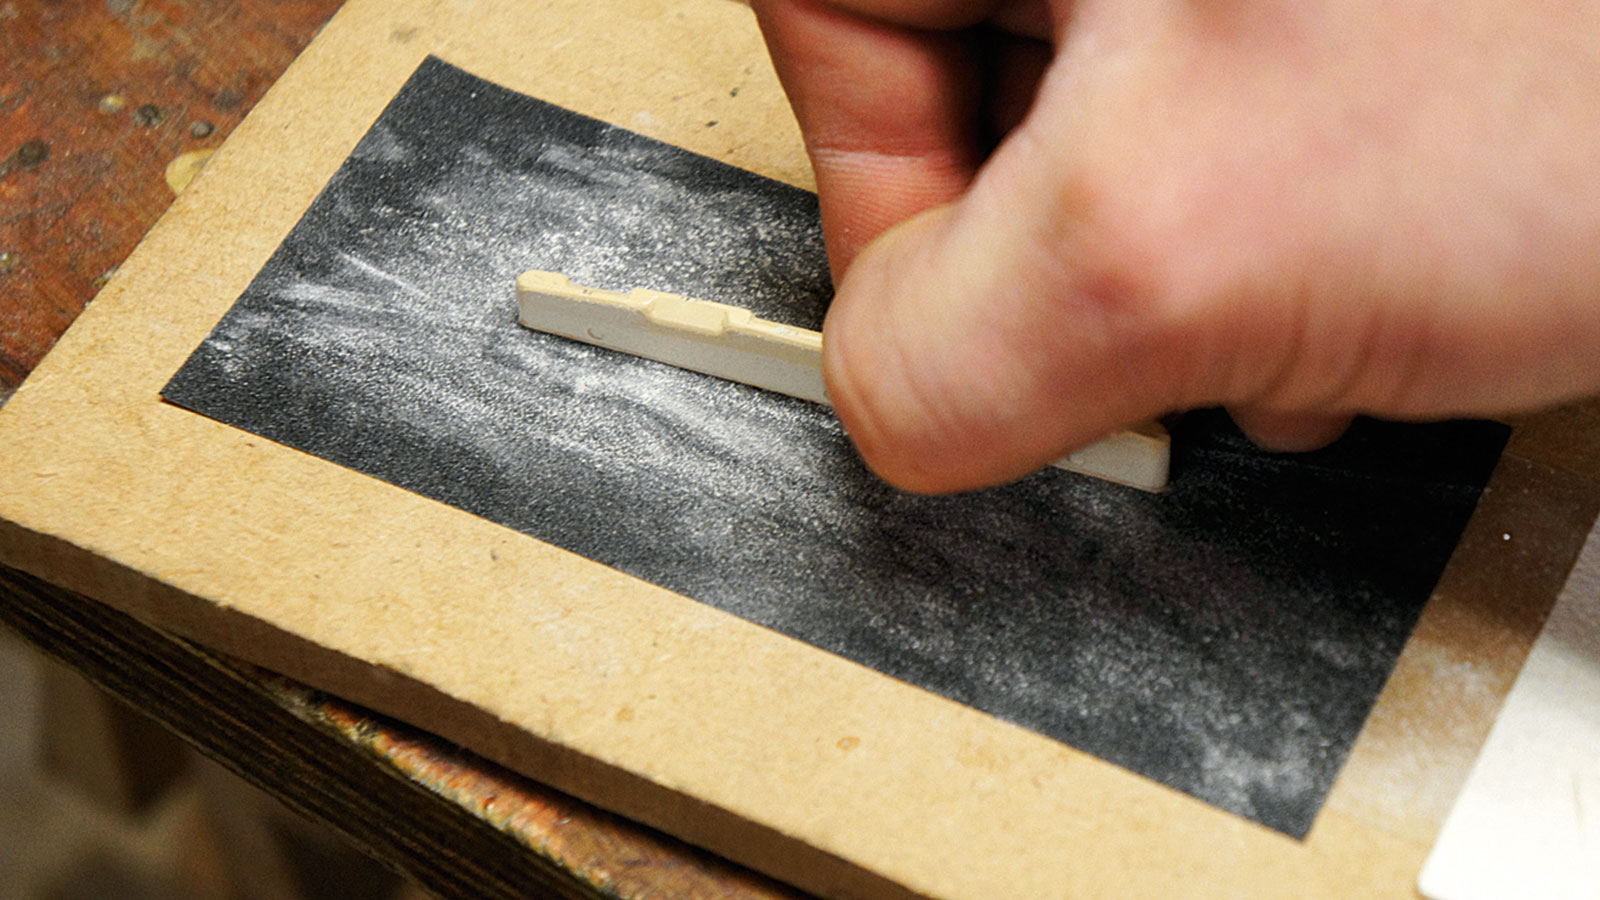
Make a note in pencil on the side of the size of the reduction you want to make.
If you are unsure, we’d advise sanding a smaller amount. Hold the saddle in your fingertips and rub it back and fourth on the coarse abrasive paper being careful not to accidentally angle the saddle bottom.

Step 7
When you’re happy with the sanding give it a final few drags over the fine abrasive paper.
Hold the flat bottom of the saddle to a ruler and hold it up to the light to check that’s it’s level. Give the bottom two corners one drag over the fine abrasive paper to knock off a sharp edge. Re-fit the saddle, pins and retune the strings to pitch.
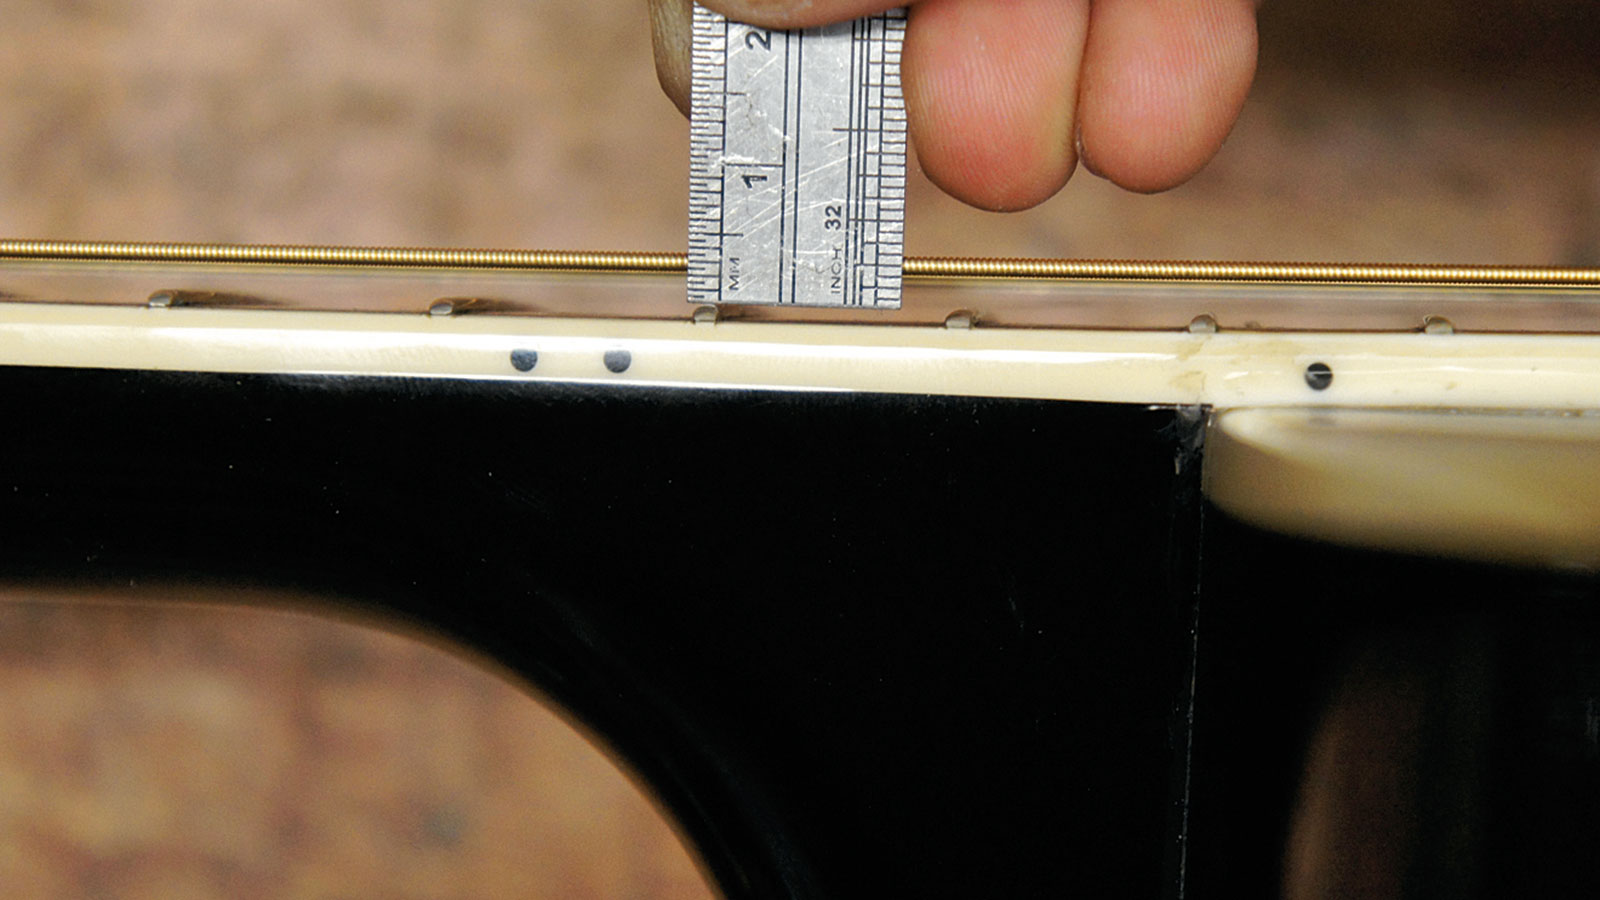
Step 8
At the 12th fret you should notice the difference you’ve made by sanding.
If you played it safe and didn’t take loads off you can check your progress and repeat the sanding stage until it’s bang on! It does take a bit of practise to get the feel for it. Don’t forget to test play each note on the fretboard to check for buzzing.
Step 9
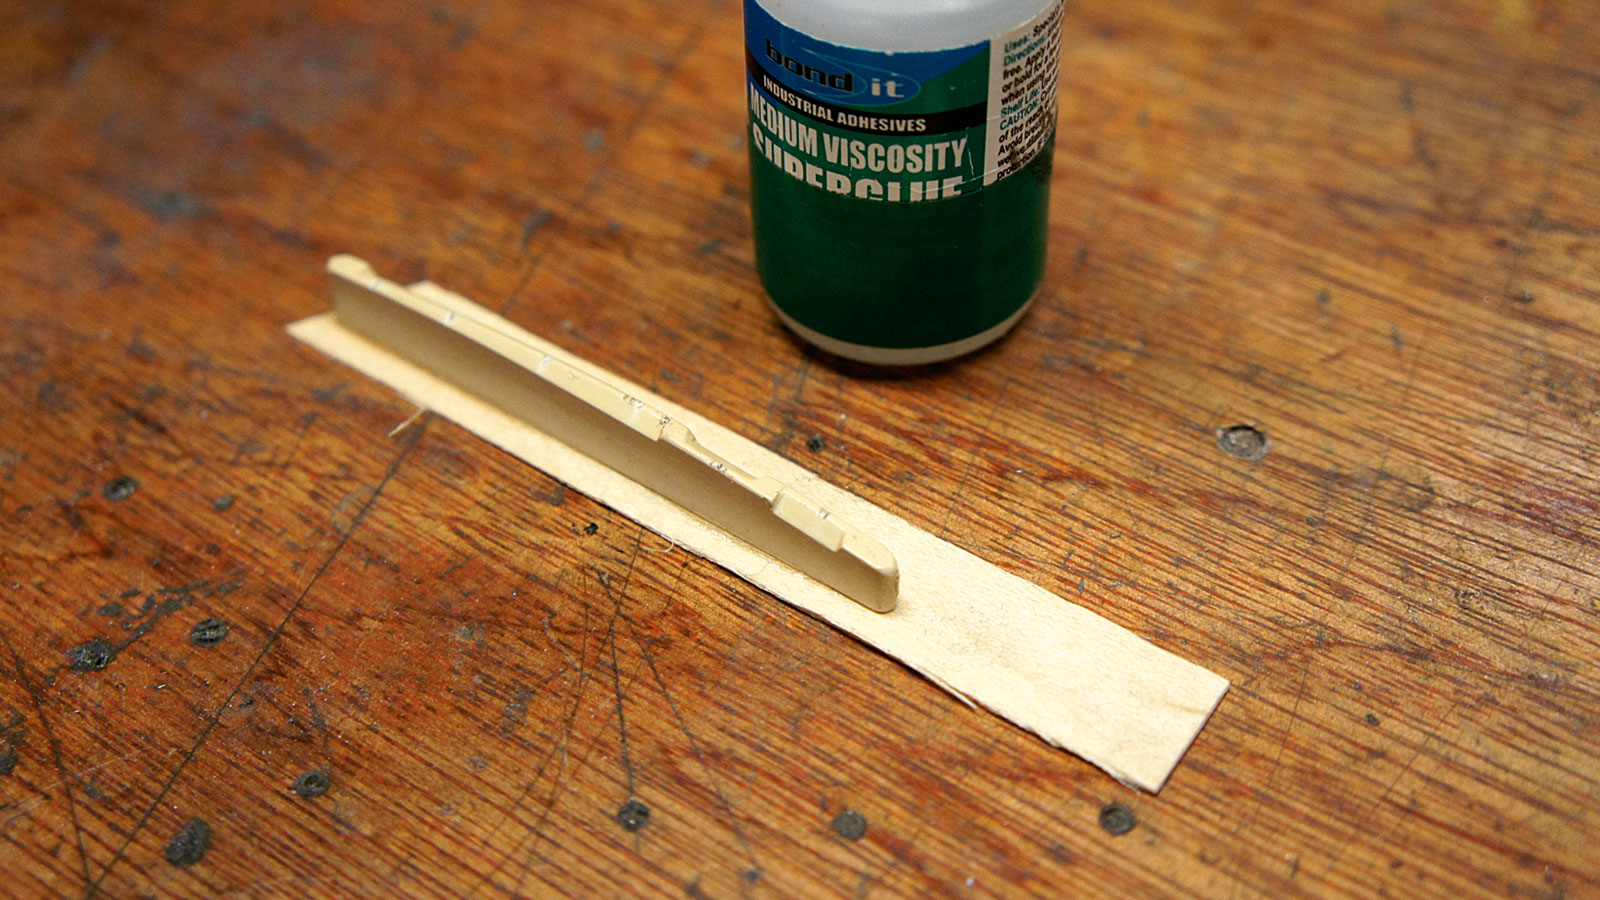
What if the saddle’s already been taken too low? Sometimes it’s the previous owner, sometimes it’s the factory’s fault.
As we can’t un-sand a saddle we have to glue on a shim. Hardwood maple is great for this. Check that the saddle bottom is flat before supergluing. Our maple veneer is 0.6mm thick so we can tell how many shims to add.
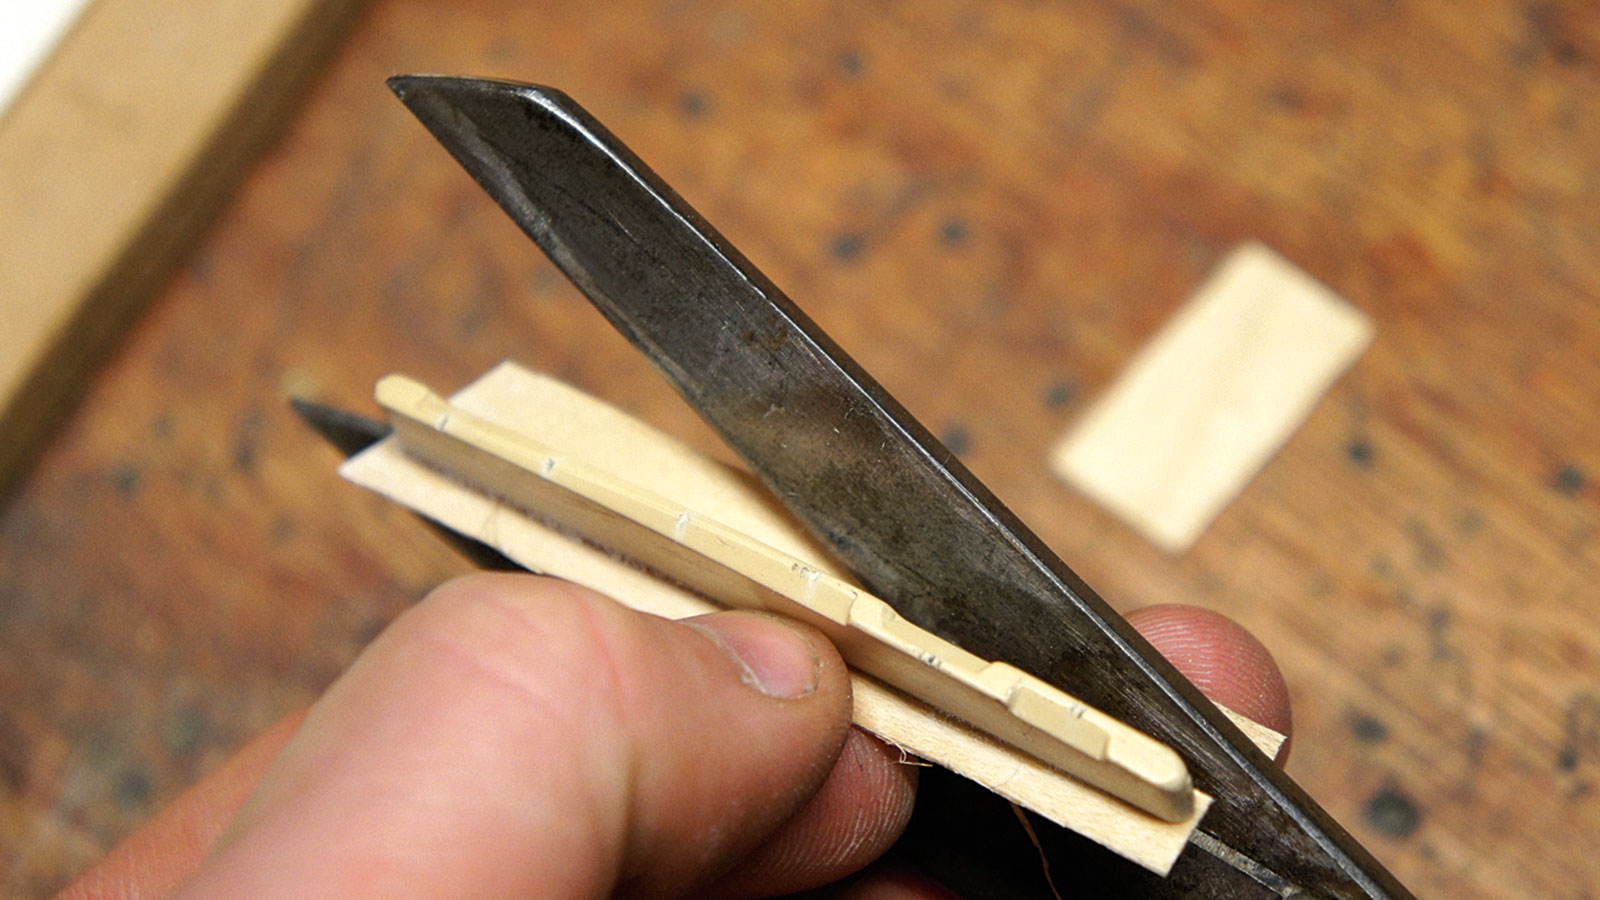
Step 10
When the glue is set we need to remove the excess veneer, scissors are great at getting the bulk off but beware of the timber splitting along the grain.
The glued-on veneer will produce a good sound - certainly better than loose card or plastic shims in there!
Step 11
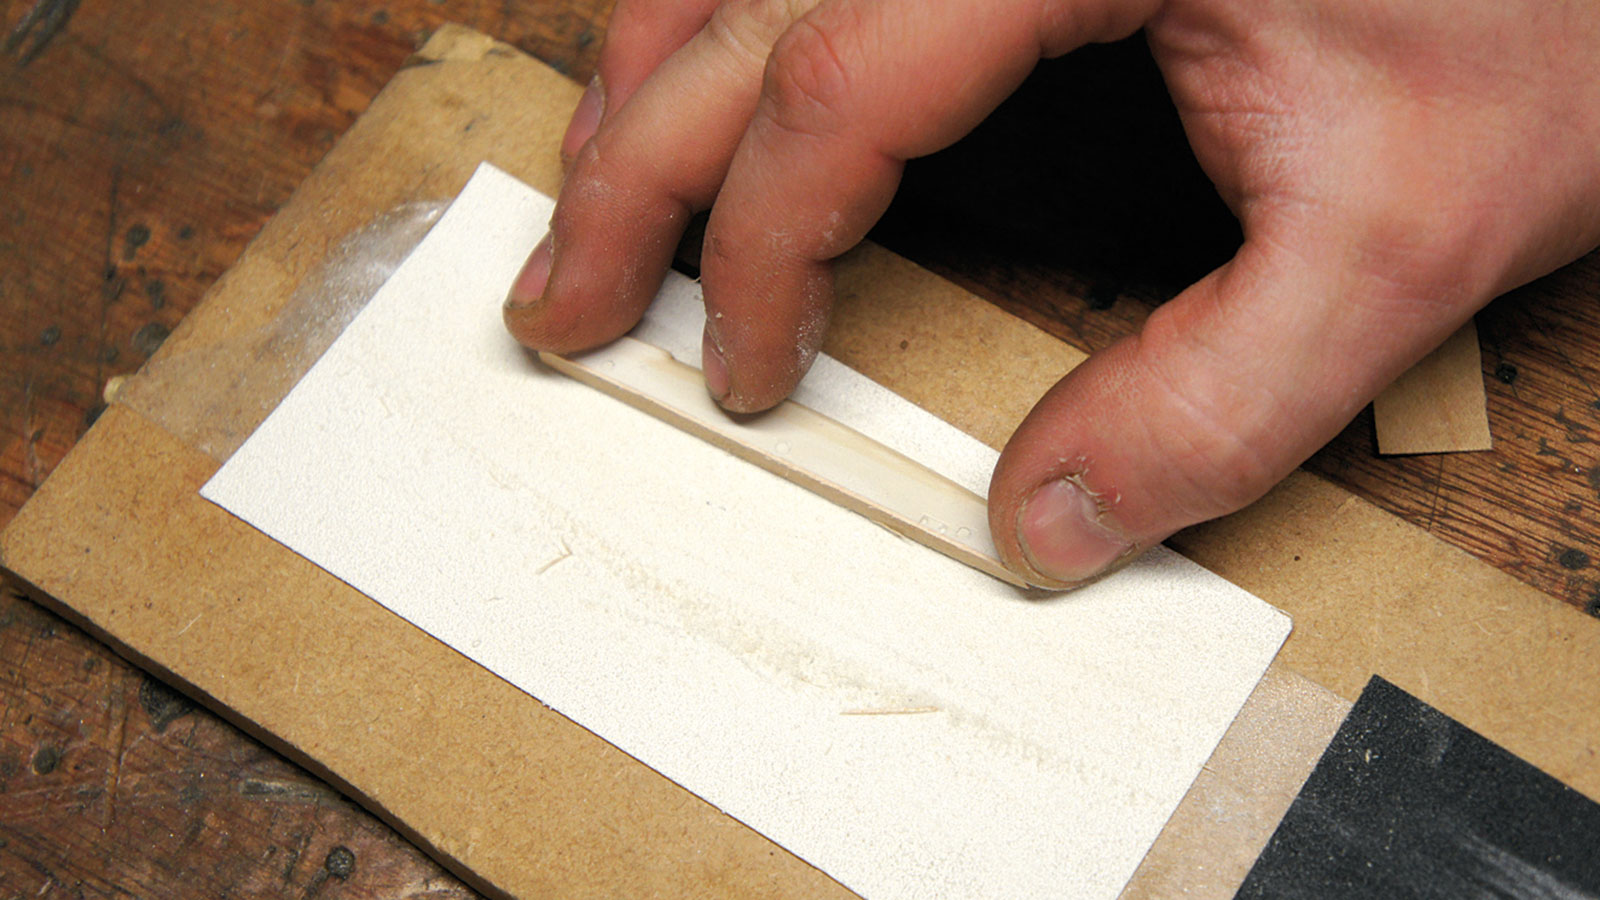
The scissors can’t take the fine overhanging edges off the veneer so we like to persuade it off by fine sanding the sides of the saddle.
Be careful not to reduce the overall thickness of the saddle itself as a nice fit is essential to the operation of the bridge. Refit the bridge, pins and strings and tune up again.
Step 12
With our new shim material added you can note the progress, check the height change and check it for buzzing.
You may need to add more but what we’re looking for is going slightly too high, say, 2.5mm (at 12th fret). When you’ve got higher than you’d like, revert back to stage 6 to get the saddle height perfect.

Jack runs an independent guitar setup and guitar repair service in Manchester, England. He serves the musicians of the Northwest of England, working on electric guitars, bass guitars, acoustic guitars and more. Jack has been writing the Fix Your Guitar column in Total Guitar Magazine since 2017.
“Beyond its beauty, the cocobolo contributes to the guitar’s overall projection and sustain”: Cort’s stunning new Gold Series acoustic is a love letter to an exotic tone wood
“Your full-scale companion. Anytime. Anywhere… the perfect companion to your full-size Martin”: Meet the Junior Series, the new small-bodied, travel-friendly acoustic range from Martin
