How to replicate manual tape flanging in software
Pull off one of The Beatles' best known studio techniques like it's 1966
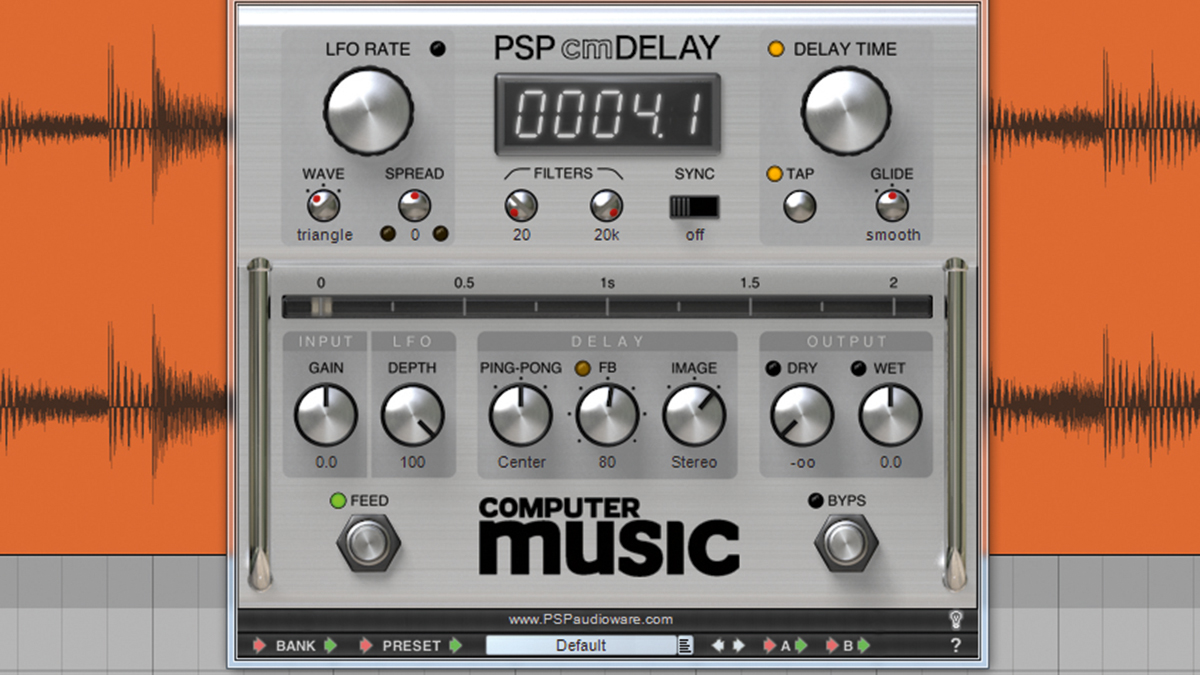
Flanging is the impromptu method of physically slowing the tape down on a tape machine by manually pressing the flange of the metal spool. The resulting changes in speed and frequency create the familiar whooshing sounds that launched a thousand guitar pedals.
However, The Beatles took a more elaborate approach in the form of the frequency control feature of Abbey Road’s BTR2 tape machine. ‘Playing’ this varispeed function manually, via the handle of an oscillator, created various flanging sounds as well as the shimmering pitch effects we now call chorusing.
An extreme example appears on the White Album’s While My Guitar Gently Weeps, where the mournful tremor on Eric Clapton’s Les Paul lines is down to engineer Chris Thomas “wobbling the oscillator in the mix”, as Mark Lewisohn reports in The Complete Beatles Recording Sessions (1988).
Meanwhile, in their profound 2006 tome, Recording The Beatles, studio experts Kevin Ryan and Brian Kehew distinguish the related effect of phasing. This involved reversing the polarity of one of the two signals, causing a characteristic ‘drop out’ effect as the sounds overlap, briefly cancelling each other out at a certain point in the flanging swirl. Examples include George’s guitar solo on the mono mix of Fixing A Hole, Ringo’s drums on Blue Jay Way and John’s vocal on Across The Universe.
Let's look at how to get an authentic Beatles-style flanging effect in software.
For more Beatles-style production tips, grab the August edition of Computer Music.
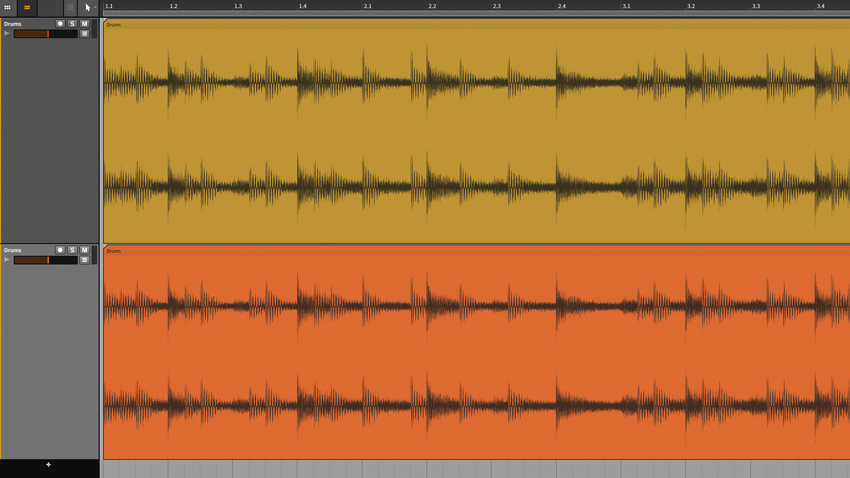
Step 1: Back in the day, flanging was created by having two machines play back the same recording at slightly different speeds. Today, it’s easy to throw in a plugin to do the heavy lifting, but recreating the effect manually is a great way of learning exactly what’s going on. Load Drums.wav into a 100bpm session and duplicate the channel to make an exact copy.
Get the MusicRadar Newsletter
Want all the hottest music and gear news, reviews, deals, features and more, direct to your inbox? Sign up here.
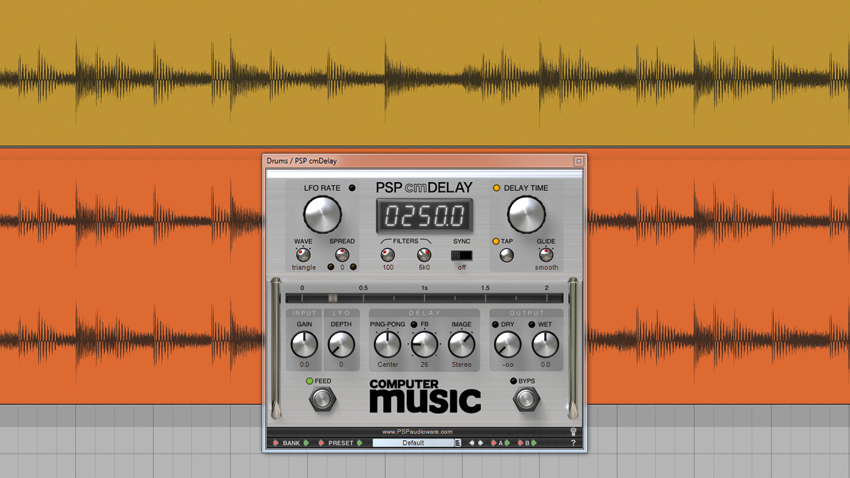
Step 2: Flanging occurs by having a small, constantly changing time offset between two identical pieces of audio, which produces a comb filtering effect, making deep spikes in the frequency spectrum. We’ll begin by creating the basic time offset. Solo one channel, load in PSP cmDelay and turn the Dry dial down to 0 so that we’re only hearing the effected signal.
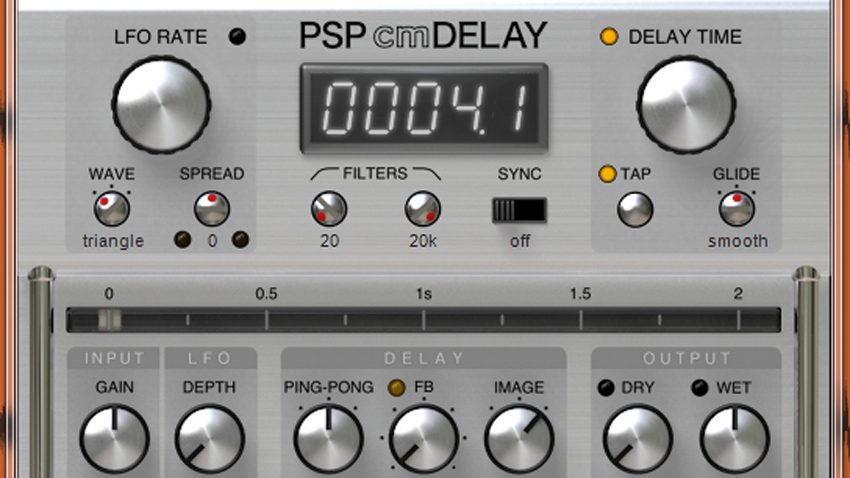
Step 3: We don’t want any audible delay repeats, so turn the feedback (FB) down to 0. By default, cmDelay filters the output, so turn the high-pass dial to 20 and the low-pass to 20k, so that no filtering takes place. A flanger requires a very short delay time - use the Delay Time dial to shorten it to around 4ms, then un-solo the channel.
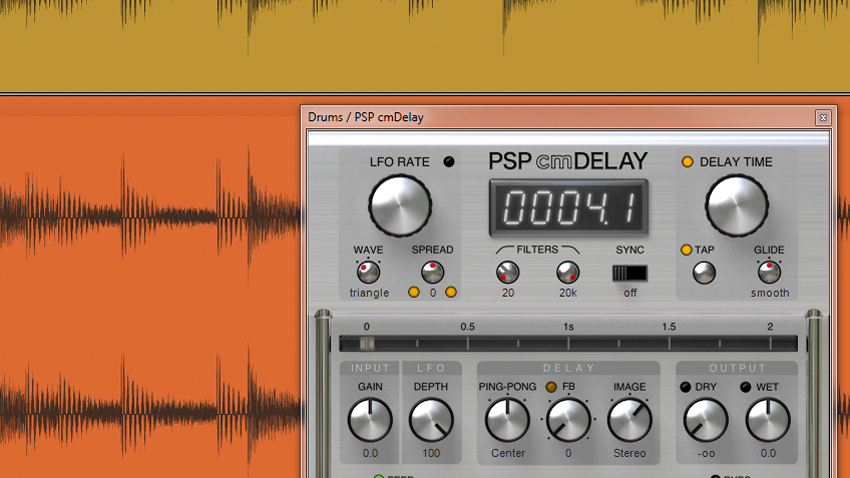
Step 4: The basic time offset has created phase cancellation, but to make a flanger we need to modulate it. With tape, this was achieved by holding a finger down on the tape reel. We can replicate the effect by modulating the delay time with the LFO - turn the LFO Depth dial to 100. It’s working, but it’s too fast. To slow it down, turn the LFO Rate dial down to around 0.04.
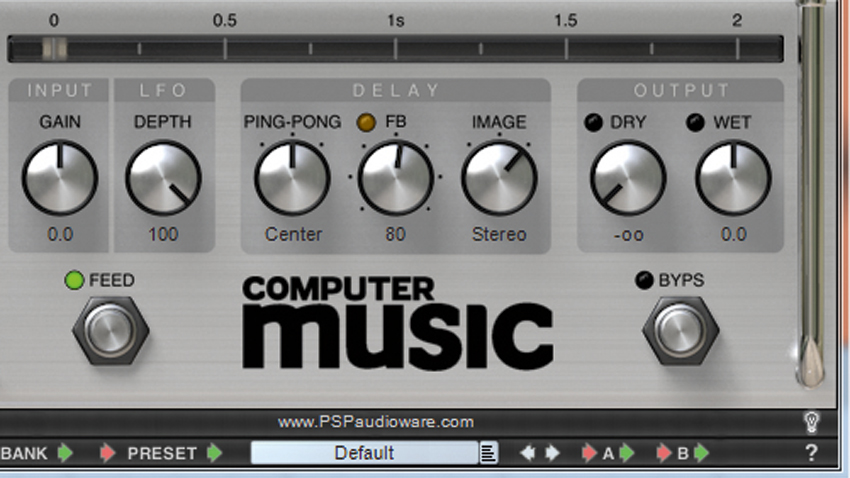
Step 5: We’ve created a basic flanger, but we can exaggerate the effect by routing the delayed signal back on itself. This gives a more powerful effect, supplying the familiar jet-plane sound. You could do it by routing channels in your DAW, but we’ll use the feedback (FB) in cmDelay - turn it up to 80. The more feedback you add, the stronger the effect becomes.
Computer Music magazine is the world’s best selling publication dedicated solely to making great music with your Mac or PC computer. Each issue it brings its lucky readers the best in cutting-edge tutorials, need-to-know, expert software reviews and even all the tools you actually need to make great music today, courtesy of our legendary CM Plugin Suite.


