How to reference your tracks using Sample Magic's Magic AB
Mixing it with the pros
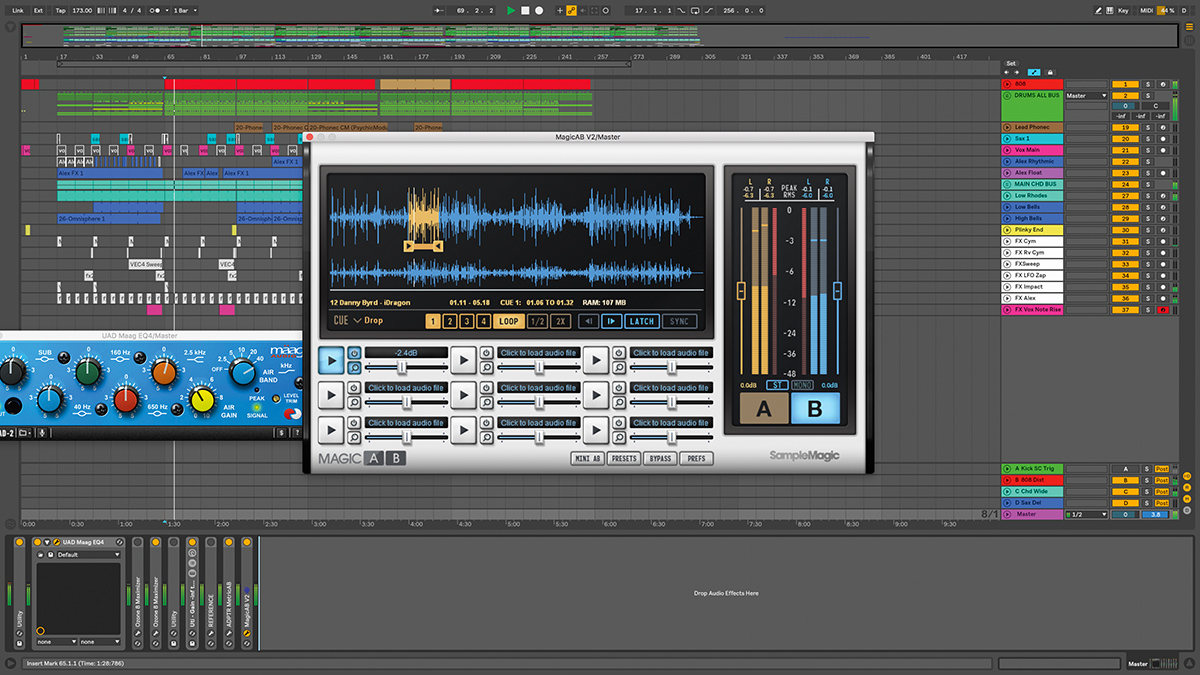
If there’s one tactic guaranteed to fast-track your mixing and mastering skills, it’s comparing your work-in-progress to great-sounding reference tracks.
When done correctly, you’ll be able to identify deficiencies in your mix compared to those pro songs; evaluate areas of improvement in terms of frequency, dynamics and stereo balance; and formulate processing strategies that will not only improve your current song in line with world-class records, but also elevate your long-term mixing abilities.
Referencing (or ‘A/Bing’) can be done directly in your DAW. However, this process can become frustrating as you battle with multiple song setups, level inconsistencies, file formats, playback positions, fiddly routings and so on.
Thankfully, a handful of dedicated referencing plugins have cropped up in recent years, with features ranging from simple back-and-forth switching to more extensive analysis, complex signal tapping, and even blind testing. So fire up your latest mix or mastering session and get ready to reference.
For more referencing tips, check out issue 263 of Computer Music magazine - on sale now.
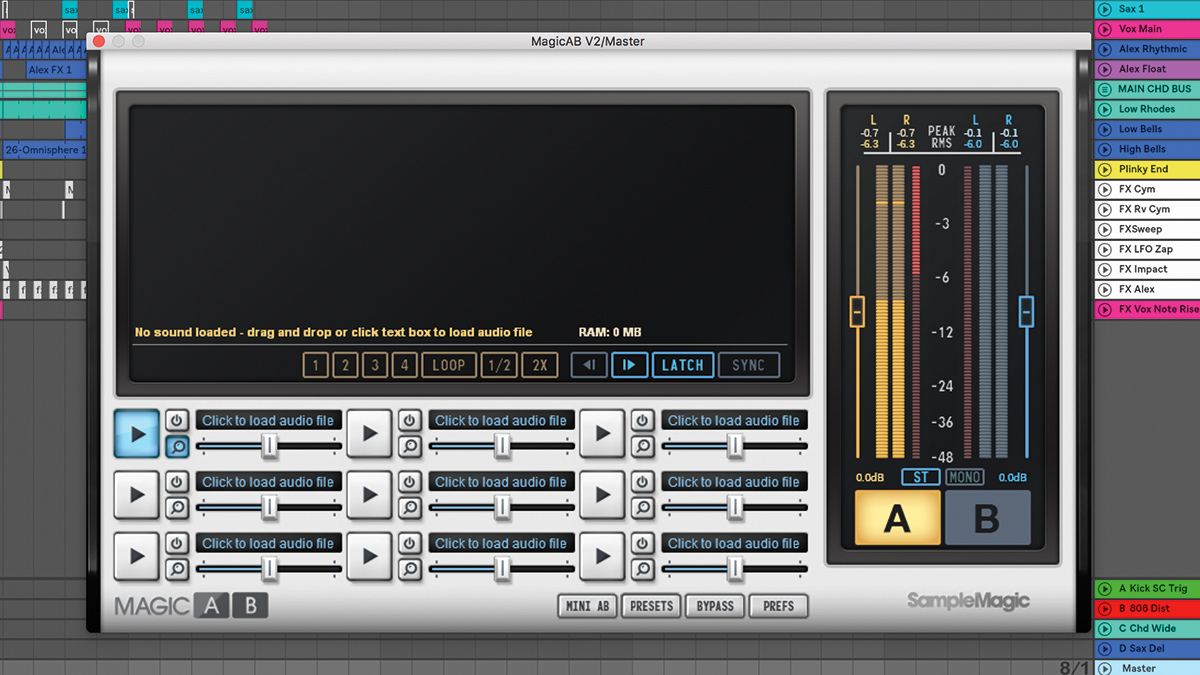
Step 1: We’d like to compare this mix against a commercially-mixed track, so we’ll call up version 2 of Sample Magic’s Magic AB on the master channel. Placing this after our mastering plugins at the end of the chain ensures that these processors won’t affect Magic AB’s signal.
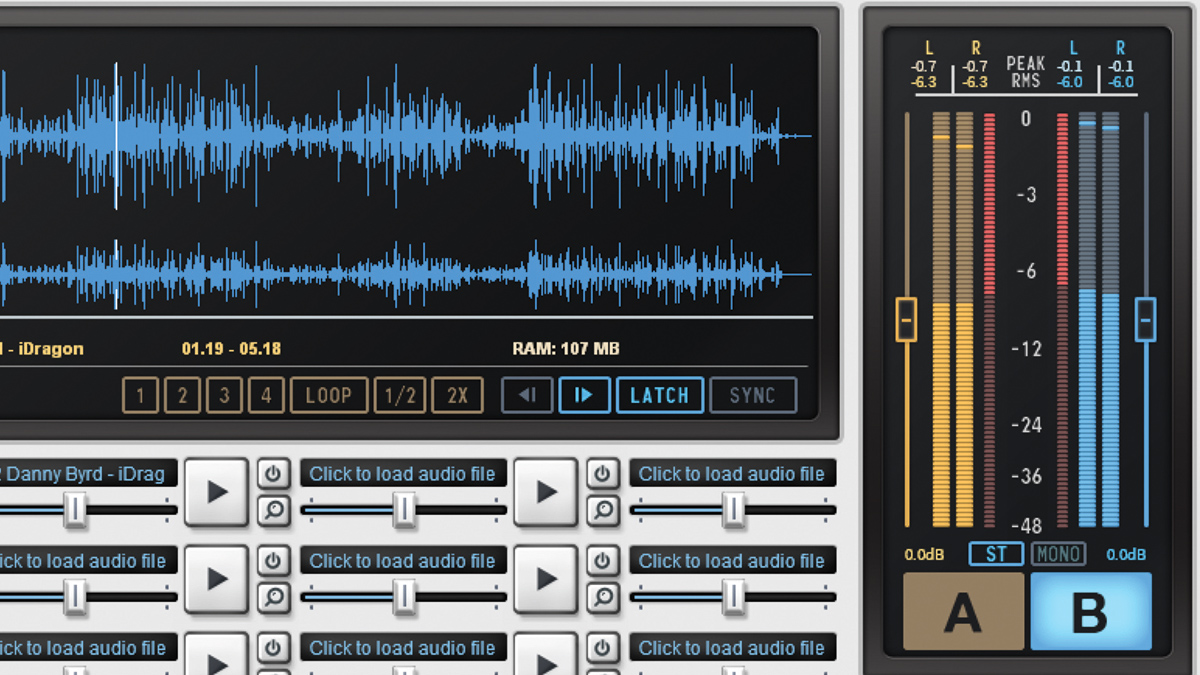
Step 2: Magic AB features nine slots. We click in the first slot and grab a pro track from our hard drive. The track’s waveform populates the central window – click through to start playback from that point. The A and B buttons switch between our DAW output (A) and the reference (B).
Get the MusicRadar Newsletter
Want all the hottest music and gear news, reviews, deals, features and more, direct to your inbox? Sign up here.
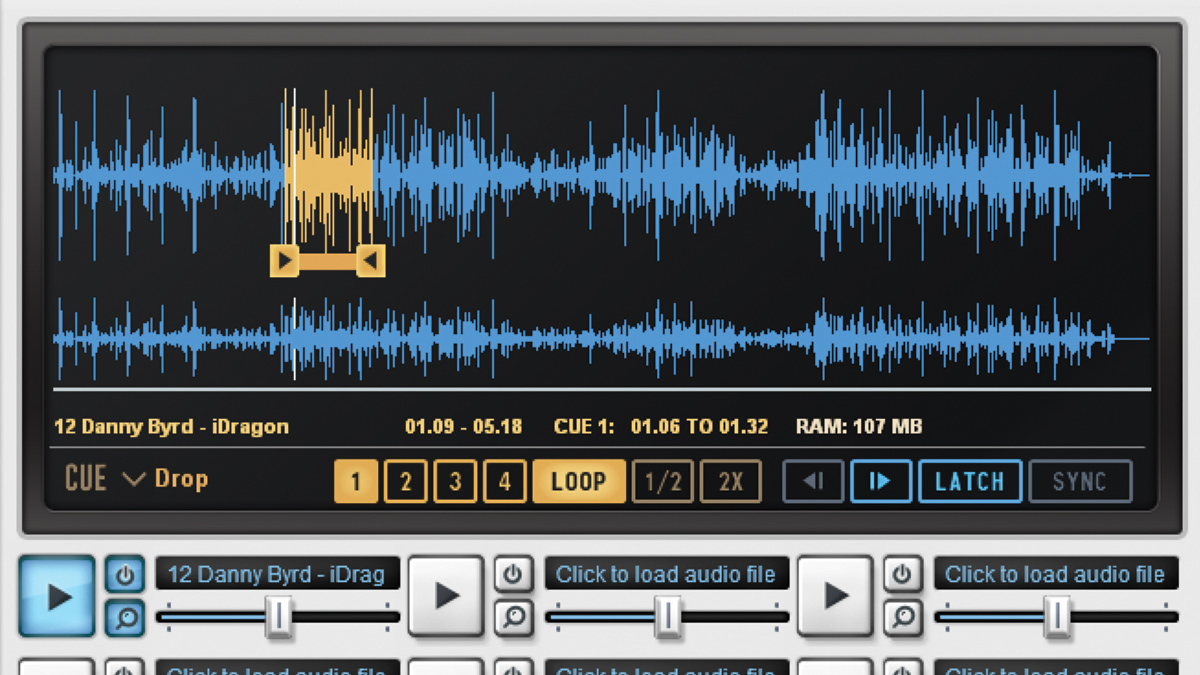
Step 3: Magic AB playback starts and stops in sync with our DAW – turn off Latch to keep the track running. To set one of four cue points, place the playhead and hit one of the 1-4 buttons. Hit the same button to restart playback from there. Once set, we can engage Loop and set a loop range around a section of the reference track.
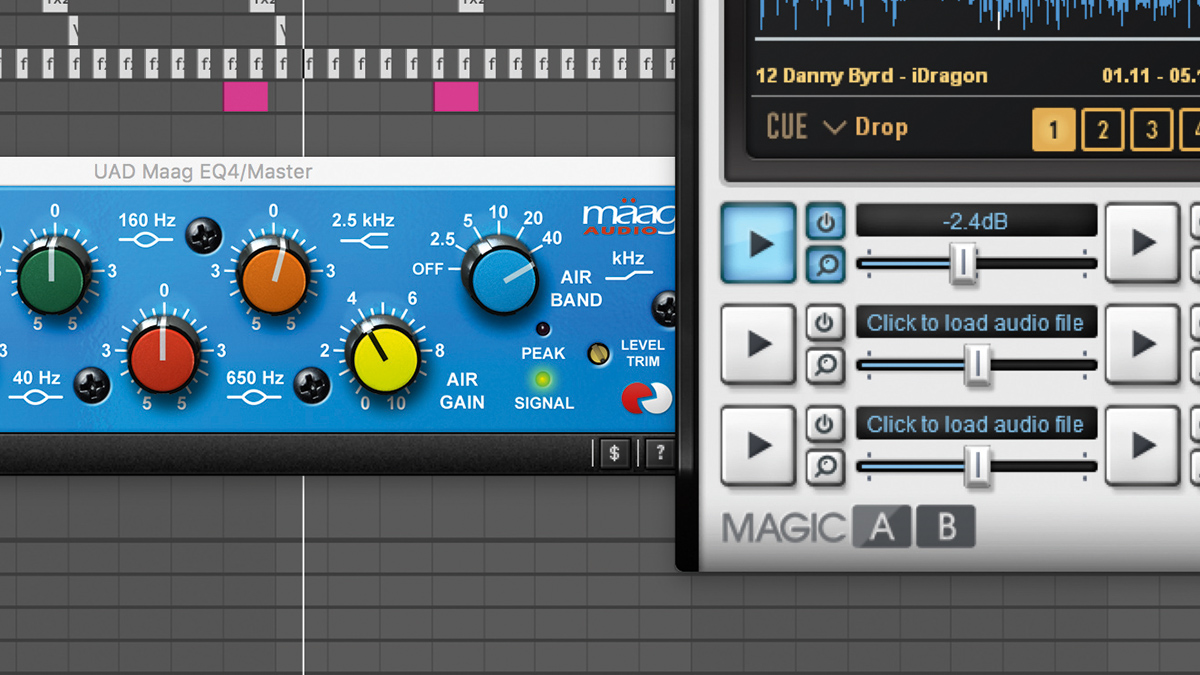
Step 4: Even though we’ve tried to master our mix, the reference sounds louder, so we turn this pro track down by -2.4dB in Magic AB by dragging its slider to the left. This exposes our mix as a little dull compared to the professionally mastered track, so we call up our master bus EQ and dial in more treble ‘air’.
Computer Music magazine is the world’s best selling publication dedicated solely to making great music with your Mac or PC computer. Each issue it brings its lucky readers the best in cutting-edge tutorials, need-to-know, expert software reviews and even all the tools you actually need to make great music today, courtesy of our legendary CM Plugin Suite.


