How to reference your masters against pro material
Mastering The Mix’s referencing plugin is a must for comparing your track against pro material
If you want to make sure your home-produced masters are up to scratch, you're going to need to gird your loins and put them up against the competition.
There are quite a few plugins available that enable comparison of your own masters against professionally produced commercial tracks, but few are as flexible as Mastering The Mix Reference. Let’s take a tour…
For more on mastering in the box, get hold of the April 2018 edition of Future Music.
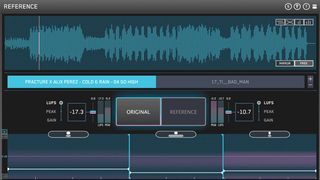
Step 1: Reference is one of the many plugins designed to let you load in and compare multiple reference songs against your DAW’s audio. Upon loading the plugin on our master channel, we drag and drop two WAV tracks into the main interface to load them in.
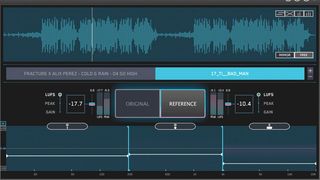
Step 2. We select one of our reference tracks by clicking a named tab on the main interface. Punch between the big Original and Reference buttons in the centre to flick between your DAW’s audio and the currently-selected reference track - or set up a key command in the Settings menu.
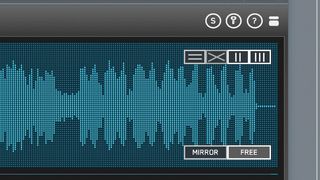
Step 3: The unprocessed premaster in our DAW is a lot quieter than the two mastered reference tracks. We can toggle the top-right Level Match (vertical lines) to automatically match perceived loudness, or level the DAW and reference audio manually with the gain sliders in the centre.
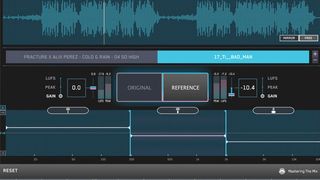
Step 4: The bottom Trinity Display provides comparative visual feedback against the currently-selected reference. A band’s white horizontal line represents the amount of perceived volume in that band above or below the centre 0dB line compared to the reference track. Here, our track has too much energy in the sub-200Hz band compared to the reference.
Get the MusicRadar Newsletter
Want all the hottest music and gear news, reviews, deals, features and more, direct to your inbox? Sign up here.
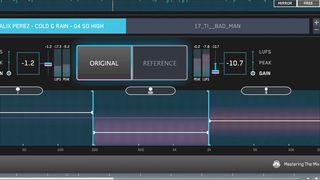
Step 5: The oval sections above each Trinity Display band represent stereo width. The top horizontal ‘blob’ is our premaster, and the bottom one is the currently-selected reference. In this case, our bass band has too much width compared to the reference, and the mids are too narrow.
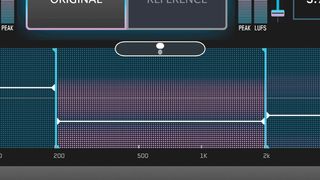
Step 6: The purple dots in a band represent ‘punch’ or compression. Within our midrange band, these purple dots are moving away from the white line. This can be seen as a way of telling us that our reference track is more compressed in this area than it was in our premaster.
Future Music is the number one magazine for today's producers. Packed with technique and technology we'll help you make great new music. All-access artist interviews, in-depth gear reviews, essential production tutorials and much more. Every marvellous monthly edition features reliable reviews of the latest and greatest hardware and software technology and techniques, unparalleled advice, in-depth interviews, sensational free samples and so much more to improve the experience and outcome of your music-making.

