Video: How to record using multiple mics
Use multiple mics to capture a powerful snare drum sound
RECORDING WEEK: The most common application of multiple mic technique is recording the drum kit, and we can learn a lot from this.
The technique combines mics at different distances from the kit, with overhead mics (often in a stereo configuration) providing a general picture, close-up ‘spot’ mics emphasising specific kit elements, and room mics (also often stereo) positioned at various distances to capture room ambience.
There are going to be times when you want to record multiple instruments at the same time in the same space, or record something in a compromised space. More than anything, these situations test your microphone choice and positioning skills.
The first rule is to be realistic. For example, it is possible to record drums on their own in a very small space, but you won’t be able to get a decent ambient sound. And if you try to squeeze something loud like a guitar amp, or something quiet like an acoustic guitar, in alongside the drum kit, you’re probably going to struggle. So think about the overall balance in the space and try to get that working first.
Next, use directional mics, thinking about not only the sound they pick up but also what they’re rejecting, and use this to curtail the spill of each instrument into the other instruments’ mics. Finally, if you have a bit more space, spread the instruments out and put up screens to isolate mics. In practice, the distance between the mics will actually create a more ambient result, so if you’re after a tighter, less reverberant sound, it’s best to keep everyone close, albeit at the expense of some isolation.
A similar technique is used to record the orchestra, although the scale is larger and mic positioning is slightly different. In both cases, the thinking behind the technique is that it gives balancing flexibility.
Sometimes, the mics are blended prior to recording, but usually, you’ll simply record all the mics, then balance them later on.
Further multi-miking examples include guitar amps, pianos and even vocals. With a guitar amp, you can use separate mics to simultaneously capture different parts of the speaker cone or cabinet.
With piano, traditional stereo techniques can be augmented by single spot mics. In both cases, distant mics can be added to capture room ambience.
There are a couple of downsides to using multiple mics. First, they require more tracks, mics and inputs, which makes the setup more complex. Second, when you blend two or more mics capturing the same sound, you get phase cancellation and comb filtering, as the soundwaves arrive at the mics at slightly different times.
Get the MusicRadar Newsletter
Want all the hottest music and gear news, reviews, deals, features and more, direct to your inbox? Sign up here.
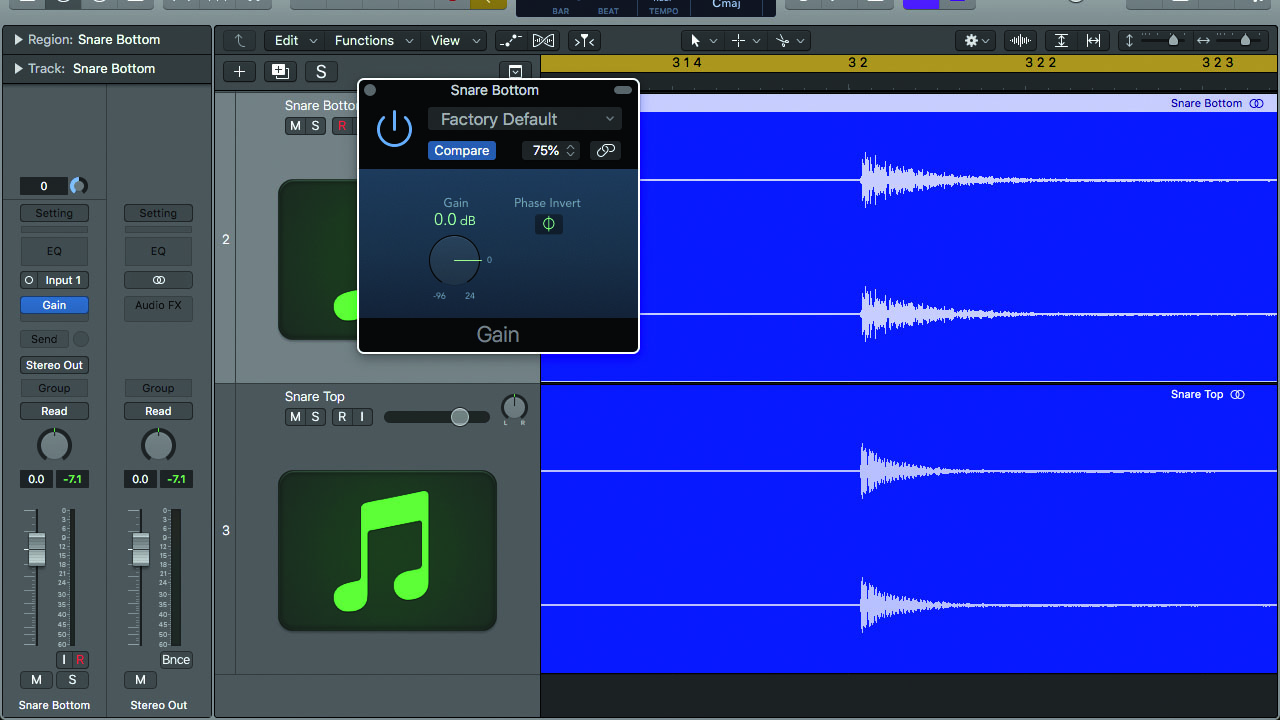
The effect can be subtle or lead to deep notches or boosts at some frequencies, and with the latter, inverting the phase of one mic or track solves the problem. Other solutions include balancing different mics so that one is clearly dominant, or using plugins like Sound Radix Pi, built specifically to control phase relationships.
Ultimately, you’re trying to make the mics sound the best they can, combined. In this walkthrough, we'll go over the steps required to multi mic a snare drum for a full body and sharp attack.
• Recording Week is brought to you in association with Universal Audio

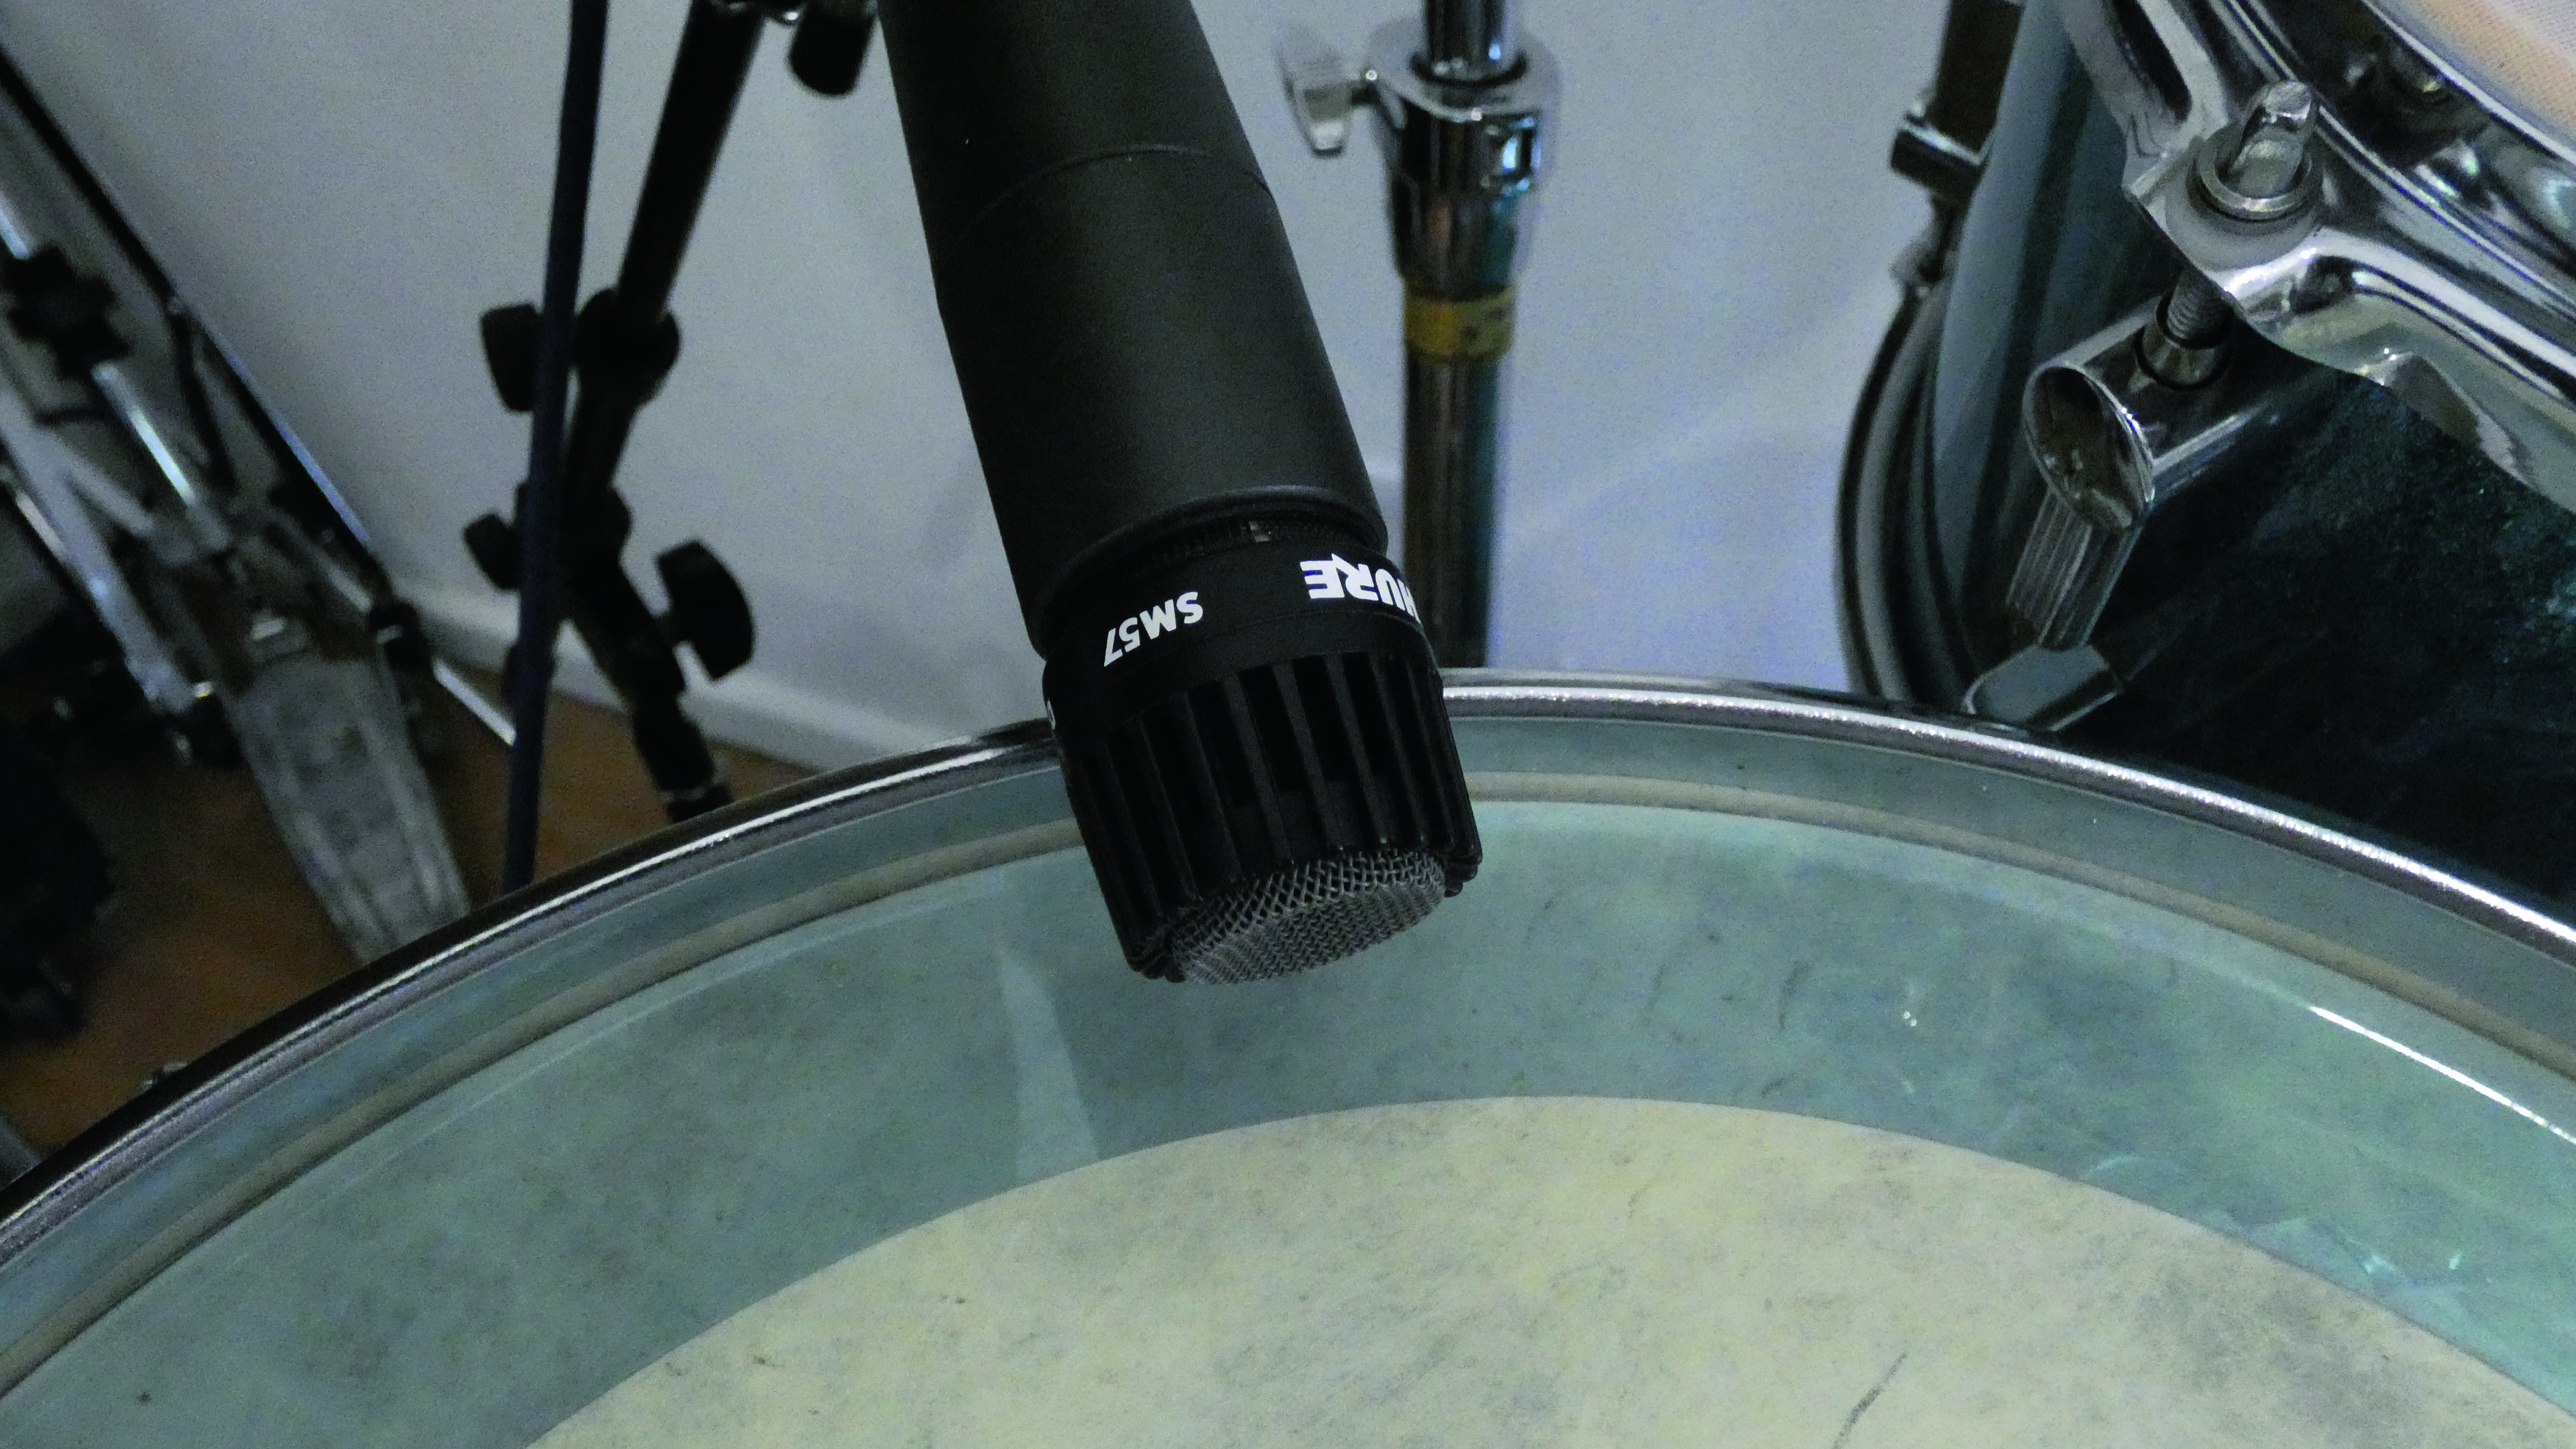
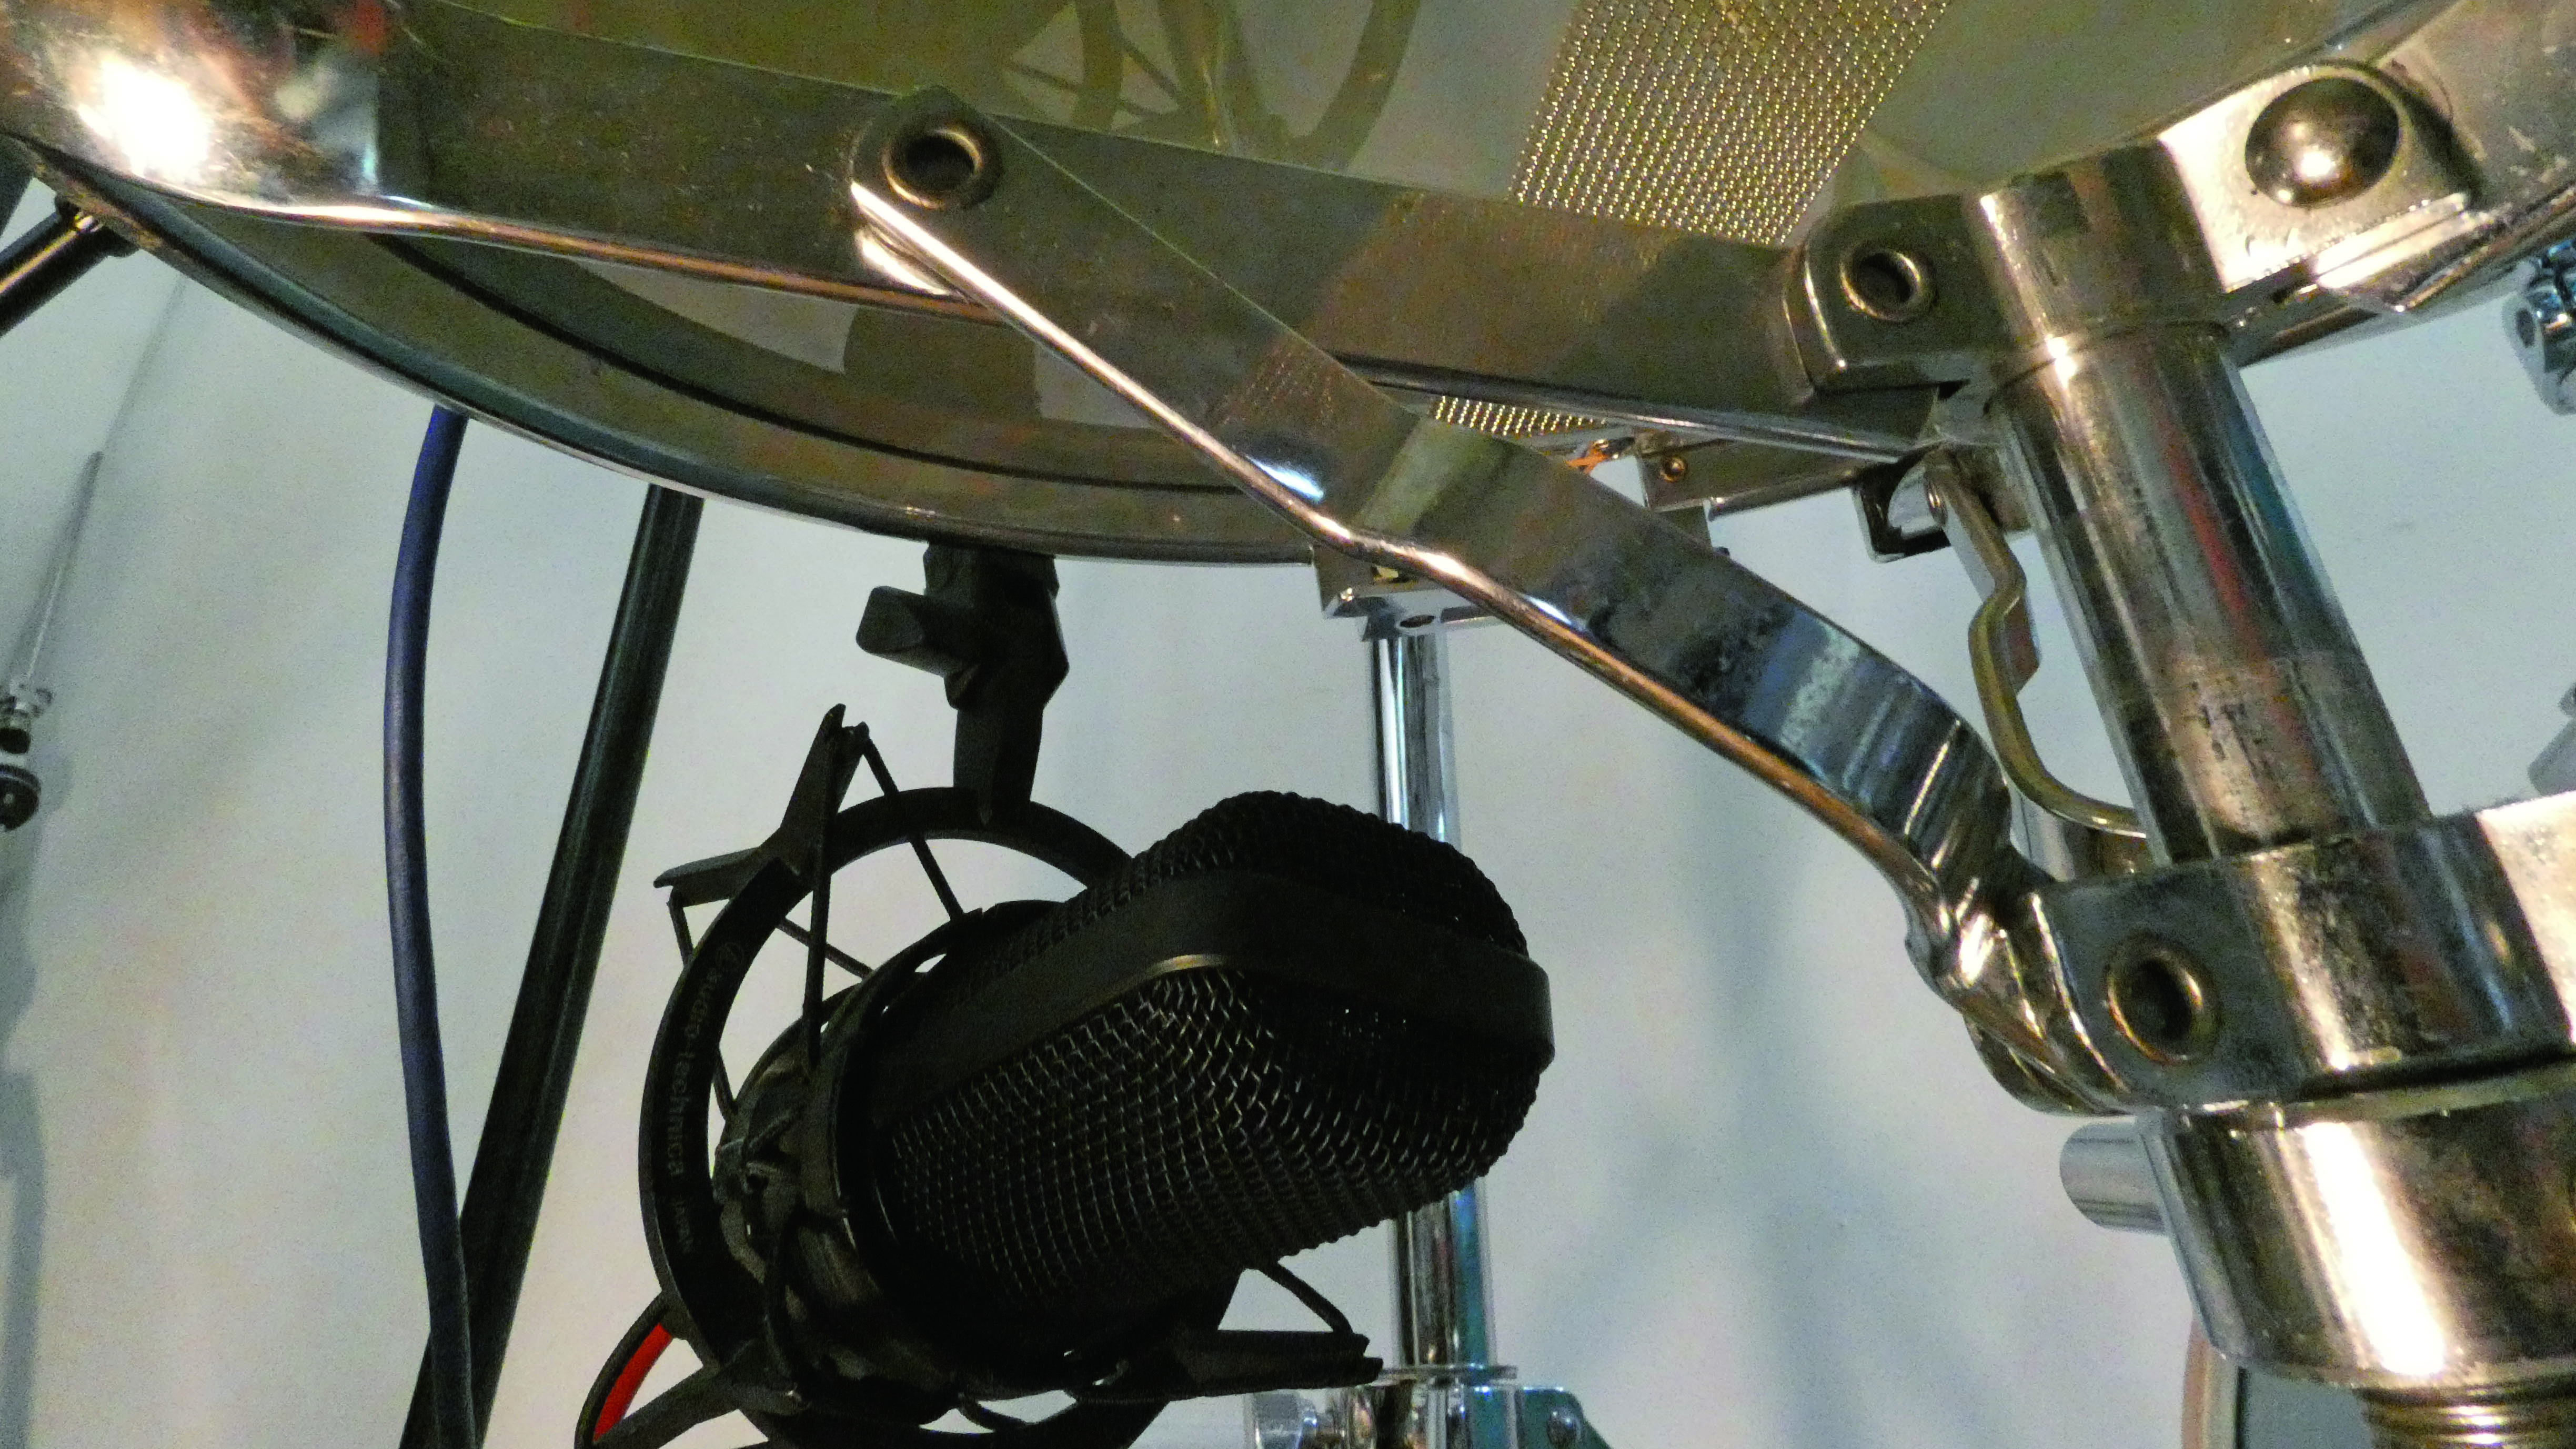
Step 1: One of the simplest and most common uses of multi-miking technique is recording the snare drum. The idea behind using two mics is to capture the ‘thwack’ of the top (batter) head and the crack and buzz of the bottom (snare) head.
Blended, these together provide you with a much brighter, crisper sound than just a single mic on the top head.

Step 2: Position the top mic a few centimetres above the rim, pointing towards the centre of the head. Common dynamic choices include the cardioid Shure SM57 and hypercardioid Beyerdynamic M201.
Position the bottom mic 10cm below the drum, pointing at the snare. Here, we’re using a condenser. If your mic has a level pad (-10dB or -20dB), switch it on.

Step 3: We’ve already touched on the subject of comb filtering with multiple mics, and miking a snare drum from opposite sides can easily cause this. Try inverting the phase of one mic to see if it delivers a more punchy end result.
Computer Music magazine is the world’s best selling publication dedicated solely to making great music with your Mac or PC computer. Each issue it brings its lucky readers the best in cutting-edge tutorials, need-to-know, expert software reviews and even all the tools you actually need to make great music today, courtesy of our legendary CM Plugin Suite.


