How to record and mix bass guitar in your DAW
If you want to get the feel and vibe of bass guitar into your productions, nothing beats the real thing
Featuring four fat, chunky strings tuned to the notes E, A, D and G, the electric bass guitar came to the fore in the '60s, backing up Motown hits and pop/rock tracks alike. Successive decades brought bouncing disco octaves, rumbling dub subs, machine-gun slap bass, and more.
Today’s bass guitar vocabulary draws on pretty much the entire history of the instrument. Borrowing from the past, you have the retro vibes of Mark Ronson feat. Bruno Mars’ Uptown Funk and Daft Punk’s Random Access Memories. But looking to the future, we find the clanking, machine-like bass of modern metal acts, often utilising five-string (or more) guitars for extended range, and even fanned-fret, multiscale designs to deliver stability at ultra-deep tunings.
You can get all these sounds and more in your own productions, and there are two ways to go about it. First, and most obviously: record a real bassist. Alternatively, use a ROMpler, bass guitar synth or sample pack.
For recording, plug into your audio interface’s high-impedance instrument input - nearly all interfaces have one. If yours doesn’t, use a DI/preamp to plug into a microphone input.
The instrument should be fitted with suitable (new) strings. The main varieties are flatwound (smooth, old-school sound), nickel roundwound (classic, all-round tone), and steel roundwound (bright and punchy). The action (string height from the frets) affects playability and sound: high action gives purer tones and greater dynamics; low action gives a percussive attack and natural ‘distortion’ as the strings buzz against the frets. Most basses have two pickups that can be combined and further shaped with the tone controls.
Most important is the playing itself. Areas to focus on for recording are consistent right-hand dynamics, and using the hands to mute strings that aren’t being played, to prevent background ringing. How the strings are plucked massively affects tone too, as demonstrated in the below tutorial.
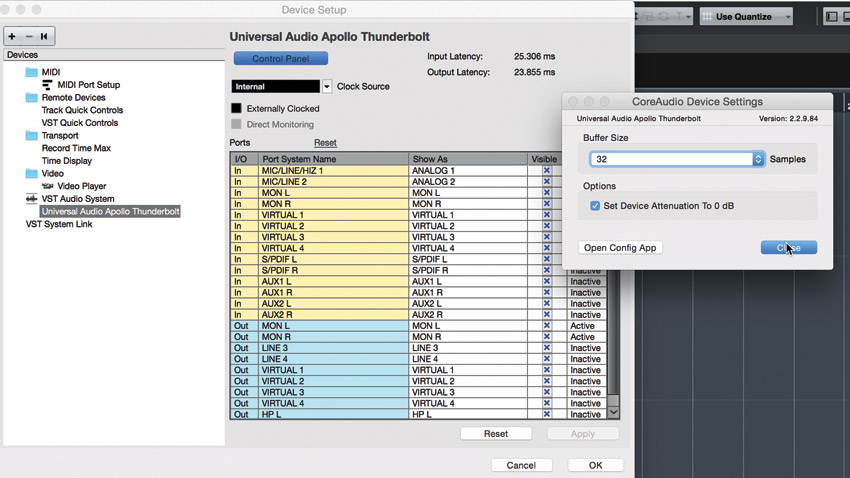
Step 1: When recording, the bassist must be able to hear (or ‘monitor’) themself through a basic recording chain. So, set your audio interface’s buffer size as low as it’ll go without the sound glitching - this minimises the time between striking the strings and hearing the note coming back through the speakers/headphones, known as latency. Low latency is essential to achieving tight recordings.
Get the MusicRadar Newsletter
Want all the hottest music and gear news, reviews, deals, features and more, direct to your inbox? Sign up here.
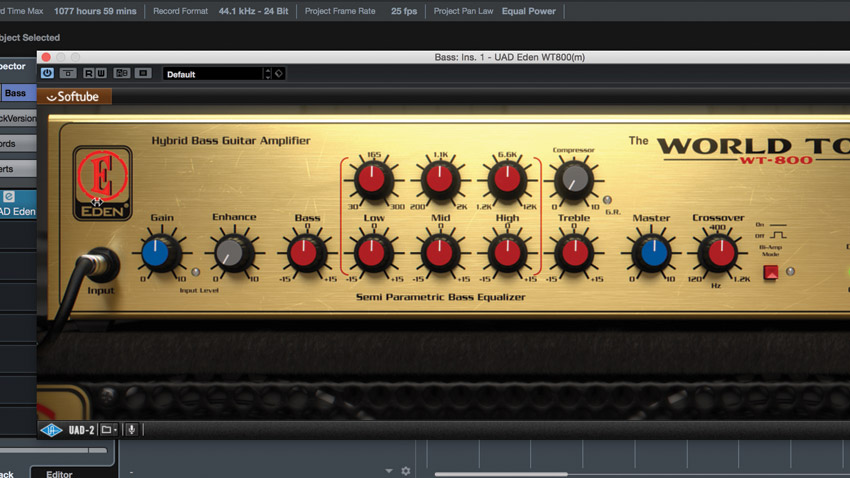
Step 2: Adjust the input gain to get around 6dB of headroom on the loudest parts, ensuring a healthy signal level without clipping. On the track you’re recording to, enable the monitor option, and add a bass amp simulation plugin so that the bassist hears an inspiring ‘amped’ tone. Alternatively, use an audio interface with low-latency monitoring and effects built-in, such as Universal Audio’s Apollo series.
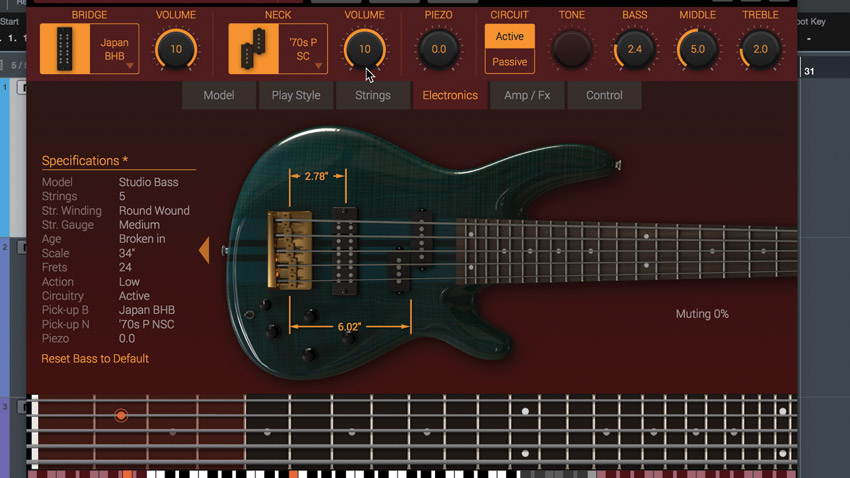
Step 3: Make test recordings of pickup combinations and right-hand plucking techniques to discover which fits the track. If you’re using a virtual bass solution, you might think this step doesn’t apply, but many feature playing articulations and switchable gear setups - IK Multimedia’s Modo Bass lets you experiment with playing styles, hand position, strings, pickup types, and even pickup position.
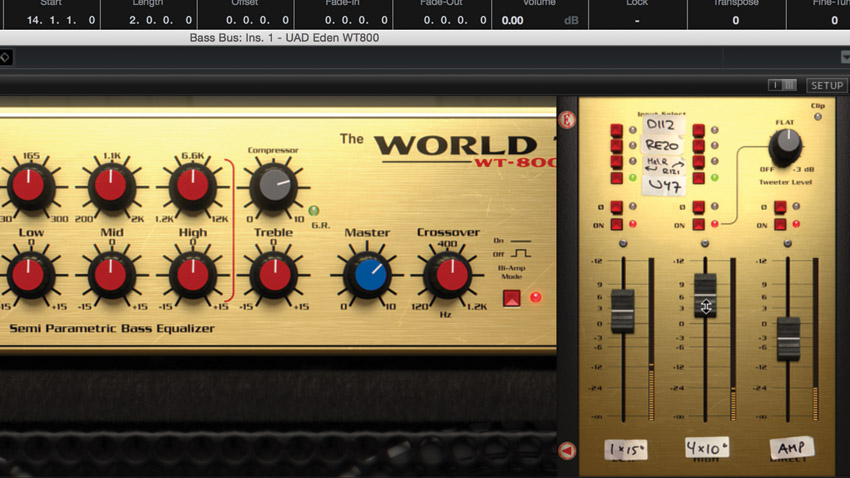
Step 4: Once you’ve recorded or programmed your bass parts, you can dial in the virtual amp settings for real. Increase the gain for a growlier sound, use built-in compression to even out volume variations. Speaker cabinets and mic setup can have a huge tonal impact, so these should ideally be decided upon before using the EQ controls to balance the sound.
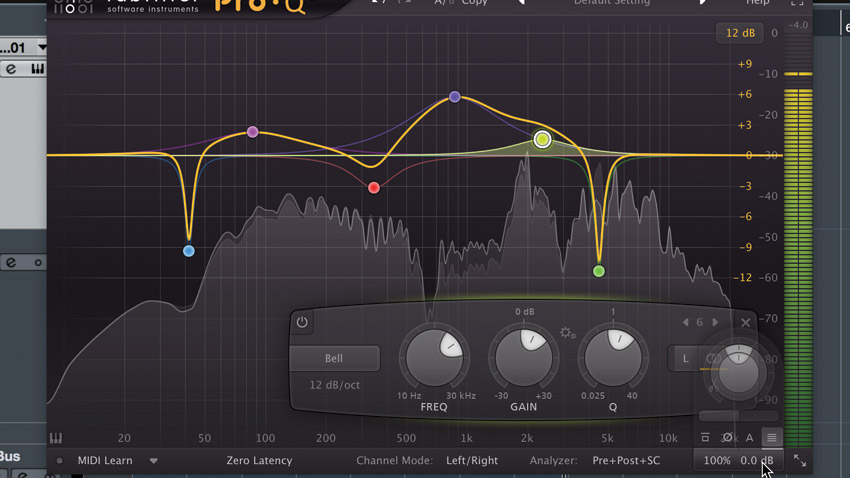
Step 5: Place an EQ plugin after the amp sim. Use high-Q cuts to tame resonances such as overly boomy bass frequencies or high-pitched metallic ringing. Also, try cutting the kick’s main frequency from the bass, to sit the two together. For general shaping, cut/boost 80-100Hz for weight; 300-500Hz for muddiness; 800-1000Hz for clarity; and 2-3kHz for attack.
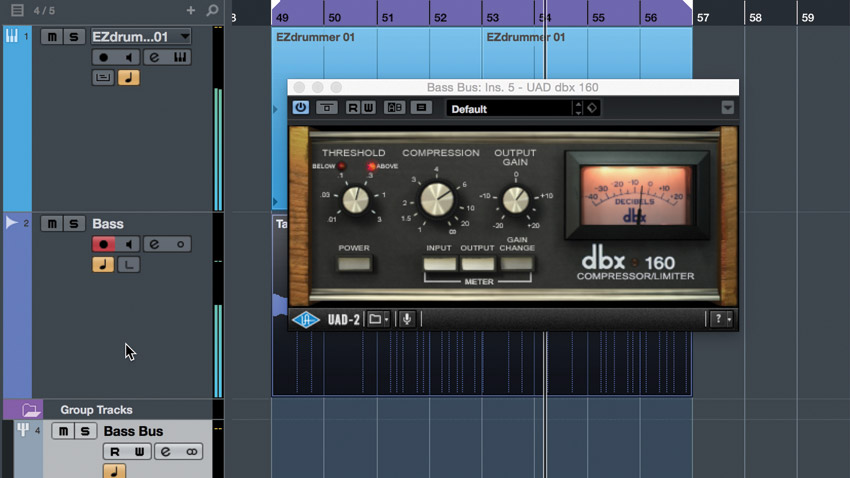
Step 6: Next, add a compressor with a strong Ratio of at least 4:1, and moderately fast Attack and Release times. As a starting point, set the Threshold so that you get 3dB of gain reduction. Try different compressor types to see what suits your music. Use opto compression to retain low-end fatness; FET for grit and fast response; and VCA for punchy aggression.
MusicRadar's Mixing week is brought to you in association with Softube. Check out the Mixing week hub page for more mixing tutorials and tips.
Computer Music magazine is the world’s best selling publication dedicated solely to making great music with your Mac or PC computer. Each issue it brings its lucky readers the best in cutting-edge tutorials, need-to-know, expert software reviews and even all the tools you actually need to make great music today, courtesy of our legendary CM Plugin Suite.


