How to record and edit raw waves for multisampling
Turn your real-world instruments into virtual ones - in a manner of speaking - with our guide
RECORDING WEEK: If you’ve been at this music-making game for any time at all, then you’re likely already aware that there are loads of virtual analogue synths on the market. Yet there are many for whom an imitation simply won’t do. It’s got to be the real deal or nothing.
If you’re lucky, you might have one or two actual vintage analogue synths around - or know somebody who does. If the latter, you may be able to make use of a decent sampler to realise your analogue dreams, assuming your chum will allow you to spend a couple of hours with the object of your desire. If not, there may be a retailer who'll rent out some tasty vintage (or at least analogue) synths for a price. A single day with such an instrument can provide a wealth of samples with which you can build your own virtual synths.
Ah, but aren’t samples too static to convincingly stand in for the real thing? This can indeed be true, particularly when dealing with some of the phrase and loop-based samplers on the market these days. But with a good old-fashioned multisampler, you can achieve astonishing realism.
You see, a multisampler will allow you to combine multiple samples of the same sound at different pitches and velocities in order to better recreate what the original instrument sounded like. This minimises some of the undesirable artefacts associated with samplers. The more samples you use, the more faithful the reproduction. Let's do it…

Step 1: There are a few options for automating the sampling process, including Apple’s Mainstage and Skylife’s SampleRobot. However, good old-fashioned manual labour still gets the job done nicely. Here, we’ve got an original Model D Minimoog upon which we’ve done what comes naturally - created a big, fat bass patch using all three oscillators.

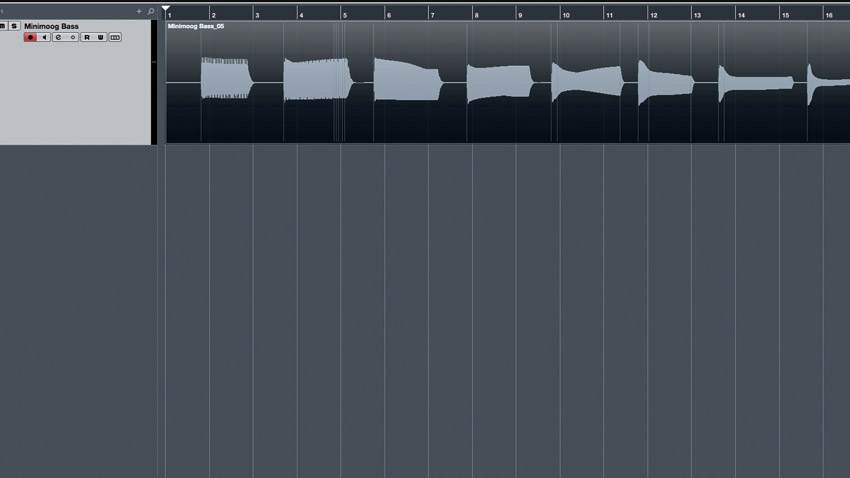
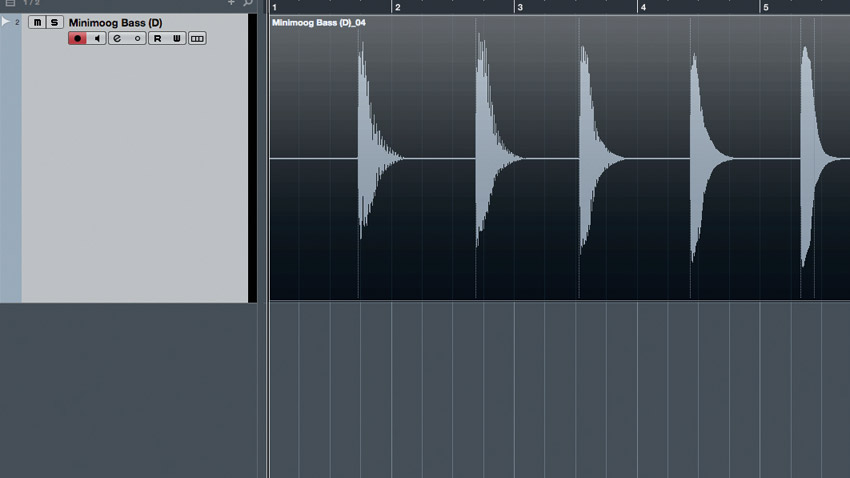
Step 2: Next, we patch our Minimoog through a lovely tube pre-amp. We then open our DAW and create a mono track onto which we record the Minimoog. You can use your own DAW of choice or an audio editor - whichever suits. We track each C and F# into Cubase. That ought to be enough for a decent reproduction.

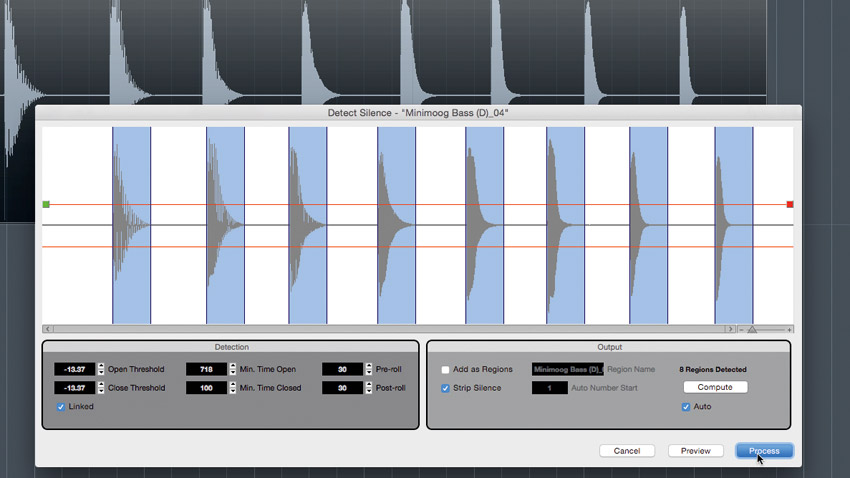
Step 3: If your DAW or editor has a ‘detect silence’ function, put it to use, as it will make quick work of chopping your recording into the individual notes. Even so, you may still need to zoom in and remove any bits of silence. Once done, you can normalise and export them individually. Include the note names or numbers in the file names.
Get the MusicRadar Newsletter
Want all the hottest music and gear news, reviews, deals, features and more, direct to your inbox? Sign up here.

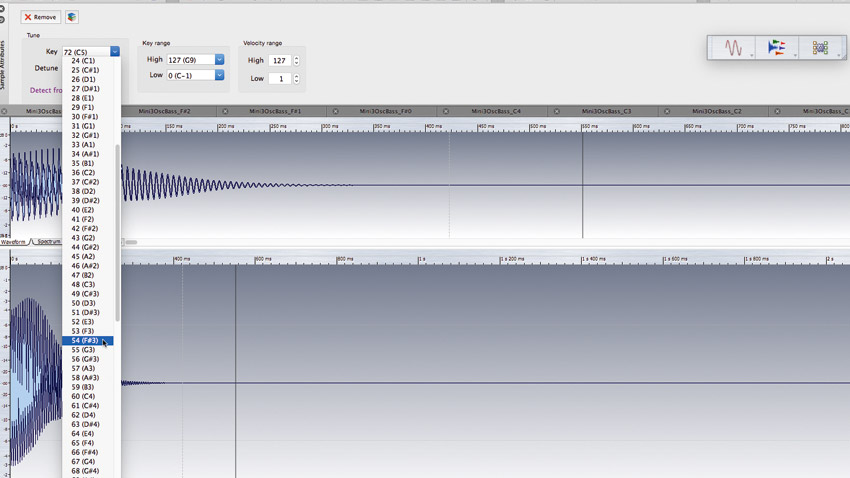
Step 4: If you’ve trimmed your samples properly, you’re ready to go. This sound doesn’t need looping and can be loaded into your favourite sampler as-is, but to make things easier - especially if you want to share your samples with others - it might be wise to embed each file with the note number associated with it, as we’re doing here in WaveLab.
Recording Week is brought to you in association with Universal Audio. Check out the Recording Week hub page for more tips and tutorials.
Computer Music magazine is the world’s best selling publication dedicated solely to making great music with your Mac or PC computer. Each issue it brings its lucky readers the best in cutting-edge tutorials, need-to-know, expert software reviews and even all the tools you actually need to make great music today, courtesy of our legendary CM Plugin Suite.


