How to record an electric guitar amp
Top tips on mic placement and technique
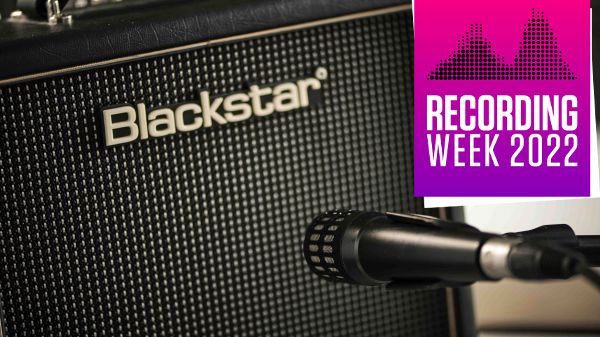
RECORDING WEEK 2022: While many of us will record our electric guitars straight into a DAW and use guitar amp and effects modelling to create the sounds we want, there’s just something about recording a proper guitar amp in a live room, particularly a full-fat valve amp.
As with recording an acoustic, however, mic’ing up an amp is a process that requires a bit of knowledge, and a fair bit of trail and error to get the ideal sound. Here’s how to set your amp up for recording, and get your mics set up to capture that sound in the best possible way.
Getting record ready
Start with your guitar
A great guitar sound starts at the business end of your signal path. With your guitar set up with fresh strings that are played in, you’ve got the first link in the chain sorted.
Get your sound
Before you get started with microphones, fine-tune your pedal and amp settings to get them the best they can be to your ears in the room.
Try moving your amp to different positions in the room – or even a different room if possible – and see where it sounds best. Set your drive, EQ and overall level to a place where you feel comfortable, then move on to the mic.
Speaker easy
The position of your mic in relation to your speaker can radically change the sound
As we just mentioned, if you’re getting a great sound in the room, the only job the mic has to do is capture it. But the position of your mic in relation to your speaker can radically change the sound.
Put simply, depending on where you position the mic, you can change the sound it’s capturing from bright to dark. The brightest tone is found dead-centre of the speaker – right on the dust cap. As you move the microphone to the edge of the speaker, you’ll find the sound gets progressively darker.
Get the MusicRadar Newsletter
Want all the hottest music and gear news, reviews, deals, features and more, direct to your inbox? Sign up here.
Distance will also play a key role in your resulting tone – placing the mic very close to the speaker will capture the amp’s sound in detail, with a lot of attack and definition. With this type of setup you’re recording the sound of the speaker, with hardly any room sound.
The further you move the microphone away from the speaker, the more you’ll capture the room reflections, adding ambience and depth to your sound.
The examples on the following pages also illustrate how multiple mics can affect tone.
1. Close-mic'ing
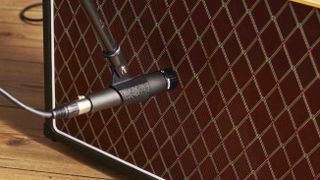
Positioning your mic close to the speaker is the easiest, cleanest and most convenient way of recording your guitar.
A dynamic mic will handle the high SPL of your cab, so you can place it as close as you can physically get it. Start in the centre of the speaker cone, and move it towards the edge of the speaker.
It’s worth enlisting the help of a bandmate at this point to monitor the sound the mic is picking up through headphones against the sound in the room. If you’re recording alone, do this yourself – it’ll just take a bit longer.
Once you’ve found the right position for tonality, try moving the mic back/towards the speaker and listen to how it changes the timbre of the sound. When you’re ready, hit record!
Difficulty: Easy
You will need: Guitar amp, dynamic microphone, one microphone input, one track
2. Ambient mic'ing
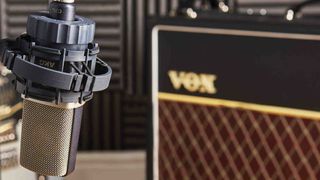
For some styles of music – or just personal taste – you may prefer to capture the sound of your amp in a more natural, ambient way. Ambient mic’ing will capture more of the sound reflections in the room, as well as the amp, and can really help your guitar to sit in the mix well later.
Move the mic further from the amp to record a more distant, roomier sound, and closer to the amp to capture less ambience
Because you’ll be placing the mic further from the source, we’d recommend using a condenser mic; the extra sensitivity and frequency response will keep your sound full, even at a longer distance.
Start with your microphone about a foot (30cm) away from the grille. As with close mic’ing, the tonality of your captured sound will change, depending on which part of the speaker you aim the mic at – however bear in mind that this effect will be lessened the further you get from the speaker.
The rule here is simple: move it further from the amp to record a more distant, roomier sound, and closer to the amp to capture less ambience.
Difficulty: Easy
You will need: Guitar amp, condenser microphone, one microphone input, one track
3. Close/ambient blend
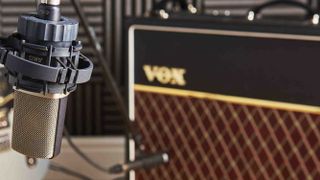
This is a mix of the two previous methods. Using a blend of close and ambient mic positions gives you two things: the best of both worlds in terms of maximum attack, and spacial effect from each position, plus the ability to balance these sounds in your final mix.
Get started by replicating both setups we’ve already looked at. At this point, we should mention phase. Much like your phaser pedal, phase between two mics will carve out a hole in your sound. With two mics in fixed positions, the phase will be at a set frequency. It can be used to make your sound fuller or thinner, depending on which frequencies are affected.
Phase is pretty much unavoidable, but it can be minimised using the 3:1 rule
Phase is pretty much unavoidable, but it can be minimised using the 3:1 rule. The idea is that your second mic should be positioned three times the distance from the source (your amp) as the first (close) mic.
Ultimately, though, you shouldn’t let this worry you too much. You’re not going to break anything. Use your ears, listen to the two mics together, and if it sounds good, it is good!
Difficulty: Moderate
You will need: Dynamic microphone, condenser microphone, two microphone inputs on your interface, two separate tracks to record
Track-tricks
Some top tips to make recording amps easier
Mark your spot
Once you’ve found your ideal mic placement, mark the amp with tape or chalk so you can find it again if the mic gets knocked or moved.
Cone home
Not sure where the speaker starts or finishes? Take a look around the back if your cabinet is open-back or shine a torch through the grille to see its outline.
Use small amps
Getting a great amp sound from a valve amp means cranking it up. Do this with a 100-watt stack and you’ll end up with sirens on your recording! Instead, try a low-wattage amp to minimise the volume, and give a more usable result.
Gain killer
Careful with that gain knob. When you’re recording, it’s easy to go overboard with the drive, but when you stack up layers of distorted guitars, it gets messy. Get the gain to your usual level, then back it off a notch.
Double up!
A classic guitar recording trick is to double your track with an identical part. Play as tightly as you can, pan them left and right, and bang… instant huge tone. For an added twist, try changing your gain, EQ, pickup settings or even guitar on one of the parts.
The voicing
One of the best ways of adding thickness to double-tracked guitar parts is to use different voicings of the same chord. Try playing one part as open chords, and then switch to barres for the next track. It will instantly sound richer!
Dare to DI
Recording a DI’d clean version of your part straight from your guitar is the ultimate safety net. You’ll be able to re-amp your part later either live or with a modeller, or simply have a backup if anything goes wrong with your amp track.
Don't Miss
Total Guitar is Europe's best-selling guitar magazine.
Every month we feature interviews with the biggest names and hottest new acts in guitar land, plus Guest Lessons from the stars.
Finally, our Rocked & Rated section is the place to go for reviews, round-ups and help setting up your guitars and gear.
Subscribe: http://bit.ly/totalguitar
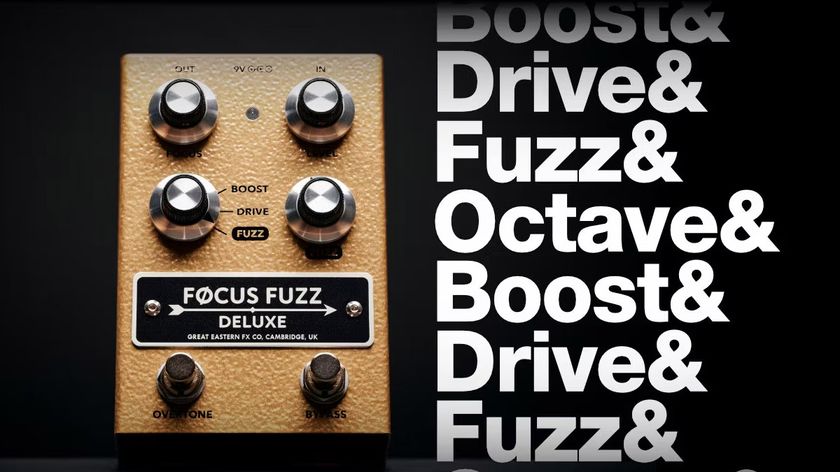
“This golden gain machine covers the entire spectrum from gritty boost through to full-on fuzz”: Great Eastern FX’s Focus Fuzz Deluxe has got boost, drive, octave, fuzz... everything going on
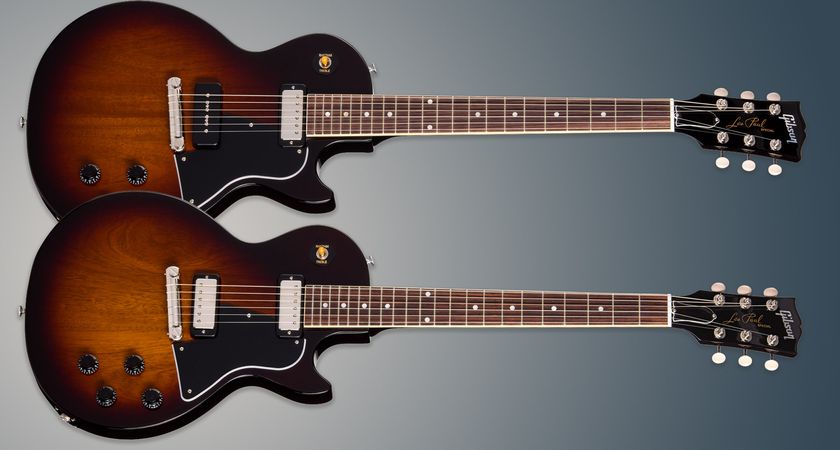
“The mini humbucker fits into the same sized pickup cavity as a P-90 and delivers low-noise humbucking pickup performance and a slightly brighter and more open tone”: Gibson remixes the Les Paul Special with mini humbuckers

