How to program a Prophet-5-style synth
Relive the groundbreaking sounds of Dave Smith’s awesome early synth in this emulation workshop
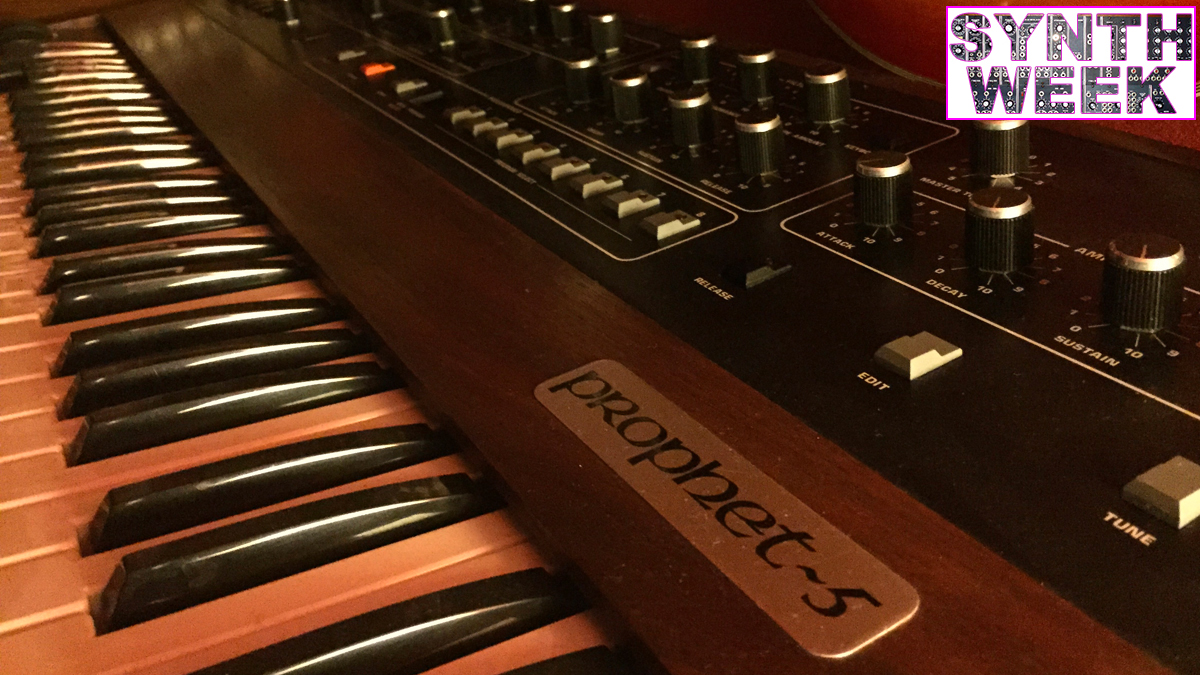
SYNTH WEEK: In 1977, Sequential Circuits' Dave Smith pondered and ultimately fixed the two main problems that plagued synthesizers of the day: polyphony and programmability.
The first was solved when Smith struck a deal with E-mu’s Dave Rossum, whose polyphonic keyboard design skills were acquired in exchange for future royalties. Smith had already made inroads into programmability with his Model 700 Programmer, an add-on accessory that allowed partial parameter recall of an attached analogue synthesiser.
The results of these endeavours eventually came in the form of a programmable polyphonic synth called - in suitably 70s style - the ‘Prophet’. The ‘-5’ was added to denote the number of voices it could play (chosen because it would stand out from the popular evenly-voiced Oberheim polyphonic synths on the market).
Shown to the enthusiastic attendees of the 1978 NAMM show, the Prophet-5 went immediately into backorder. MIDI, which had been developed and given a substantial push by none other than Dave Smith, was just around the corner, and the final revision of the synth (Rev 3.3) came with MIDI installed, making it a formidable tool even in today’s modern computer-based studios.
Often mistakenly described as akin to a polyphonic Minimoog, the Prophet bears a closer resemblance to a five-voice ARP Odyssey, being similarly outfitted with dual oscillators, an LFO, sample+hold and dual ADSR envelope generators. Like the Oddy, the oscillators can be synced for those classic, nasal leads. More interesting is the Poly-Mod section, which allows the user to modulate the 24dB filter as well as frequency and pulse width of Oscillator A with the filter envelope or pitch of Oscillator B (which itself can be detached from keyboard control). It may not seem much today, but back then the power of the Poly-Mod section was enthusiastically received, to say the least.
The Prophet-5 was a true success story for Sequential and the company shifted 8000 of them during a lengthy production run spanning from 1978 to 1984. It was eventually mothballed in favour of the Prophet-600, the first synth to be designed with the then-new MIDI protocol. Alas, the Prophet-600, while now sought after, was designed to meet a price point, shaving off some of the Prophet-5’s best features and replacing its chunky, high quality hardware with membrane switches and cheaper panel hardware.
Happily, though, the Prophet-5 lives on in software form thanks to the likes of Arturia's superb Prophet-V emulation. Let's take a look - you'll find audio examples at the bottom of the page.
Get the MusicRadar Newsletter
Want all the hottest music and gear news, reviews, deals, features and more, direct to your inbox? Sign up here.
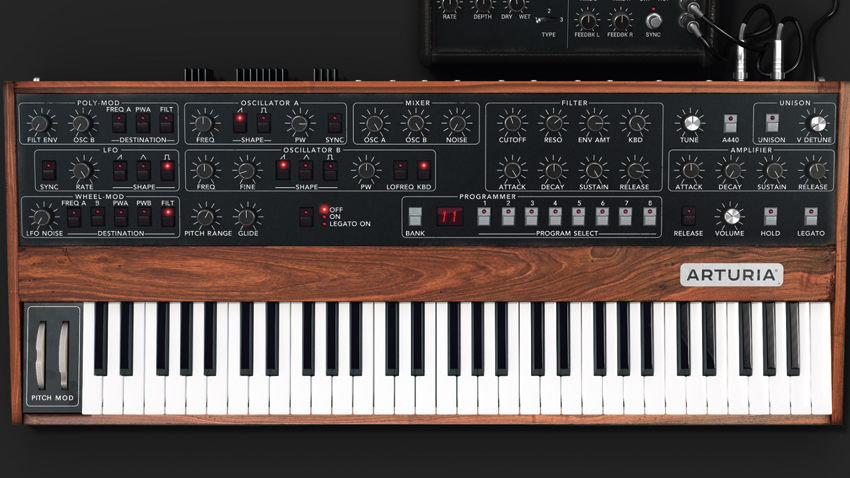
Step 1: We're using Arturia’s bang-on clone, the Prophet V3, but many of the Prophet-5’s features are now familiar, thanks to the influence its design has had on modern instruments, so nearly everything we see can be applied to almost any analogue polysynth. Here, we’ve instantiated the Prophet V, making sure that the 5 tab is selected in the upper-right.
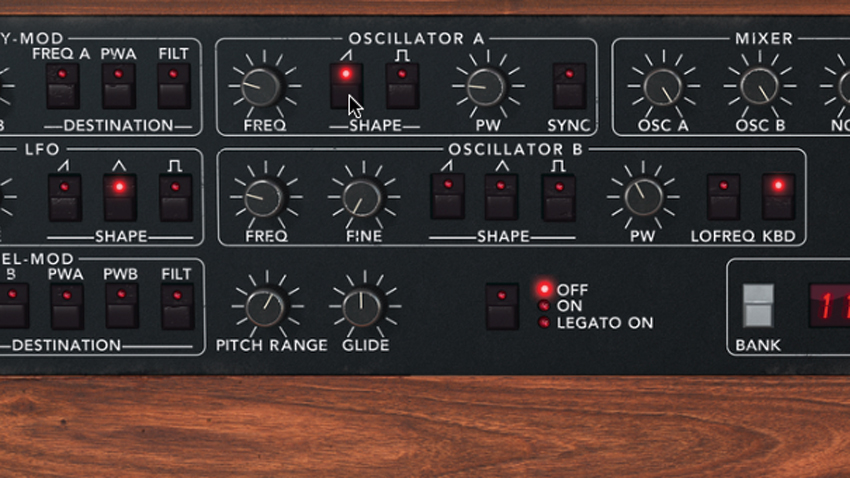
Step 2: The default patch is heavily processed, but we want to start from scratch. We’ve created an ‘INIT’ patch that can be imported into the Prophet V3 using the Import command (found by clicking the Prophet V tab at the upper-left). Once imported, it’ll be available among the Template patches found by clicking the third tab from the left. Our INIT patch makes no sound at all. Click Oscillator A’s sawtooth button.
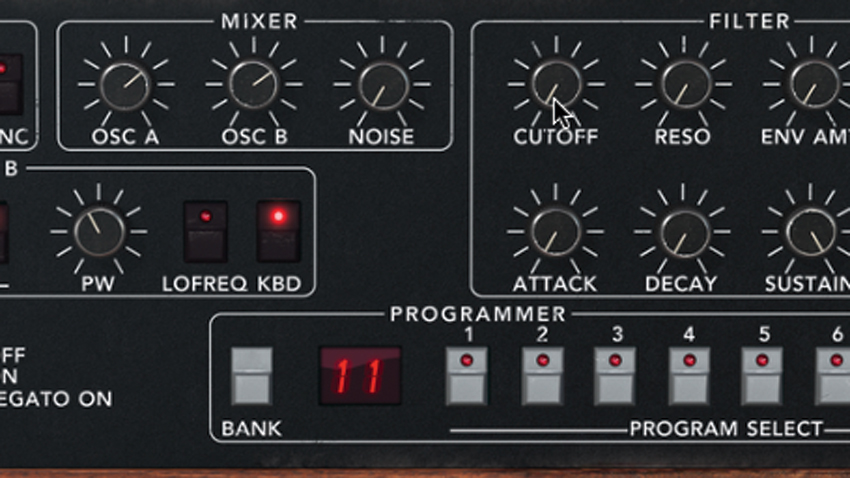
Step 3: The resulting sound isn’t terribly exciting, but is, nonetheless, very, very analogue. Activate Oscillator B’s pulse wave. It’s loud, so go to the Mixer section in the top-middle of the Prophet’s panel and reduce the volume of both oscillators. While you’re at it, kick up the Noise, just to give it a listen, then bring it back down again. Now, turning to the filter section, slowly reduce the filter Cutoff while holding a note.
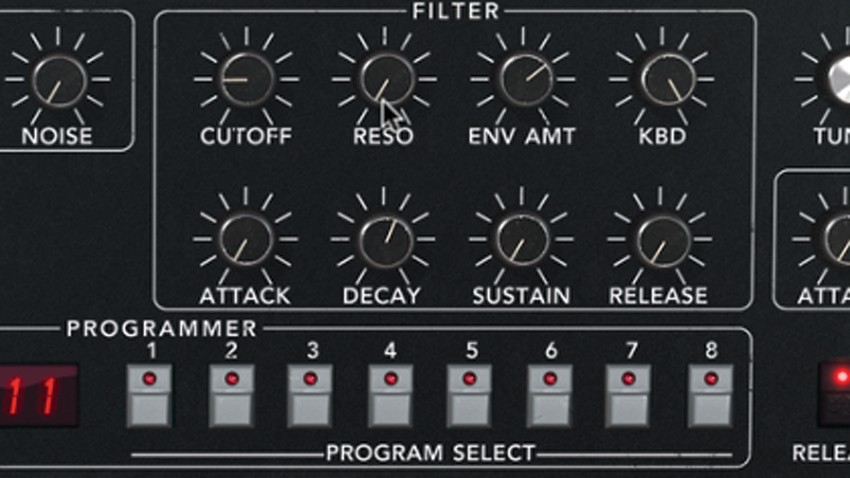
Step 4: Set the Cutoff to 9 o’clock and crank the Resonance up to about 2 o’clock. Check out the effect of the Filter Envelope by setting the Env Amt knob to around 2 o’clock. Looking to the Filter Envelope, crank its Sustain down to 0 and Decay to 1 o’clock. We can hear the characteristic zap of the filter being rapidly swept by the envelope. Turn the Resonance back down and we'll move on.
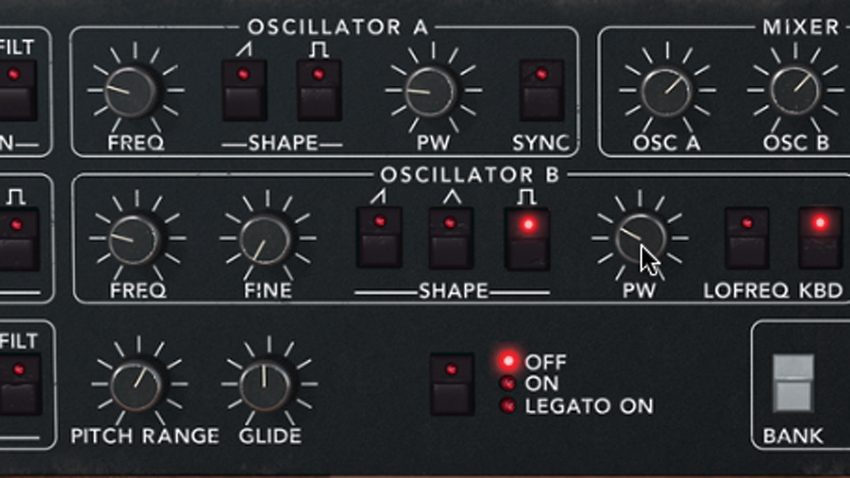
Step 5: Set the Filter Envelope’s Sustain to 12 o’clock to better hear those rich analogue oscillators. Adjust the oscillator levels in the Mixer section if you need to. Now, go back to Oscillator A and deactivate the sawtooth wave, so that we’re only hearing Oscillator B. Play while sweeping the PW (Pulse Width) knob. Once you’ve got an idea of how it sounds, set the PW knob to around 10 o’clock.
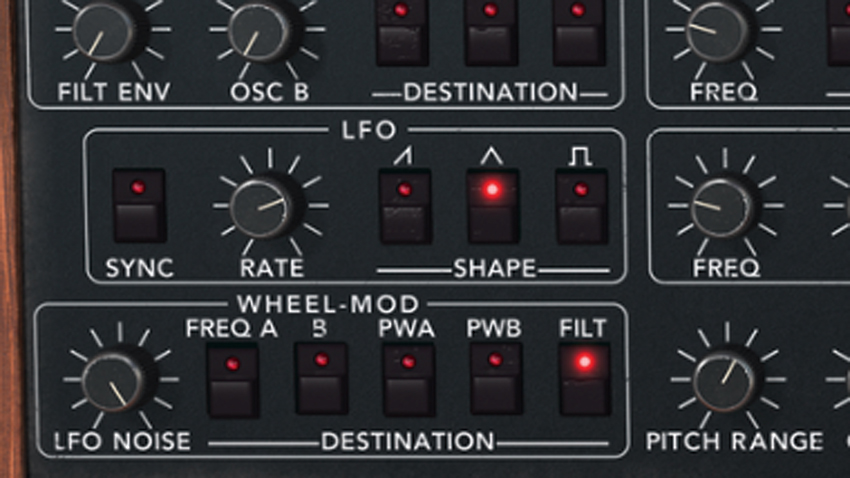
Step 6: Go to the Wheel-Mod section in the lower-left. Click the B button to allow the pitch of Osc B to be modulated by the LFO when you move the mod wheel. Take a look at the knob in the Wheel-Mod section. Turn it fully to Noise. Deactivate the A button and click the Filt button. Play a note and move the wheel to hear noise as a mod source. Nice work.
Synth Week is brought to you in association with Novation. For more tutorials, tips and features, check out the Synth Week hub page.
Computer Music magazine is the world’s best selling publication dedicated solely to making great music with your Mac or PC computer. Each issue it brings its lucky readers the best in cutting-edge tutorials, need-to-know, expert software reviews and even all the tools you actually need to make great music today, courtesy of our legendary CM Plugin Suite.


