How to program a bassline house synth patch
Create a bassline house synth patch with Thorn CM
To help you get your bassline game on point, we've enlisted the help of a few experts who draw upon years of practical knowledge to build a weighty house banger, then deconstruct every element with the goal of teaching you everything you need to know to produce this unique genre.
Read on to learn how to create bassline house synth patch using Thorn Music CM. All samples used in this tutorial are available to download now.
In case you missed it, here's how to build a bassline house beat.
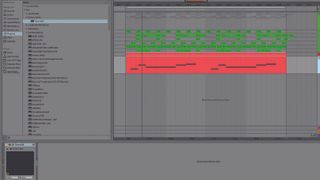
Step 1: We can use Dmitry Sches’ awesome Thorn CM to create a piercing midrange synth patch that’ll work well in bassline house, DnB and other styles. Start by importing Drums.wav in a blank 128bpm project. Add Thorn CM to a new MIDI channel, then drop Bass.mid onto the channel to trigger the synth. Let’s start with Oscillator 1…
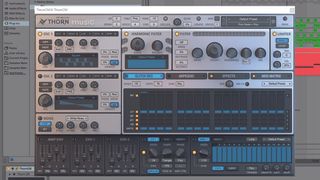
Step 2: Change the Oscillator wave to Square, then move the Position to 50%. This gives the square wave extra harmonics and a more pitched-up sound. Next, change the oscillator FX type to Sync. Tweaking the amount instantly gives us a ringing synth tone that’ll be the basis of our patch. Next, let’s add some weight using Oscillator 2…
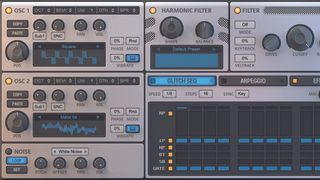
Step 3: Switch on Oscillator 2, then set the waveform to Metal 04. Adjusting the oscillator Position changes the waveform shape – we set this to 50%. Switch the oscillator FX type to Sync, then turn the Sub and Sync amounts up to 30% to give the patch a fuller, deeper sound. Next, we’ll use a filter and envelope to sculpt the patch further.
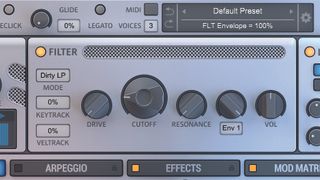
Step 4: Set the Filter mode to Dirty LP, then turn the Cutoff to around 80Hz. Push the Env 1 dial to 100%, so that Envelope 1 modulates the filter cutoff. Setting a fast Attack and Sustain of 10% with a slower Decay of 50% and 0% Release modulates the Cutoff amount, giving us that familiar, tightly-controlled bassline house lead sound.
Get the MusicRadar Newsletter
Want all the hottest music and gear news, reviews, deals, features and more, direct to your inbox? Sign up here.
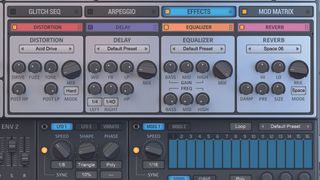
Step 5: Effects will give the sound more flavour. We’ll add a +6dB boost at 800Hz using Thorn CM’s Equalizer for extra midrange aggression. The Reverb >> Space 06 preset adds extra stereo width (with a 20% wet/dry mix), while Acid Drive distortion grunges up the sound even more. Pull the master Volume down to around 22% to compensate.
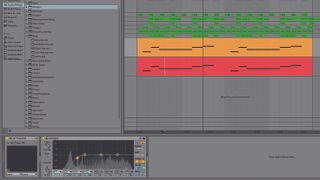
Step 6: To finish, we’ll layer a powerful sub bass underneath our midrange synth patch. Duplicate the Bass channel, then open Thorn CM on the duplicate and select the Bass >> Sub Power preset. Turn down the sub by -9dB to avoid swamping the mix, then high-pass the previous midrange bass below 100Hz to make space for the new sub bass.
Computer Music magazine is the world’s best selling publication dedicated solely to making great music with your Mac or PC computer. Each issue it brings its lucky readers the best in cutting-edge tutorials, need-to-know, expert software reviews and even all the tools you actually need to make great music today, courtesy of our legendary CM Plugin Suite.

"If I wasn't recording albums every month, multiple albums, and I wasn't playing on everyone's songs, I wouldn't need any of this”: Travis Barker reveals his production tricks and gear in a new studio tour

“My management and agent have always tried to cover my back on the road”: Neil Young just axed premium gig tickets following advice from The Cure’s Robert Smith


