How to make music on an old computer: 4 things you need to consider
Tune an older system for music production, and choose the right DAW, plugins, OS and settings to keep it running smoothly

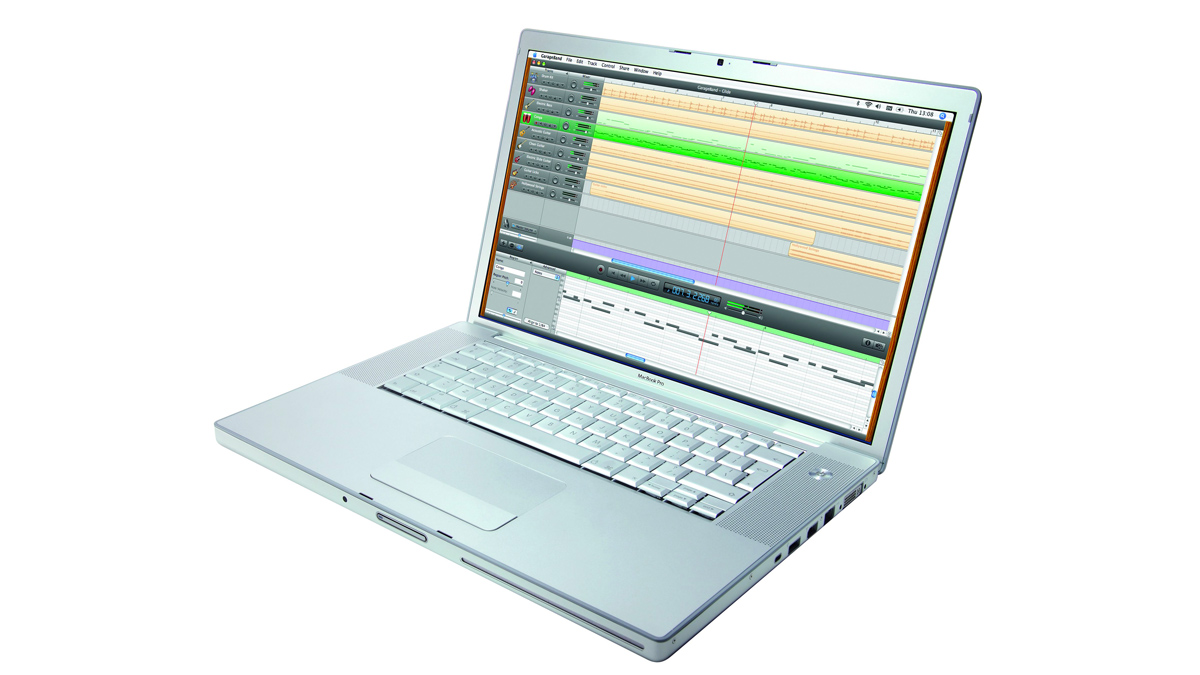
If you want to start making music on a computer - or return to it after a break - you might think that you’ll need to invest in a new PC or Mac right away. However, it might just be that you can get by with the laptop or desktop machine that’s sitting in your house right now.
Back in the day, buying a new computer would bring you into a new dimension: everything ran much faster, much more smoothly, and your new machine wouldn’t even break a sweat performing tasks that made your old machine sputter.
• Want to upgrade? Here are the best laptops for music production
These days, technological innovation has slowed down, and you might not notice a huge difference in power when transitioning from a five-year-old computer to a new one. In fact, you might find a new machine even harder to use if you’re missing USB 2.0 ports, a decent keyboard, an headphone port or any other ‘obsolete’ elements.
No matter if you’re using a slightly dated 2015 MacBook Air or a 2008 netbook running Windows XP [props], then here are the things you need to consider if you want to use it to its fullest for music production…
1. Computer and DAW tweaks for better performance
Making music requires your computer to work quickly. Even if you don’t think you’re doing much, if your computer is burdened by other processes and can’t focus for long enough on what your DAW wants it to do, the result will be clicks and pops in your audio playback - annoying for playback and mixing, and awful for recording.
Your CPU doesn’t have to be maxed out for clicks and pops to be created (as we’ll see later), but throw too many instruments or effects at an old CPU, and it’ll hit its ceiling quite quickly.
Get the MusicRadar Newsletter
Want all the hottest music and gear news, reviews, deals, features and more, direct to your inbox? Sign up here.
One of the most helpful things you can do is increase your DAW’s buffer size in its preferences. This means that, although the same amount of CPU power will be required, the CPU gets more ‘breathing space’ to cope with processing audio alongside everything else it has to do. The exception is for those who want to record audio while monitoring it - for this, you’ll want to reduce the buffer size.
Understand how to find your DAW’s CPU meter. On an older machine, CPU will likely be your tightest resource, so you’ll need to keep an eye on how it works. To monitor your entire machine’s usage as a whole, Mac users can use Activity Monitor, and Windows users will find tabs for this in Task Manager.
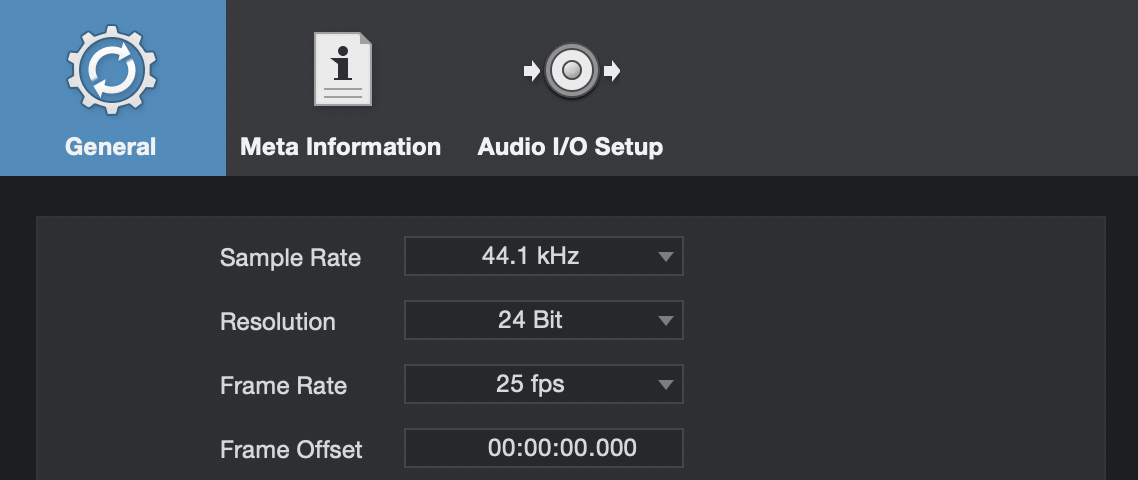
Reduce your project’s sample rate and bit depth if possible, giving your computer fewer samples per second to perform calculations on. Here, in Studio One 4, we can change the sample rate and bit depth in the Song Setup window, lowering it for mixing tasks, then raising it back up again when exporting.

Close as many other programs and processes as you can in order to reduce the burden on your machine as much as possible. When you’re working with limited resources, you want as many as possible to be used for audio processing tasks.
On very old computers, even the OS’s minor graphical display properties can make a difference. Although it doesn’t matter on semi-recent machines, you may want to disable graphic properties like smoothed fonts and window opening/closing animations.
2. Production habits for trimming CPU cycles
Run plugins as send effects rather than inserts where possible. Do you really need three separate reverbs for three tracks, or will one do for the moment?
There’s a huge variety of third-party plugins out there, and depending on the type, the age and the programming quality behind any, these have the potential to be a huge drain on your system. Use your DAW’s stock plugins if you need something that’s more efficient, and check how certain third-party plugins burden your system by comparing with and without them.
Some plugins allow you to increase or decrease the internal sample rate, trading off processing quality for performance. Here in Serum, for example, you can set the quality to 1x (Draft). You’ll want to return these options to high quality when you export audio, the only negative being that it’ll take longer.

Learn how your DAW can freeze or bounce tracks. Often, a Bounce in Place function will render an audio file with virtual instruments and effects baked in, and deactivate the original plugins (you can turn them on again if you want to make changes later).
If your DAW doesn’t have a dedicated freeze or bounce feature, you can simply render audio files using its normal audio export function and then re-import the files into your project. Even better, export audio files into a new version of your project, and retain the original project in case you need to go back and make changes.
Using synths? Try to run as few voices as possible (switch off the Unison function) in order to free up processing power. Switch off built-in effects if you can use effects on a bus elsewhere.
3. Choosing your OS and DAW
As computers became more powerful, operating systems rose to make use of those increases. Remember that the OS itself will take up CPU and RAM resources, leaving you with less to run your DAW and plugins. From this perspective, upgrading the OS of an old machine might hurt you more than help you.
But there’s another aspect here. Windows versions 7 and older (including XP and Vista) are no longer supported by Microsoft, so it’s unsafe to hook them up to the internet.
The best policy is to get hold of software that was current at the time of your machine coming to market.
And then there’s compatibility with modern-day DAWs. Although many recent DAWs are quite resource-light, their developers have to focus on supporting the most popularly used operating systems: recent ones. A brief search will turn up system requirements for most current DAWs, but you’d be lucky to find that they support anything older than Windows 8.
But current DAWs are, understandably, built for current machines. For those on older machines and operating systems, the best policy is to get hold of software that was current at the time of your machine coming to market - even if that means finding an old CD to install it from.
Unfortunately, this might require a lot of research into what features you’ll need based on what you intend to do - will you want to record audio, or to run sampled instruments, or add a lot of plugins?
4. Understand your RAM, CPU and real-time performance
Once you know what’s going on in the different parts of your computer, you may better understand how it serves your needs. Depending what type of music you’re making, those needs will be different.
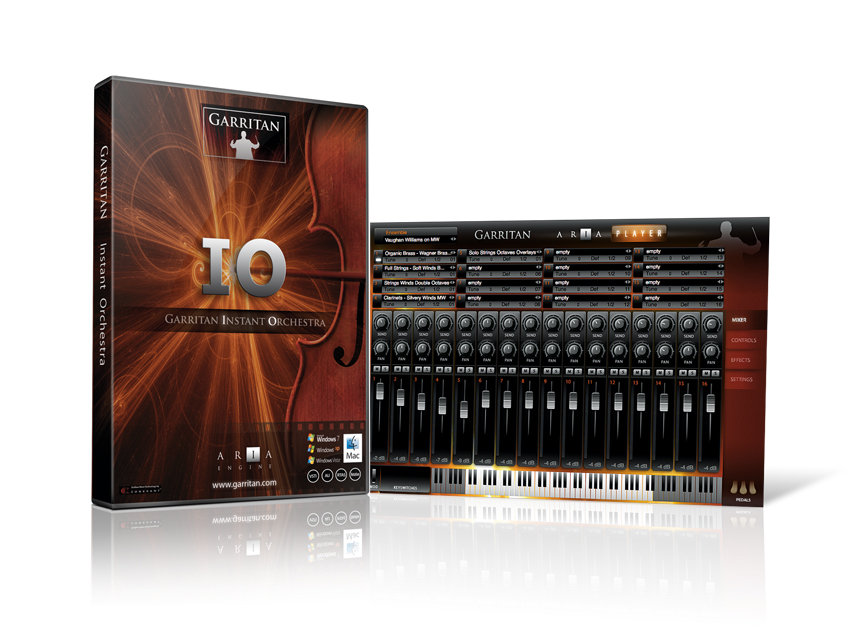
Virtual instruments and other sample-based sounds (including recorded audio) take up more space in your computer’s RAM, rather than its CPU. Anyone working with a virtual orchestra or recording a long session by a roomful of real musicians is going to need enough RAM to keep the project running.

On the other hand, a computer’s CPU tends to get hogged by anything that requires real-time processing. Devices like reverb and synth plugins can be particularly heavy in this regard, so you’ll want to prioritise the processor if you’re making electronic music.
Some software intentionally trades CPU demand for RAM. Analogue-emulating plugins, for example, often have a large file size in order to operate with less processing demand.
Your DAW’s CPU meter isn’t the only indicator that your audio capabilities are under stress. The video below is a great explanation of why clicks and pops can occur in your audio stream even when your CPU is mostly unburdened.

A former Production Editor of Computer Music and FutureMusic magazines, James has gone on to be a freelance writer and reviewer of music software since 2018, and has also written for many of the biggest brands in music software. His specialties include mixing techniques, DAWs, acoustics and audio analysis, as well as an overall knowledge of the music software industry.


