How to make an authentic techno groove with D16 Drumazon
Go back to basics with an electronic music classic
Instrumental in the development of techno music in the 80s and 90s, alongside its stablemates the TR-808 and TB-303, the Roland TR-909 still plays a vital role in the ever-developing sound of this evergreen dance music genre. And while getting your hands on a real 909 is both difficult and expensive, making it a potential barrier to entry for the aspiring techno producer, there are numerous plugin emulations and sample libraries out there that are more than able to serve as wholly effective stand-ins.
In this tutorial, we’ll show you how to program a quick and dirty techno drum and percussion loop using nothing more than D16 Group’s Drumazon virtual instrument and a handful of stock effects plugins.
If you don’t have the same software, any 909-style sound source can be substituted for Drumazon, while your particular DAW of choice is sure to feature equivalents to all of the effects we’ll be using. What is important, though, is that you can route each sound from your 909 out to its own mixer channel for separate processing.
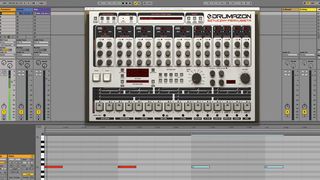
Step 1: Having set our project tempo to a techno-appropriate 125bpm, we load D16’s excellent Drumazon TR-909 emulation plugin, disable Internal Sync (as we want to trigger it via MIDI in my DAW rather than use its onboard sequencer) and create a MIDI clip consisting of four notes triggering the kick drum.
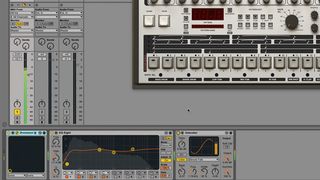
Step 2: The default kick sound is lacking in body and character, so we raise the Pitch to alter the tonality, and lower the Tune setting to reshape the envelope. A touch of EQ improves presence, while a wodge of analogue-style distortion adds body and reins in the overly clicky attack.
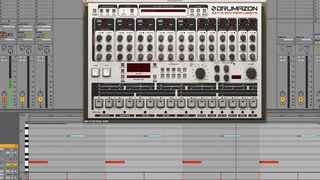
Step 3: Next, we create a new audio track and route Drumazon’s open hi-hat to it, for independent processing. The pattern is kept simple, as we’ll be using delay to embellish it, and the Decay is shortened, as we're also going to be using reverb, which will extend the sound somewhat.
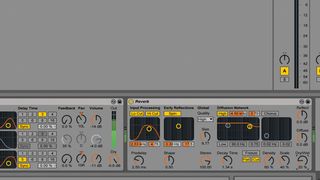
Step 4: Distortion adds bite to the hats, while a high-pass filter gets rid of low-mid clutter. Then come the aforementioned delay and reverb, the delay filtered to keep things dark and subtly mixed, the reverb set to a moderately short tail, filtered to remove the lows and extreme highs, and mixed about 20% Wet.
Get the MusicRadar Newsletter
Want all the hottest music and gear news, reviews, deals, features and more, direct to your inbox? Sign up here.
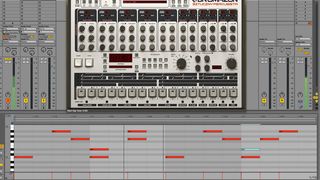
Step 5: Now for a handclap, which is placed on beats 2 and 4, of course, at full velocity. Once again, this is sent to its own mixer channel, where it’s tuned to sit comfortably with the kick and snare, and heavy distortion is applied to give the sound more sustain.
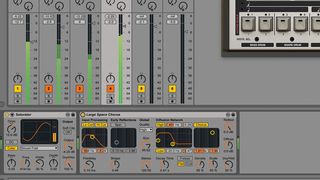
Step 6: Last but not least, a funky percussion element. We send the Low Tom to another new mixer channel, program a simple, syncopated sequence, crank the level, lower the Tune and Tune Depth, and maximise the Decay. Finally, we transform this dry sound with heavy saturation and a carefully-tuned reverb.
Computer Music magazine is the world’s best selling publication dedicated solely to making great music with your Mac or PC computer. Each issue it brings its lucky readers the best in cutting-edge tutorials, need-to-know, expert software reviews and even all the tools you actually need to make great music today, courtesy of our legendary CM Plugin Suite.

"If I wasn't recording albums every month, multiple albums, and I wasn't playing on everyone's songs, I wouldn't need any of this”: Travis Barker reveals his production tricks and gear in a new studio tour

“My management and agent have always tried to cover my back on the road”: Neil Young just axed premium gig tickets following advice from The Cure’s Robert Smith

