How to install compensated Tele-style saddles
A nifty intonation-improving upgrade is now available for ashtray bridges...
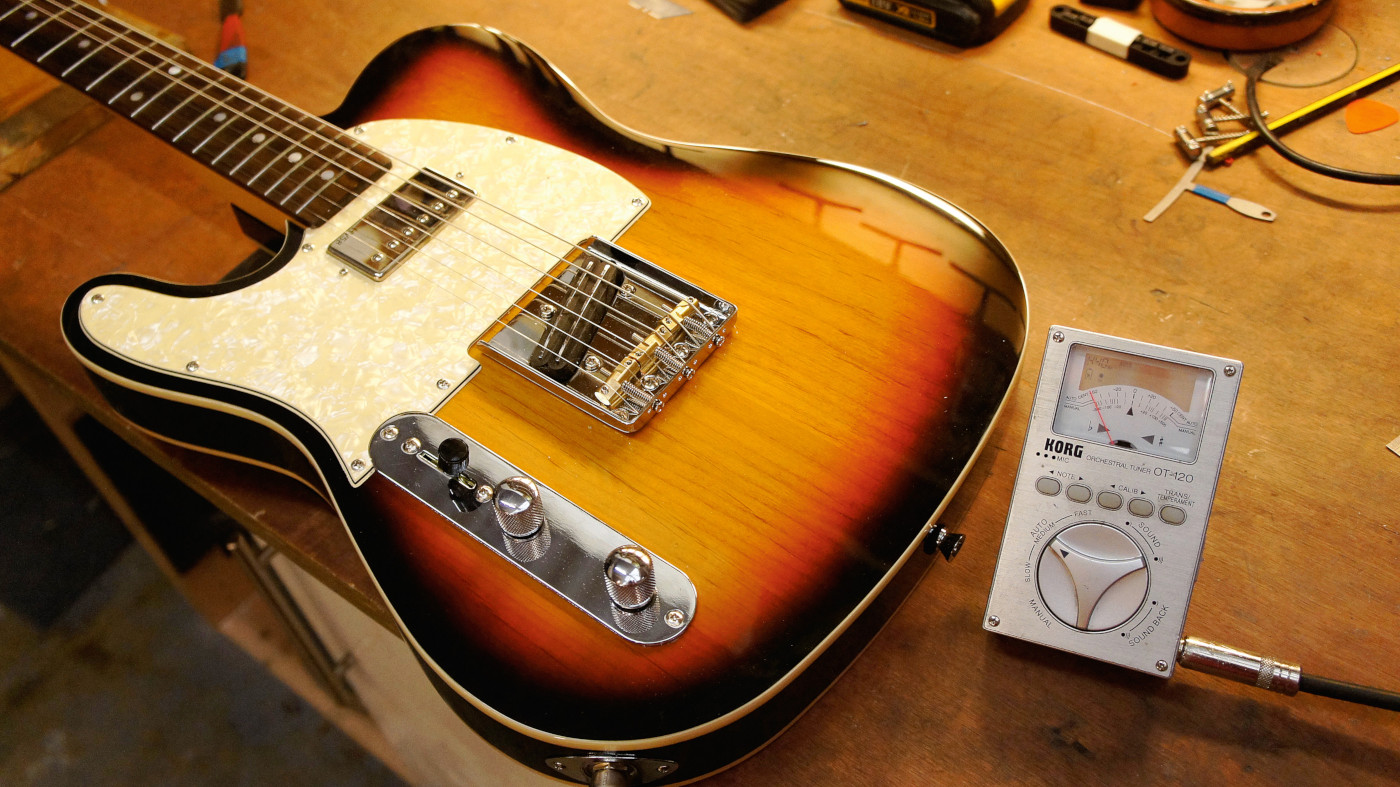
The ashtray bridge gets its name from an ornate cover that it was originally sold with - this masks the rather unsightly saddles and pickup; ever noticed how pretty the neck pickup is compared to the bridge one? The cover was often not used but was found to be handy as an ashtray instead!
There are a few bridge types - brass saddles, threaded bar saddles, stainless steel and chromed saddles - and each has been argued to sound better than the six saddle Tele bridges. The simple answer is less moving parts means more of the strings’ vibration is transferred to the body, improving sustain.
The not so obvious downside is that the three saddles have to share intonation points - the critical part which fine-tunes how in-tune your guitar is as you play up the neck. Compensated saddles have an intonation point preset into them to solve this problem. Here’s how to install and set them, and how not to get confused on which damn way round they should be!
What you need
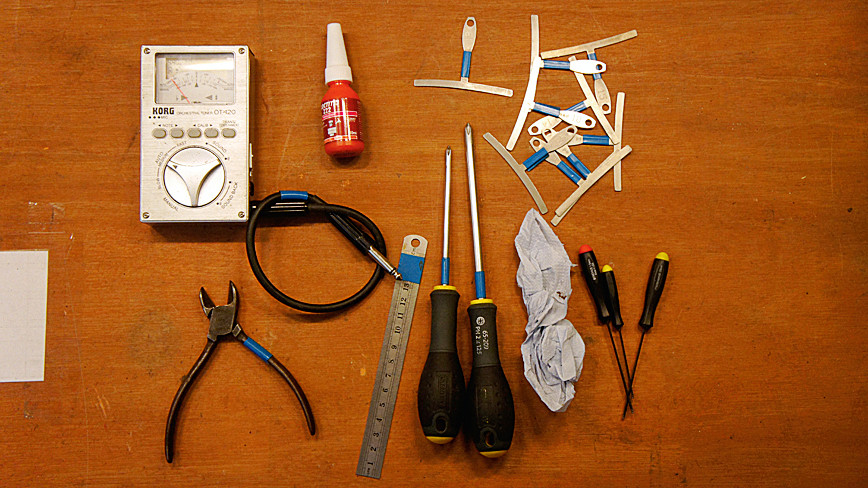
- Compensated saddles set
- Accompanying springs and bolts
- PH2 screwdriver
- Blue roll
- Loctite 222
- 3mm allen key
- Lead
- Tuner
- Fresh strings of choice
- String cutters
Step 1
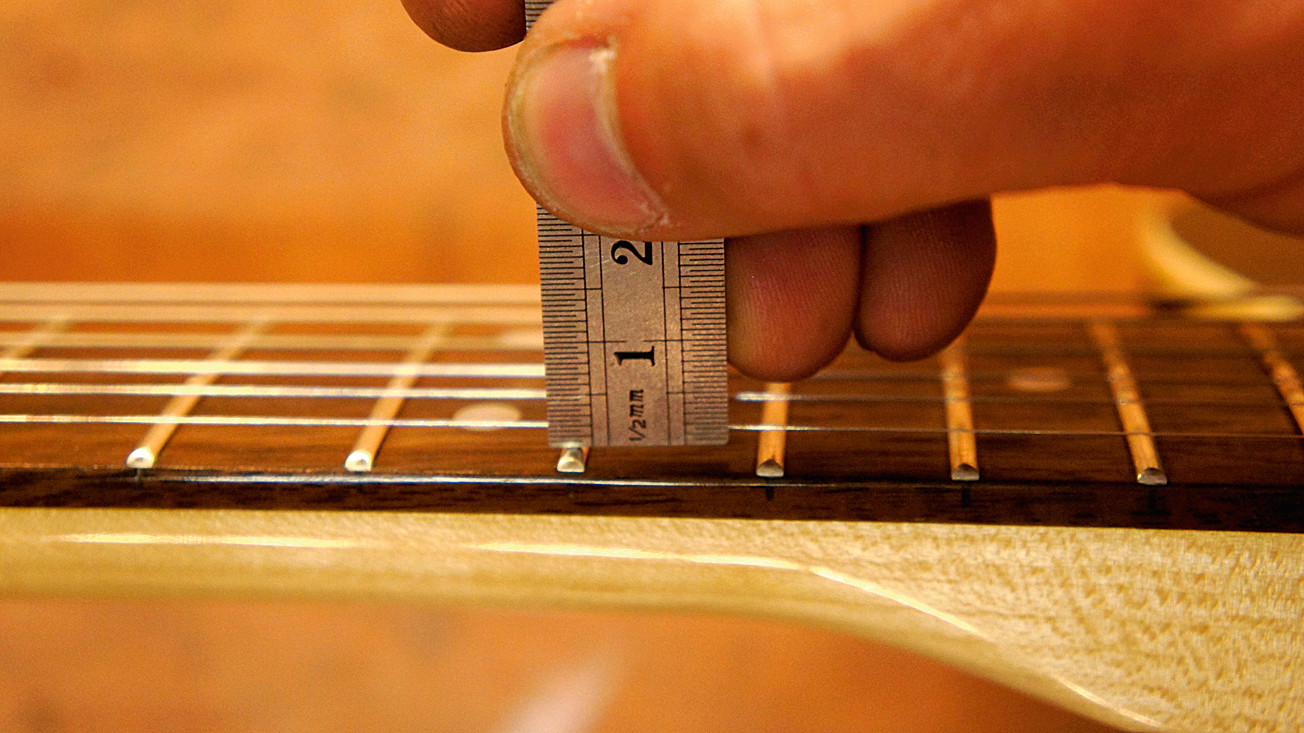
Before beginning, take a reading of your action - that’s string height. Hold up a ruler at the 12th fret and measure the distance between 12th fret and the bottom of the string on both E strings - we’ll restore this later. Now those strings are just going to be in the way so let’s remove them to get a clean shot at it.
Step 2
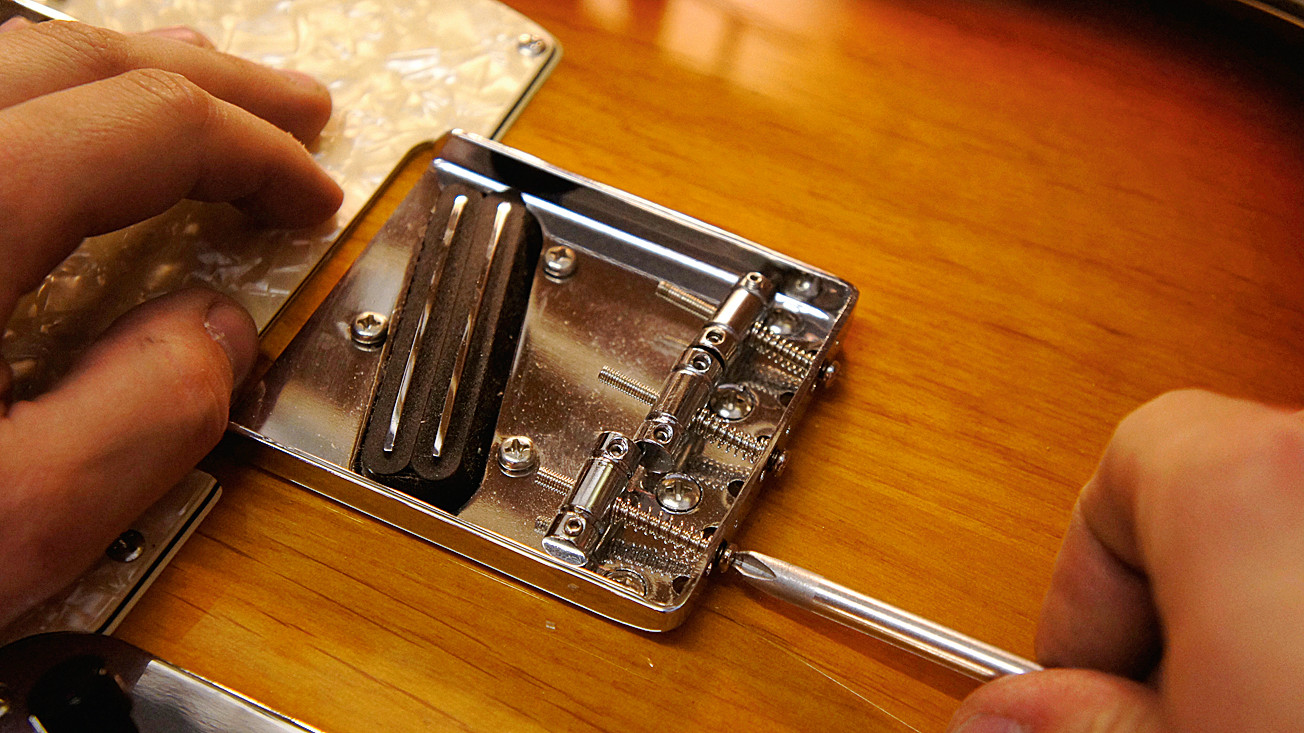
Out with the old - these standard chromed saddles have now been superseded. Use a PH2 screwdriver to undo the long bolt located on the bottom of the bridge plate. Watch out for the spring and make sure it doesn’t fly out. Be careful not to scratch the guitar’s top with your screwdriver... the bolt is right next to it.
Step 3
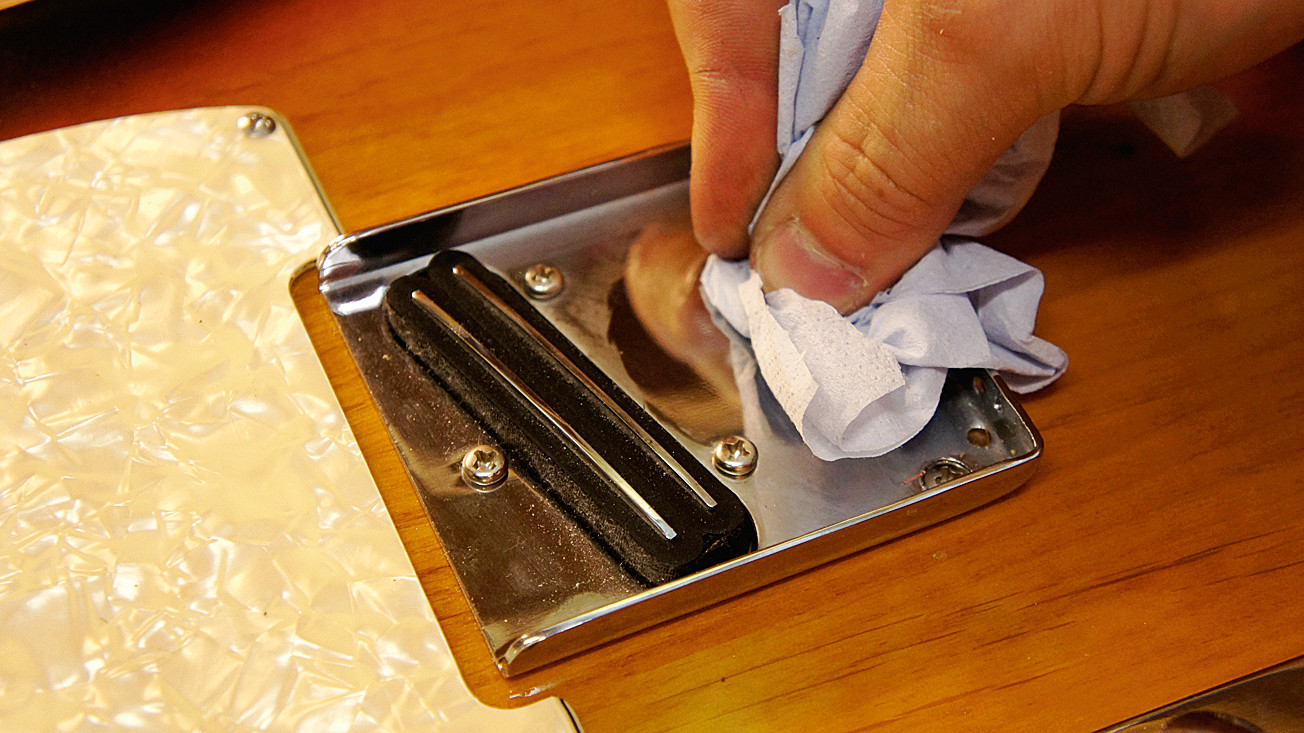
Ashtray bridges collect dirt; it’s dead hard to clean the depths of the bridge up when there are strings in the way. Now the saddles are out it’s an ideal opportunity to get a-scrubbin’. A damp cloth or blue roll is fine for this. If your chrome is worn through and ‘pitted’, you cannot clean that off; it needs replacing.
Step 4
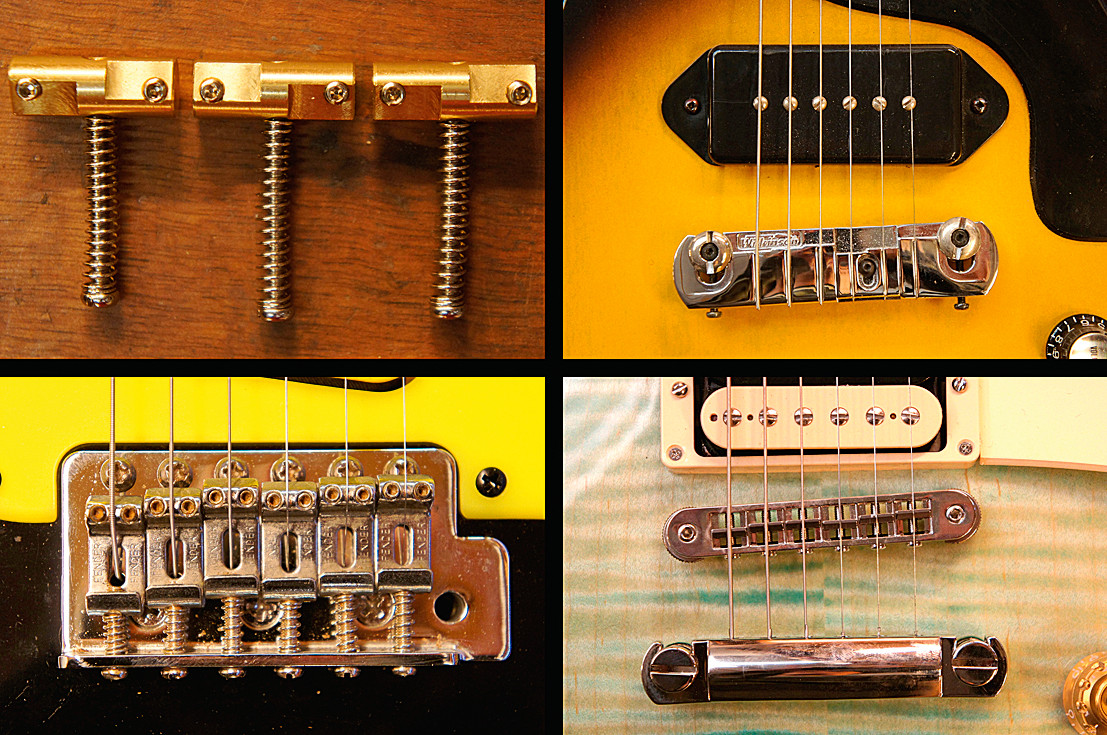
These brass saddles can be confusing to get in the right order! This is a left-handed guitar saddle set we have. Here are some examples of the pattern you want for right-handed guitars. Arrange the saddles in an order that complements the wonky compensation line best! The top E and G strings are the furthest forward.
Get the MusicRadar Newsletter
Want all the hottest music and gear news, reviews, deals, features and more, direct to your inbox? Sign up here.
Step 5
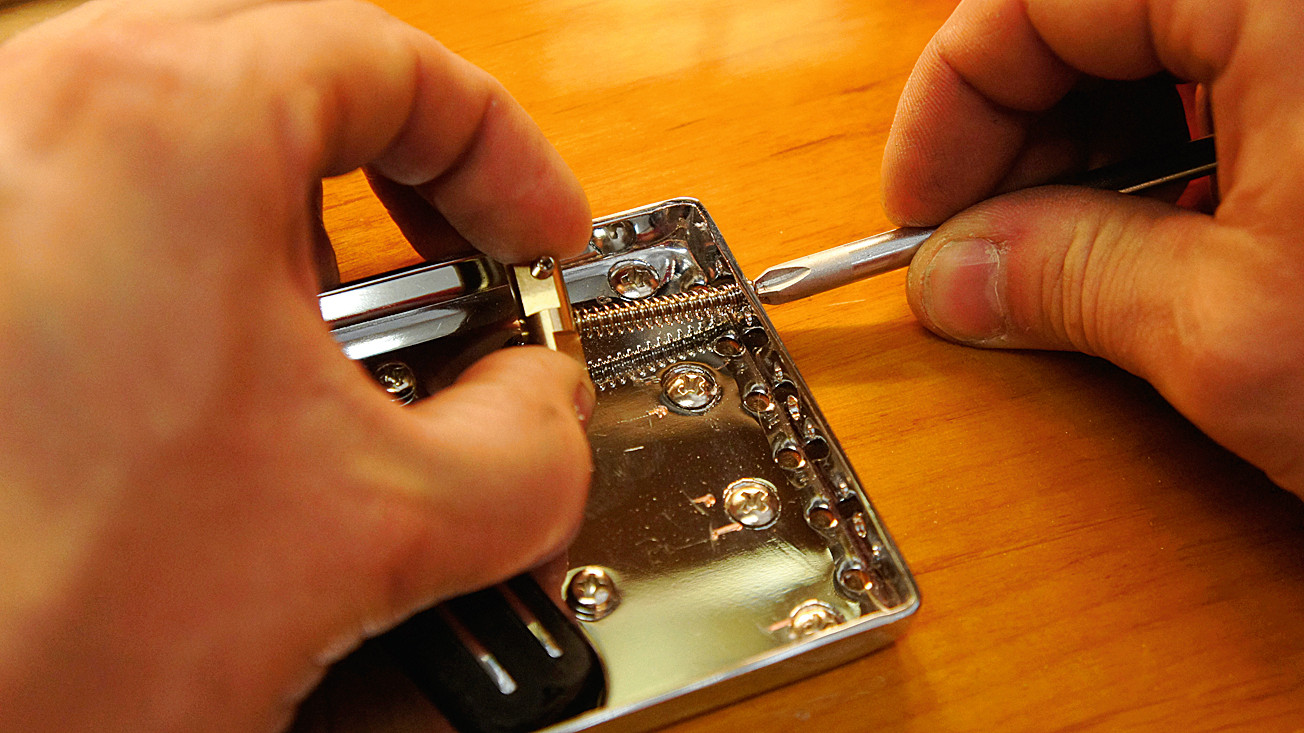
Fit the three new saddles through the same hole on the bottom of the bridge. The correct order (in case your old parts flew everywhere) is: bolt > bridge hole > spring > saddle. Be careful to start the thread nicely as it’s easy to cross-thread the bolt accidentally. Don’t worry about the exact locations for the saddles yet.
Step 6
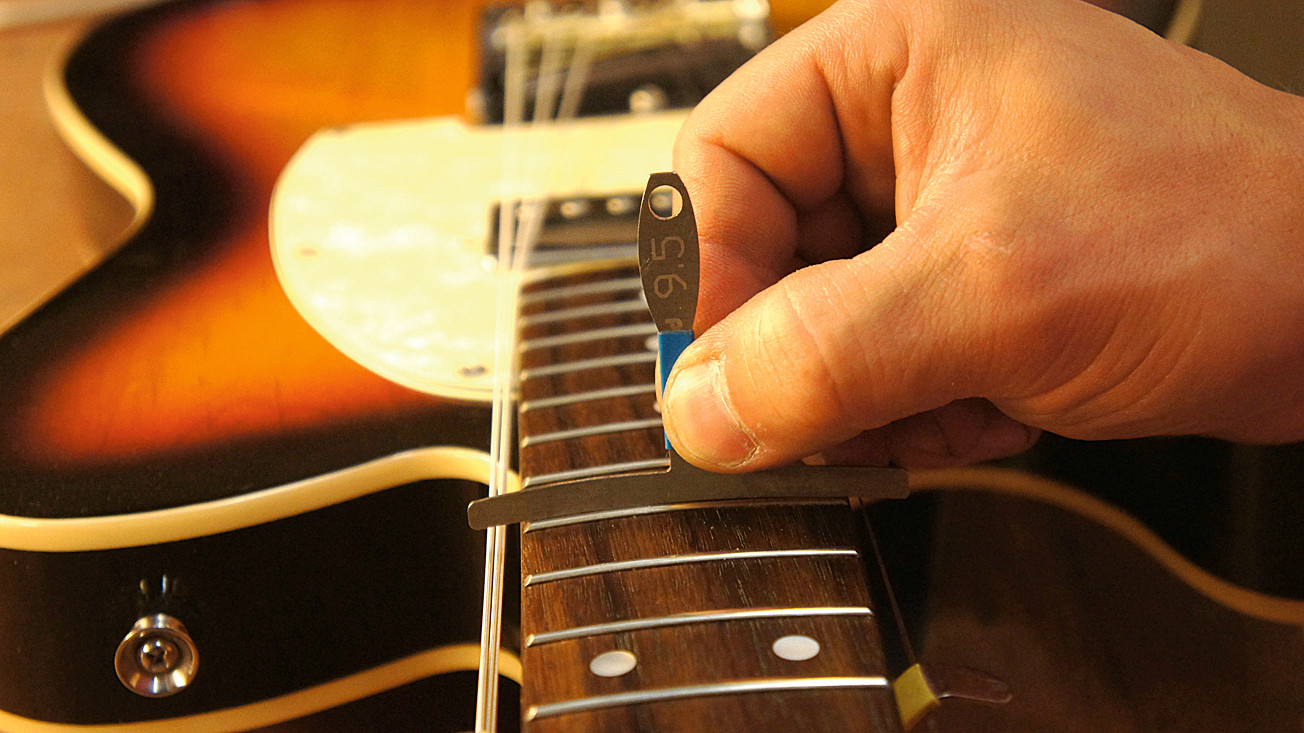
Let’s measure the fretboard’s curvature. Your fretboard has a pre-determined curve that the saddle’s final height must mirror. Here we’re using a radius gauge to identify the curve - in our case this guitar’s a 91⁄2" radius. Use the radius gauge on the top of the fret as that’s the most important place to measure from.
Step 7
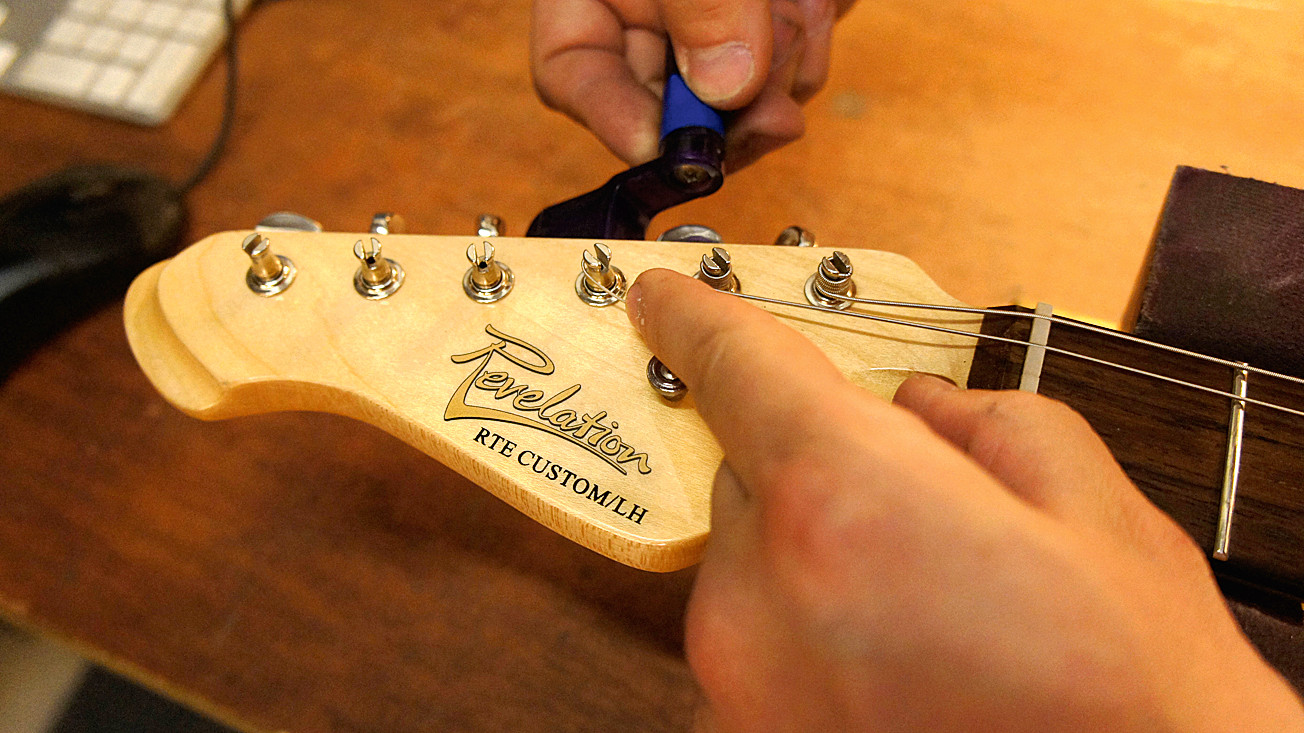
Time to string up. Fix a fresh pack of strings on of your desired gauge. In a couple of steps we'll set the intonation; there's absolutely no point setting intonation to old strings. Old strings have extra goop and grime on them that messes with the mass of the string and because of that they behave in a totally different way.
Step 8
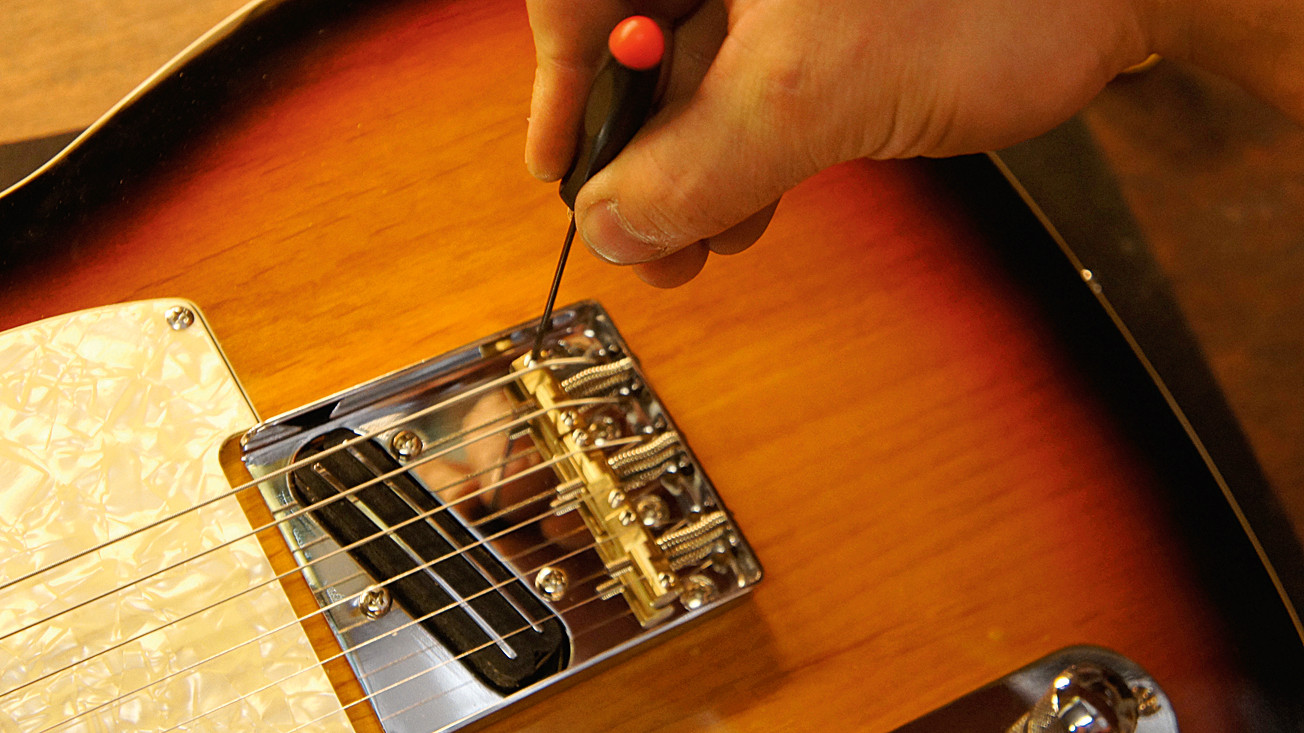
We know that the new saddle will be totally wrong but tune up your guitar. If the saddles are wildly too low then give them a clearance string height. Let’s turn our attention to the two E strings. Set the action with the small grub screw allen keys to get the same reading you had at the off measuring at 12th fret again.
Step 9
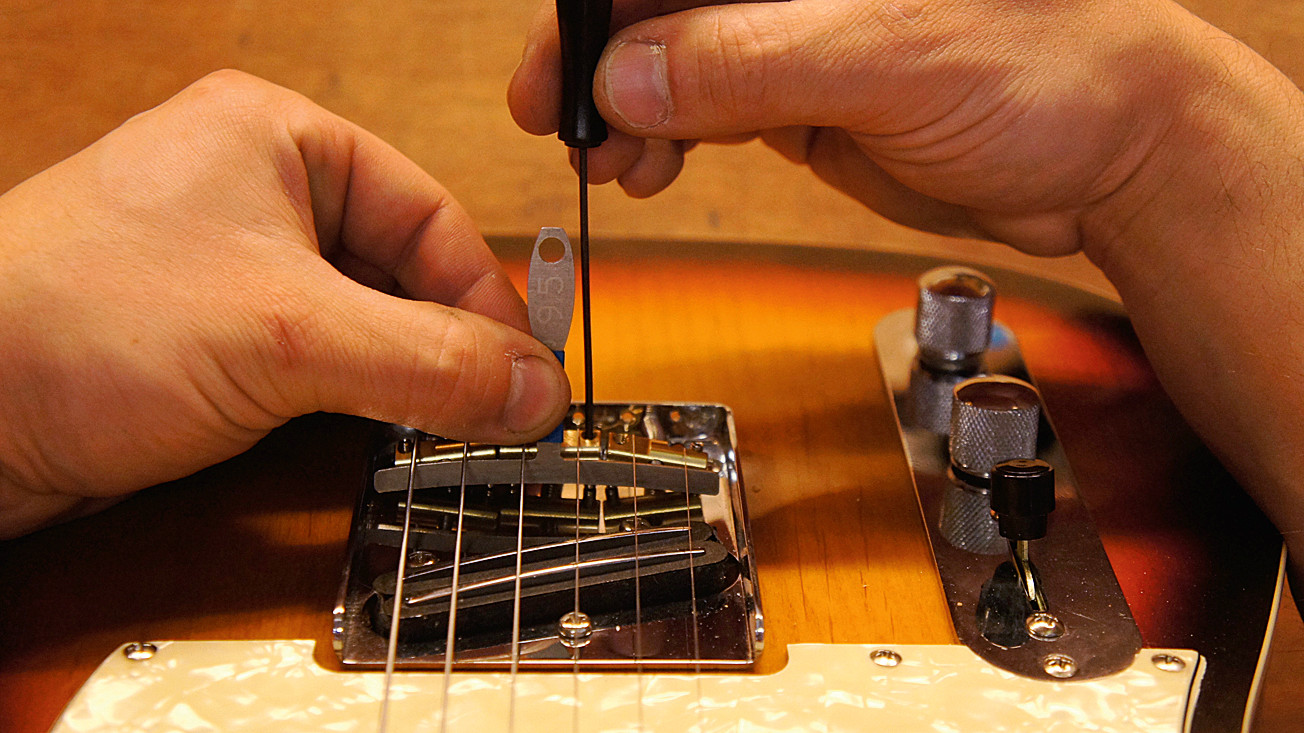
With the two E strings set and in tune let’s use an under-string radius gauge to get the other strings set. Raise up the centre saddles too high so they clear the gauge. Slowly drop each string down so that when you pluck each string it buzzes the same amount - this tells you they’re at a matched curve on the underside.
Step 10
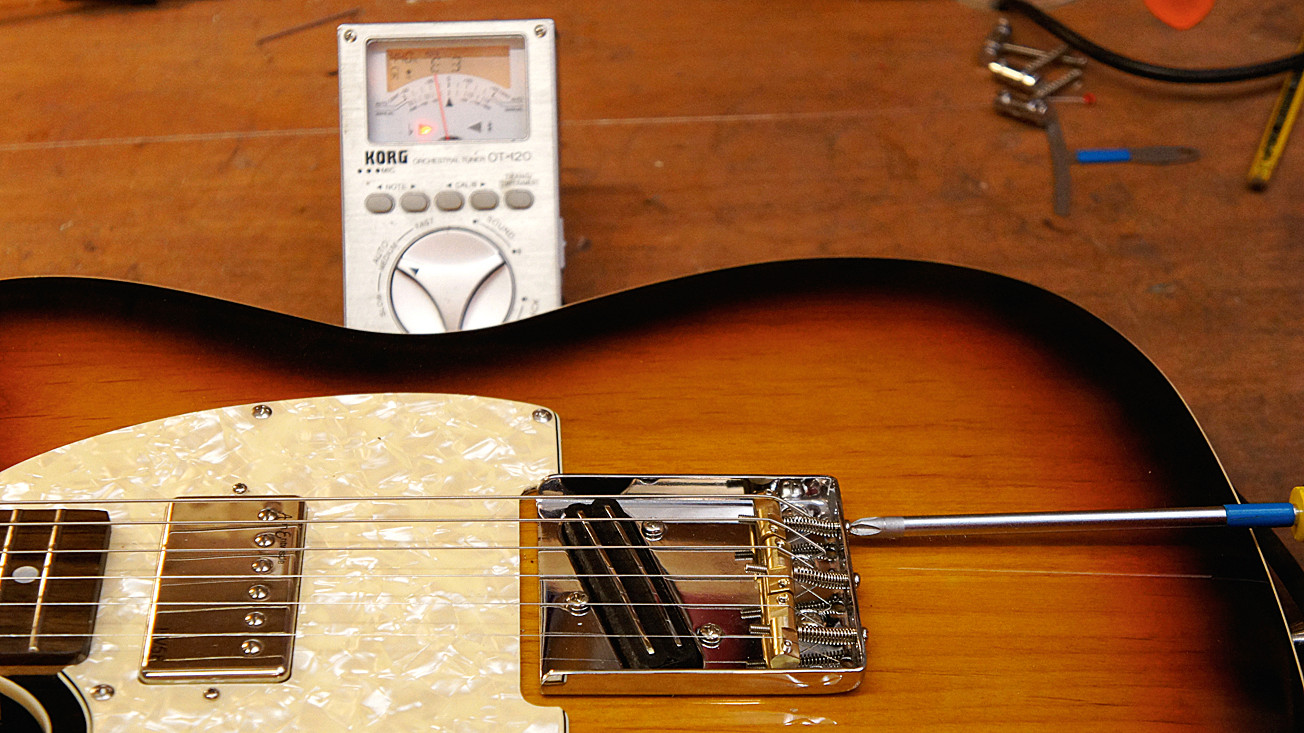
Double-check that see-sawing the saddles didn’t upset your two E strings’ action setting at 12th fret just to be sure. Reset the action and radius if necessary. Plug into a tuner; let’s set the intonation. Play a harmonic at 12th fret then compare it to the fretted note at 12th fret. Look closely at the tuner reading.
Step 11
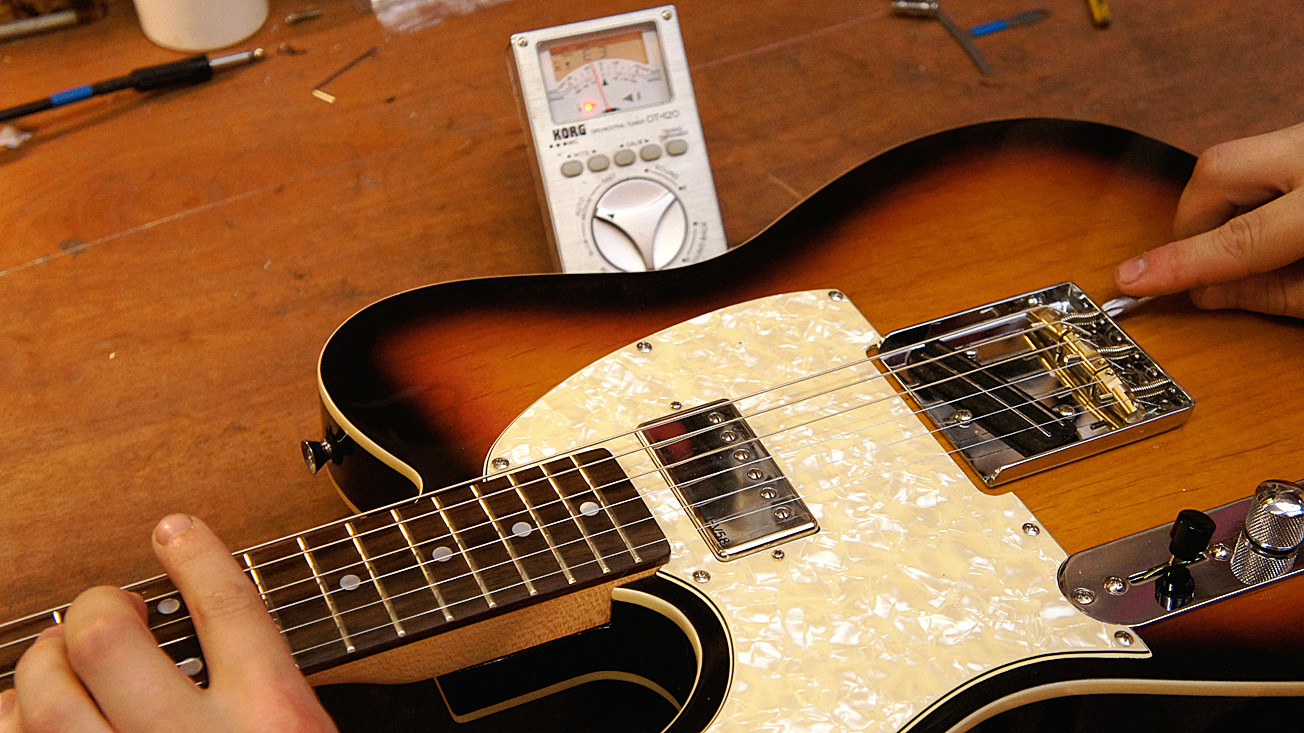
If the tuner reads sharp when fretted move the saddle backward; if it’s flat move it forward. Try a best of three at 12th fret to establish a true reading as it’s very easy to fret it badly. Making an adjustment is done by turning the saddle’s long bolt. Here’s the key: Reads flat = move forward = turn anti-clockwise.
Step 12
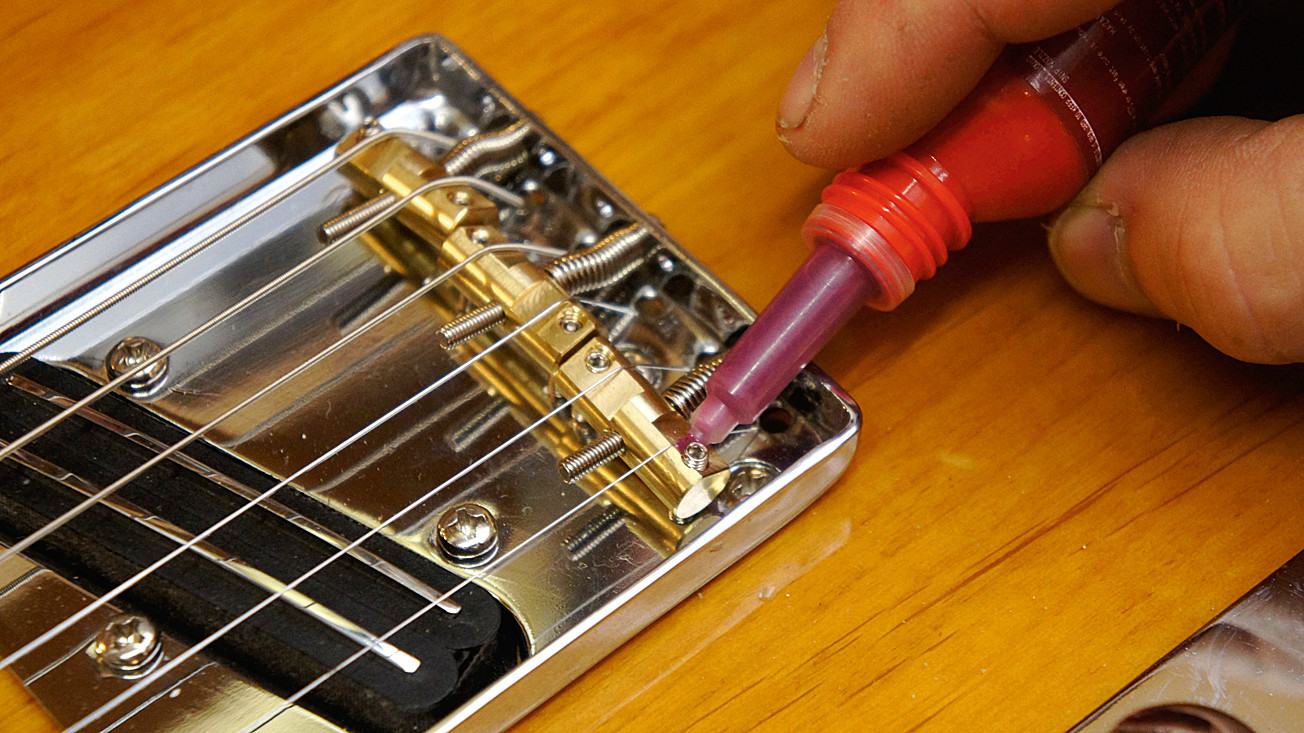
These saddles share an intonation setting bolt but as they’re compensated the tuner readings should be damn close. Close enough for jazz as they say. As a bonus stage you can apply Loctite 222 into the threads on the saddles, wiping off excess. This will stop the grub screws and bolts moving so freely.
Jack runs an independent guitar setup and guitar repair service in Manchester, England. He serves the musicians of the Northwest of England, working on electric guitars, bass guitars, acoustic guitars and more. Jack has been writing the Fix Your Guitar column in Total Guitar Magazine since 2017.


