How to enhance drums with analogue-style distortion
Whether used to enhance or decimate, distortion is the beatmaker’s friend
Drums and distortion go hand in hand, particularly in the electronic music arena, where drum machines and sampled sounds very often benefit from the application of analogue saturation and/or digital quality reduction. Although the immediate implication of the word ‘distortion’ might be the intense, super aggressive overdrive employed by rock guitarists, the technique has far more to offer than just that, bringing life, energy and weight to any sound when applied with a less heavy-handed approach.
There are many types of distortion effects plugins available, from analogue-modelling preamps, waveshapers and tape emulations, to guitar amps, clippers and bitcrushers, each offering its own sonic characteristics and features. Most distortion effects are very easy to use, with the all-important input gain and/or drive controls being your first (and possibly only) ports of call.
In this tutorial, we’ll walk you through various ways of distorting drums - both the kit as a whole and individual elements within it - using analogue-style distortion.
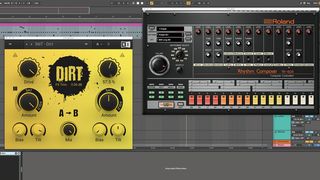
Step 1: Here’s the sort of thing that comes to mind when one thinks of analogue distortion, shown using NIs’ Dirt stompbox-style plugin. This is full-on overdrive, turning a drum loop into a dark monster. This degree of saturation is at the upper extreme of the effect, and you’ll rarely want to go quite this far.
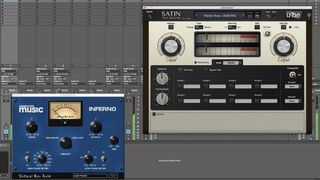
Step 2: At the other end of the scale, adding just a touch of saturation invariably makes drums - and, indeed, anything else - sound warmer and more present. Here, Inferno CM is fattening up our kick drum nicely with its mic preamp emulation, while u-he’s Satin tape sim is bolstering the bus in Vintage Tape mode at 15ips.
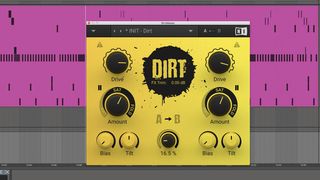
Step 3: There are, of course, many points in between these two extremes, but you can also shape and hone the effect in detail by applying it in a parallel configuration, thereby blending the crunch and bite of distortion with the dynamics and essential character of the dry source signal.
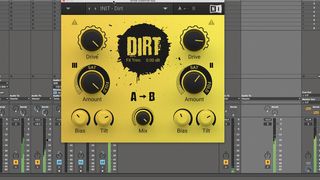
Step 4: To do that, set your plugin up for heavy distortion, then simply balance its wet/dry mix control if it has one. If it doesn’t, or if you want to process multiple channels by varying amounts, run it on an auxiliary send/return bus. Don’t go overboard with the wet signal - the idea is to enhance, not punish the sound.
Get the MusicRadar Newsletter
Want all the hottest music and gear news, reviews, deals, features and more, direct to your inbox? Sign up here.
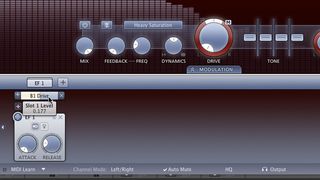
Step 5: Modulating distortion with an envelope follower is a great way to add transient interest while keeping the sustain portion clean. Here, FabFilter Saturn’s envelope follower modulates the Drive control, applying distortion to the kick drum attack, then reducing the amount as the signal level drops in the sustain phase.
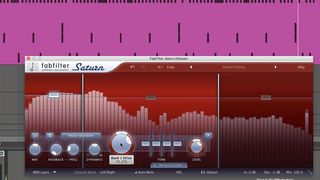
Step 6: For the last word in saturation control, though, multiband distortion is king. Saturn is one of the best multiband distortion plugins, and here we're using it on the master bus to divide our drum loop into low, mid and high frequency bands, and process each one with its own independent distortion setup.
Computer Music magazine is the world’s best selling publication dedicated solely to making great music with your Mac or PC computer. Each issue it brings its lucky readers the best in cutting-edge tutorials, need-to-know, expert software reviews and even all the tools you actually need to make great music today, courtesy of our legendary CM Plugin Suite.

"If I wasn't recording albums every month, multiple albums, and I wasn't playing on everyone's songs, I wouldn't need any of this”: Travis Barker reveals his production tricks and gear in a new studio tour

“My management and agent have always tried to cover my back on the road”: Neil Young just axed premium gig tickets following advice from The Cure’s Robert Smith


