How to emulate track count limitations in your DAW
Sometimes less is more, so give yourself a creative boost by hobbling your software DAW

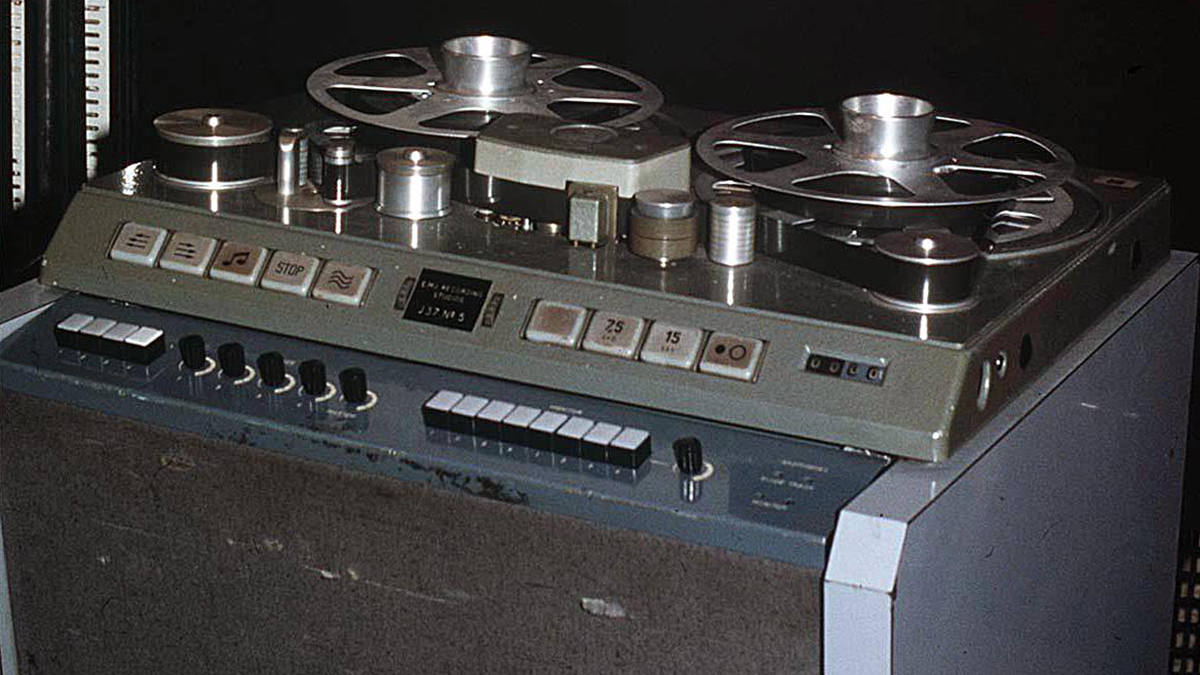
In today’s digital world, where additional tracks come at the click of a mouse, it’s hard to believe that The Beatles’ early work was captured on a twin-track recorder running quarter-inch tape. Their debut 1962 single, Love Me Do, followed the practice of grouping the instruments on one track, allowing only the vocals (placed on the second track) to be balanced in the resulting mono mix. Overdubbing was only possible by adding parts to a second twin-track while simultaneously ‘bouncing’ the existing tracks from the first machine; a strategy followed occasionally on With The Beatles.
I Want To Hold Your Hand, in late 1963, marked the band’s first forays into the four-track world, with Telefunken recorders running one-inch tape. Drums, bass and rhythm guitar remained lumped together, though Harrison’s lead guitar (and, later, Paul’s bass) could now be regularly overdubbed. The luxury of a further track for extra vocals, harmonica and piano would later open the door to more exotic instrumentation, such as George’s sitar on Norwegian Wood.
Incredibly, four-track was still the standard at the time of Sgt Pepper - “looking back, it seems hardy possible,” Martin later reflected, though by then he had various ways to squeeze further tracks from the format. Bouncing between two machines could more than double the tracks available, albeit with a decline in quality that brought its own challenges. An early example was Help!, where the four full tracks on one machine were ‘reduced’ by mixing them to three tracks on the second machine, enabling George to nail the song’s tricky signature guitar run at his leisure.
Incredibly, four-track was still the standard at the time of Sgt Pepper - “looking back, it seems hardy possible,” Martin later reflected.
By the time of Pepper, these reductions were done in various ways. All four tracks could be mixed down to one in a single bounce, opening up three more that would often be sufficient (as in Lucy In The Sky With Diamonds). Or further reductions could be done by repeating the process - sometimes several times - to build a multitracked “layer cake”, as George Martin called it, as on I Am The Walrus.
A brilliant alternative was the synchronisation of two tape machines. Ken Townsend achieved this ingeniously - just in time to record the army of session players behind the orchestral climax to A Day In The Life - by recording a specific frequency onto a spare track of one four-track recorder, in order to control the second machine.
Eight-track machines only appeared at Abbey Road in 1968, in time for the White Album. While reductions were still regularly required, this greatly facilitated the Beatles’ elaborate vocal harmonies, such as the triple-tracking of the ethereal three-part harmony between John and Paul and George on Abbey Road’s Because.
In this walkthrough, we'll show you how to relive this golden age of music production in your DAW, by deliberately restricting yourself to four tracks.
Get the MusicRadar Newsletter
Want all the hottest music and gear news, reviews, deals, features and more, direct to your inbox? Sign up here.
For more on emulating The Beatles’ production techniques in software, pick up the August edition of Computer Music.

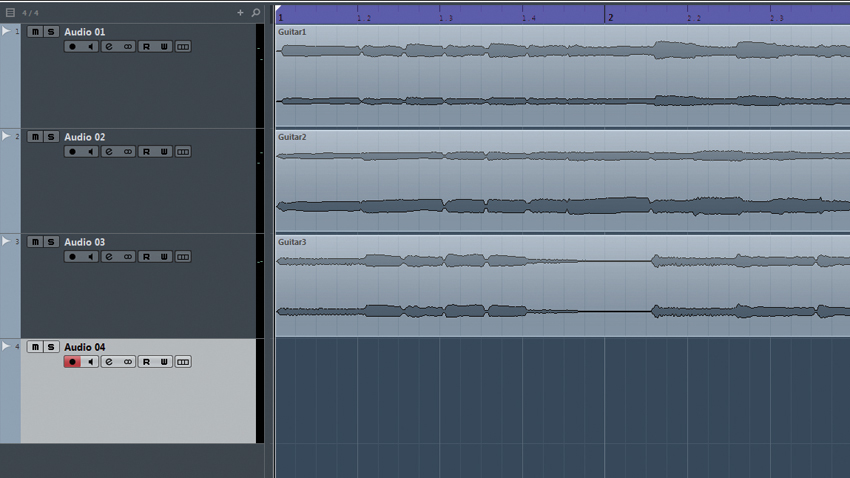
Step 1: In days gone by, producers were often limited to just four tracks, forcing them to be critical with the music and creative in their workflow. We’ll mimic an old-school technique where we combine multiple signals to free up channels. Create a 145bpm session with four audio tracks and load Guitar1.wav, Guitar2.wav and Guitar3.wav onto separate channels.

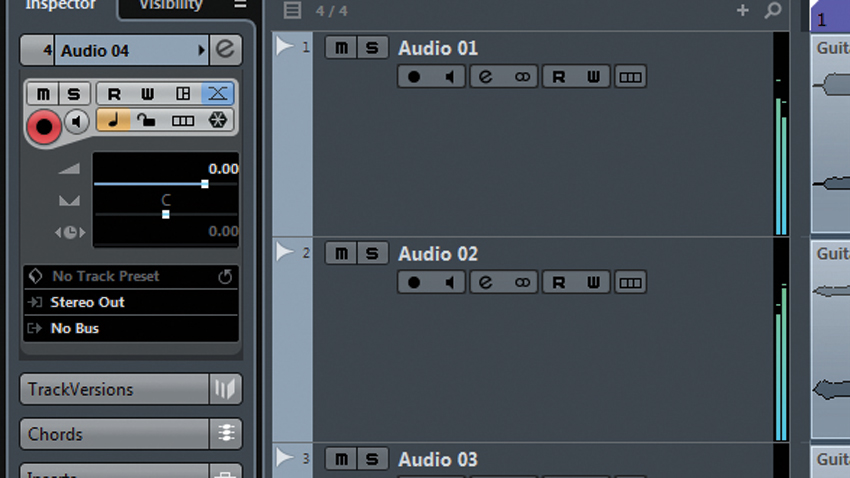
Step 2: We’ll condense the guitar tracks into a single file by recording the master output into the free channel. We’re using Cubase here, but the principle is the same for other DAWs. Change the free channel’s output to No Bus, and its input to Stereo Mix. Now record-arm the track and hit the transport record to record the master into our free channel.

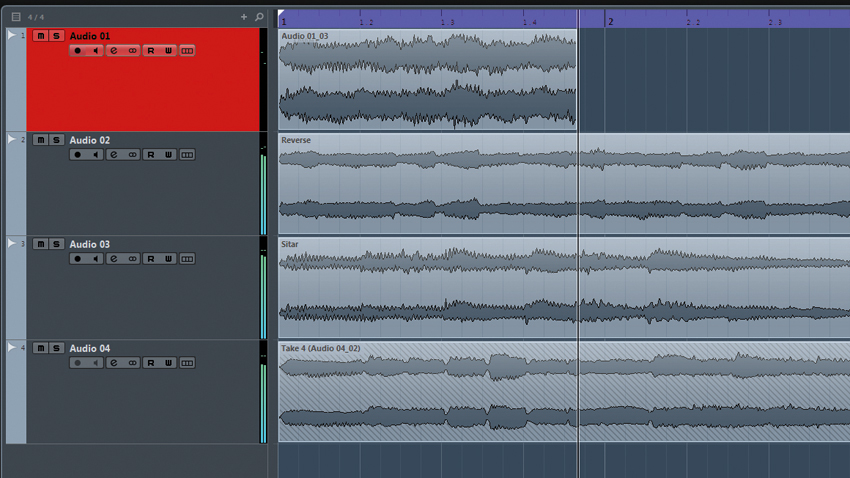
Step 3: Change the channel’s input back to No Bus, and its output to Stereo Out. Delete the original guitar tracks and use the channels for some new audio. Load Reverse.wav and Sitar.wav into two of the free channels and repeat, recording the master output into the available channel. Try adding some delay and reverb to get a thick, complex texture.
Computer Music magazine is the world’s best selling publication dedicated solely to making great music with your Mac or PC computer. Each issue it brings its lucky readers the best in cutting-edge tutorials, need-to-know, expert software reviews and even all the tools you actually need to make great music today, courtesy of our legendary CM Plugin Suite.
"If I wasn't recording albums every month, multiple albums, and I wasn't playing on everyone's songs, I wouldn't need any of this”: Travis Barker reveals his production tricks and gear in a new studio tour
“My management and agent have always tried to cover my back on the road”: Neil Young just axed premium gig tickets following advice from The Cure’s Robert Smith


