How to destroy a drum break with Serum's distortion and delay
Indulge your appetite for rhythmic destruction in Xfer Records' synth
By applying processing and automation, we can make any stock drum break more characterful. Here's how to do it in Xfer Records' supreme Serum plugin synth...
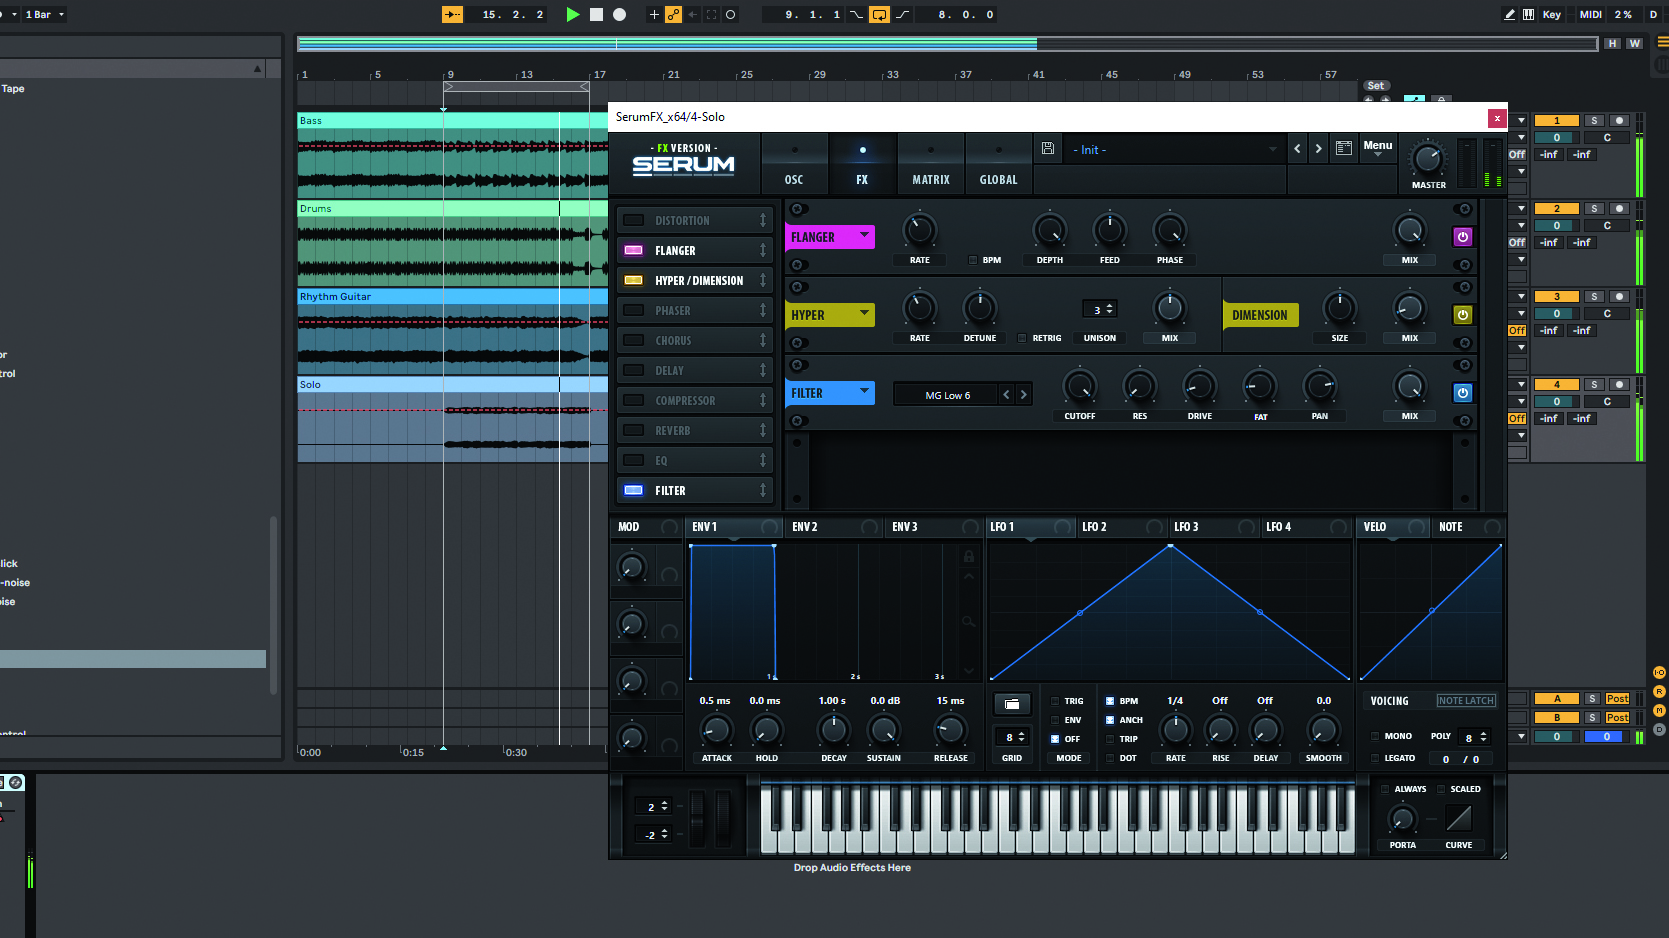
Step 1: Start by adding Serum FX to the Drums channel, then power up the Distortion unit. We’ll plump for the Sine Shaper mode, as it gives the drums a grungy, Dillinja-esque quality. Reducing the Wet/Dry mix to 30% blends the distortion in.
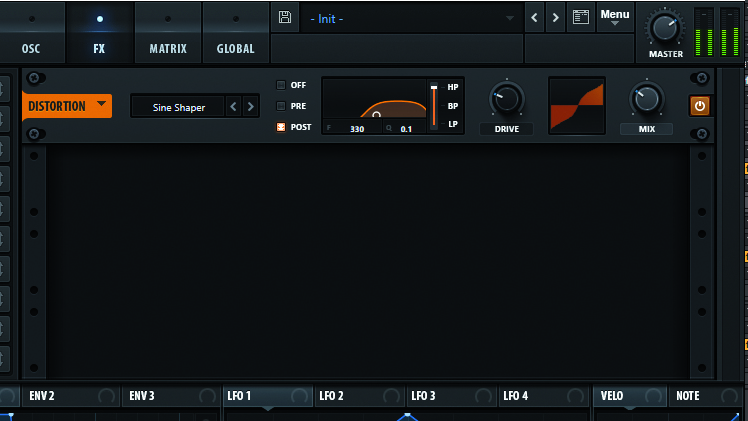
Step 2: We can shape the distortion’s tone using the unit’s onboard EQ. Switch the EQ to high pass, then reduce the Q to 0.1 for a more subtle EQ curve. Now, try switching between Off, Pre and Post distortion to hear the difference EQing the distortion before/afterwards makes. We go for Post, as it has a less hollow sound.
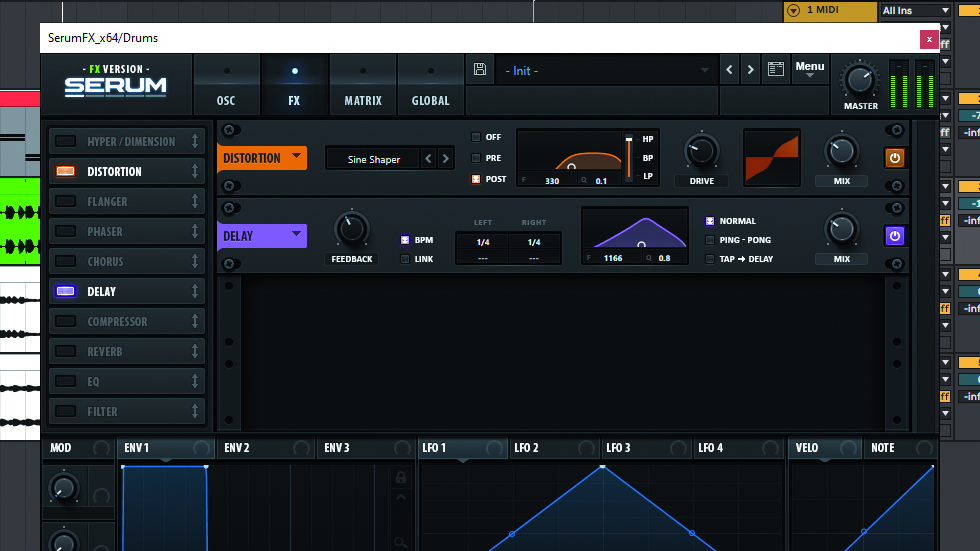
Step 3: Let’s use some Delay to add an additional layer of rhythm to our drums. Place the Delay after the Distortion, then set the delay time to ¼. You’ll hear the delay mix with the break, giving increased shuffle. Setting the Delay frequency to 1kHz and Q to 0.8 focuses the effect on the mid frequencies.
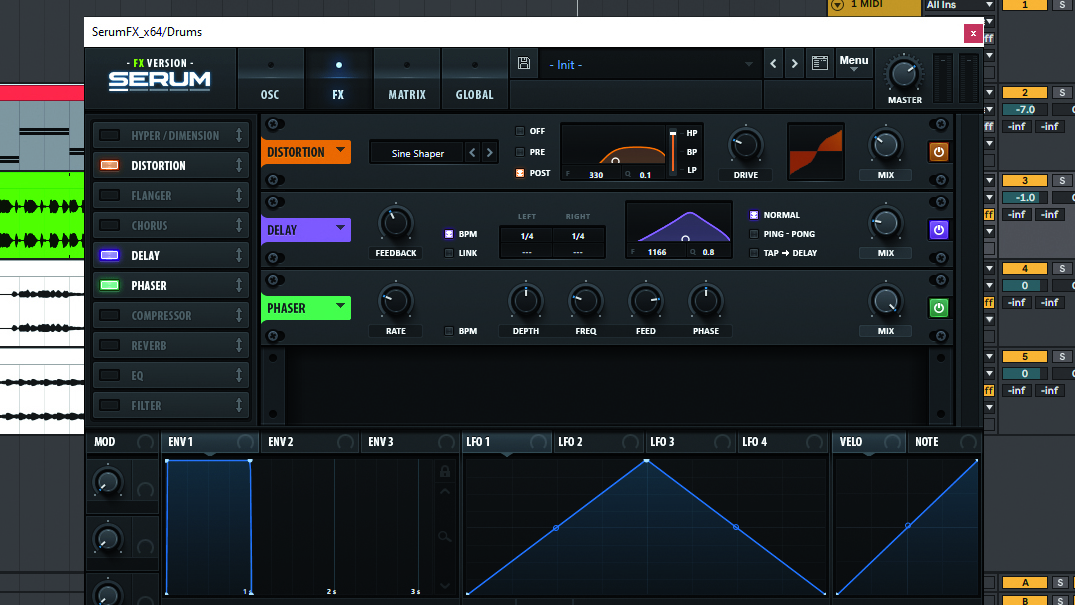
Step 4: To make our fake shuffle sound like a more convincing part of the drums, reduce the Delay’s Wet/Dry mix to around 20%. Now, let’s create an exciting fill effect for the end of eight bars. Add the Phaser effect after the Delay, then set the Freq to around 100Hz to avoid speaker-punishing low frequency resonances later on.
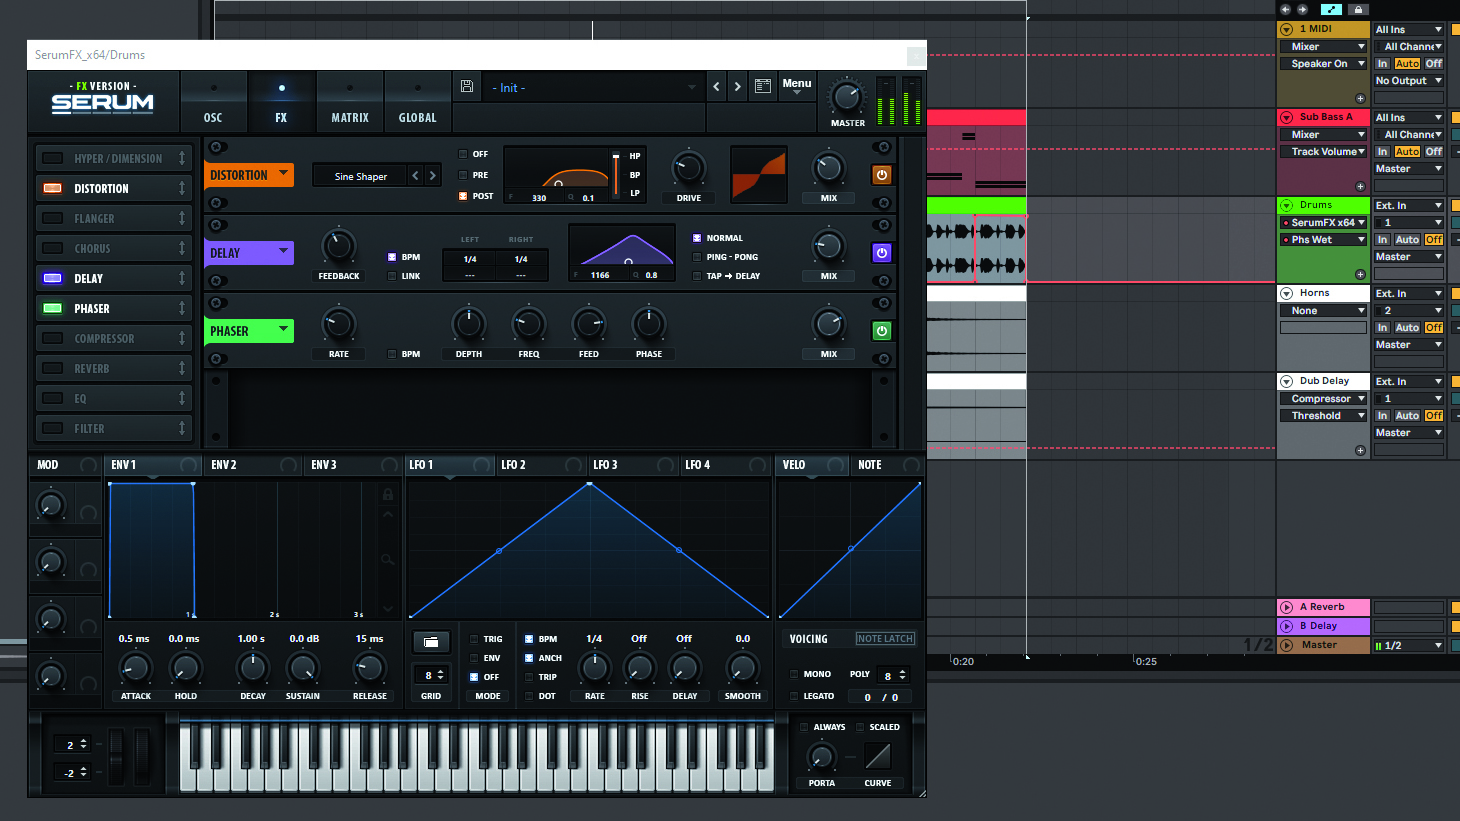
Step 5: Automate the Phaser Wet/Dry amount so that it’s only mixed in at the end of each eight bar section; you can either have the effect totally wet for a big switch, or gradually increase the effect’s strength for a subtle fill. Next, we’ll use some filtering to change the tone of the drums leading to the end of 16 bars…
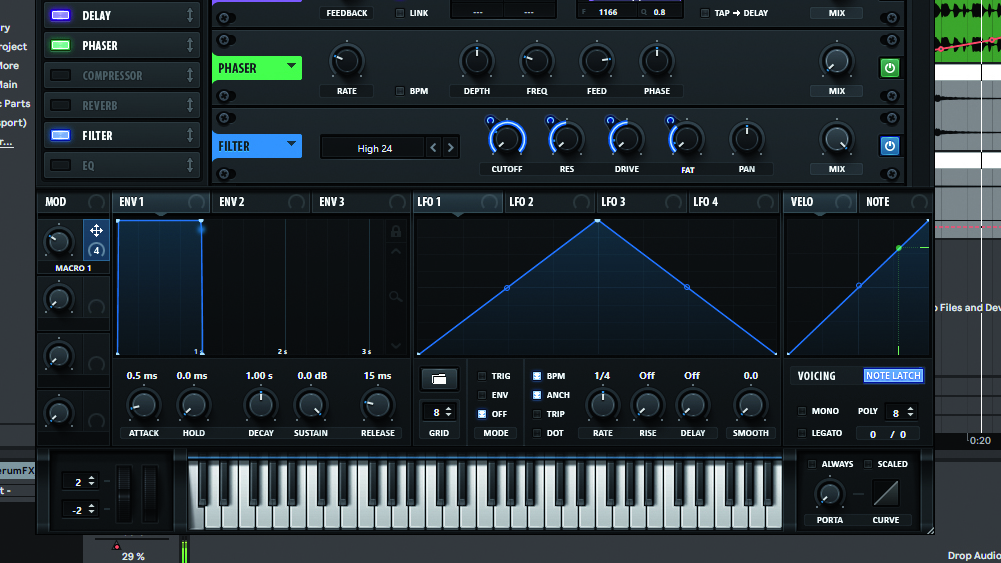
Step 6: Add Serum’s Filter after the Phaser, then set the Filter type to High Pass 24. Now, reduce the Cutoff to its lowest setting, then assign Macro 1 to the filter Cutoff, Res, Drive and Fat dials. After enabling Note Latch to turn on the macro, you can adjust all the filter parameters at once using the macro for a striking edit.
Get the MusicRadar Newsletter
Want all the hottest music and gear news, reviews, deals, features and more, direct to your inbox? Sign up here.
Computer Music magazine is the world’s best selling publication dedicated solely to making great music with your Mac or PC computer. Each issue it brings its lucky readers the best in cutting-edge tutorials, need-to-know, expert software reviews and even all the tools you actually need to make great music today, courtesy of our legendary CM Plugin Suite.


