How to design a multi-layered drum & bass snare sound in Serum
Create a punchy snare from scratch in Xfer Records' soft synth

In this tutorial, we’ll show you how to craft a power-packed snare
using Xfer’s Serum synth.
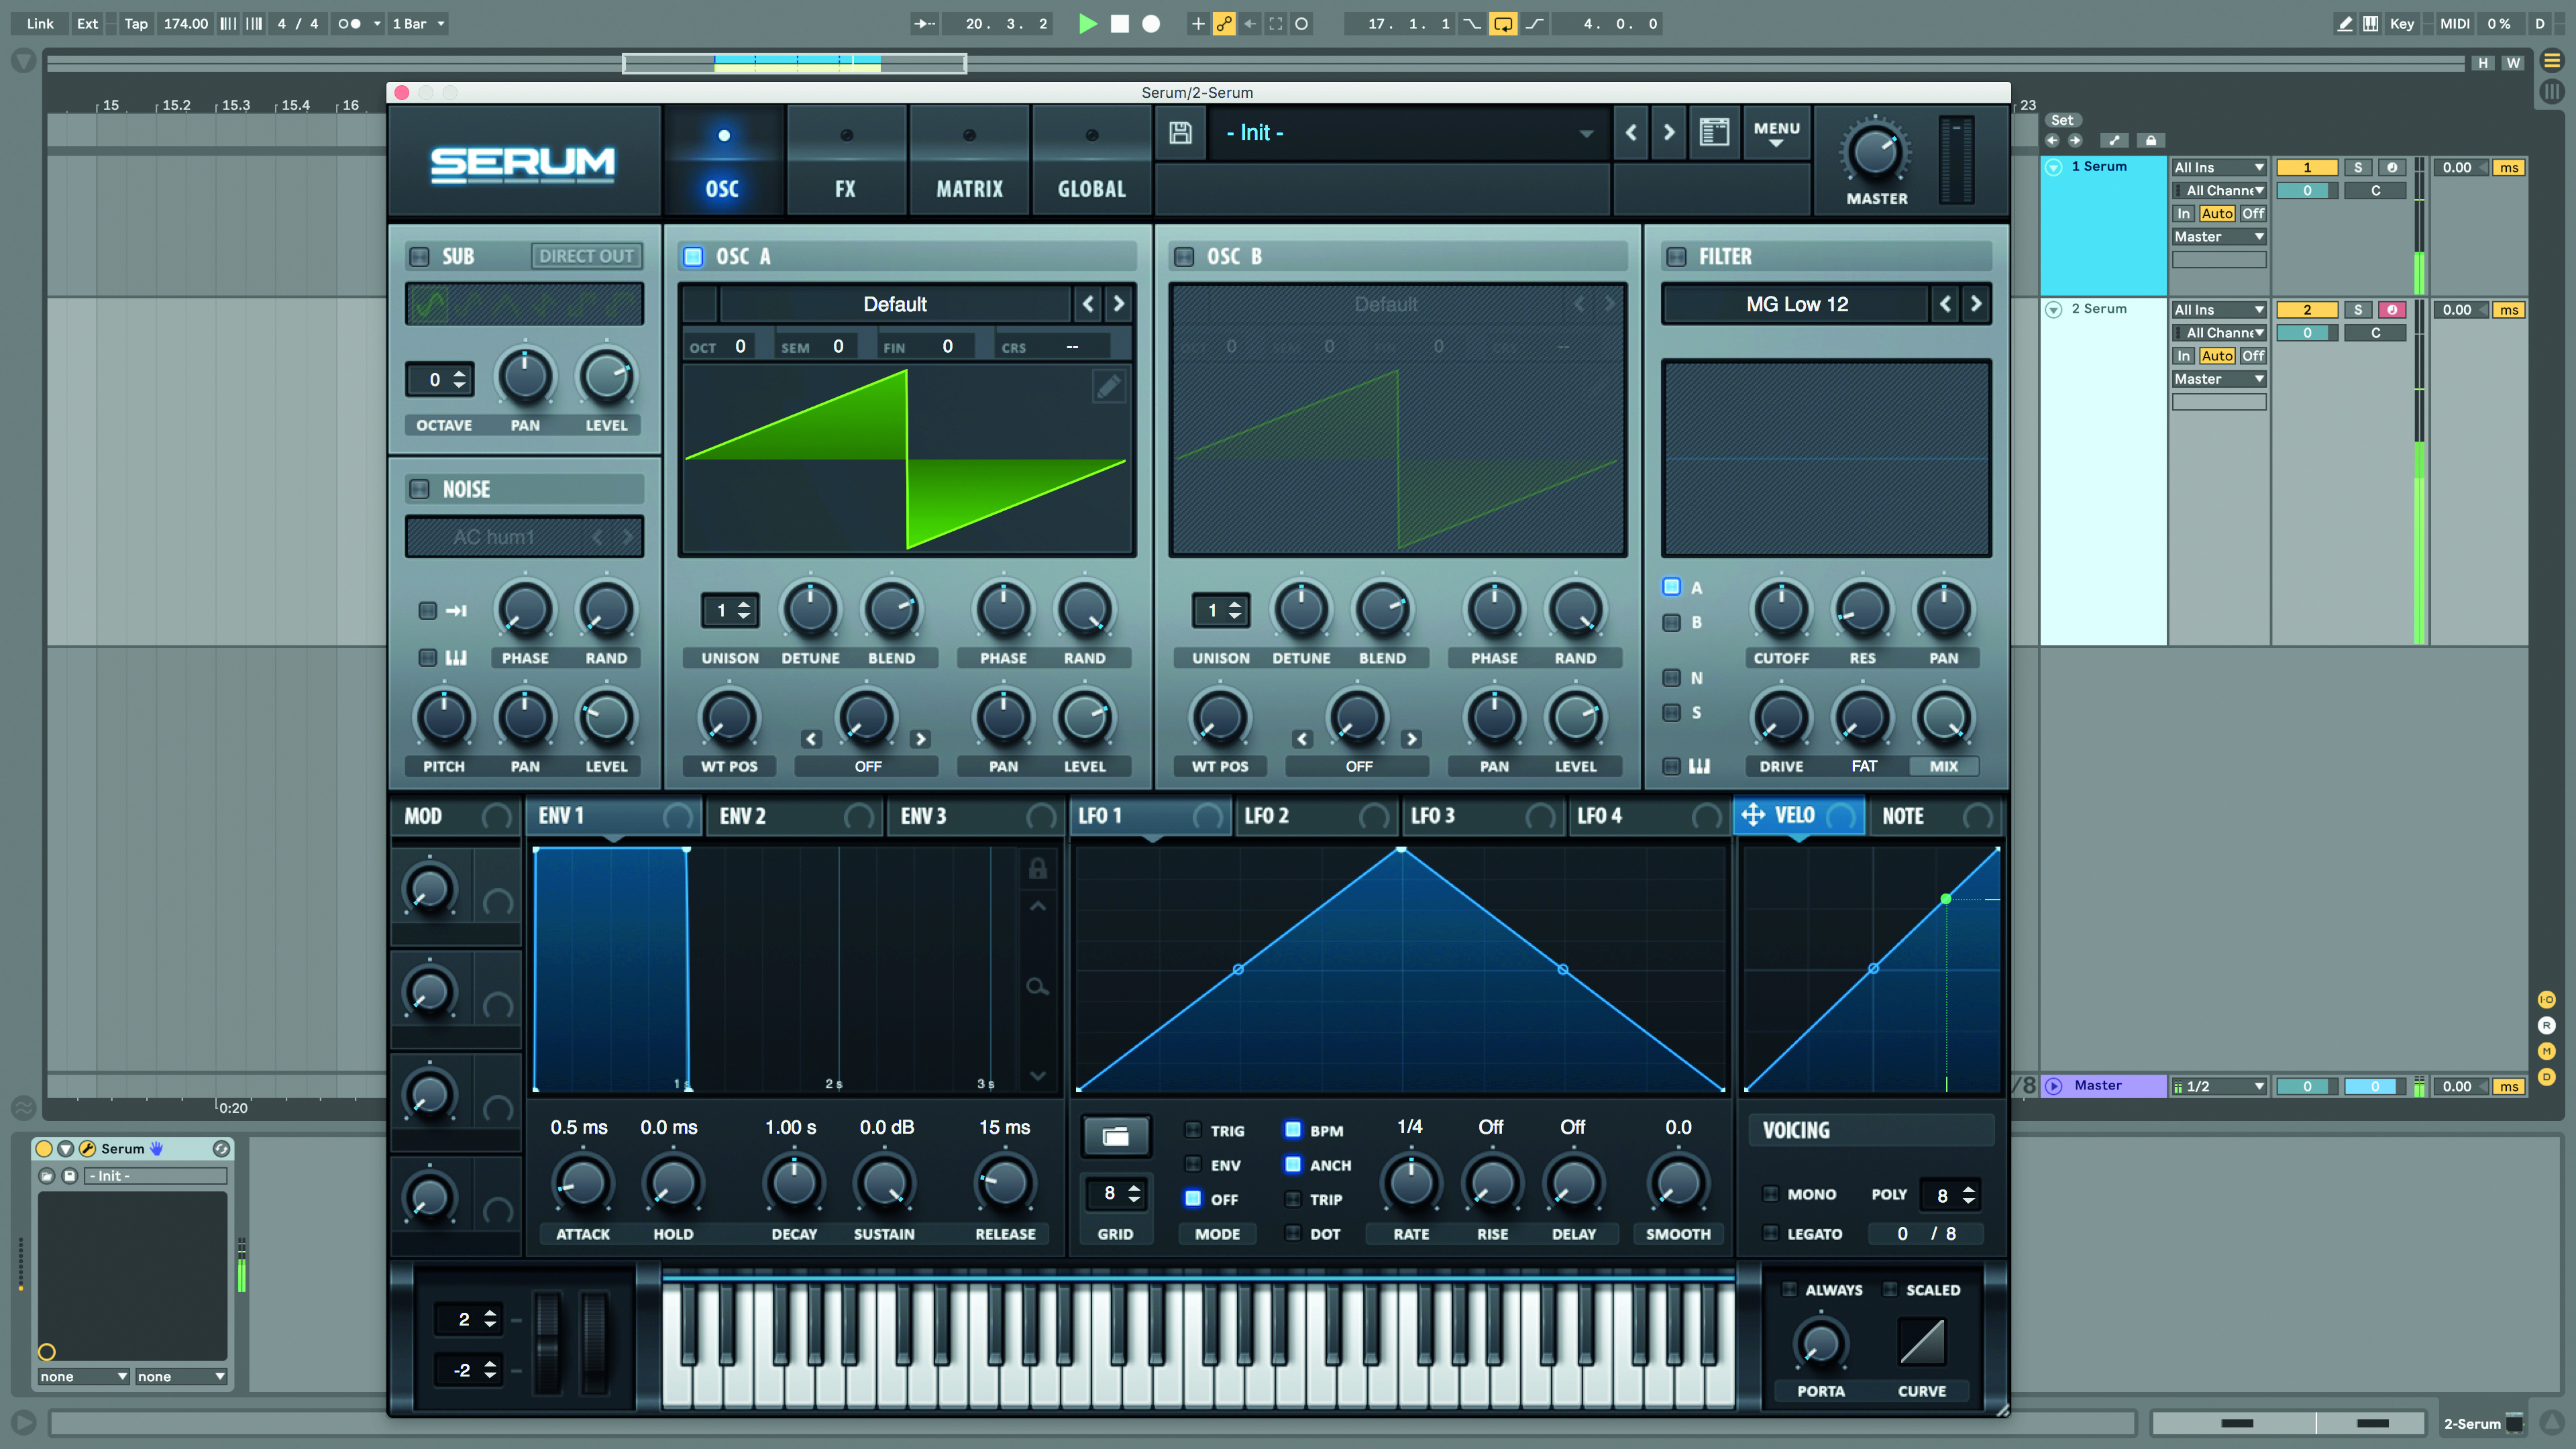
Step 1: The world’s best drum & bass producers are known for synthesizing hard-hitting beats from scratch, so let’s build a punchy snare drum. Note that all of our modulation will be unipolar. Fire up Serum in your DAW.

Step 2: Set up two sine wave oscillators in Osc A and B, one tuned an octave below the first. As we did before, set Random Phase to 0%, then use a one-shot modulation ‘spike’ signal to tightly curve the sines’ pitch from high to low.
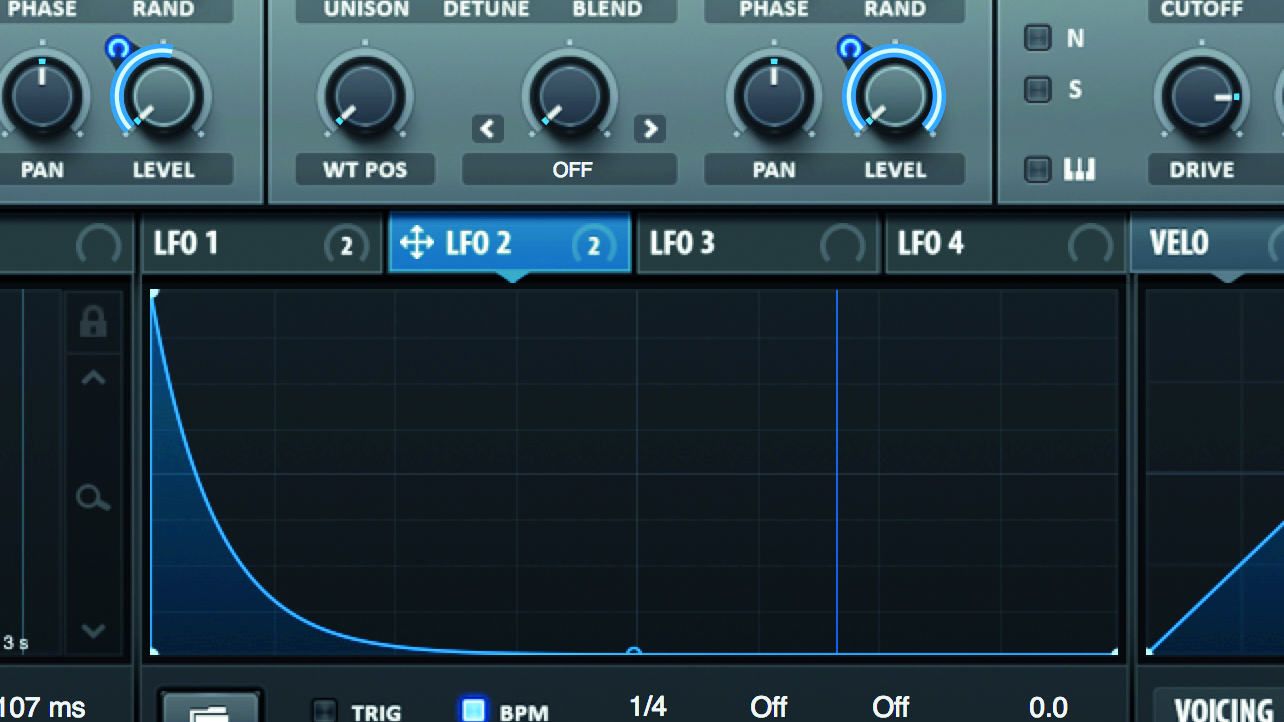
Step 3: These sine layers are going to form the weighty ‘thump’ of the snare. To tighten their amplitude independent of any other oscillators, turn Osc A and B’s Level to minimum, then use a second one-shot LFO ‘spike’ to quickly modulate these Level knobs.
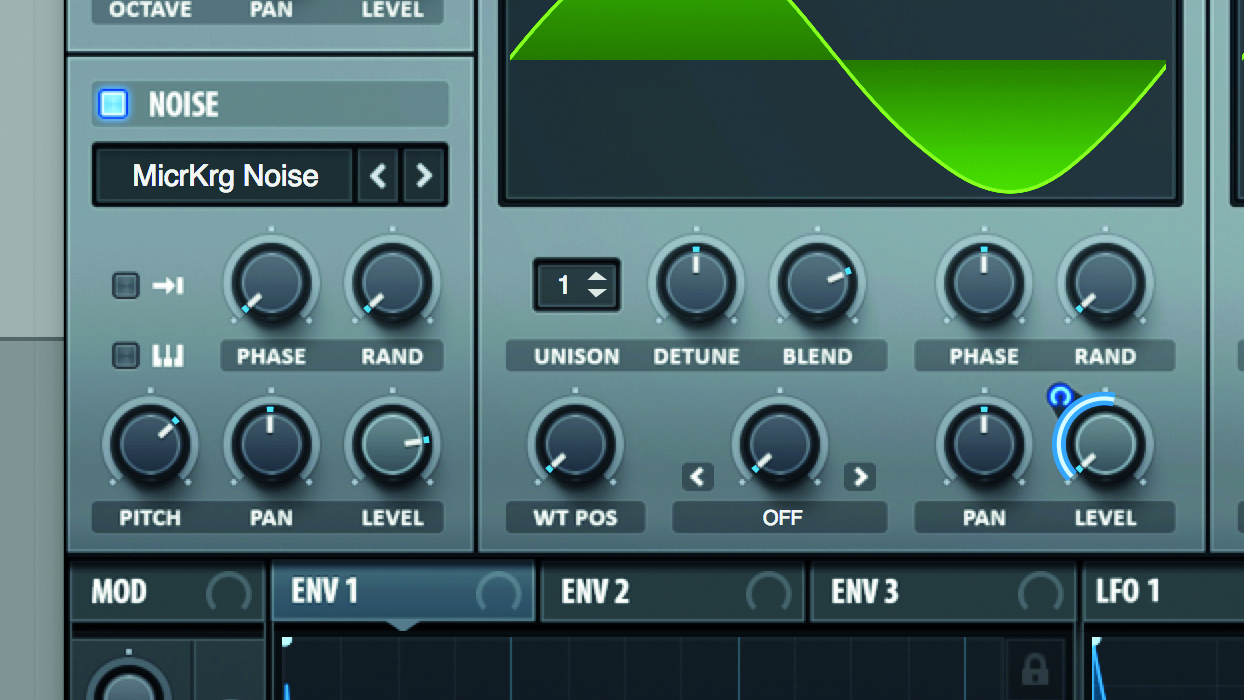
Step 4: We have a clicky ‘knock’ for the body, so let’s now use Serum’s Noise oscillator for the snare’s sustained ‘splash’ and tail. Switch the Noise osc on, call up the MicrKrg Noise waveform, then tune this noise sample up to taste.
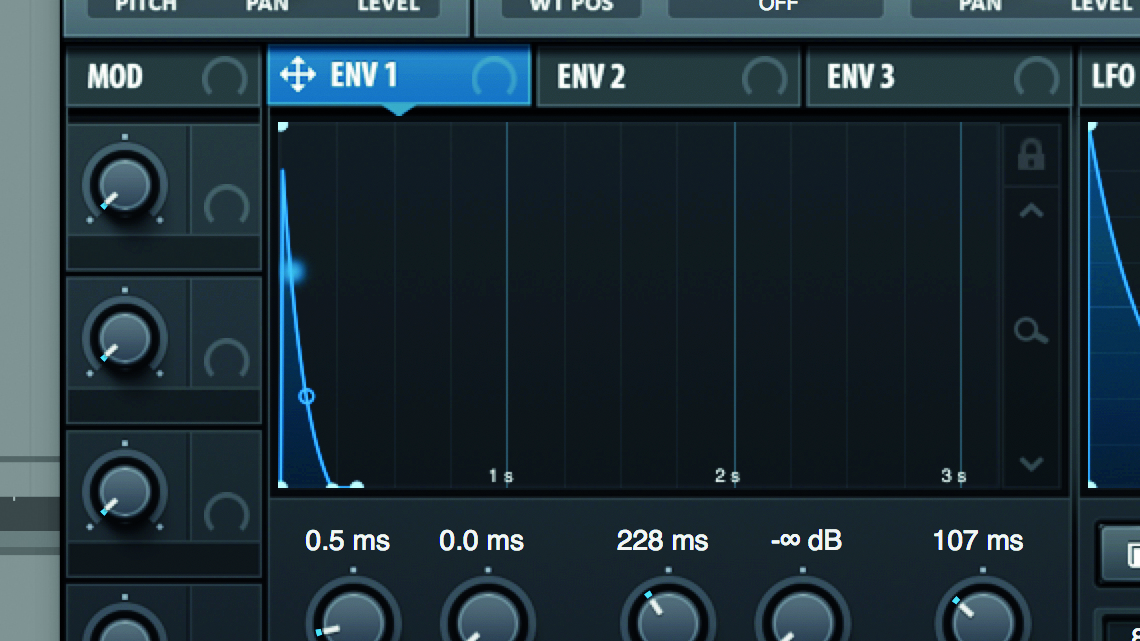
Step 5: As the amplitude of our two sine waves is being modulated with its own LFO, use the synth’s Env 1 to shape the noise tail’s amplitude independently. With the raw components in place, you’ll notice that this sounds nothing like a snare yet, which is where some processing comes in…
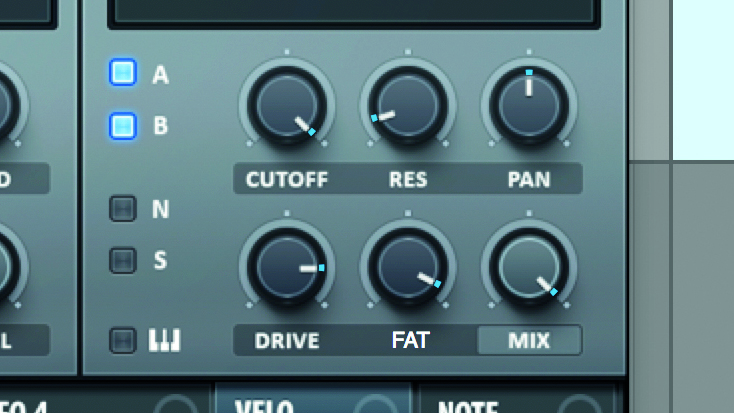
Step 6: Serum’s filter can be used as a tasty distortion stage, which we can use to drive the knock layers. Switch the filter on, fully open the Cutoff, then route Osc A and B into it. Crank Drive and Fat to add beef. Next up, effects!
Get the MusicRadar Newsletter
Want all the hottest music and gear news, reviews, deals, features and more, direct to your inbox? Sign up here.
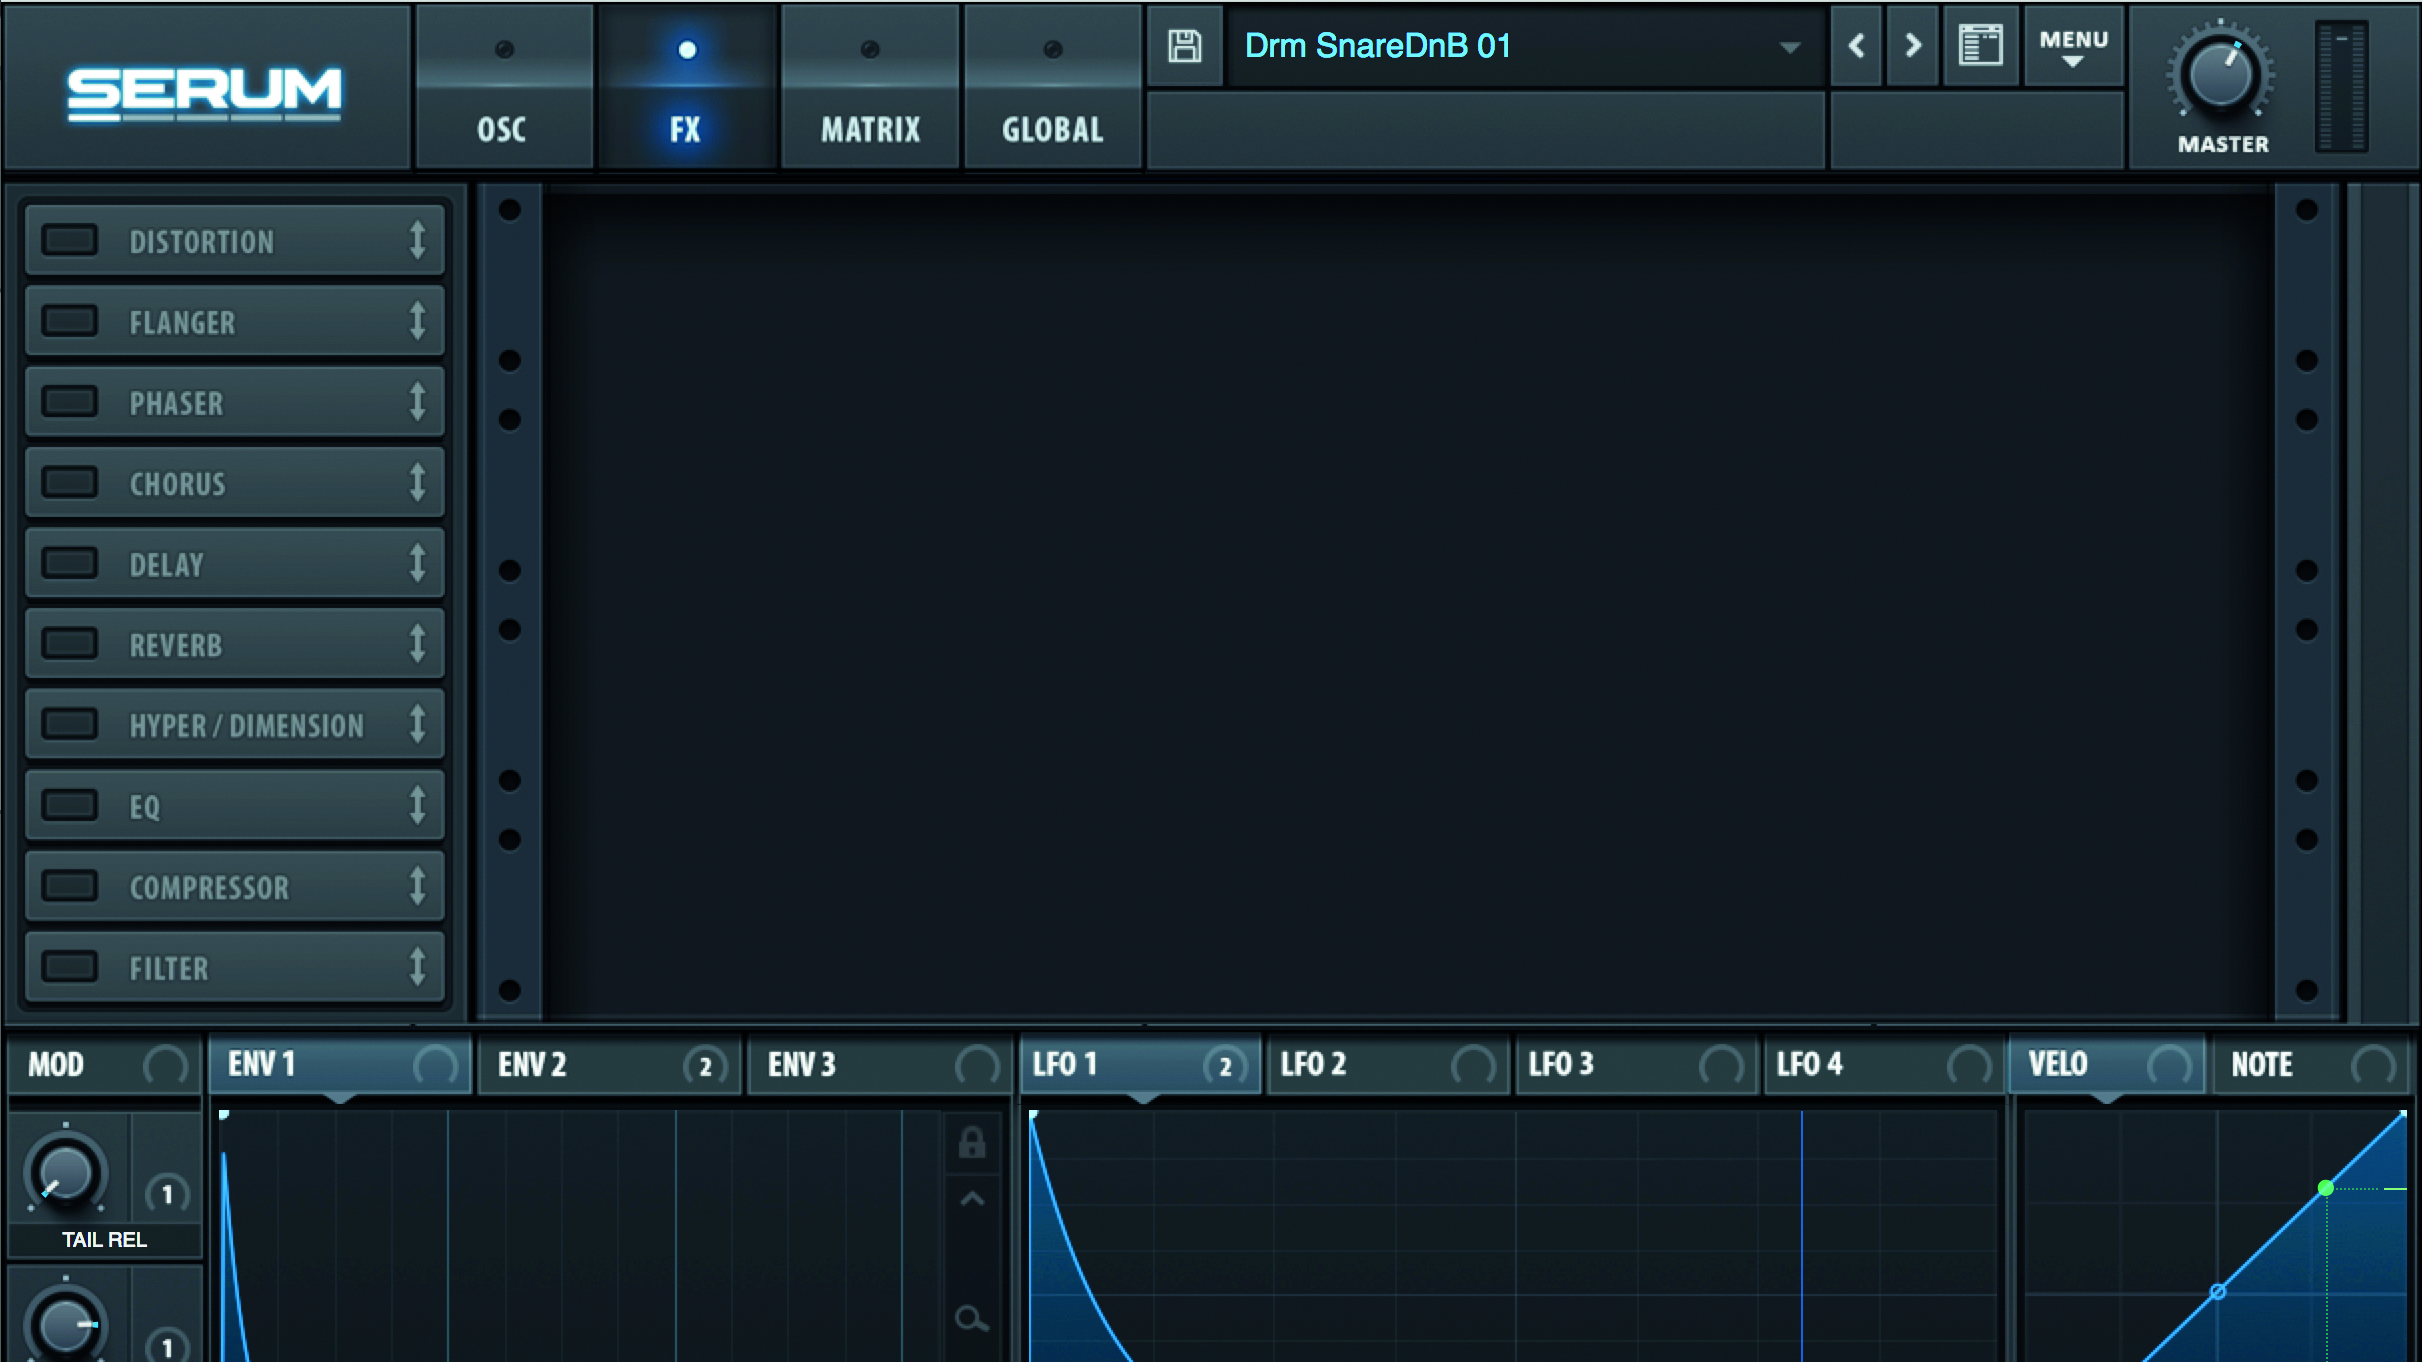
Step 7: Now that we’ve used Serum to synthesise the raw building blocks of a snare. Next, let’s ram these raw signals into Serum’s capable effects processors. Tab over to the synth’s effects rack.
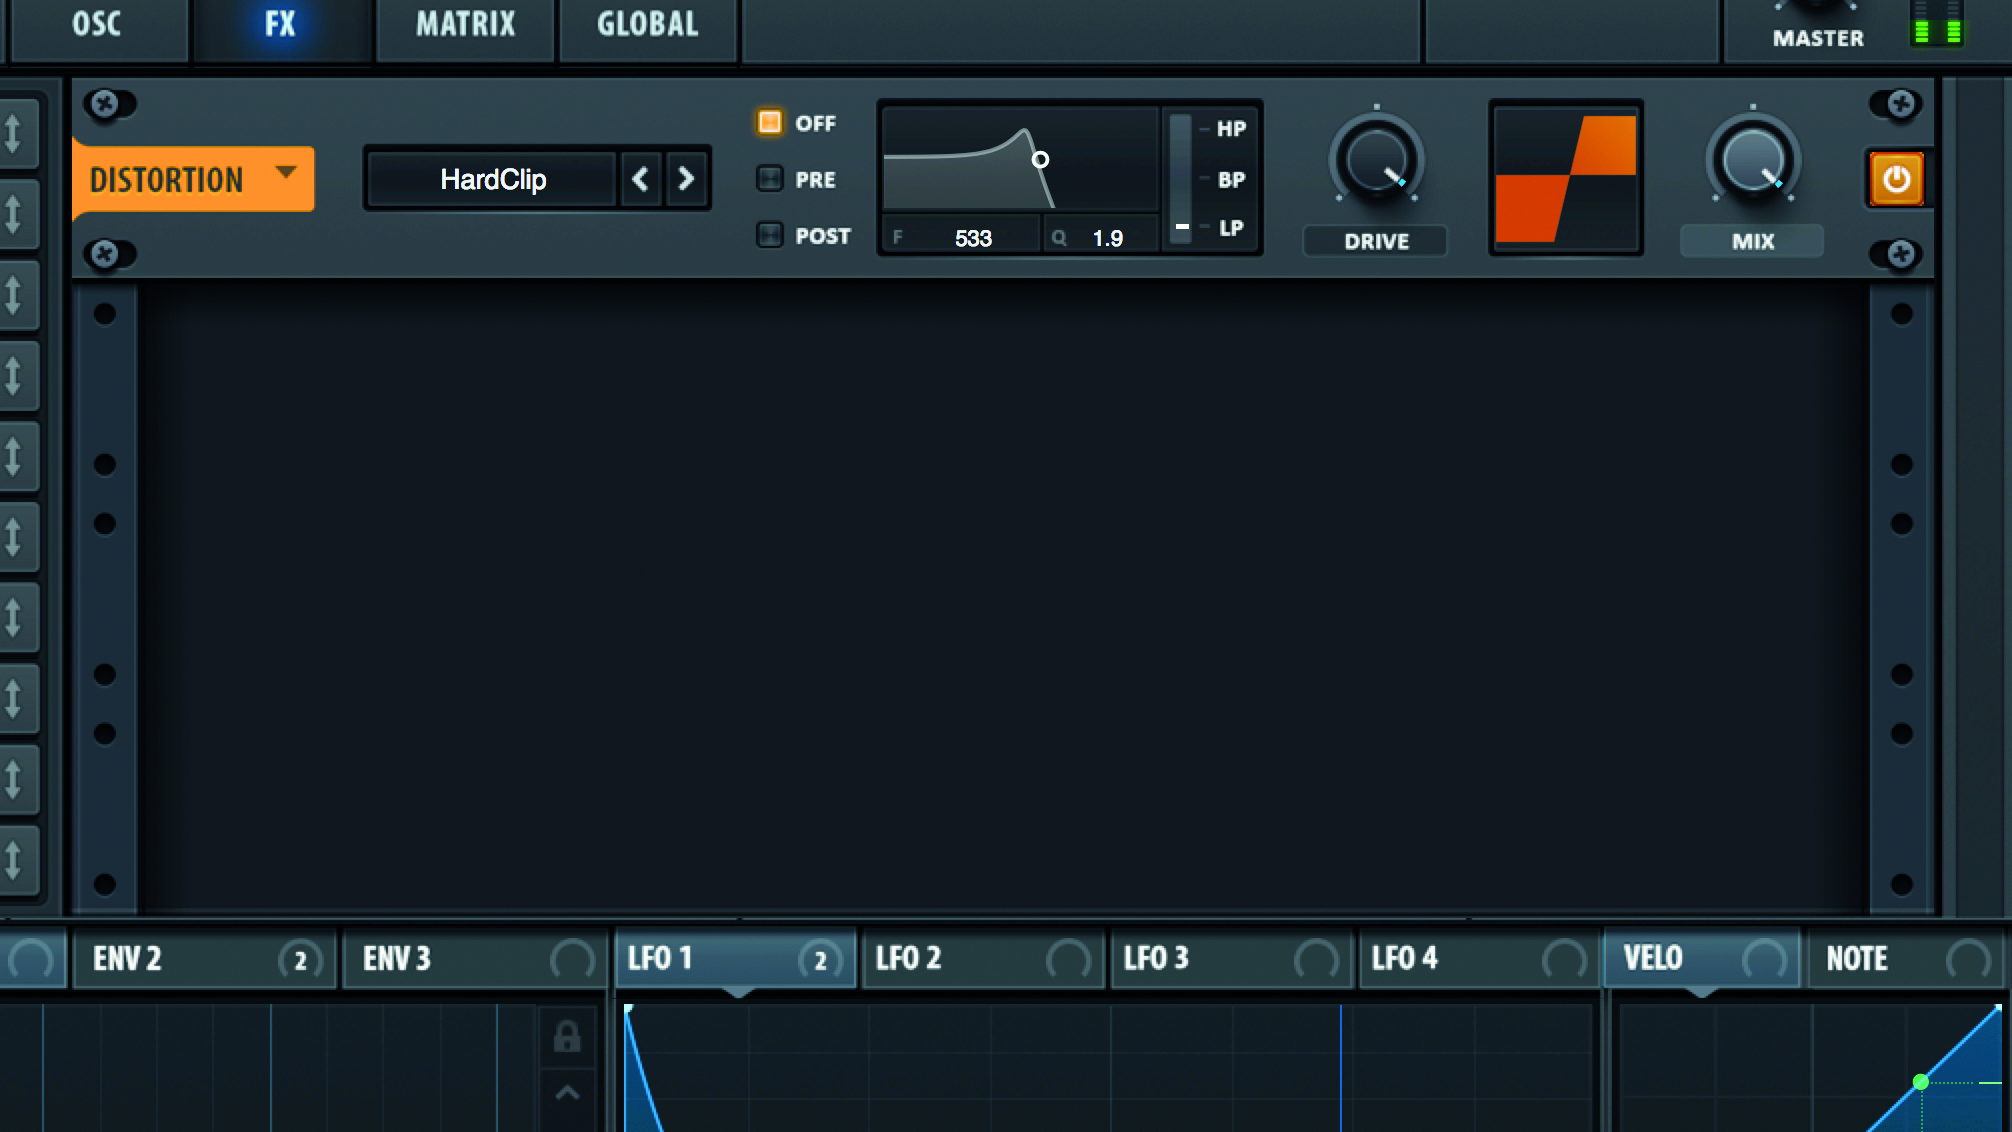
Step 8: Activate the Distortion module first in the vertical chain. Flip it to the Hard Clip mode, then crank up a liberal amount of Drive. This stage of distortion drives all the layers together, flattening out dynamics – but don’t worry, as we’ll add punch back later with compression.
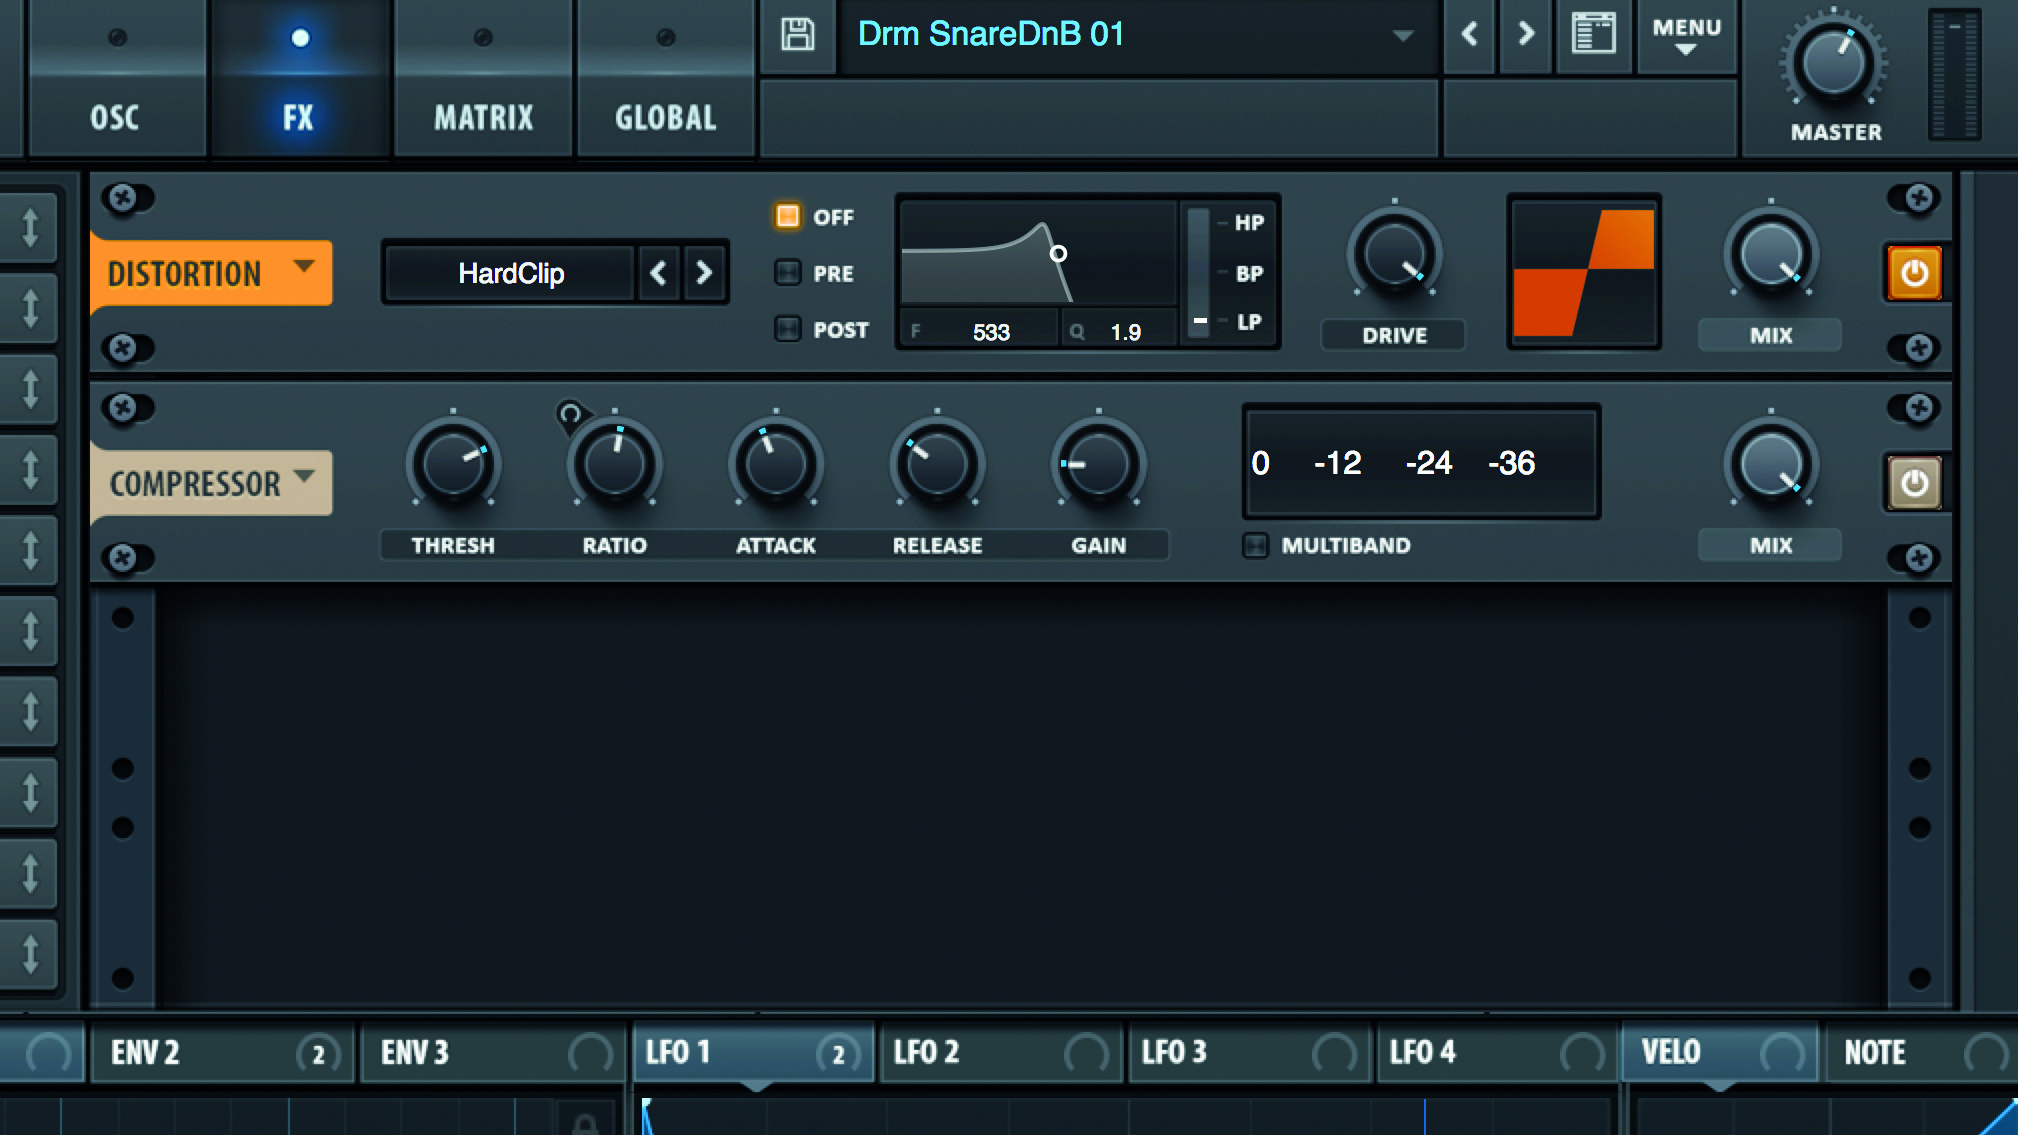
Step 9: Activate the Compressor, then dial in the snare the desired amount of ‘crack’. We’re using a 3:1 Ratio, and a medium Attack setting that allows the start of the hit through before clamping down on the body. Make sure this effect stays at the end of the chain throughout.
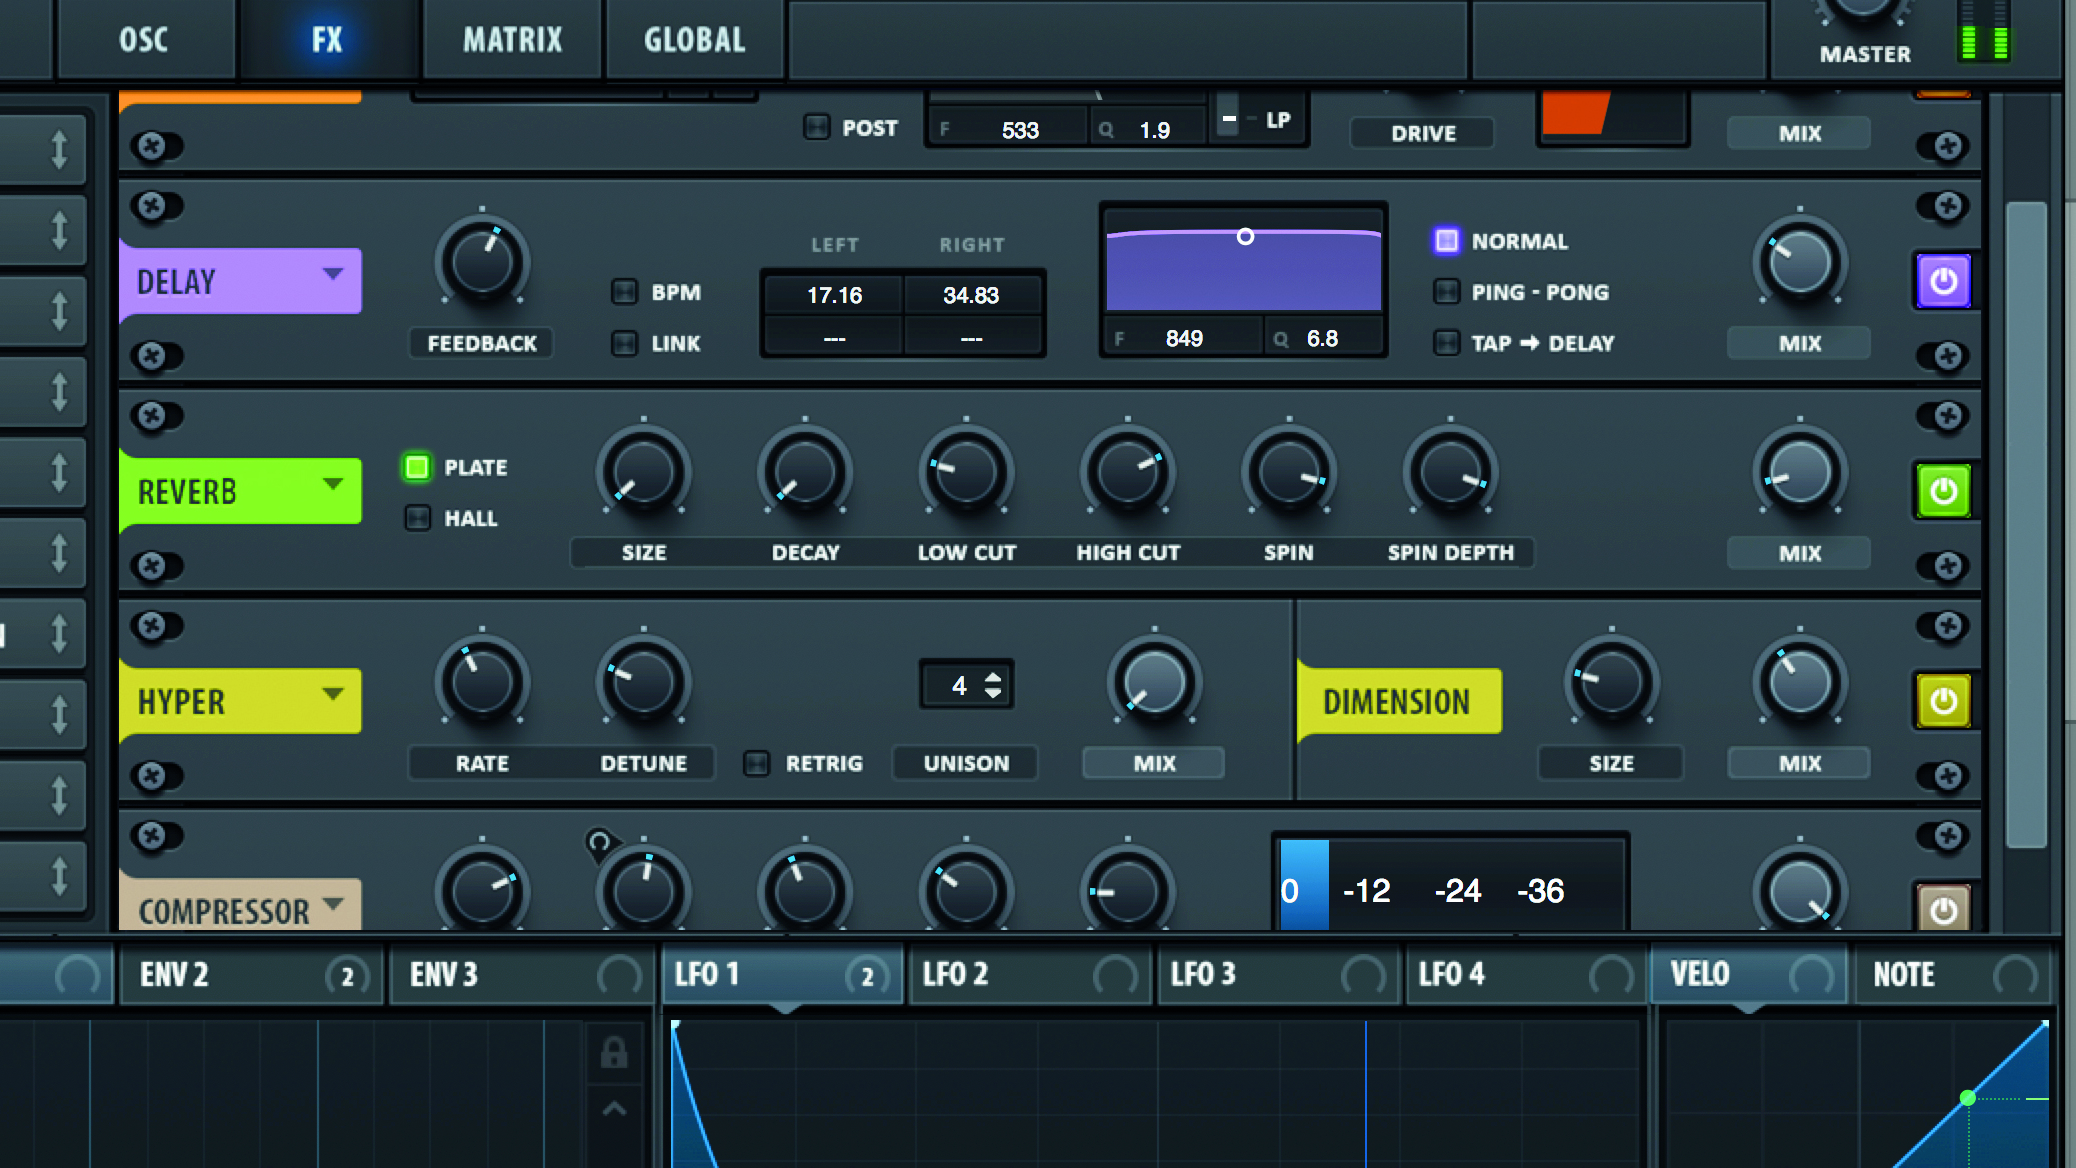
Step 10: A synthetic snare sounds too synthetic in its dry state, but you can use spatialisation and virtual ambience processors to add life and atmosphere. We’re using a ping-pong delay for Haas widening, a tight plate reverb for space, and a Hyper effect for more pseudo-width.
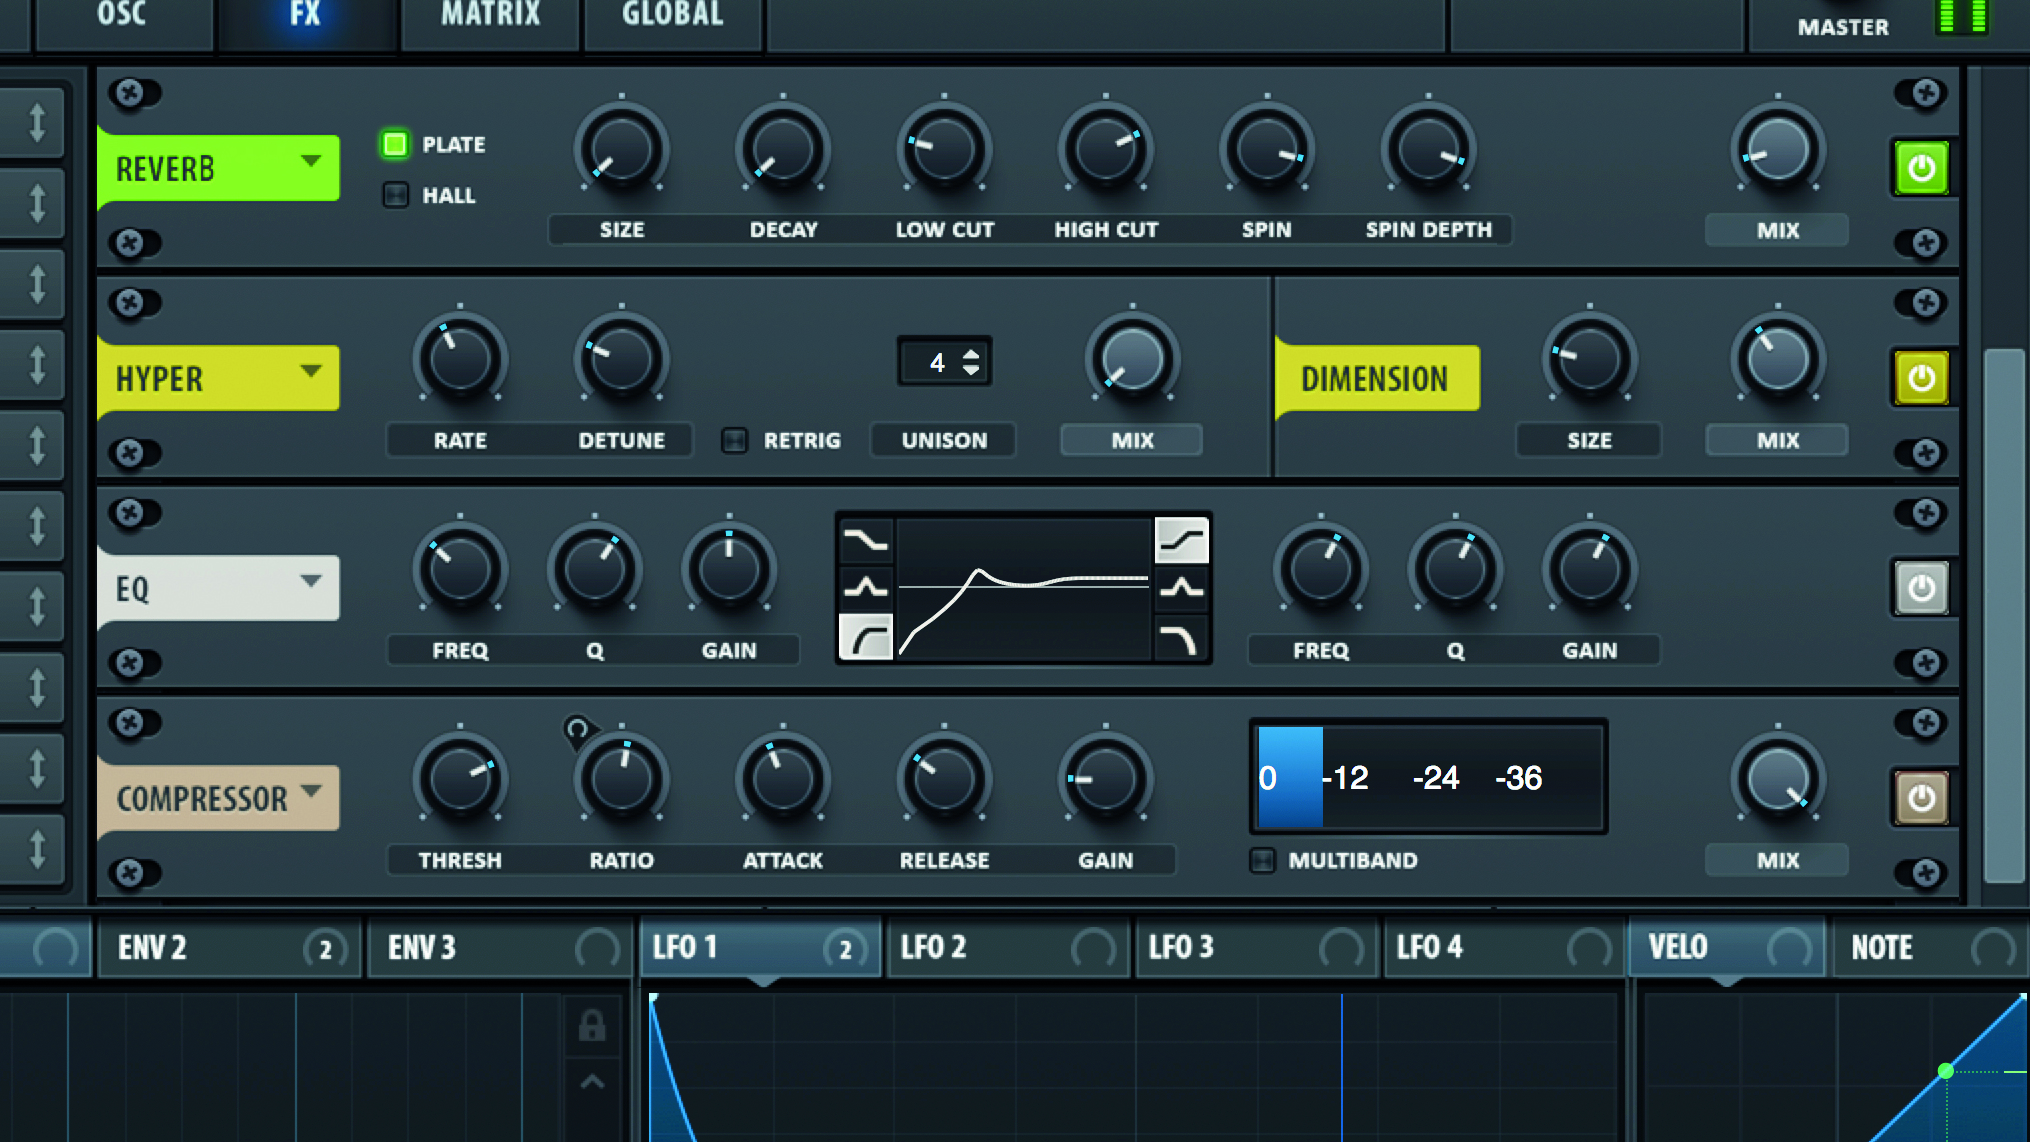
Step 11: Next, head to the EQ device. Place it after the previous three modules but before the compressor. Switch the leftmost band to high-pass mode, then crank up Q and set Freq to boost the snare’s fundamental frequency. If required, use the right band’s high-shelf to push up brightness.
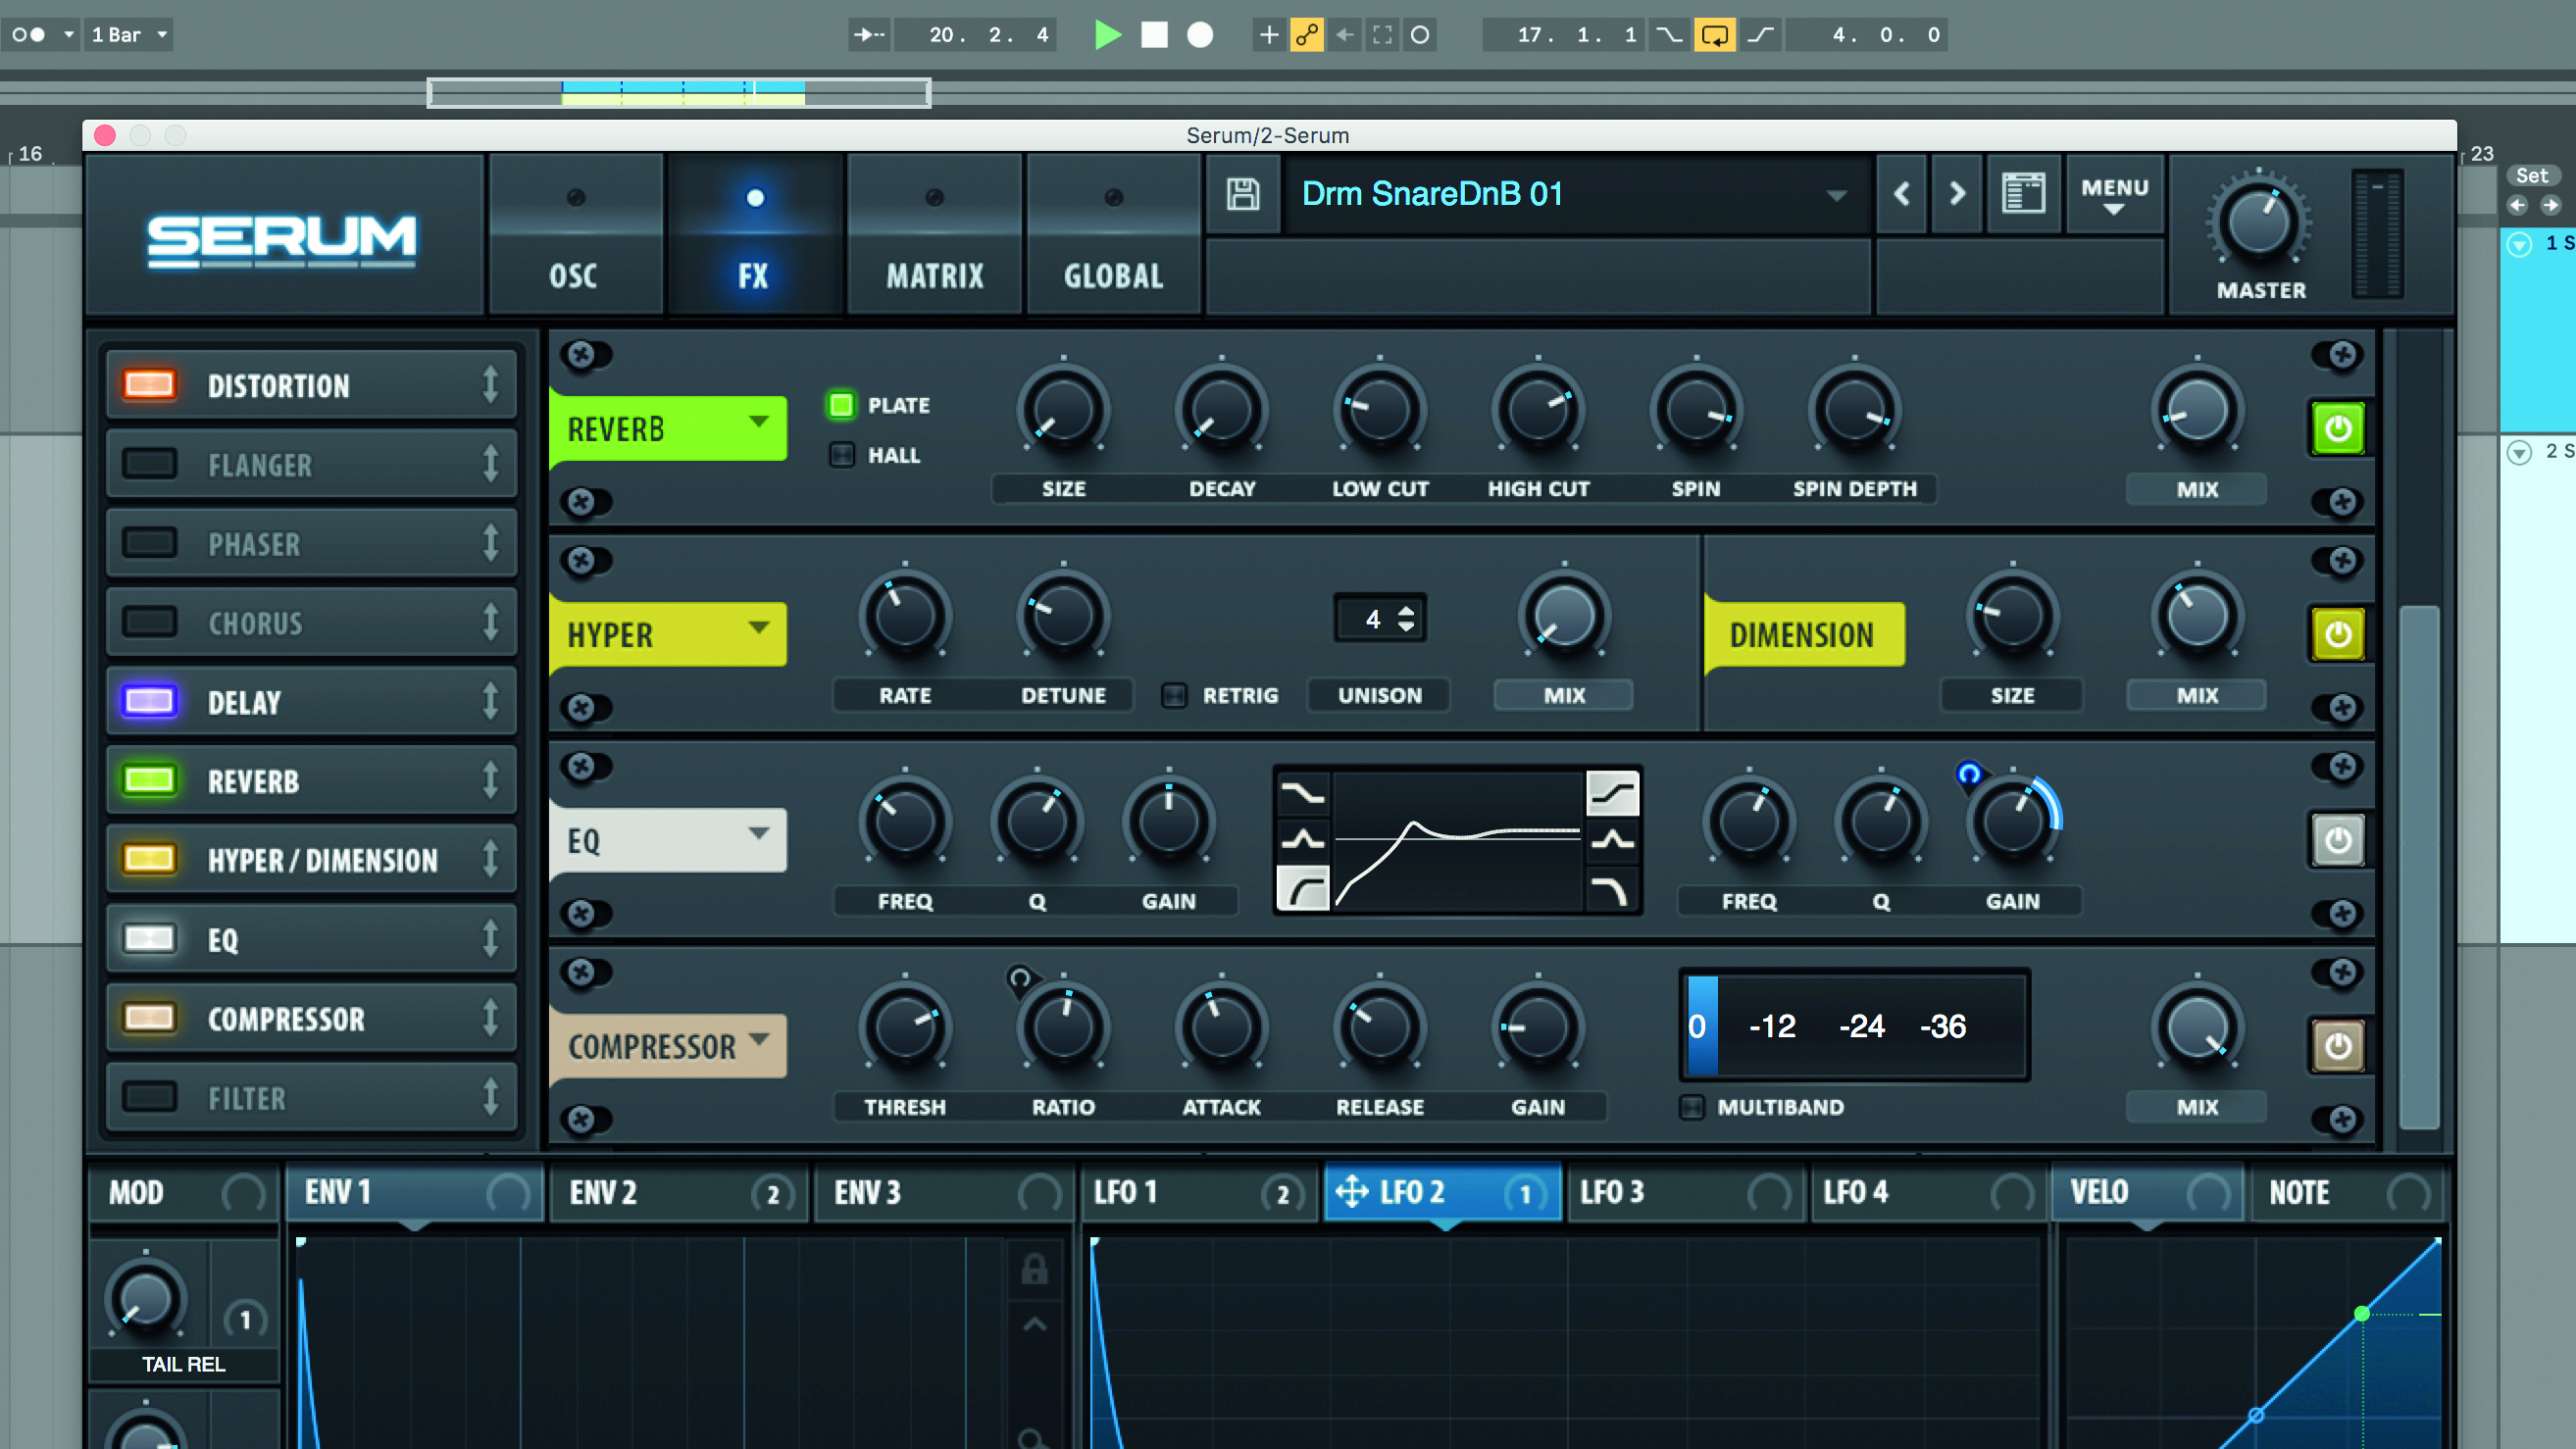
Step 12: One benefit of using a synth’s onboard processors is the fact that you can use its envelopes and LFOs to modulate effects parameters. For example, try recruiting an uber-fast one-shot LFO to sharply increase a high-shelf EQ boost, set up to brighten only the hit’s transient.
Future Music is the number one magazine for today's producers. Packed with technique and technology we'll help you make great new music. All-access artist interviews, in-depth gear reviews, essential production tutorials and much more. Every marvellous monthly edition features reliable reviews of the latest and greatest hardware and software technology and techniques, unparalleled advice, in-depth interviews, sensational free samples and so much more to improve the experience and outcome of your music-making.


