How to create insane drum loop sequences with Serum's oscillators and LFOs
Steve Duda's incredible soft synth is equipped with everything you need to make larger-than-life beats
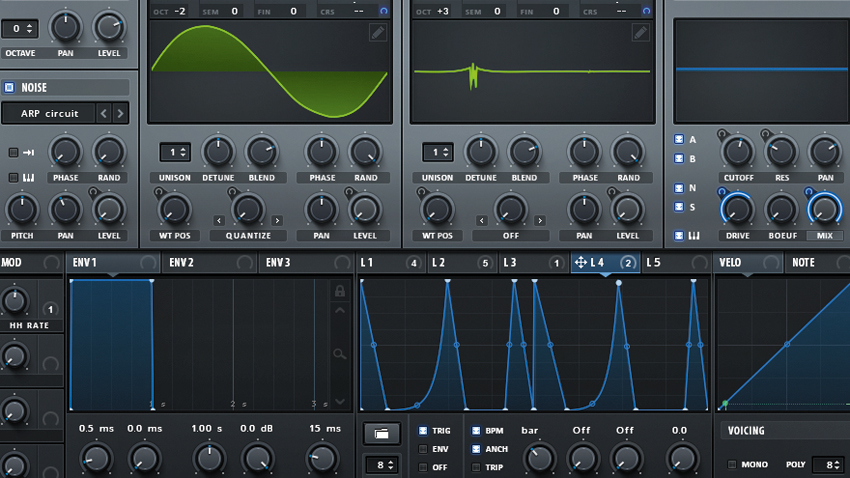
Developed by enigmatic DSP wizard and long time Deadmau5 collaborator Steve Duda, Serum is widely heralded as a powerhouse of the soft-synth landscape.
Its wavetable, sub and noise oscillators give it incredible flexibility in terms of raw signal generation, while the four freeform LFOs enable tempo-synced modulation of any level of complexity.
In this tutorial, we'll show you how to turn Serum into a drum machine of sorts, with the oscillators producing kick, snare and hi-hat sounds, and the LFOs providing rhythmic sequencing.
For more creative synthesis walkthroughs and tips, check out the full Power Synth Sessions cover feature in the April edition of Computer Music.
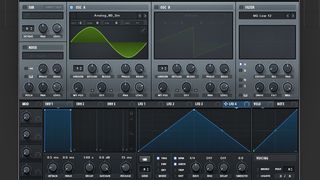
Step 1: Serum’s LFO modules enable us to draw any LFO shape we like, so they can be used as step sequencers. Let’s make a multilayered drum loop. First, click Menu > Init Preset, then set all LFOs to Trig, so that they retrigger with every new note. Turn on Osc A, choose Analog_BD_Sin as the wave, and tune Oct to -2.
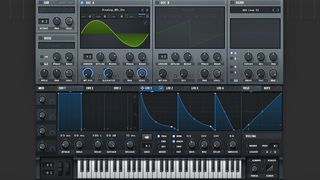
Step 2: Assign LFO 1 to modulate the Level of Osc A and Crs tune, draw the kicks into the LFO table as above (Alt-click to snap to grid). Set LFO 1’s Rate to 1/2 and switch the CRS Pitch modulation to Unipolar via the arrow in the Matrix panel. Fuzz things up by setting Warp mode to Quantize and assigning LFO 1 to modulate WT POS and Warp Depth.

Step 3: Now we’ll add a weird, tonal snare sound into the mix: turn on Osc B, choose the PWM Maths wave, and push the Oct tuning +3. Set LFO 2’s Rate to 1/2 and draw the snare shape into the LFO table. To get the snare sound pumping, assign LFO 2 to modulate the Level, Wt Pos and CRS tuning of Osc B.
Get the MusicRadar Newsletter
Want all the hottest music and gear news, reviews, deals, features and more, direct to your inbox? Sign up here.

Step 4: Let’s add some hi-hats to get things rolling. Head over to the Noise oscillator and select ARP Circuit in the menu. Pan the noise slightly to the left to add some stereo interest, then draw rhythmic hi-hat shapes into LFO 3. You can add some swing to the hi-hats by delaying the second and fourth transients a tiny bit off the grid.
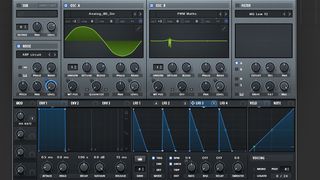
Step 5: Set LFO 3’s Rate to 1/4 and, as with the kick and snare, assign it to modulate the Level, this time of the noise oscillator. For performance control, assign a Macro control (bottom left) to control LFO 3’s Rate, so you can change the speed of the hi-hats with the turn of a knob.
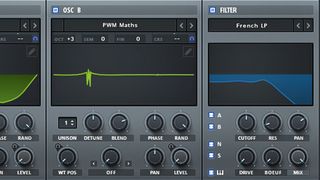
Step 6: For flavour, turn on the Filter and choose the French LP filter type, which packs a unique squealing, distorted character. Turn on A, B, N, and S, so that all our oscillators are routed through the Filter. Activate Keytrack, so the Filter parameters follow the keyboard, then add some Pan for more stereo width.
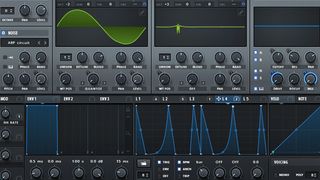
Step 7: Let’s modulate various Filter parameters for even more interest. Send LFO 2 to modulate the filter Cutoff (set to Unipolar in the Matrix) and Resonance, to highlight the snare. Next, activate LFO 4, set its Rate to bar, and assign it to the Filter’s Drive and Mix parameters. Draw in a shape to add some rhythmic distortion to the loop.
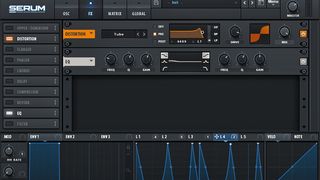
Step 8: Time to process our loop! Head to the FX panel, activate the Distortion module in Tube mode, and add a little Pre LP filtering to roll off the harsher high frequencies. Next, push the Drive up and feel that crunchy goodness! Let’s also add an EQ into the FX chain and boost the low end with a shelving filter, until we get a nice bit of low-end rumble.
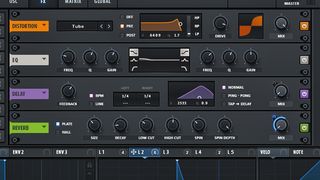
Step 9: Add a Delay into the effects chain after the EQ, filtering the Delay output to keep things subtle. Now assign the hi-hat LFO (LFO 3) to modulate the Mix, and give the loop some shuffling delay variation. Finally, add in a wide Plate Reverb at the end of the FX chain, and give the snare some width by setting LFO 2 to modulate the Mix.
Computer Music magazine is the world’s best selling publication dedicated solely to making great music with your Mac or PC computer. Each issue it brings its lucky readers the best in cutting-edge tutorials, need-to-know, expert software reviews and even all the tools you actually need to make great music today, courtesy of our legendary CM Plugin Suite.

"If I wasn't recording albums every month, multiple albums, and I wasn't playing on everyone's songs, I wouldn't need any of this”: Travis Barker reveals his production tricks and gear in a new studio tour

“My management and agent have always tried to cover my back on the road”: Neil Young just axed premium gig tickets following advice from The Cure’s Robert Smith


