How to create evocative textures from a single sound source
We take a haunting piano line and make a textural background entirely from the original MIDI

When normal reverb won't cut it, you can render your sounds to audio to create complex, deep, modulated tones.
Here, we're going to take a piano line on an instrument channel, bounce it to audio and turn it into an intricate texture that sits behind, adding a background bed of whirling sound behind the original. You can follow along using any piano or keyboard sound, along with similar plugins.
You can get more advice and inspiration on creating atmospheres and ambience in Future Music 316.
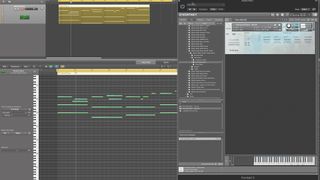
Step 1: We’re starting with the main Muted Piano from Spitfire Audio’s Olafur Arnalds Toolkit sample library, with no additional processing added. While beautiful in its own right, it also sets the imagination racing in terms of how much further the sound could go to become reframed in a new context.
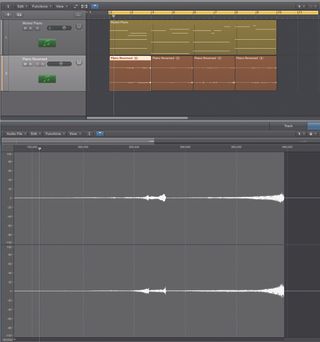
Step 2: We bounce the piano part as an audio file and import this onto a new audio track. Then, we chop the file into two-bar chunks and reverse each. We can’t reverse the whole file as the harmony would get messed up. By chopping each phrase, we keep the reverses and the MIDI part aligned.
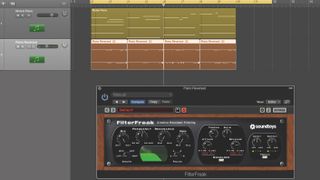
Step 3: We want the echoes to feel more blunted and blurred than the lead piano line, so we start by dropping the volume of these reversed slices. Then we limit their tone, by applying a two-pole low-pass filter, with cutoff set around 900Hz.
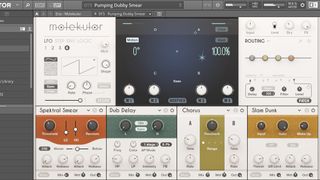
Step 4: We set up NI’s Molekular on the next insert of the reversed piano channel. It’s effective when effects treatments clock to the tempo of your track, so we turn to the Rhythmic options and select Pumping Dubby Smear. This provides four chained effects which warp the sound further.
Get the MusicRadar Newsletter
Want all the hottest music and gear news, reviews, deals, features and more, direct to your inbox? Sign up here.
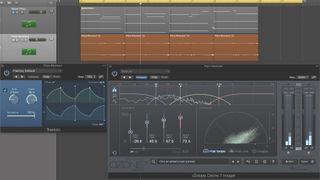
Step 5: Next we add width via two steps. Firstly, we use an Auto-panner (Logic’s own Tremolo plugin) to shift the sound from left to right over two bars. Then, we add iZotope’s Imager plugin from the Ozone 7 bundle to add extra stereo width.
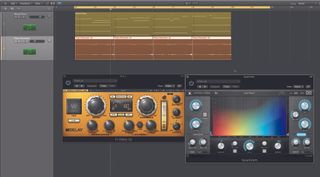
Step 6: We want a spacious reverb, so we use a dark and lengthy treatment from UVI’s Sparkverb. Then we add a dotted eighth-note delay (1/8), which is also fed to the reverb. Only the delay is added to the reversed pianos, while the reverb is added to both the main piano and the reversed edits.
Despite the piano behind wonderfully evocative from the start, our processing has added a unique texture and a sublime sense of depth behind it. Where you go from here – if anywhere – is up to you.
Future Music is the number one magazine for today's producers. Packed with technique and technology we'll help you make great new music. All-access artist interviews, in-depth gear reviews, essential production tutorials and much more. Every marvellous monthly edition features reliable reviews of the latest and greatest hardware and software technology and techniques, unparalleled advice, in-depth interviews, sensational free samples and so much more to improve the experience and outcome of your music-making.

