How to create a kick/gliding bass combo using Native Instruments TRK-01
Program the fundamentals of an urban groove with NI’s self-contained Reaktor Player instrument
The relationship between the kick drum and bassline is arguably the most important single consideration in dance music production. Getting those two essential elements working together and sounding cohesive without competing for space in the low frequencies is as tricky to get right as it is rewarding once you’ve done so.
Native Instruments’ TRK-01 Reaktor Player instrument gives you the means to generate both kick and bass sounds within a single interface, and sounds fantastic doing it. In this tutorial, we’ll show you how to put it to work.
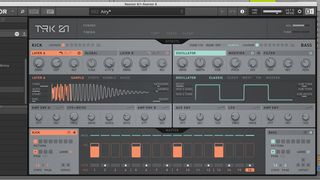
Step 1. Native Instruments’ TRK-01 makes it simple to create a powerful, punchy kick and bass combo patch that’ll work well in trap, grime or drill production. Let’s see how it’s done. Add Reaktor 6 onto a new MIDI track. Choose TRK-01 from the Player tab (left hand side) and load it up.
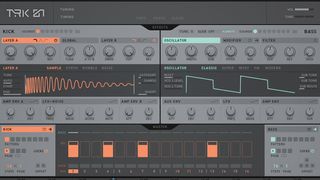
Step 2. To reset TRK-01, load the Init preset. We’ll start by programming in a kick pattern: double-click on steps 4, 7 and 13 in the kick step sequencer (bottom centre) to get a basic pattern going. To prevent our kick and snare from occurring on the same note, delete the note from step 9 by right-clicking on it. Next, we’ll shape our kick sound…
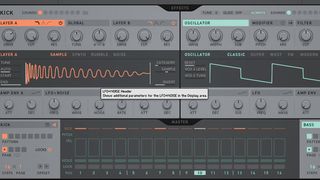
Step 3. We can cycle through TRK-01’s library of kick samples to find something that suits our track by using Layer A’s Sample slider (centre). In this case, Kick 12 punches through the mix nicely. Pushing Layer A’s Drive to around 70 gives the kick more density, while reducing the Decay to around 200ms makes the kick sound tighter.
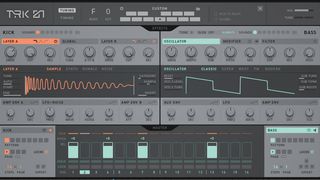
Step 4. Let’s turn our attention to the bass. Select the Bass header (bottom right) to reveal the bass sequencer, then double-click steps 1, 4, 7 and 13 to create bass notes that mirror the kick pattern. Set TRK-01’s tuning to match the key of our track by opening the Tuning tab (top centre) and setting Root to F.
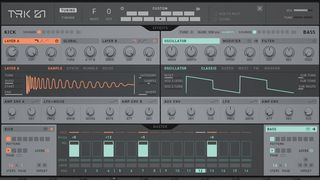
Step 5. Make the bass notes longer by adjusting the amp envelope; set the Decay to 2 seconds and reduce the Sustain to 10. Adjusting the tuning of step 4 to +12 and step 7 to +5 gives the bassline a more musical feel. Make the pitch of each note glide from the previous one by setting Glide to around 400ms.
Get the MusicRadar Newsletter
Want all the hottest music and gear news, reviews, deals, features and more, direct to your inbox? Sign up here.
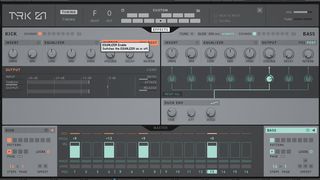
Step 6. Sculpt the bass tone by turning on the Filter and setting the Cutoff to 400Hz with Resonance at 20 to give a more weighty sound. To finish, open the Effects tab and use the Duck envelope to reduce the bass’s volume whenever the kick hits. We’ve gone for a subtle level of ducking, with a time of around 80ms.
Computer Music magazine is the world’s best selling publication dedicated solely to making great music with your Mac or PC computer. Each issue it brings its lucky readers the best in cutting-edge tutorials, need-to-know, expert software reviews and even all the tools you actually need to make great music today, courtesy of our legendary CM Plugin Suite.

