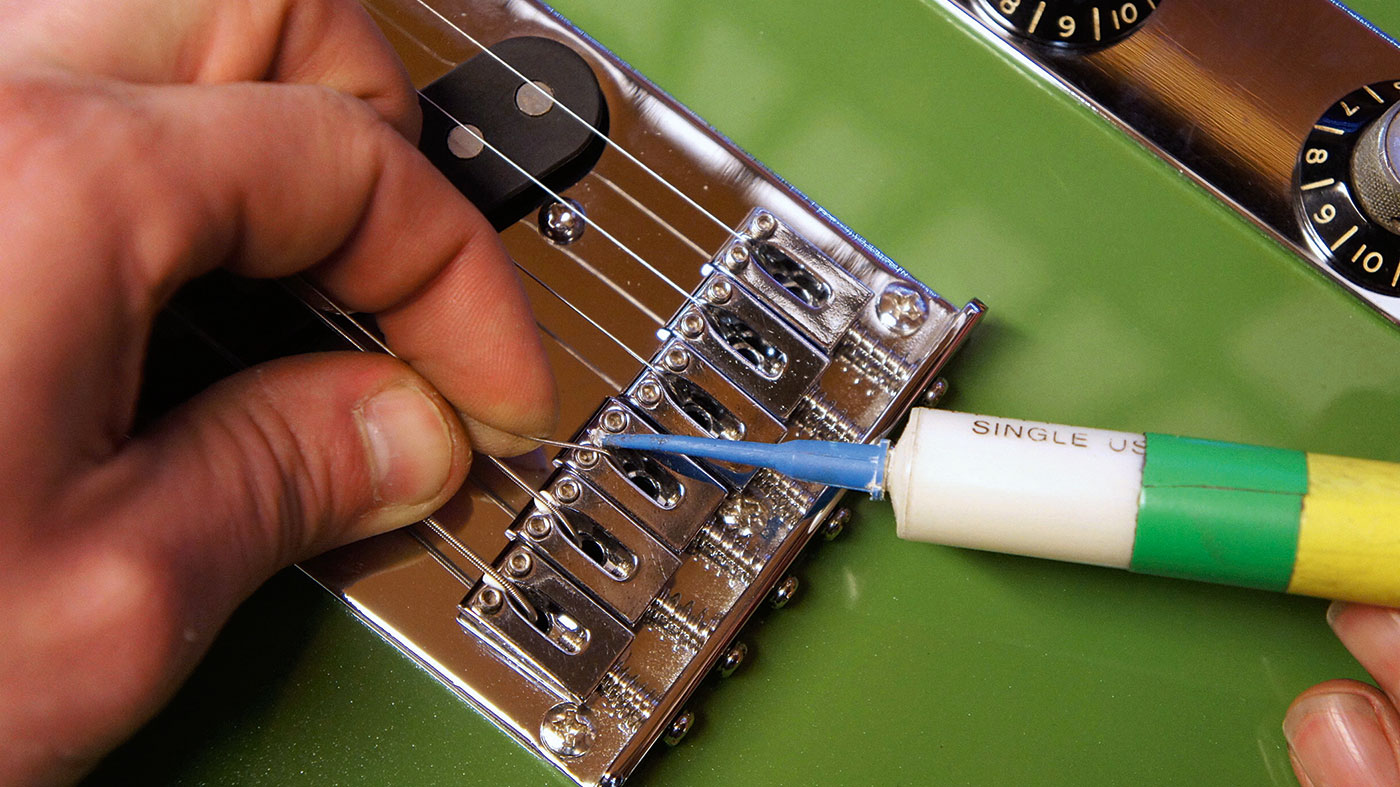
How to block your Stratocaster's tremolo for greater tuning stability
Tame your Fender's vibrato by blocking it off

Many Strat players don’t use the tremolo that invariably comes fitted with the guitar.
While the design is great and they can be set up to play in tune, often that maintenance falls by the wayside and the tuning becomes unreliable. And if you never use the tremolo, blocking it off can get you some great results.
You’ll get much better tuning stability and, when it’s done properly, greater sustain too! We’ve seen all kinds of items jammed inside the tremolo on the back, such as two pence pieces, Lego, cigarette lighters, playing cards and, would you believe, Blu Tack!
A nice hardwood wedge performs the best, so spend some time on it, get the angle right and it will reward you. There’s only a small amount of setup required for this two-point tremolo type system, which we’ll cover below. This easy mod is by no means permanent: you can take it out easily enough as it’s just pressure fitted and bung it in your gigbag.
What you need
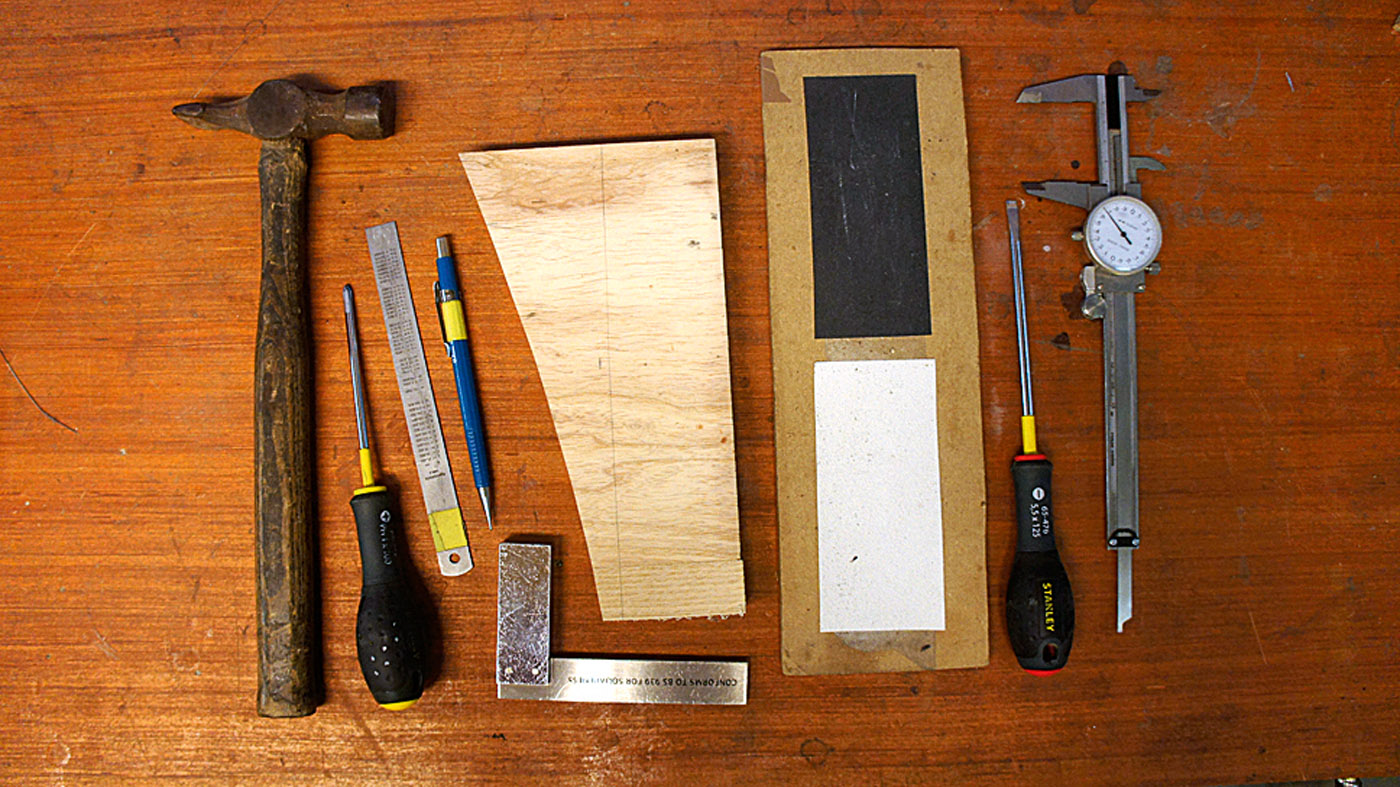
- Ruler (Optional)
- Calipers
- Sharp pencil
- Screwdriver(s)
- Allen keys
- Set square
- Sanding board
- Tenon saw
- Bandsaw
- Bench belt sander
Step 1
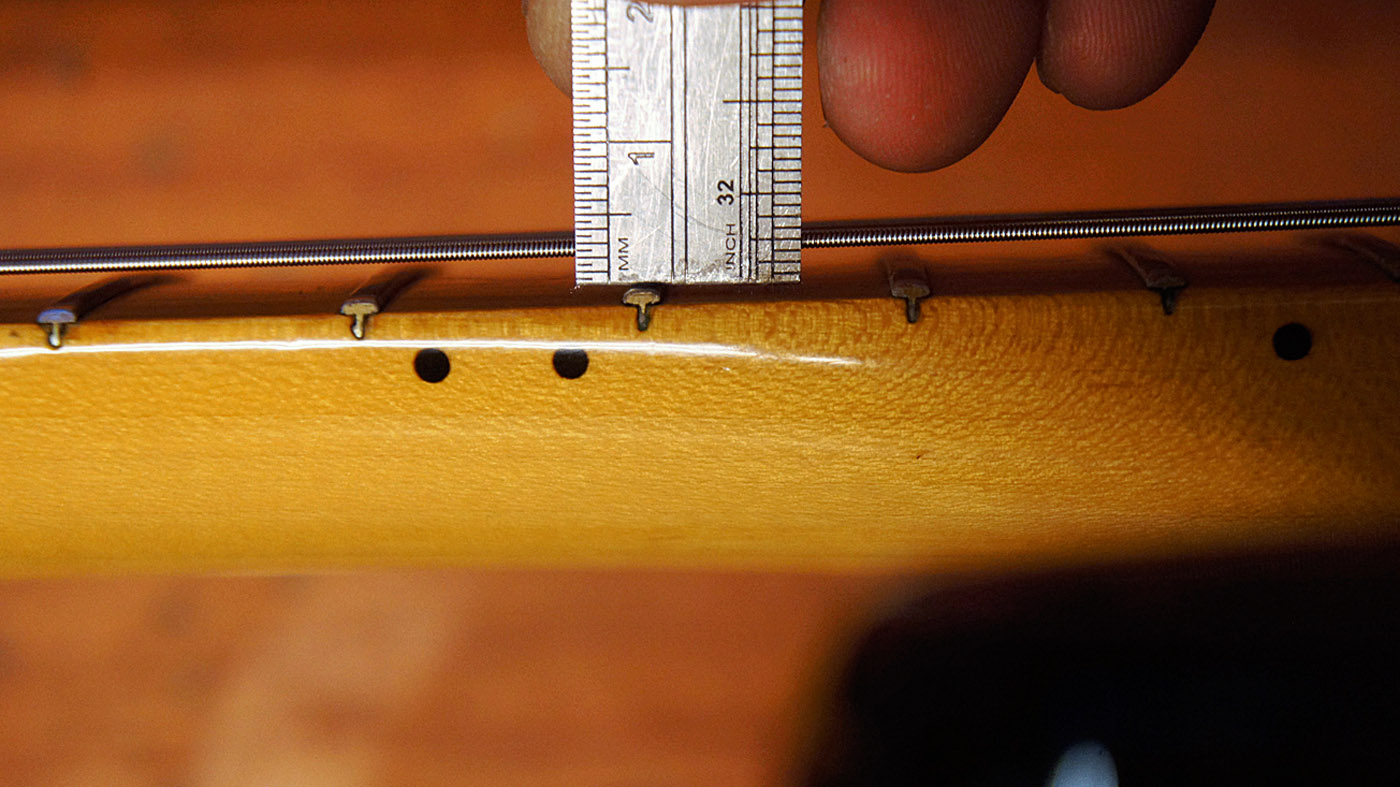
Now’s the time to set your action up. If it’s already set, take a measurement at the 12th fret. A good example for most players would be sixth string: 2mm and first string: 1.5mm from the bottom of the string to the top of 12th fret. Make sure that you have set the correct radius curvature on the saddles too.
Step 2
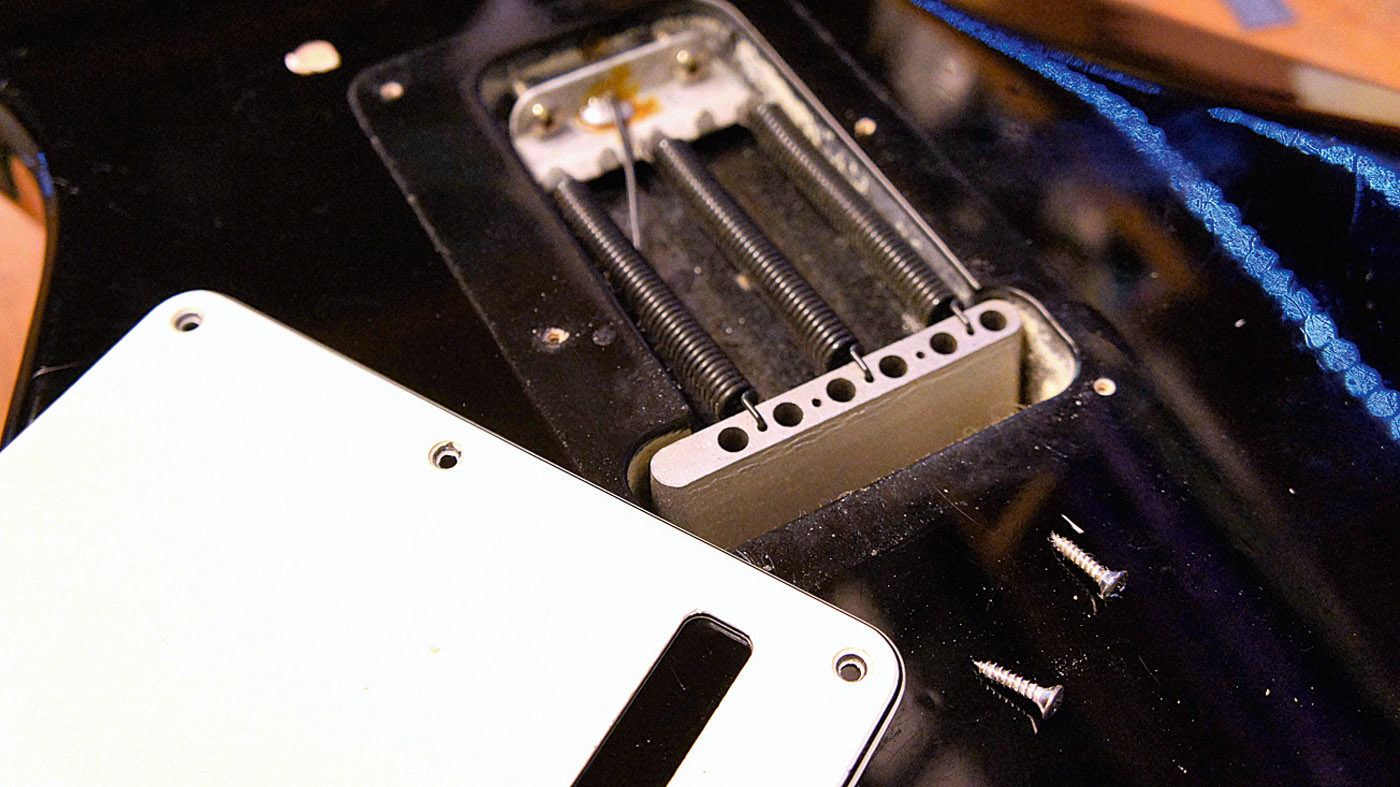
Remove the tremolo cover from the rear of the instrument. If you’ve never looked in here before these springs are the source of that drone you can hear acoustically on your Strat. Tighten the two long wood screws to add more pressure on the spring. That should pull the tremolo heel back downwards to touch the paintwork.
Step 3
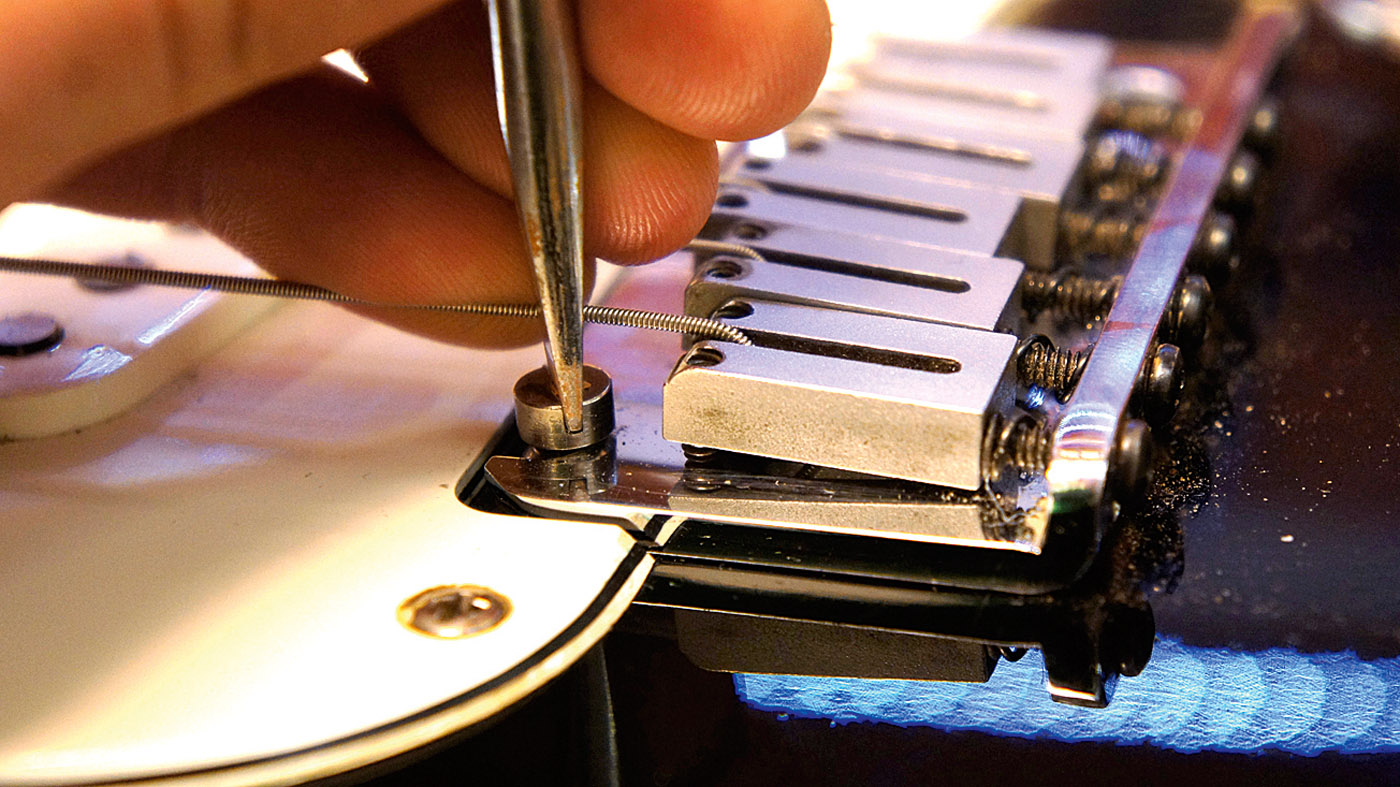
The two-point tremolo system makes the tremolo chrome plate float at the front as well as the back. Let’s set the toe down with the flathead screwdriver. Check very carefully that you’re not over-tightening it. The tremolo plate’s knife edge should be sitting in the posts nicely, not resting any higher or even on the threads.
Get the MusicRadar Newsletter
Want all the hottest music and gear news, reviews, deals, features and more, direct to your inbox? Sign up here.
Step 4

Set the other side’s post down using the same method. You can see what happens when you over-tighten the post: it forces the toe down too much and causes the heel of the tremolo to raise up. Play with the height until it’s resting on the paint and not messing with the heel height . Make sure you get both posts right.
Step 5
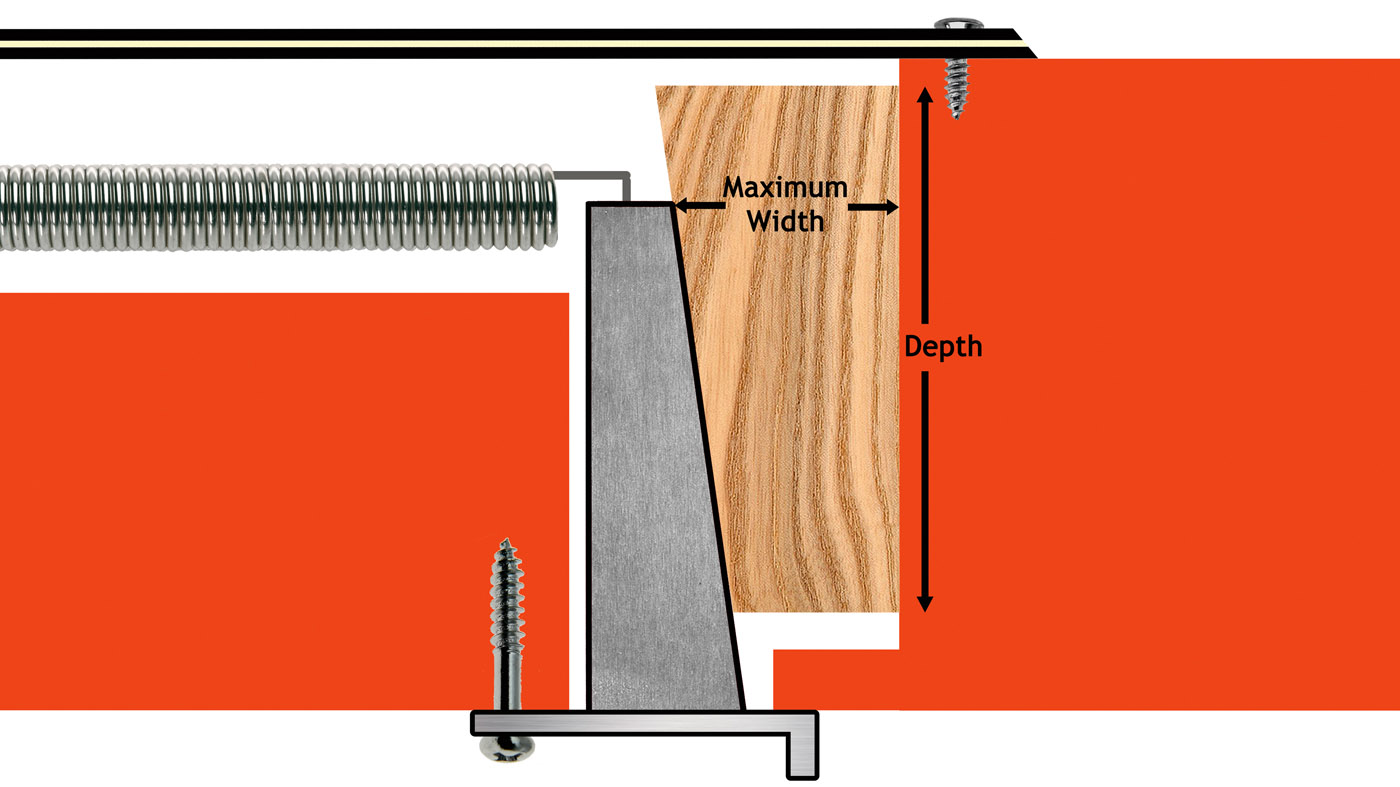
Now we’ve lowered the tremolo we’ll need to restore the saddles to the same action setting as before using the 12 grub screws on the saddles. The new block wedge is driven in-between the tremolo’s metal body and the tremolo cavity’s wall. The block should have maximum contact with the shape of the metal.
Step 6
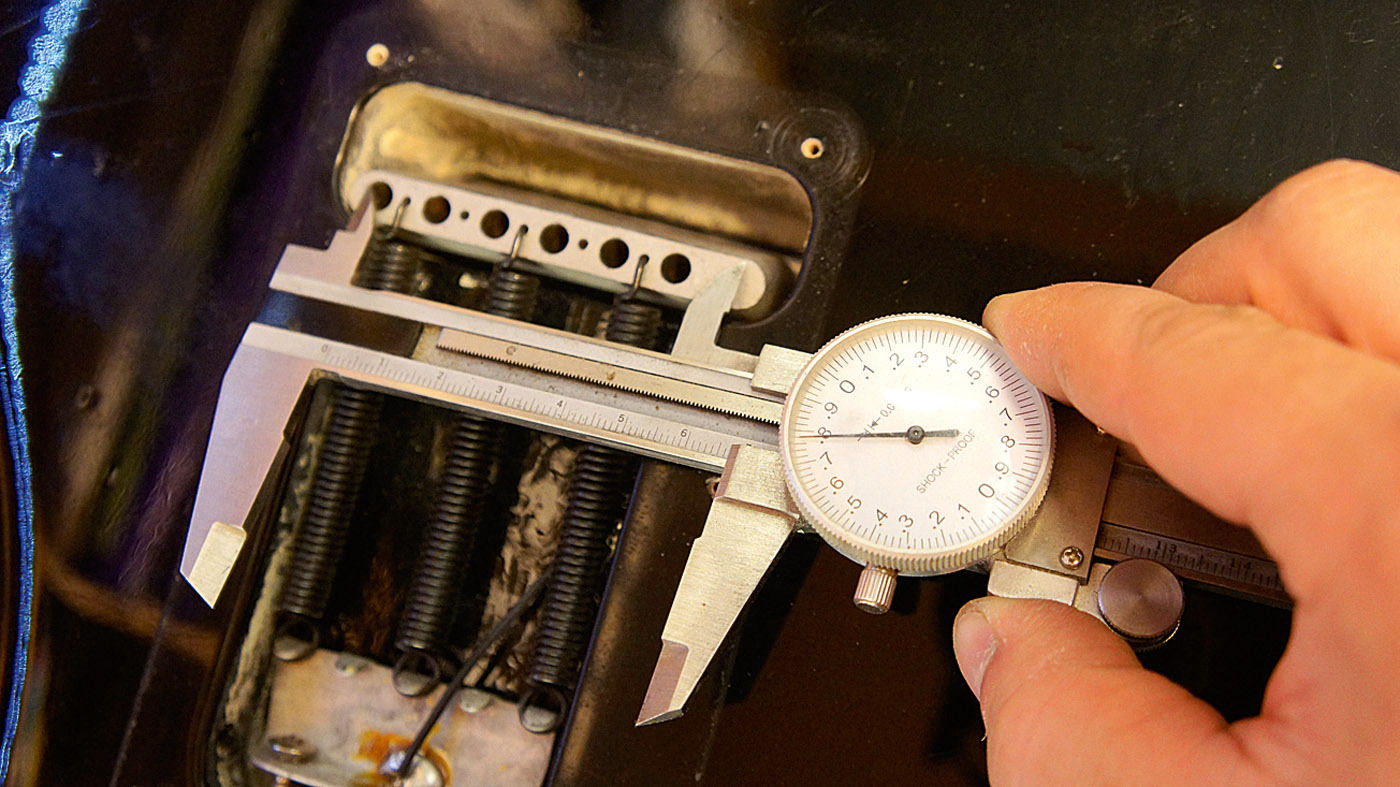
Measure the dimensions for the block we need to make. With the length, avoid the rounded edges of the rout as they make it awkward. The width we will add an angle onto. Take note of the measurement between the metal and the rout. We will oversize that and leave a small overhang (as shown in the diagram to the left).
Step 7
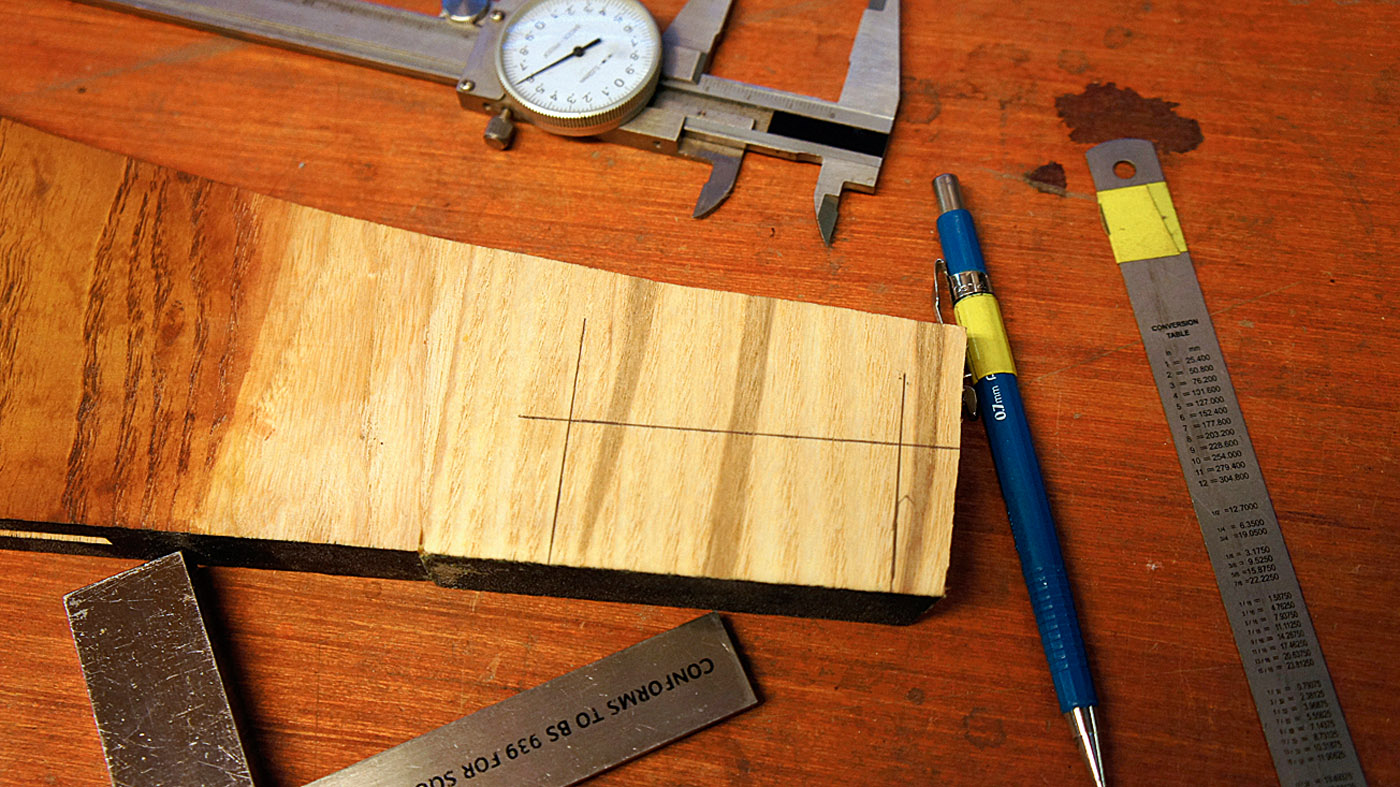
Transfer your three measurements onto the timber. We have marked the length and the depth. You may have to play with the depth but it’s the least critical measurement. We’d expect roughly 35mm for depth allowing for a little air gap. We will angle the width later by sanding; it will also be a little oversized, as per the diagram.
Step 8

Chop the timber out with a saw. If your sawing skills are dubious, oversize it and then sand back. We’re using a bandsaw here but a vice and a decent tenon saw work nicely. Just watch those fingers! In case you’re wondering, the timber we’ve used here is a lovely piece of ash.
Step 9
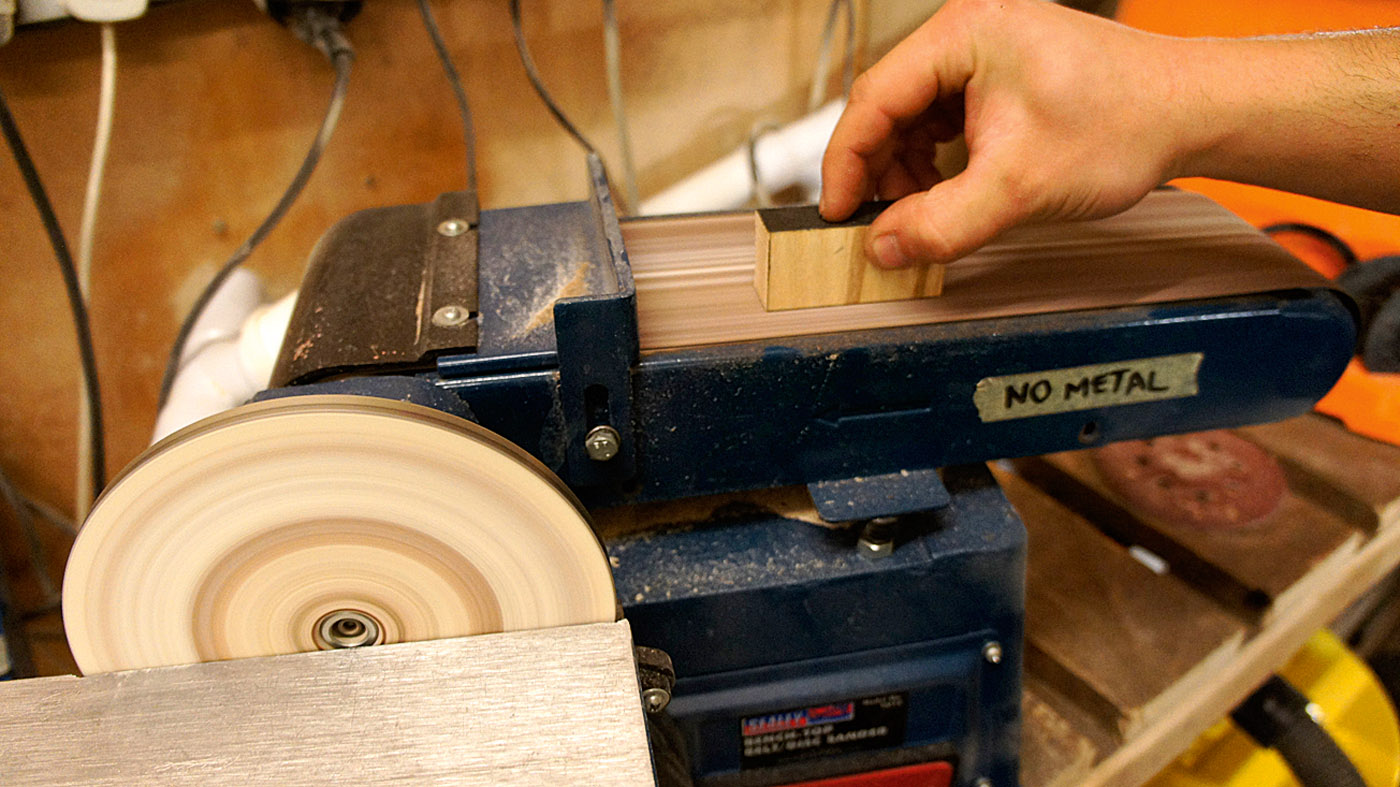
Now sand the block flat on its edges, the saw will always leave marks. Here we’re cheating using a bench belt sander to get it done fast! If you don’t have one, a flat board with 80-grit coarse sandpaper will work just as well. Be careful to stay within your pencil lines, take time to check your measurements will fit.
Step 10
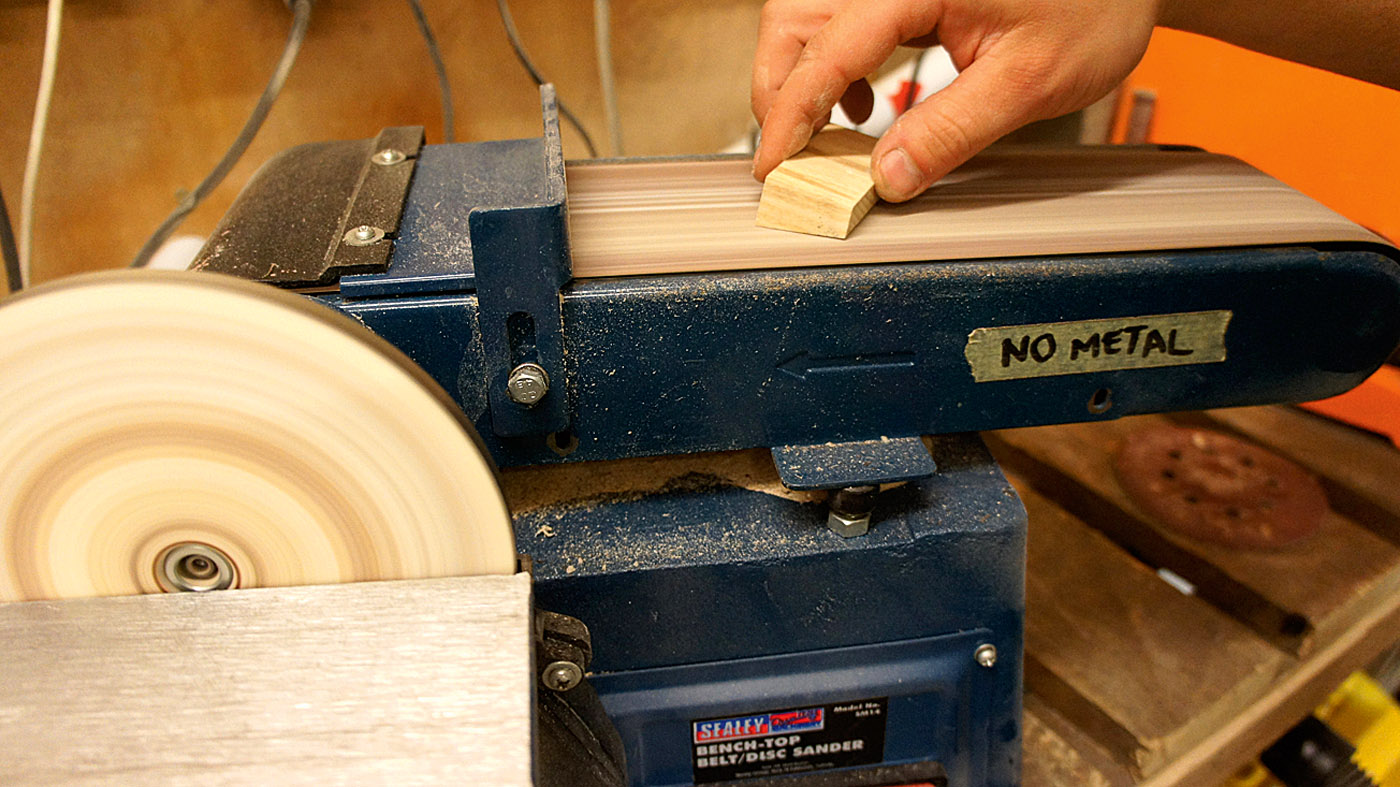
Let’s add that angle on. It’s a bit of trial and error, always erring on the side of caution. We always advise repeating the test fitting to check you’ve not gone too far. We cut ours by guessing the angle visually, testing it and sanding a little more off. Sawing off the bulk of the angle is the way to go especially if you’re hand sanding!
Step 11
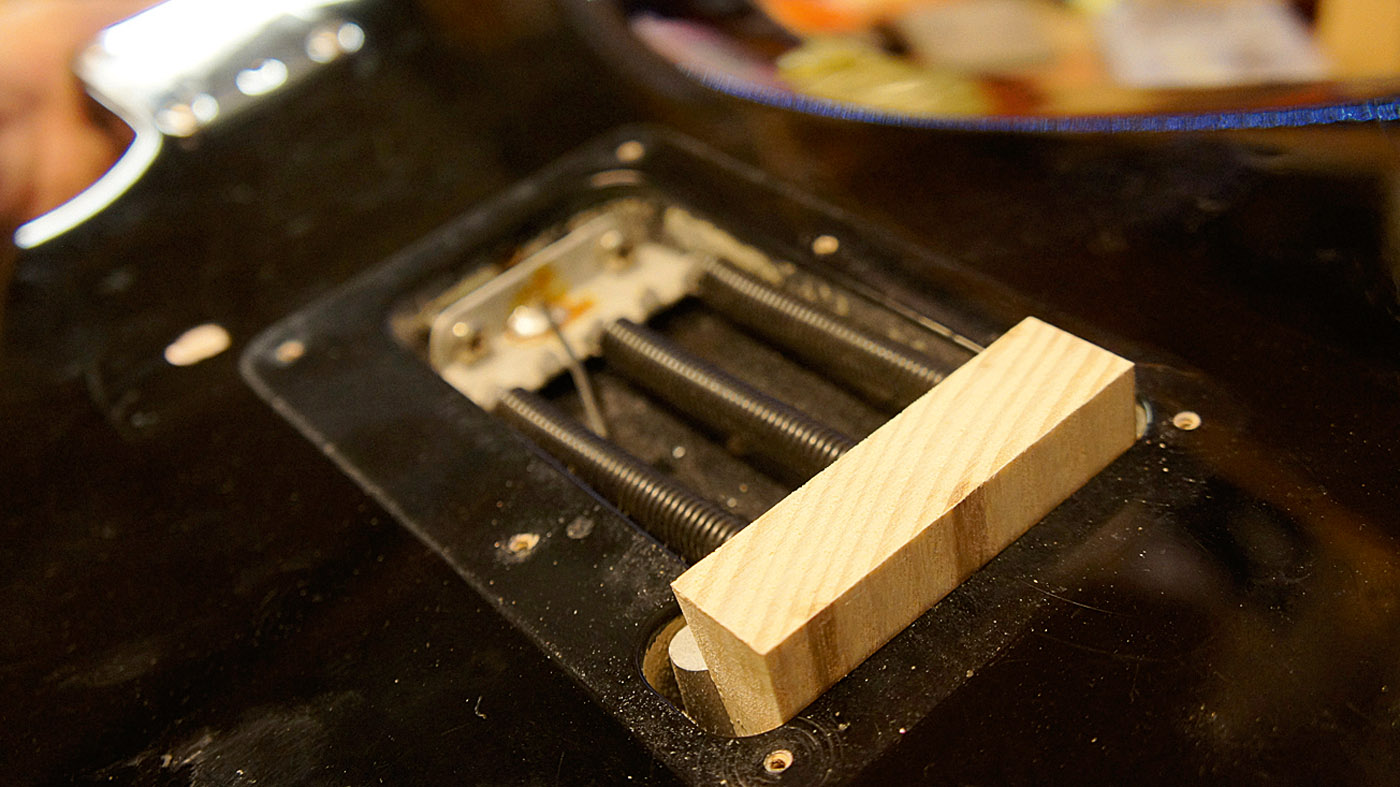
Test fit it over and over again; you want to remove a little and see how you did, because we’re after a snug fit with minimal air gap. Don’t forget, we’re overhanging the wedge a little. By the way, it’s common for one side to be tighter than the next! That means Fender have routed the cavity slightly off. So just sand to suit.
Step 12
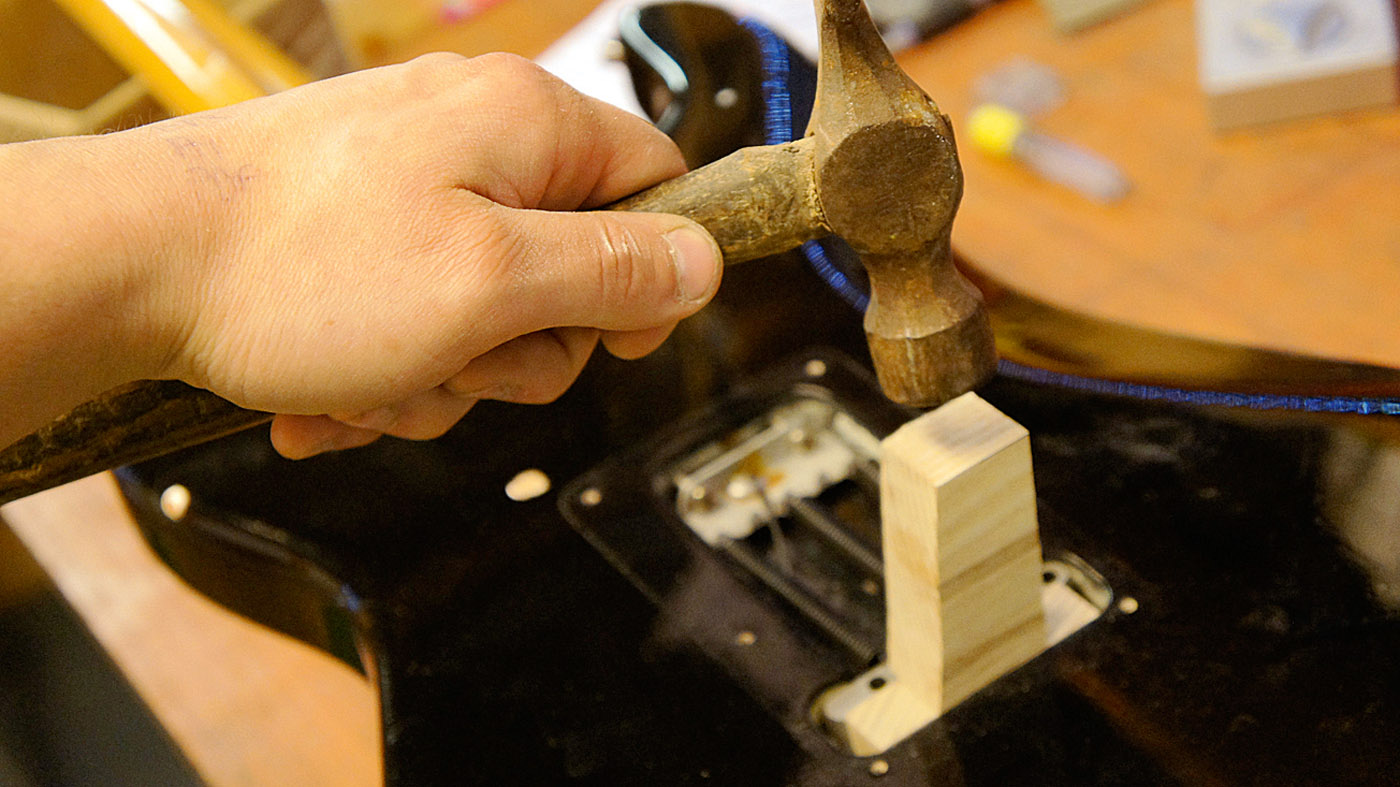
Now we’re there, bang it home with a hammer and a piece of off-cut timber. Rest the guitar front on something soft. Don’t go crazy! It doesn’t take much to drive it in. Check the front of the tremolo and you’ll see the heel rest down against the paintwork. Now this is blocked properly, you’ll get greater sustain for sure!
Jack runs an independent guitar setup and guitar repair service in Manchester, England. He serves the musicians of the Northwest of England, working on electric guitars, bass guitars, acoustic guitars and more. Jack has been writing the Fix Your Guitar column in Total Guitar Magazine since 2017.
