Adjust your guitar's truss rod in 12 easy steps
Learn to set and maintain your guitar’s neck relief
Adjusting your truss rod might feel like a tall order the first time you attempt it, but with a little background knowledge and guidance it;'s an easily achievable piece of DIY guitar maintenance.
Your truss rod is a vital part of your guitar. It's job is to control the general curvature of your neck - a long and skinny piece of timber, that's constantly fighting the pull of six strings. The truss rod is your weapon to fight back.
The truss rod setting is critical for the entire guitar’s setup, and what’s worse is that the neck will move with humidity and temperature, so it’s worth keeping a beady eye on it.
And yes it is possible to break a truss rod. If that does happen that’s bad news, but don't worry, it's an easy accident to avoid. Don’t apply loads of pressure on the truss rod. The odd creaking is okay but if it’s getting harder and harder to turn that’s a warning.
We’ll show you how to check your progress with a feeler gauge to stay out of trouble.
1. Where is your guitar's truss rod adjustment?
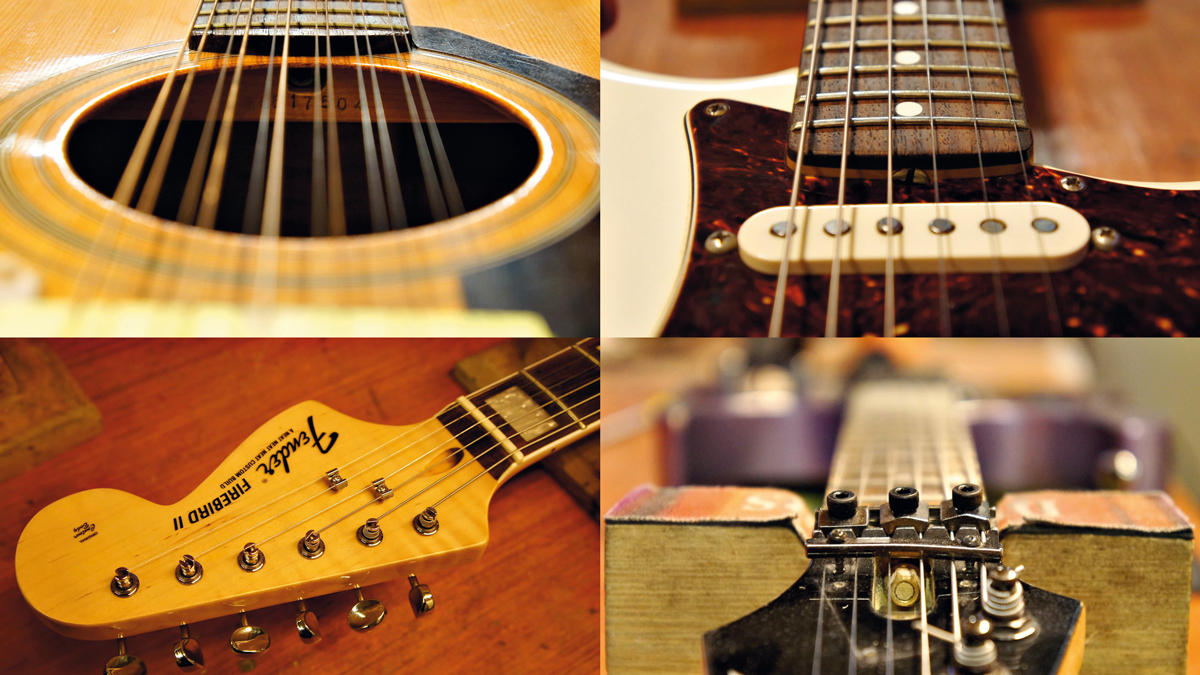
We know the truss rod is inside the neck but the adjustment nut can be in one of two places, at the headstock end or at the body end. You may have a decorative truss rod cover, a mysterious hole… or the dreaded body-end one (top right) which means having to take the neck off to adjust it!
2. The right tools for the job
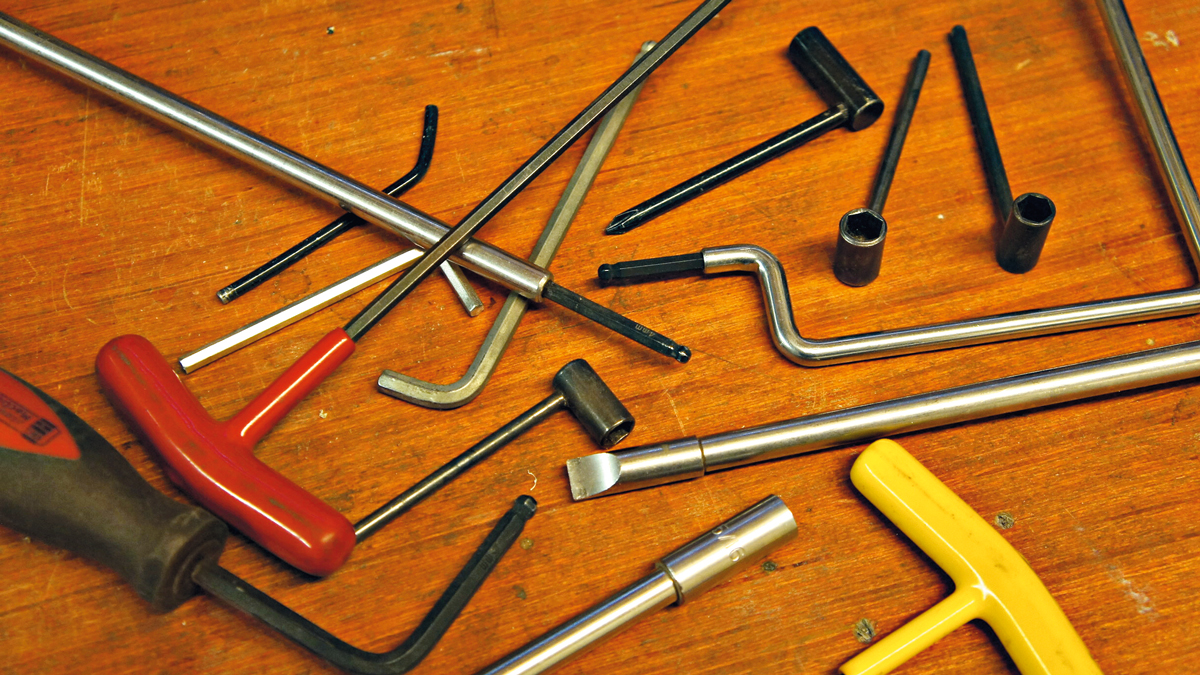
It’s very important that you have the right tool for the job. Your truss rod adjustment nut may have an allen key, a crosshead, a small brass nut or the rarer spoke hub type (as found on Stingray basses).
Get the MusicRadar Newsletter
Want all the hottest music and gear news, reviews, deals, features and more, direct to your inbox? Sign up here.
Look in the pockets of your case, your guitar often comes with the right tool for the job.
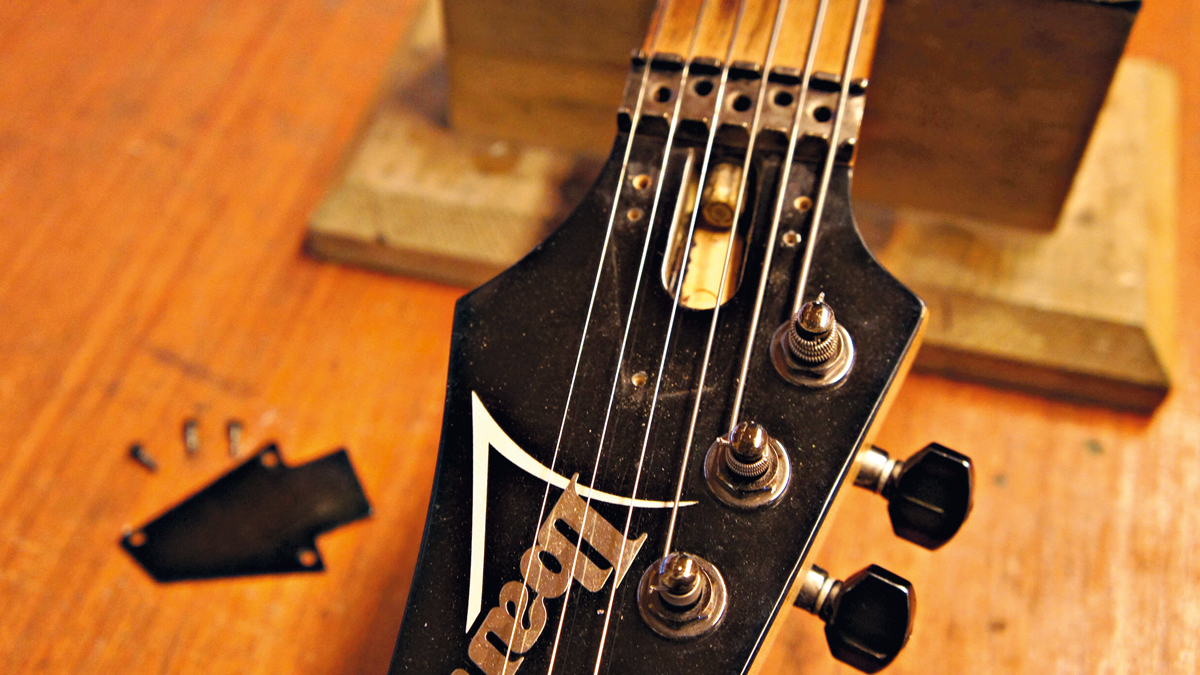
3. Under the truss rod cover
On the Ibanez RG we’re using as a test subject, the truss rod’s under the truss rod cover (no surprise!). We’ve removed the locking nut string clamps and retainer bar to de-clutter it. This truss rod adjuster is a brass nut (which is the same as most Gibsons, too), and it will require a 7mm box spanner.
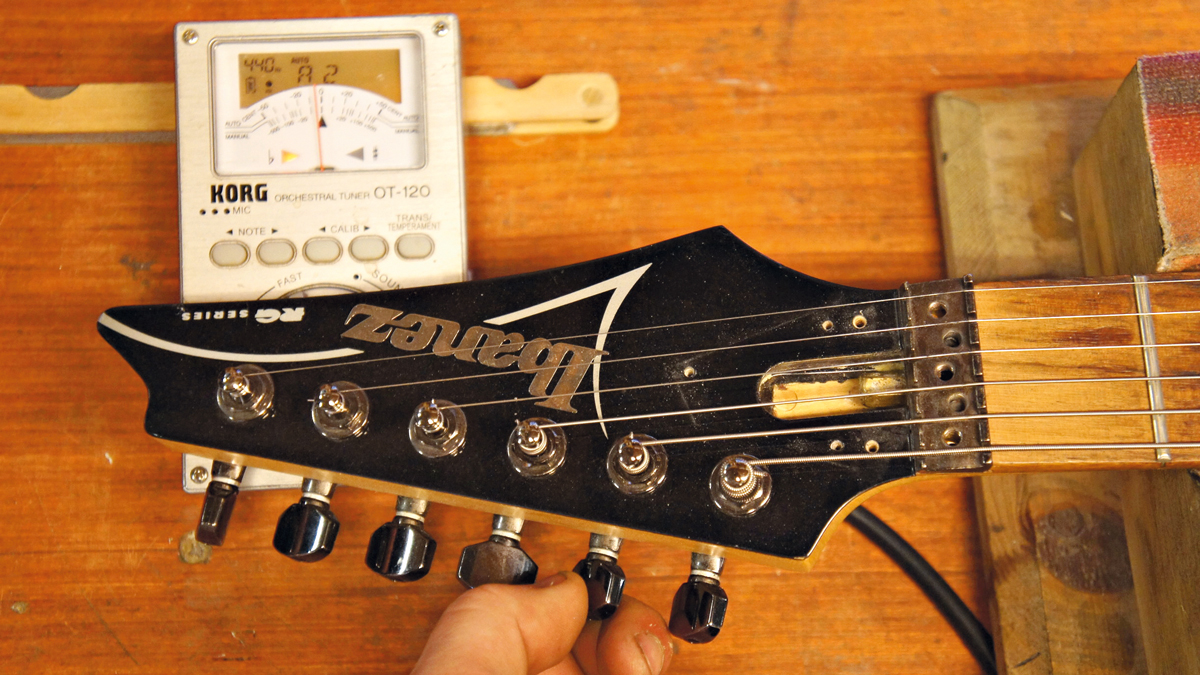
4. Fix and tune your strings
It’s time to fit your chosen pack ‘o strings and wind them up to the tuning you’re after. You are free to use any tuning, but remember that the gauge of string and the pitch you’re after will present a certain tension on the neck. If in the future you want to go up or down a size of strings, you’ll need tweak the truss rod to suit.
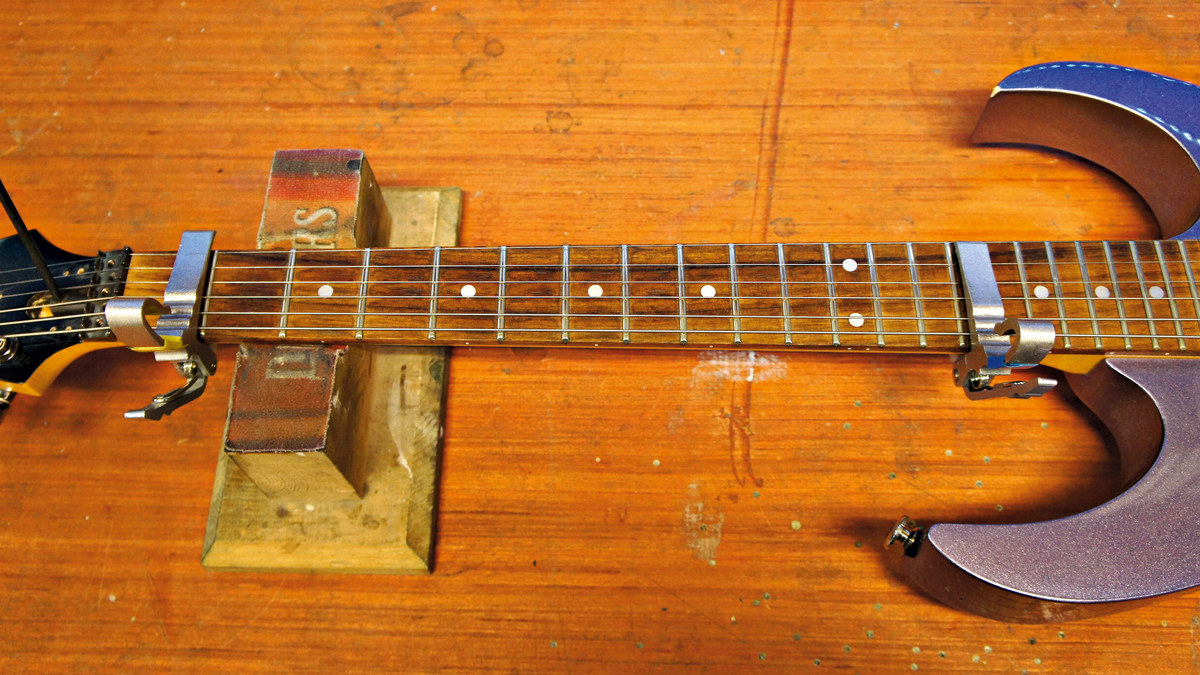
5. Adjust the capos
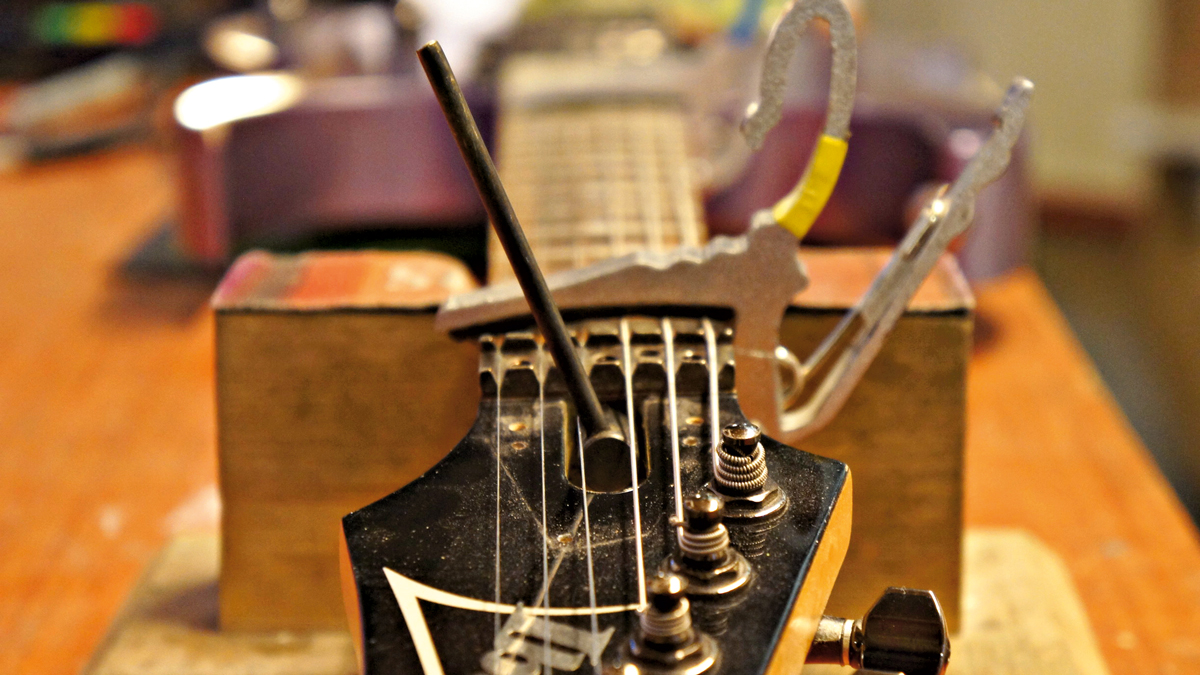
Attach the two capos at the 1st and 15th frets. This allows you to use the string as a straight edge, which will show up the curvature (or lack of) in the neck. Attaching the capos here takes the added height of the nut and the height of the bridge out of the equation so you can be confident.
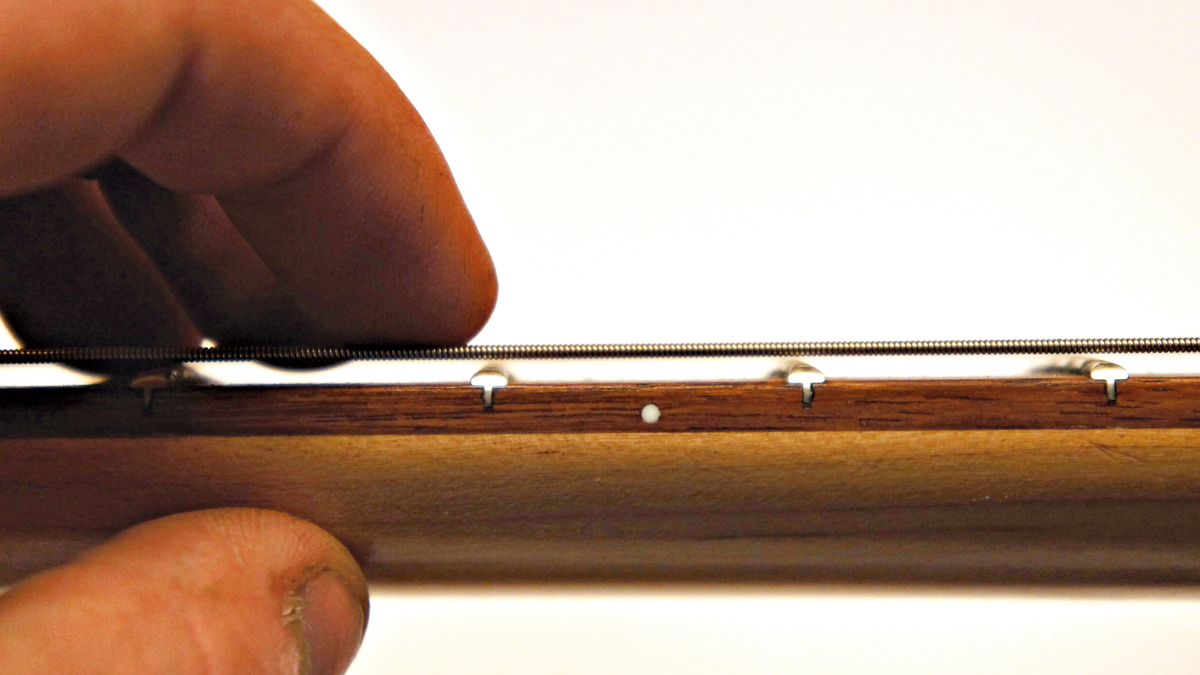
6. Measure the gap
We will measure the gap between the string and the fret top at 6th and 7th fret. Here’s an example of an exaggerated slack truss rod setting with a large gap between 7th fret and the string. This would make a great slide guitar setup but a very poor shredding action!
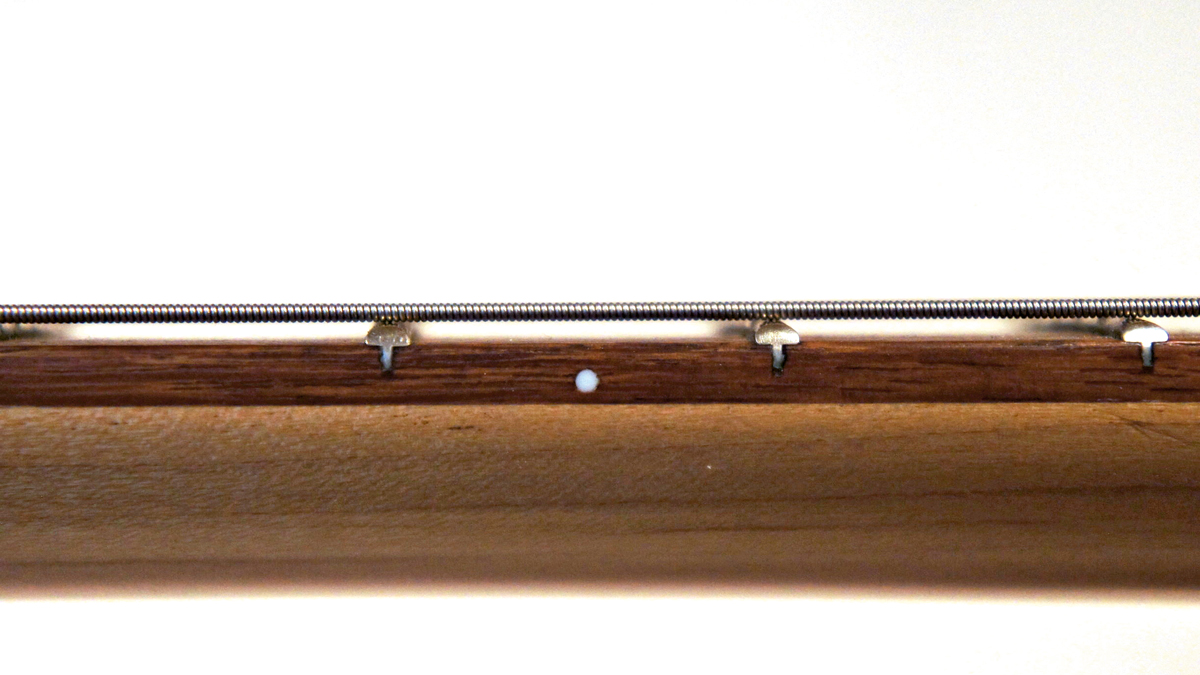
7. Er, what gap?
If you’re thinking, “Er… what gap?” this may be because your neck is already bent into a back bow. This pic shows a naughty truss rod setting that is way over-tight.
The strings are already touching the fret tops meaning they will not play without fret buzzing. This truss rod setting needs loosening to get the necessary forward bow.
8. Righty tighty, lefty loosey
The mantra ‘righty tighty, lefty loosey’ applies here. Turn your truss rod adjuster nut clockwise and you will add more pressure onto the neck pulling it into back bow. Turn it anti-clockwise and you will loosen the truss rod allowing the strings to pull the neck into a forward bow. Some forward bow is needed for sure.
9. Use your feeler guages
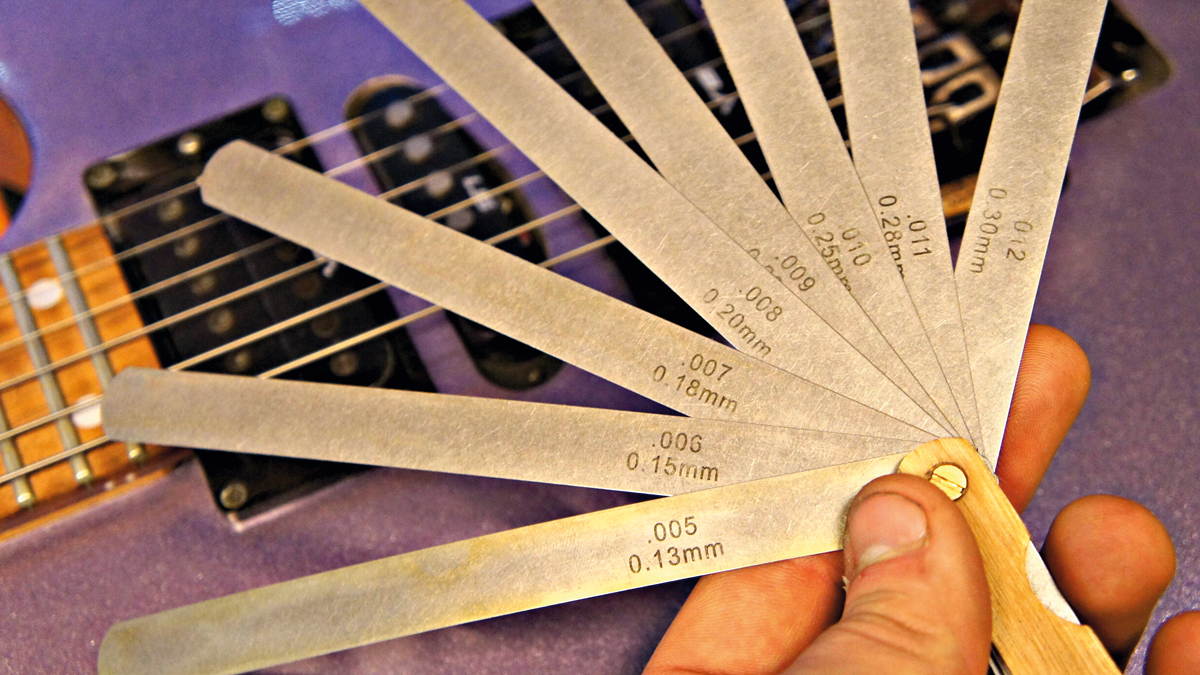
How do you know when you’ve got it right though? Yes, we’ll need the neck to bow forward a little. You can’t have a flat truss rod setting because the string vibrates in an elliptical pattern, we need to mirror this to some degree. Use the 0.006-inch (0.15mm) to 0.012-inch (0.30mm) feeler gauges for this.
10. The James Bond setting
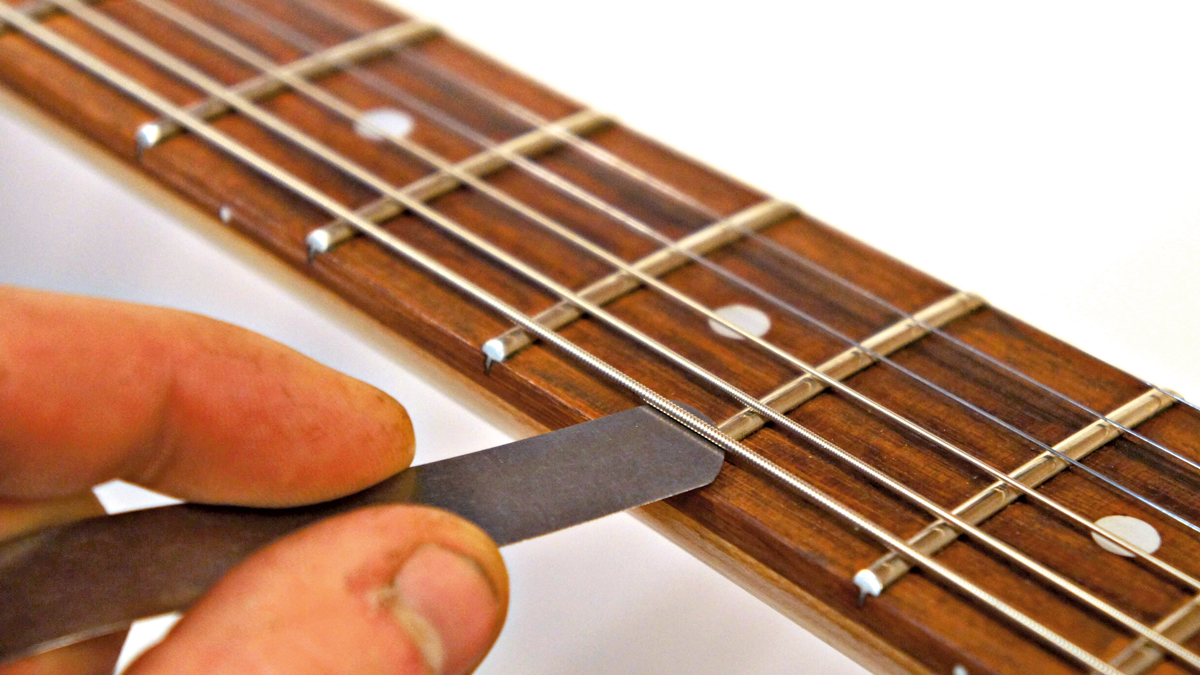
For this player who is using standard tuning and 0.011s, we’ve gone for the James Bond setting 0.007 inches. Feed the feeler gauge in between the string and 7th fret. Make sure the feeler gauge can pass without lifting the string up. If it’s got too much gap tighten the truss rod, if too little; loosen the truss rod.
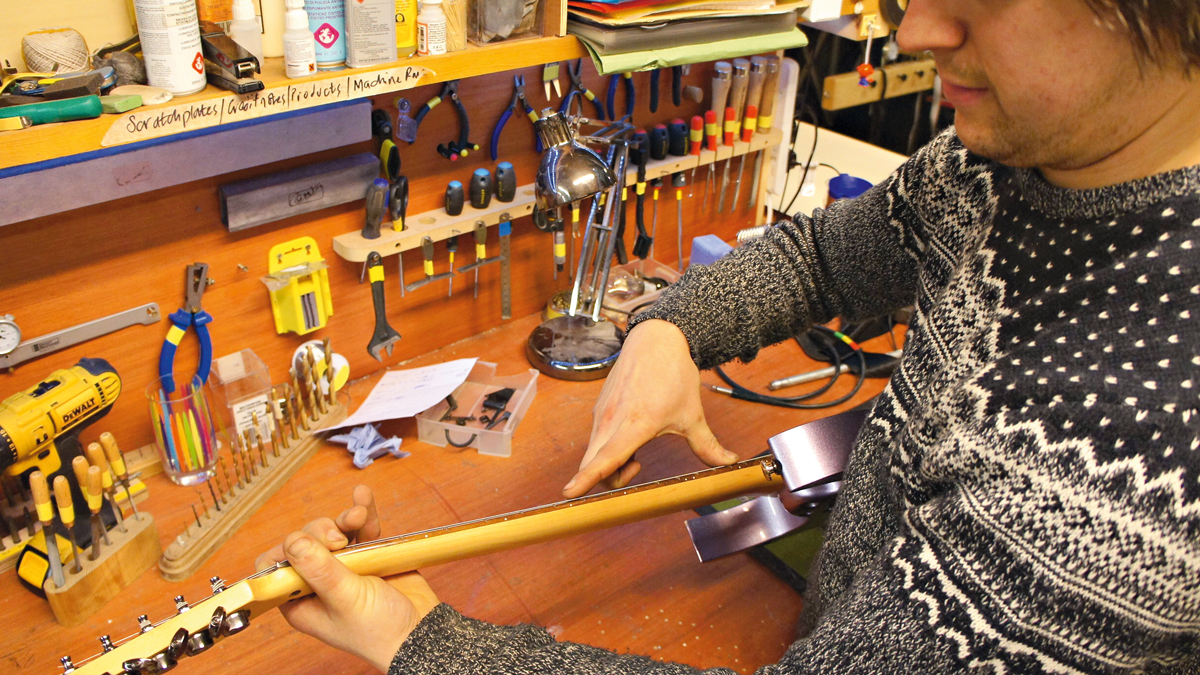
11. By eye
Doing it by eye is a handy technique for you, too, so you can quickly check pre-gig if your neck is out of whack. Choosing the relief setting is in part down to personal preference based on your playing style. A hard hitter will need more gap (maybe 0.010 inches) while a tickler can get away with 0.006 inches no problem.
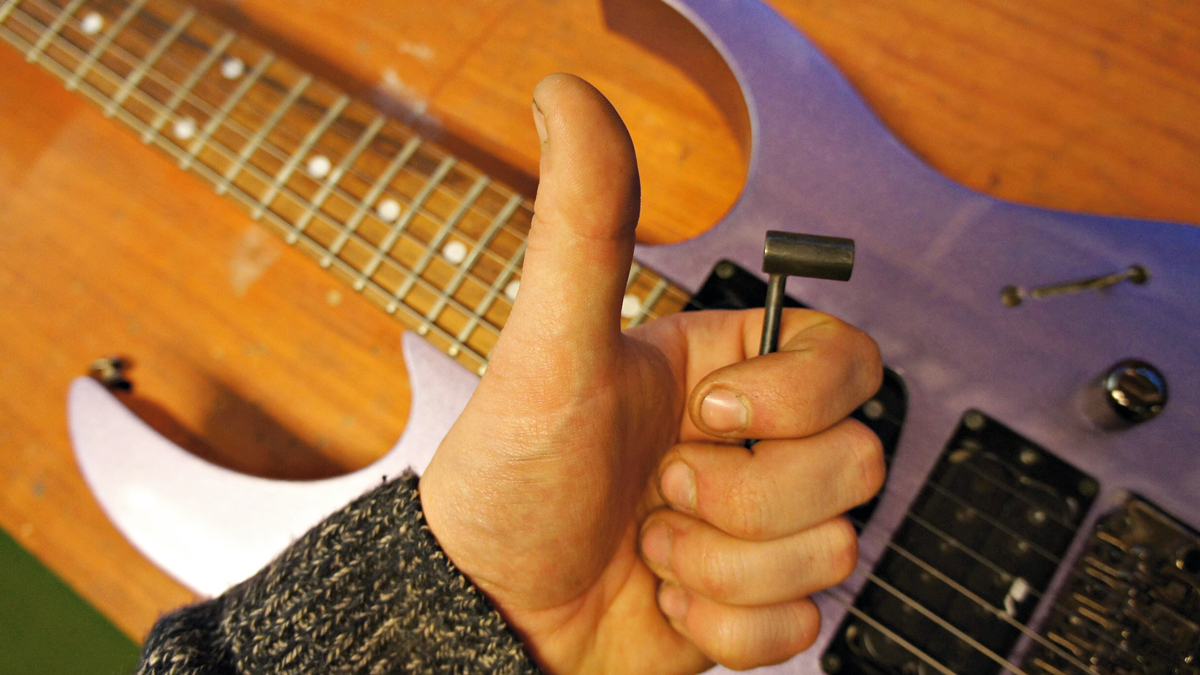
12. A lasting setup
Operation truss rod is complete! We advise checking your truss rod over the next few days, too; some necks will settle down over the coming days, particularly if your truss rod had to be moved a lot - adjust as necessary. Having worked through our truss issues we can now build a meaningful and lasting setup.
Jack runs an independent guitar setup and guitar repair service in Manchester, England. He serves the musicians of the Northwest of England, working on electric guitars, bass guitars, acoustic guitars and more. Jack has been writing the Fix Your Guitar column in Total Guitar Magazine since 2017.
“Beyond its beauty, the cocobolo contributes to the guitar’s overall projection and sustain”: Cort’s stunning new Gold Series acoustic is a love letter to an exotic tone wood
“Your full-scale companion. Anytime. Anywhere… the perfect companion to your full-size Martin”: Meet the Junior Series, the new small-bodied, travel-friendly acoustic range from Martin
