Here's how a track gets mixed at Abbey Road Studios
Watch the feature-length video
Abbey Road engineer Gordon Davidson has worked on numerous blockbuster scores including The Hobbit, Spectre, Thor and Iron Man. He's also engineered for artists such as Sir Paul McCartney, Ian Brown and will.i.am. Our job for him, though, was to mix a track that we'd brought him.
Before we even got a chance to sit down, Gordon was already checking out the audio stems of the project. Before our A-list engineer got fully stuck in, we took the opportunity to ask him a few questions...
The tracks in our mix contain a lot of bleed. Will this be a problem?
GD: “You’ve just got to be careful when you compress things, and then ask ‘Why can’t I get rid of the room sound?’ It’s in the drum overheads, and you’ve compressed the hell out of them! You’ve just got to be aware of what you’re doing. I think some bleed’s good. All the reggae tracks from the 1970s sound amazing because the bass cab was close to the kick drum, and the sounds were interacting in the recordings, making it all part of the same sound.”
Are you a fan of parallel processing when mixing?
GD: “Yeah, it’s always a good trick for making things sound ‘larger than life’, especially vocals. Although if you get the right voice through the right mic into the right preamp then you might not need to. But in this track, there are a few ‘strained’ moments; saturated notes; a few bits where the vocal sounded a bit thin; so parallel compression will help.”
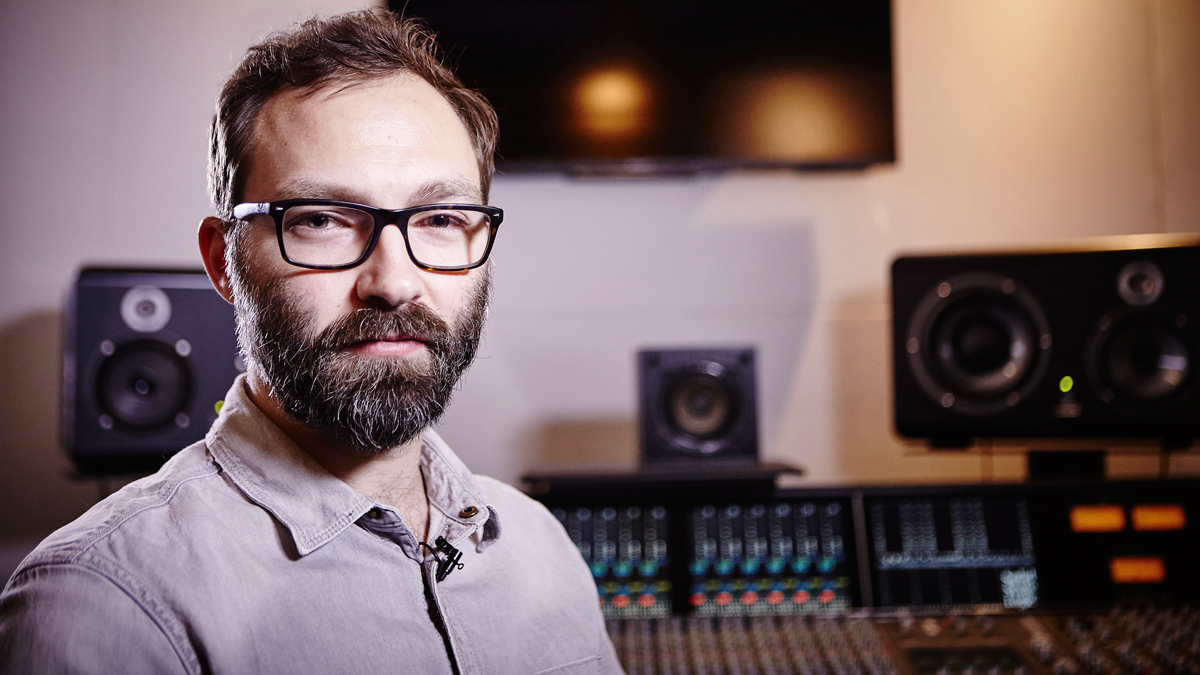
It sounds like you have your monitor speakers pretty quiet when working?
Get the MusicRadar Newsletter
Want all the hottest music and gear news, reviews, deals, features and more, direct to your inbox? Sign up here.
GD: “I do briefly listen loud to check what’s going on in the bottom – it’s easier to check the bass when it’s loud - but I generally don’t mix too loud for too long, as your ears get tired. Mixing quietly is the classic Bob Clearmountain trick! I worked with him about 12 years ago, and it was never loud - just [Yamaha] NS10s, really low, all day.
Are you a fan of NS10s yourself?
GD: “I think if you drive them hard, if you’ve got the right amp, then yeah, I don’t mind them. The transient response is unbelievable; hard to beat. The old adage stands true - if you make something sound good on NS10s then the mix is going to translate.”
And you like to check a mix on headphones?
GD: “I think they’re good, especially for radical panning, to make sure things aren’t too wide. Also, when working between rooms and different studios every day, headphones are the same, so it’s good to have that fixed reference that you can always rely on."
Check out the video above to watch Gordon's entire mix session. Alternatively, here are some of the key moments...
Evaluating the stems
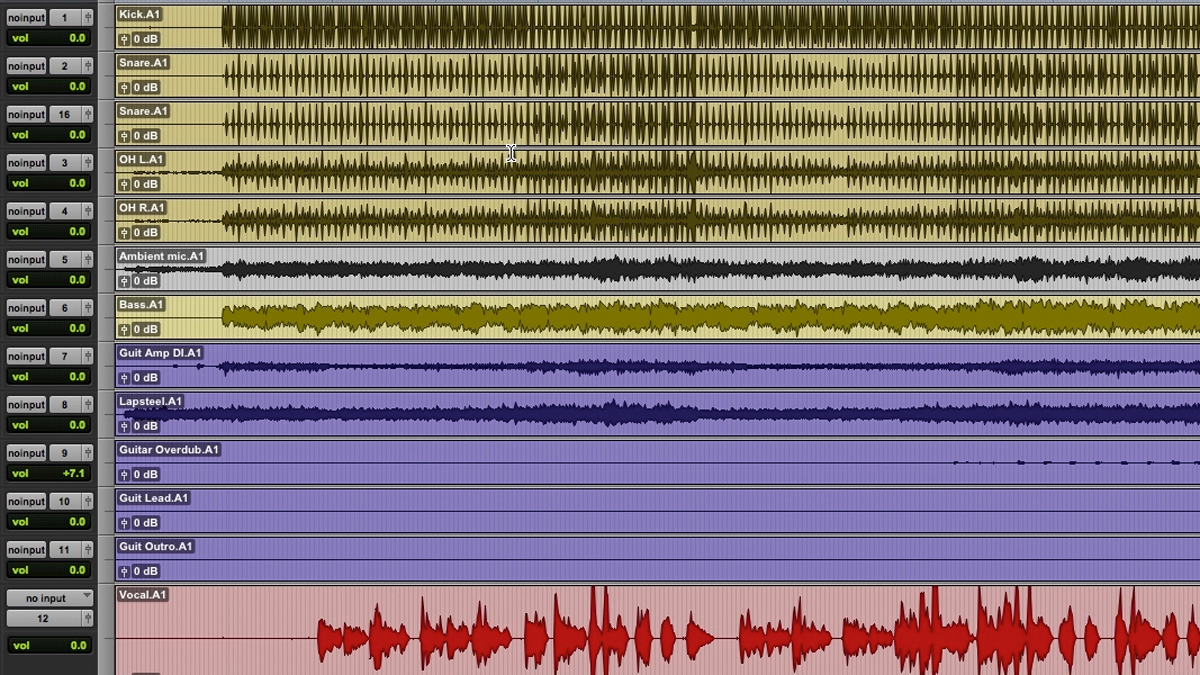
02:35: Gordon has already loaded the audio stems into a Pro Tools project. Dealing with many different tracks can quickly become confusing, so he routes the individual channels to group tracks, and colours the audio regions accordingly.
The recordings (minus vocals and overdubbed guitars) were all captured at once, live in one take in the same live room, so Gordon’s first priority is to solo each channel in turn and determine how much bleed is present across the recordings. “I’m listening to what spill’s on each mic, to see how that’s going to be affected when I compress it, say, or if there’s a frequency I think I could grab to make it more exciting.” Gordon also takes the opportunity to evaluate each stem. “The acoustic’s been DI’d, so it’s pretty dry, and will need a bit of space around it, to make it more ‘real’.”
Gordon reveals what he did prior to our session: “I’ve done some basic panning already – I’ve spread the overheads wide, placed the acoustic off to the left, the lapsteel to the right, and the other guitars I’ve put left and right. Vocals down the middle.”
Kicking off the mix
05:45: “I’m going to start at the fun bit. A lot of people start with the vocals, which I think is cool, but I’m going to start with the drums!”
Gordon solos the kick channel on the SSL Duality desk: “It sounds OK, but I think we could get a bit of EQing and light compression going, and a bit of gating.”
As he’s doing this, Gordon keeps soloing the snare alongside the kick, to get a feel for how his kick processing has worked in context. “So I’ve fattened up the bottom [of the kick] a bit, with a little boost at about 80Hz; and I’ve taken out a little boxiness around 350Hz.”
Balancing overheads
07:20: Gordon solos the left and right overheads together: “I’m listening to hear if the snare is central [in the overheads], as you don’t want it to be pulled to one side. Some people move the overheads to different equal distances away from the snare, so the snare’s right in the middle - which I get - but I prefer to do it with gain, to match the levels.
"If the levels are the same when the snare hits, then it’s in the middle. I’ve done a little trim boost on the right hand side [ie, the right overhead channel].”
EQing and compressing overheads
08:05: Gordon solos the kick, snare and overheads together, so he can evaluate the entire drum mix. “I’d quite like to bring out a bit of the hi-hat [in the overheads], especially this fast closed hi-hat.” Gordon then carefully makes EQ boosts with desk’s EQ: “It’s a little brighter and more exciting now - I’ve added tops and a bit of bottom... although that bottom might come out later.”
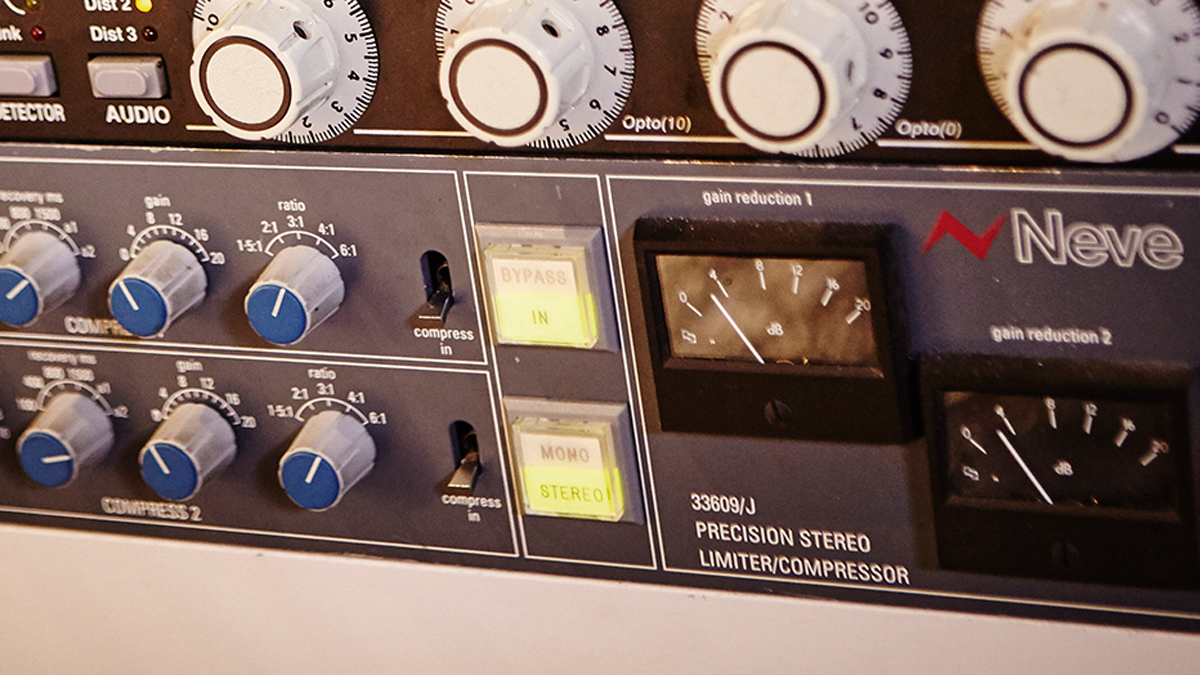
After this, he decides the overheads need a bit of vibe and character. “I’ve got this Neve 33609 compressor, which I’m going to insert over the overheads. I’ve ‘pre-set’ it [before the session] to about 4dB of gain reduction; the recovery’s fast enough that it’s mostly going back down between the hits of the kick and snare, so it pumps a little - to bring out a bit more excitement; to get the cymbals and snares really popping. And fatten it up a bit.”
Drum ambience
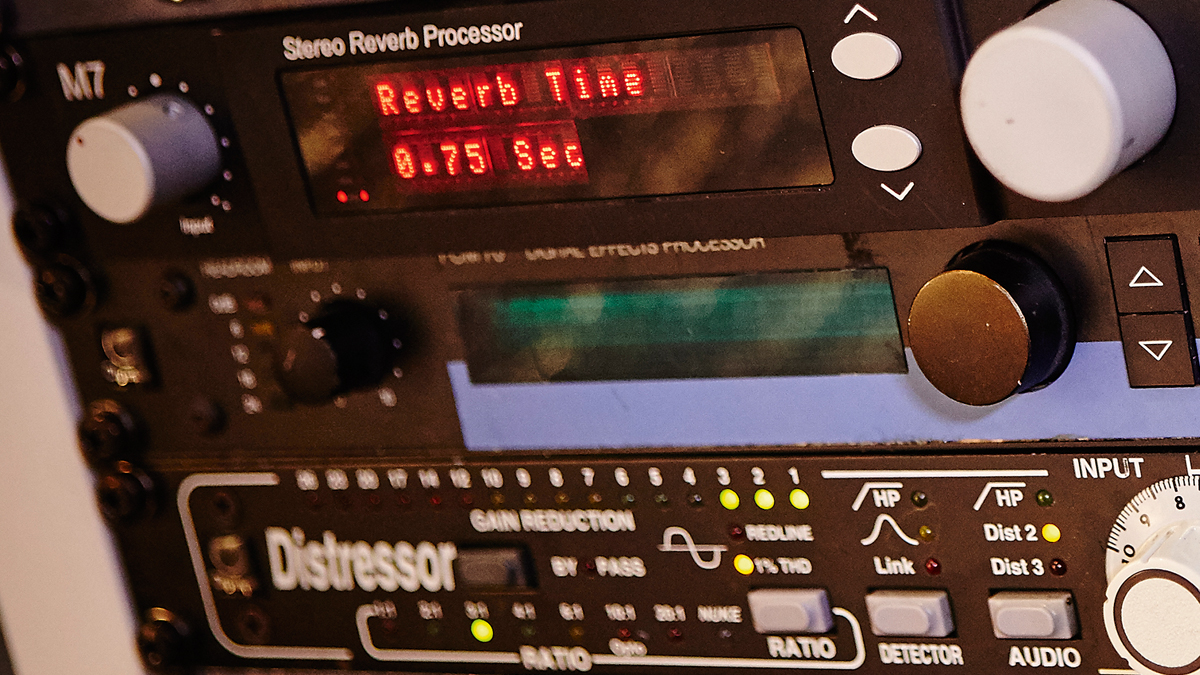
11:25: “I’d say the drums are getting there now. They’re still quite ‘tight’ and quite dry, and the track isn’t really like that, so I might add a bit of room [reverb] using the Bricasti [M7]. I’ll add it to the overheads first, but I’ll probably put the kick and snare through it as well, to replicate how a room would react - hopefully!”
Sending some of the overheads’ signal to the M7 in parallel, Gordon can fine-tune the reverb amount independent of the dry signal. “It’s just a short room, like 0.75s, just for a bit of ‘something’ around it.”
Bass warmth, levelling and eQ
12:35: “I think the bass could probably be fattened and warmed up a little. I’ve brought it in through the desk’s microphone preamp, and this desk has preamps that you can drive harmonically. So I’ve warmed [the bass] with that analogue ‘warmth’ that everyone’s striving for: I’ve patched it into the mic pre, and padded it down so it’s not absolutely roaring.”
A touch of levelling is next. “A little bit of SSL dynamics is fattening slightly, and evening [the bass] out. It’s good to even out performances - I often do some of it in the computer as well, maybe with clip gain or automation, to make sure you’re not losing notes or kick drums; to keep things constant.”
Once dynamics are dialled in, Gordon focuses on sweetening the bass with desk EQ. He heavily boosts a point in the lower midrange - “can you hear that boxiness?” - and then pulls it away. “I’ve boosted the bottom, to fatten it out a little - bass should be fat! - then I’ve taken that boxiness out around 350-400Hz. I’ve also added a boost at 800Hz – it’s got this nice ‘bite’, and that helps it sit, and cut [through the mix].”
Heating up the acoustic guitar
17:15: Gordon moves onto the acoustic guitar. “It’s been recorded quietly, so again, I’ve come in through the mic input and given it a bit of a boost. It’s a nice way to add interesting colour to something like an acoustic guitar, which won’t be very loud in the mix, but needs to cut through.”
Next up, guitar ambience. “It desperately needs some space around it, so I’ve got this plugin - Waves Abbey Road Reverb Plates - it’s quite long, just to add that space.”
Gordon also turns up the plugin’s Analog dial, which mixes in virtual noise to emulate the original hardware.
Chorusing the guitars with ADT
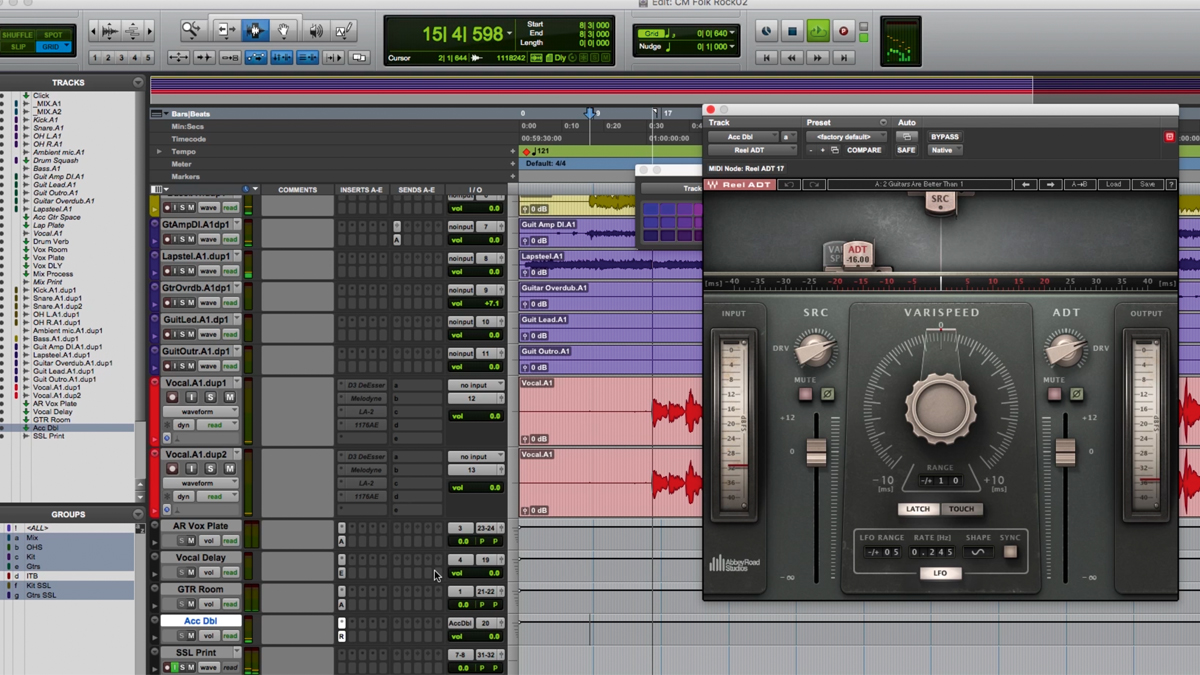
19:40: Gordon feels the guitar could be thicker. “I’m going to double that - or ‘fake’ a double on that - with the Waves Abbey Road ADT plugin. It’s just going to be a delayed chorusey thing in the background, panned hard in the other direction.”
Our engineer discusses on the quality of the acoustic guitar recording. “I think it’s kinda cool now. The acoustic isn’t bang in tune, so the ADT chorus helps distract a little from that. I would tune better between takes if I was engineering, but I don’t think everything has to be perfect - that takes away the human element... but there’s a line! This chorus definitely helps!”
Sweetening the lap steel guitar
24:15: Gordon moves on to the lap steel guitar part. “I think this would sound nice with a bit of delay and reverb. Later in the song, when it’s in solo, it’s got some reverb on it, which I’ve added. Again, a little bit of SSL dynamics fattening and levelling it out.”
For EQ, as with the bass, Gordon creates a large boost using the SSL’s EQ, and sweeps the frequency of the boost around to determine the lap steel’s tonal content.
“I’m just boosting the low mids for weight - there’s plenty of top cutting through, but the bottom isn’t quite thick enough.”
Overdubbed guitars
53:30: Now Gordon has a solid foundation, he moves onto the elements that only feature towards the end of the track. “We’ve got these extra, overdubbed guitars at the end - some chords, and a little lead thing. So far I’ve sent all the guitars to the same reverb, but at different levels.”
First, the guitar chords: “It’s a subtle sound, so probably needs a bit of compression. It’s almost reinforcing what’s going on in the other chords - it’s playing the same chords as the lap steel, so I’ll pan it to the other side.” Gordon thickens the sounds with SSL desk compression, then boosts the tops for a bit of air.
Next, the overdubbed lead: “I’m sending it to the same eighth-note [EchoBoy] delay as the vocal, and it’s got the same guitar room, too. Again, a little subtle compression - I haven’t hit any of the desk compressors very hard, so we’re only tickling around 3dB [of reduction]. It’s not an aggressive rock song that needs everything at 11 all the time!”
Two-stage vocal compression with LA-2A and 1176
30:00: Now Gordon has a decent enough mix balance, he fits the all-important lead vocal into the mix with a touch of plate reverb. Keeping a vocal’s dynamics consistent throughout the track is vital to a pro mix, so Gordon goes for a classic dual-stage approach to vocal compression.
“I’m going to use two compressors in series, not hitting either very hard, and the second one deals with what the first one doesn’t.” First, he tames the vocal’s peaks with the UAD Teletronix LA-2A plugin. Next, he brings in the second compressor - UAD’s UA 1176 AE. “You get a nice, even vocal without extreme compression artefacts.”
Vocal ambience trickery
35:40: For width, Gordon sends some of the vocal signal out from the desk, and back into a return in Pro Tools containing Soundtoys’ EchoBoy plugin. “Being brought up in studios, I don’t insert effects with wet/dry - it’s always a send/return setup.”
Gordon then pulls a pro routing move out of his bag of tricks. “From the desk, I’ll send the delay back into the [vocal] reverb. I think it’s really nice when delays go back into reverb, as it makes it all come together.” Gordon switches the delay in and out of the reverb to demonstrate.
Parallel vocal processing
1:03:10: Now Gordon’s made several mix improvements and thickened out the drums and guitars, the vocal is a little lost in the mix. He sets about fixing this with parallel processing.
“I’ve got another track of the vocal - I’ve duplicated the audio region. I’ve got the same two plugins [the two compressors from earlier, the LA-2A and 1176], but I’m hitting them a bit harder for a much more compressed vocal sound that I’m bringing in in parallel.”
After A/B-ing against the demo mix again, Gordon evaluates. “Even though I’ve added four compressors, the ones we’re listening to the most aren’t doing very much, so I think our vocal sounds relatively nice and open.”
Ninja snare-splicing and clip gain adjustment
1:16:40: After another check through on headphones, Gordon has spotted a problem with the drummer’s performance. “There are two snares that disappear in the recording!”
The solution? “I might try and steal a couple to splice in. It’s risky!” Gordon copies stronger snares from elsewhere in the track, then carefully pastes them over the weak snares, crossfading the audio regions at their overlapping points to prevent clicking.
Gordon notices excessive sibilance during a few points in the vocal: “I put a de-esser on the vocal, just for quicknesss - this basic Pro Tools de-esser is doing a fair job, but there might be a couple that I want to manually de-ess.”
Gordon highlights the most sibilant regions in the vocal stem, then pulls down the clip’s gain to reduce harshness. “It’s labour-intensive, but the most natural way of doing it.”
Elsewhere, our engineer also notices some level inconsistencies, so he uses careful clip gain automation in Pro Tools to automate level.
Evaluating the mix
38:30: Gordon A/Bs between his mix attempt and the original rough ‘demo’ mix, to make sure his processing is improving the track.
“We’ve got more clarity. The drums need a bit of work -I quite like the snare in the original, it’s fatter; I’ve possibly overbrightened ours. So what can we do to the drums? Well, we can parallel-compress the drums, to fatten them up a bit. It’s not just about making it louder - it’s about thickening the sound.”
Abbey Road Studios offer a huge range of studio services, from online mixing and mastering through to attended sessions.
Computer Music magazine is the world’s best selling publication dedicated solely to making great music with your Mac or PC computer. Each issue it brings its lucky readers the best in cutting-edge tutorials, need-to-know, expert software reviews and even all the tools you actually need to make great music today, courtesy of our legendary CM Plugin Suite.


