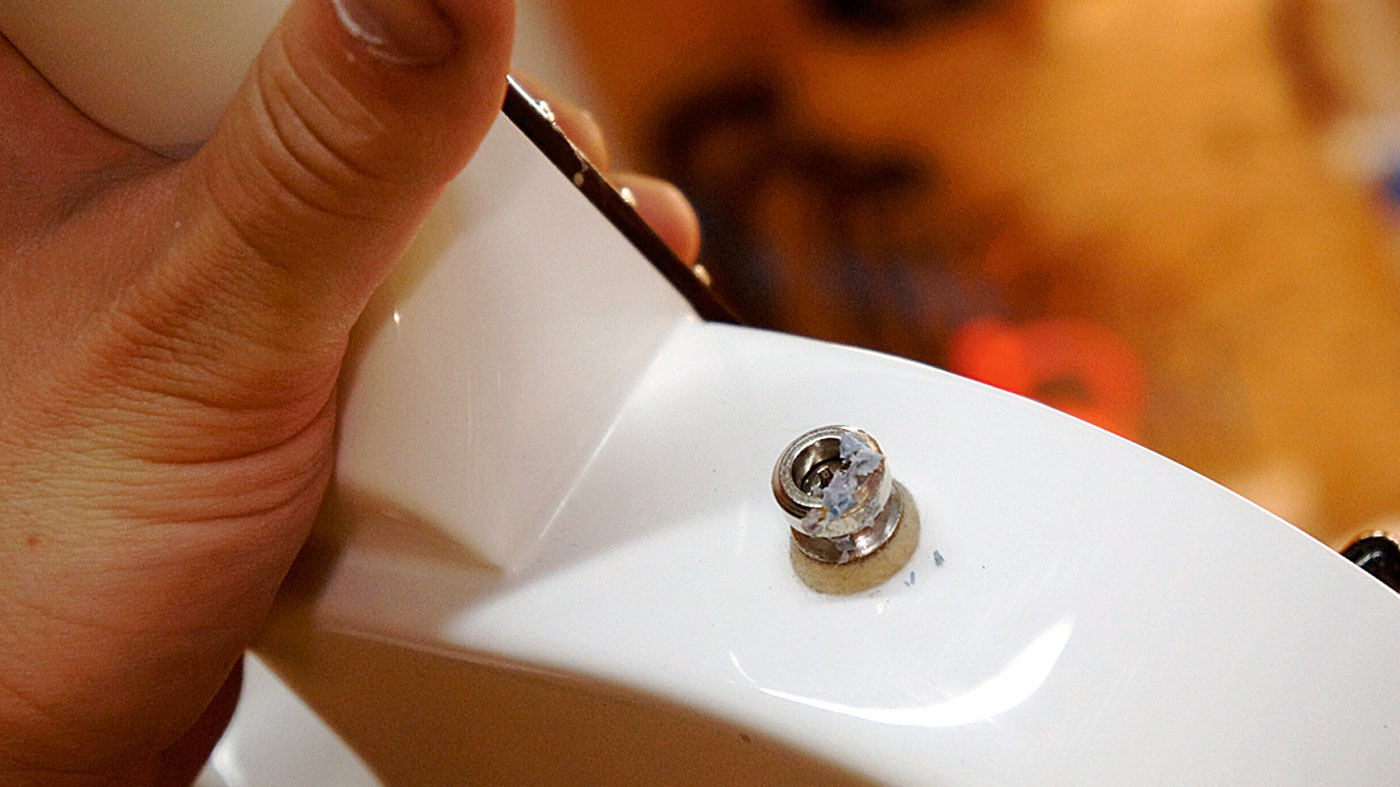
Guitar setup: how to upgrade and install straplocks
A step-by-step guide to sorting your strap pins
Introduction
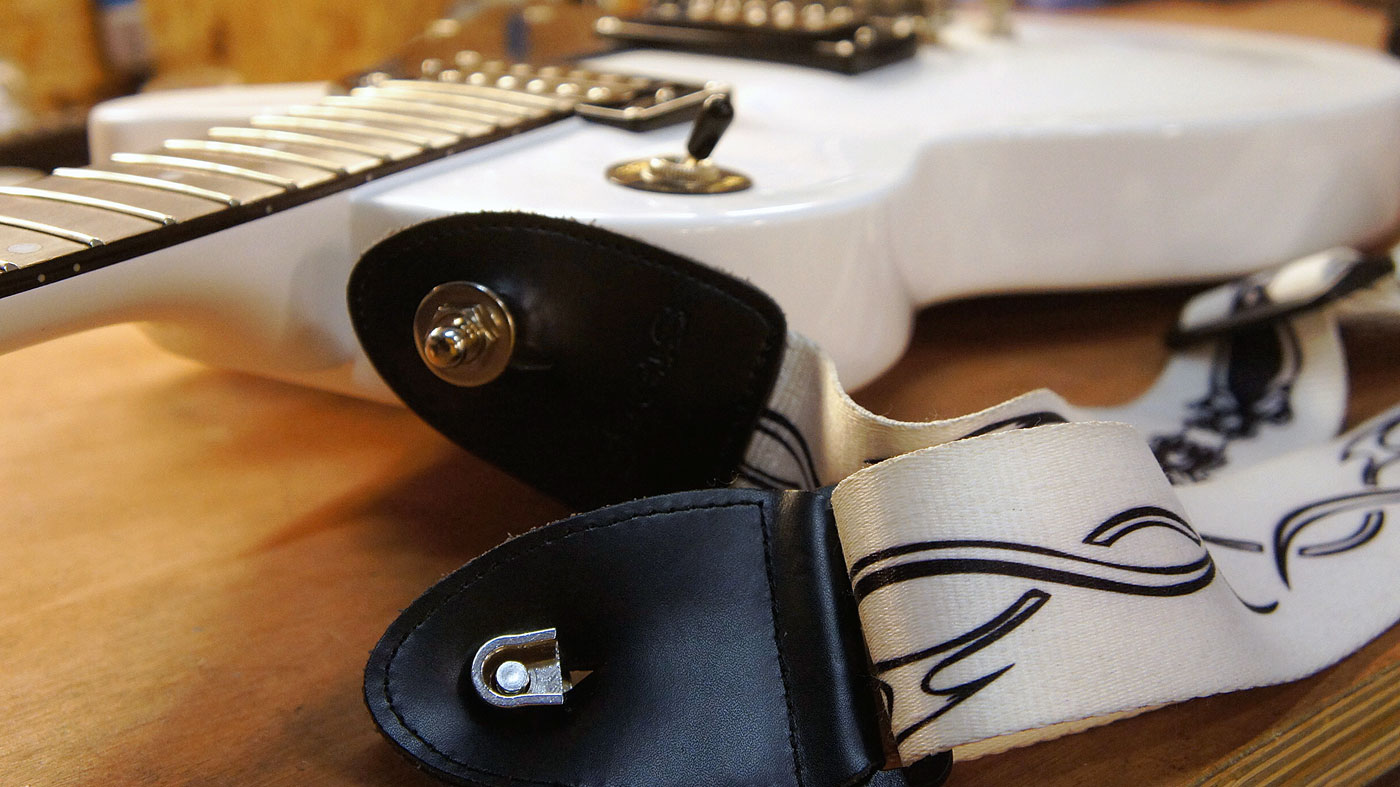
Avoid onstage mishaps by locking your strap onto your guitar. Here’s how to install straplocks properly…
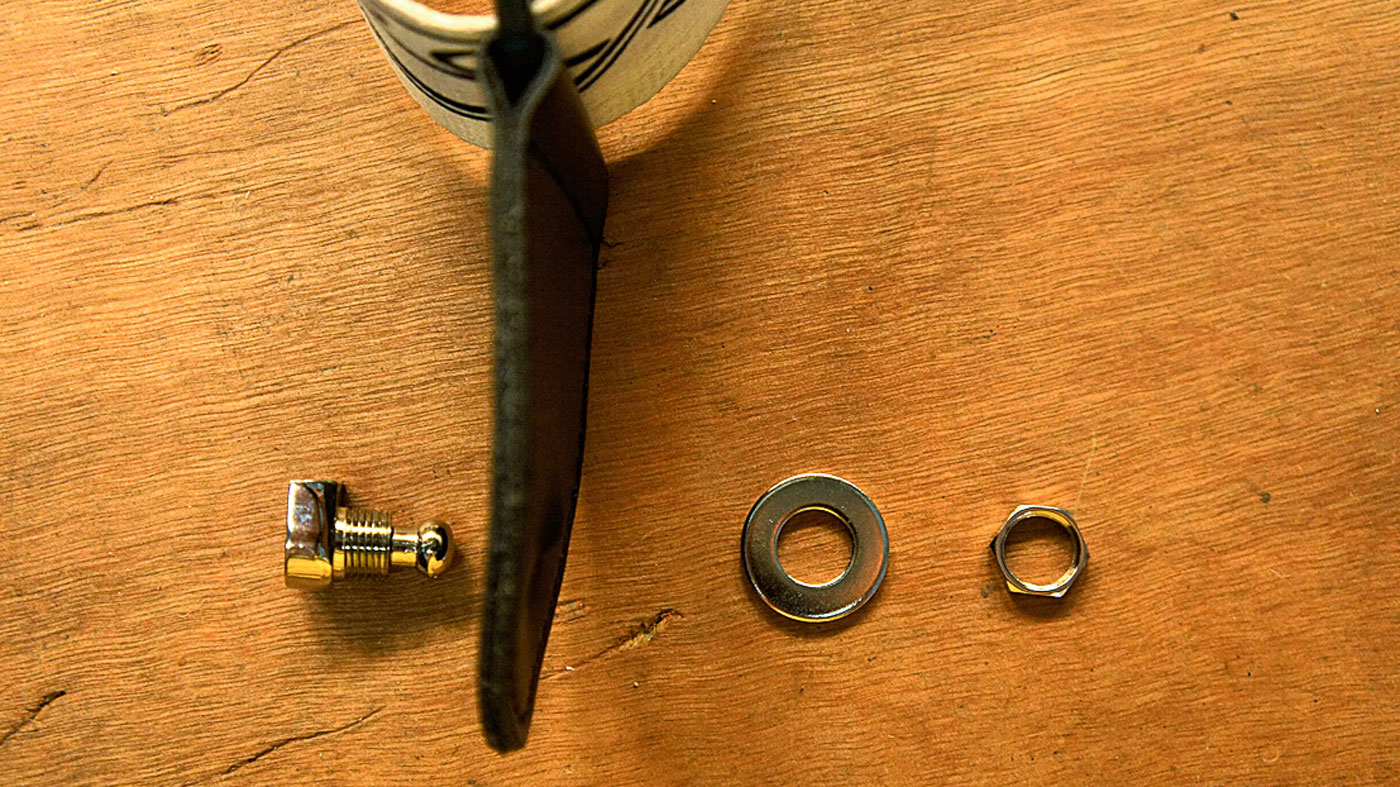
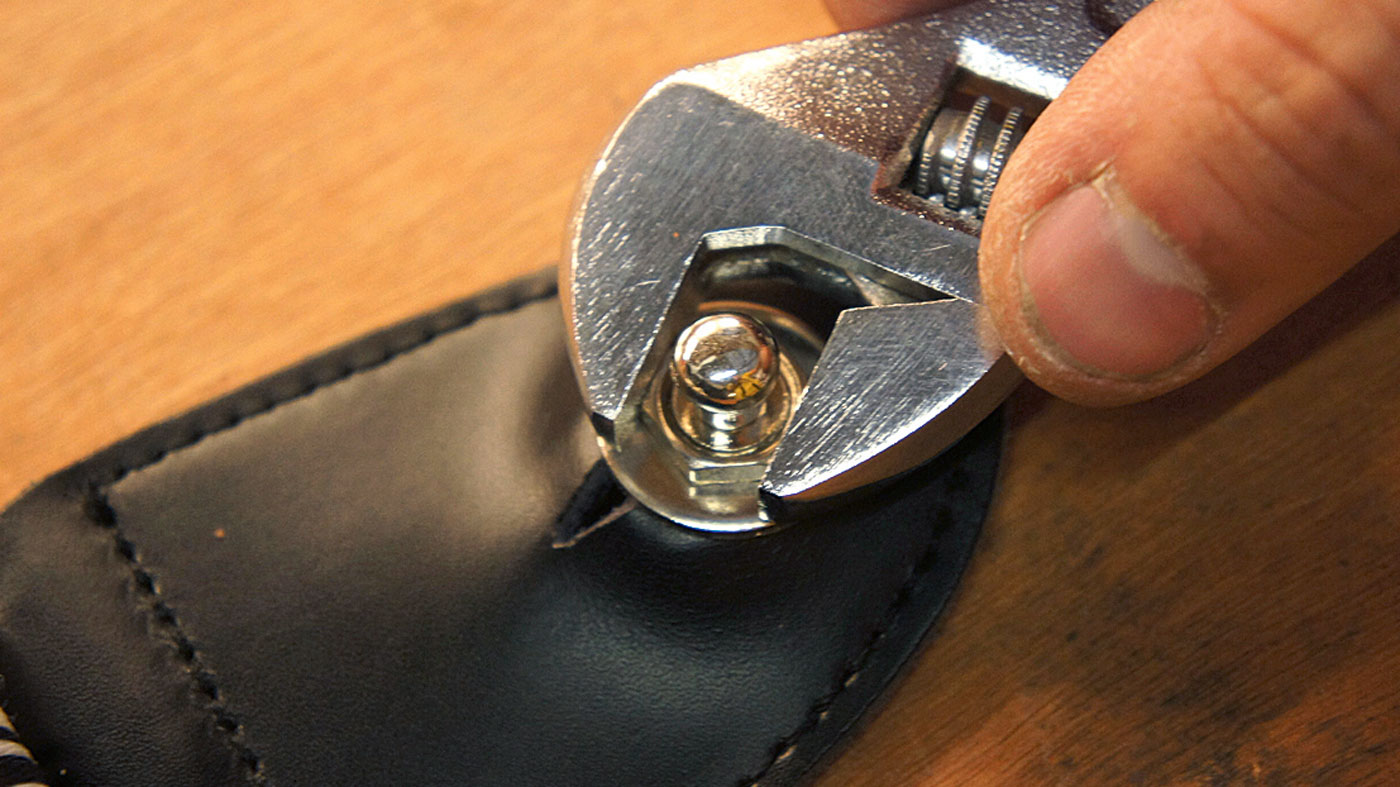
The straplock is a jolly handy gizmo. It simply fastens to your strap and onto a specialised strap button on your guitar, which locks it into place. There are plenty of designs around by Schaller, Jim Dunlop, Loxx and Fender.
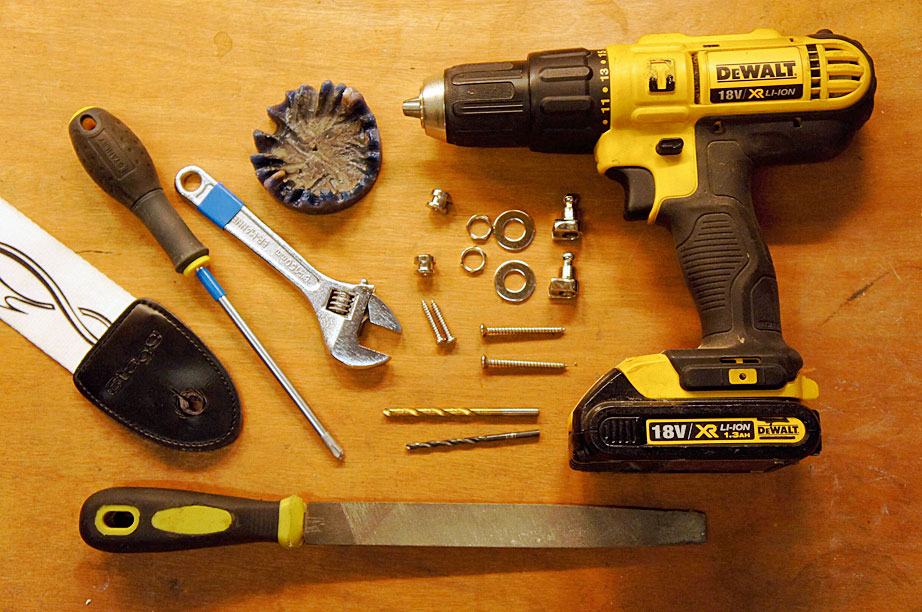
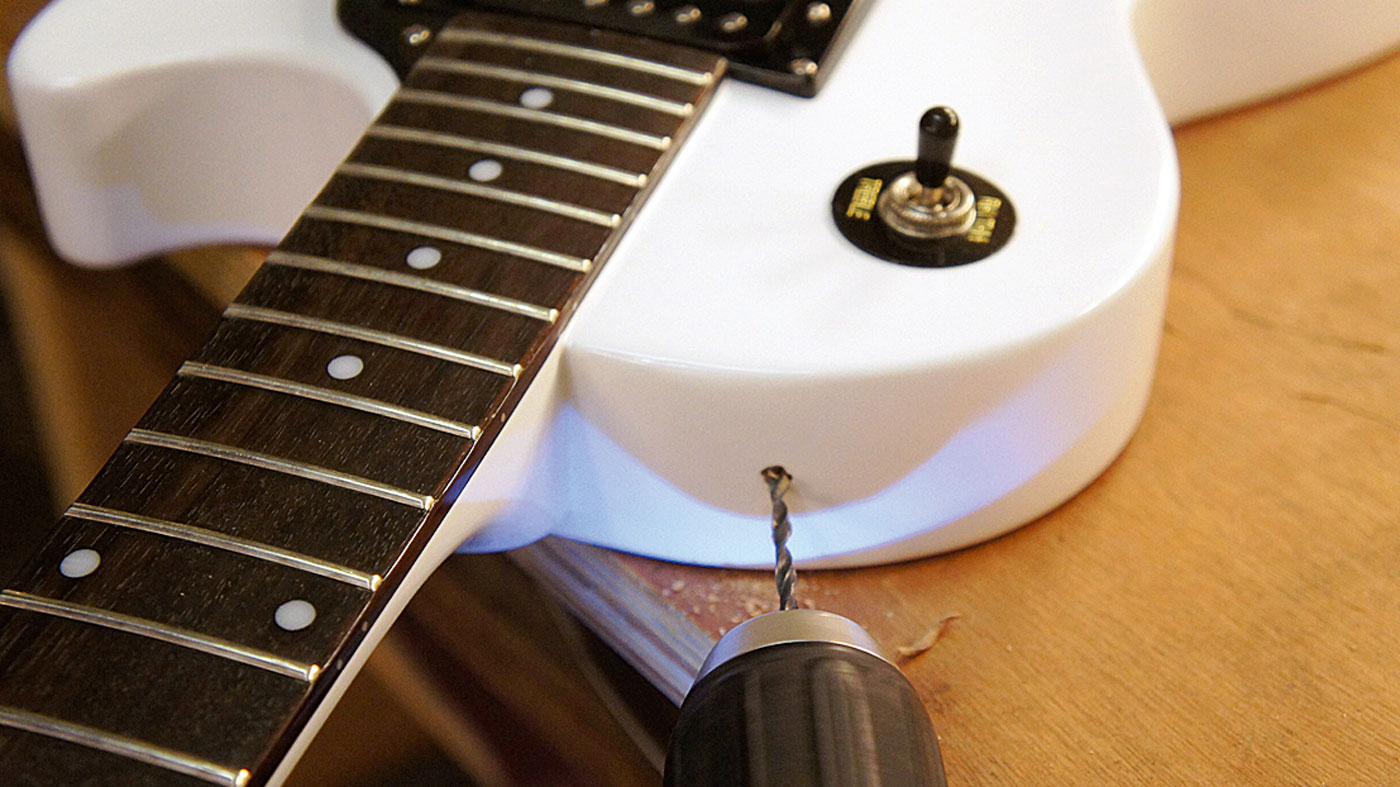
We’ll be installing a Schaller-type straplock but with one key upgrade: the screw. We’ve talked about dealing with a stripped strap pin screw hole, which can be a real annoyance. In the interests of keeping your strap well fastened, the screw has to do its job too, so whilst upgrading to locks we’ll cover upgrading your screw too.
Grover, Schaller, Fender, Mighty Mite, Marvel and Ernie Ball straplocks all use a normal screw as part of their design so they are candidates for a screw upgrade.
There are some imitation ones around, such as this Schaller-style one bought from eBay for about £5. This particular straplock is trustworthy but we’d always be wary! You are trusting it with your prized possession. In particular, be aware of straplock kits sold with short screws. The locks will hold but the screws will come out first!
Step 2
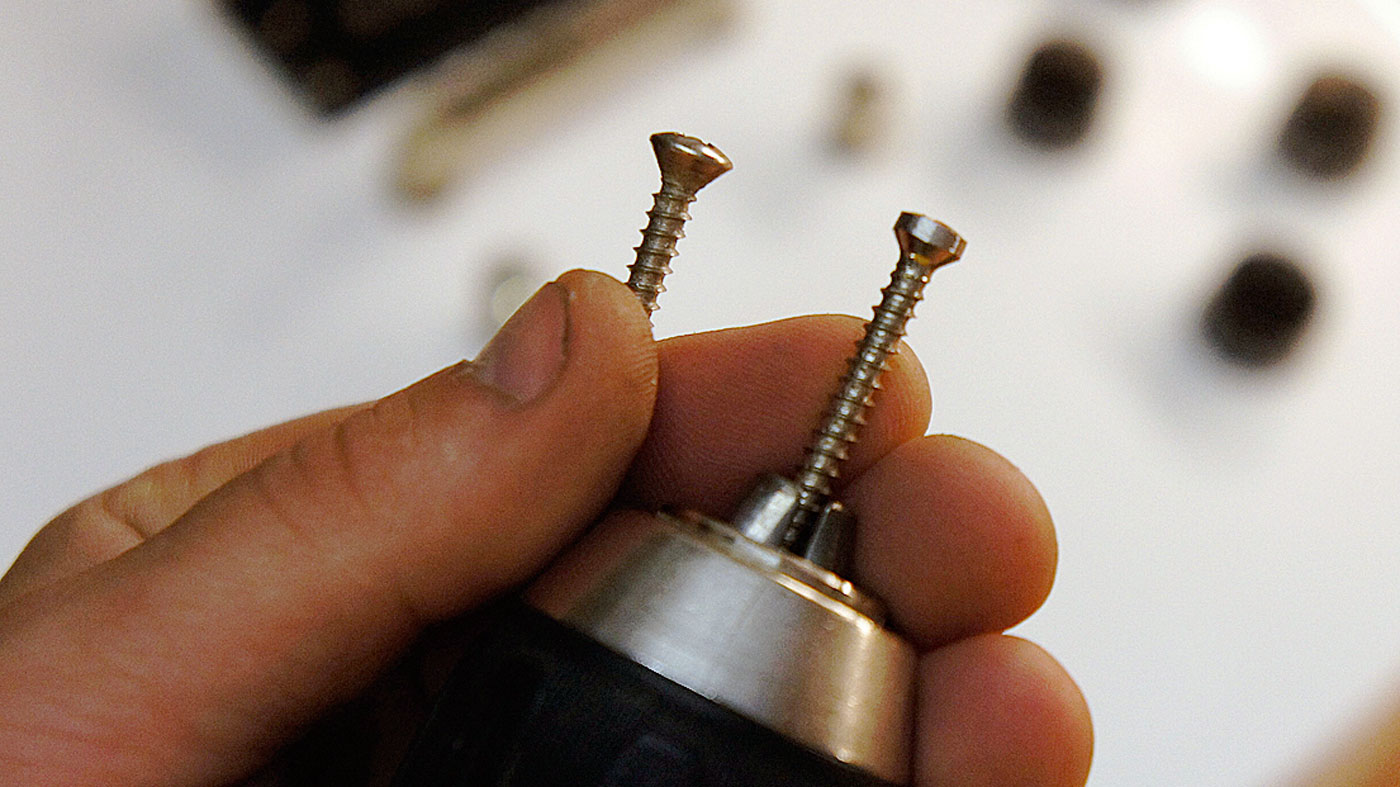
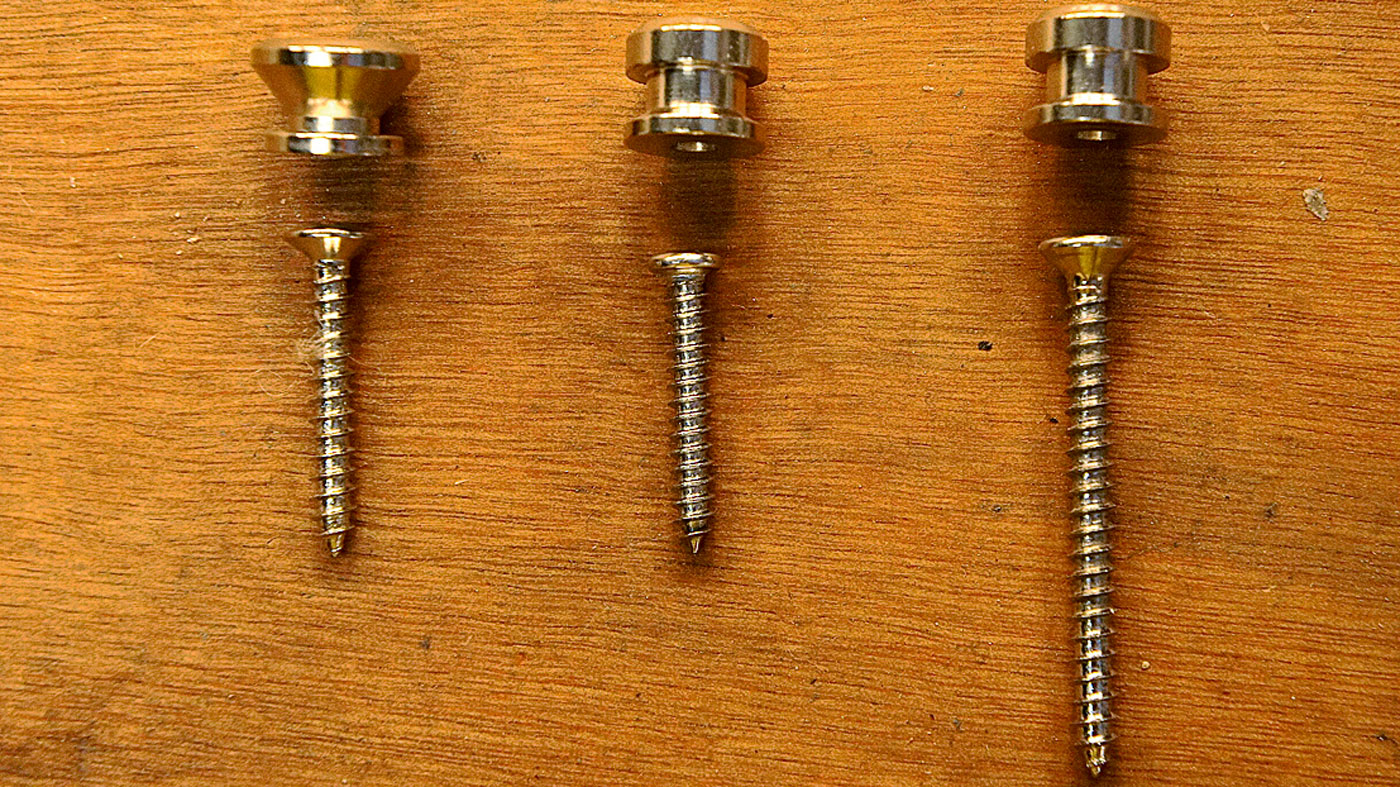
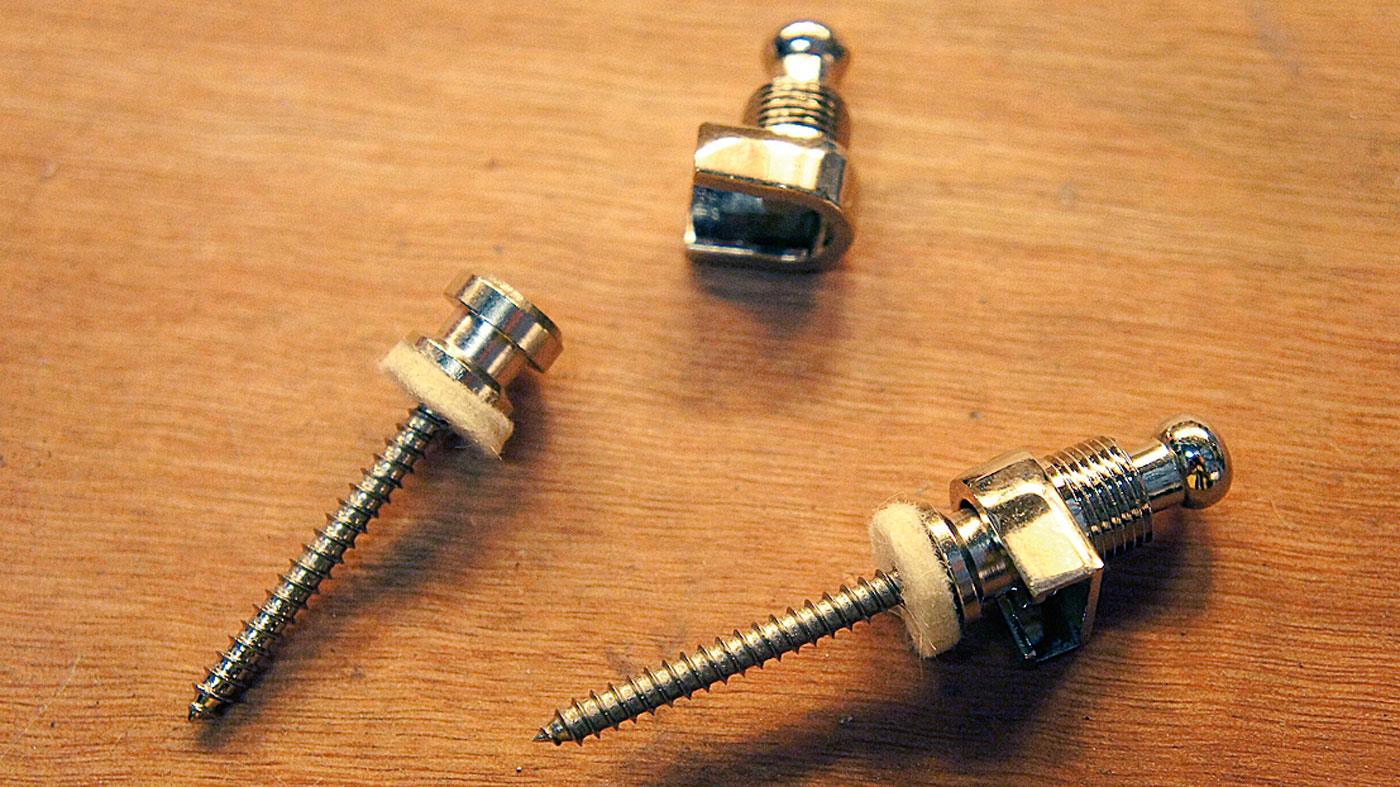
On the left is the original screw and strap button.
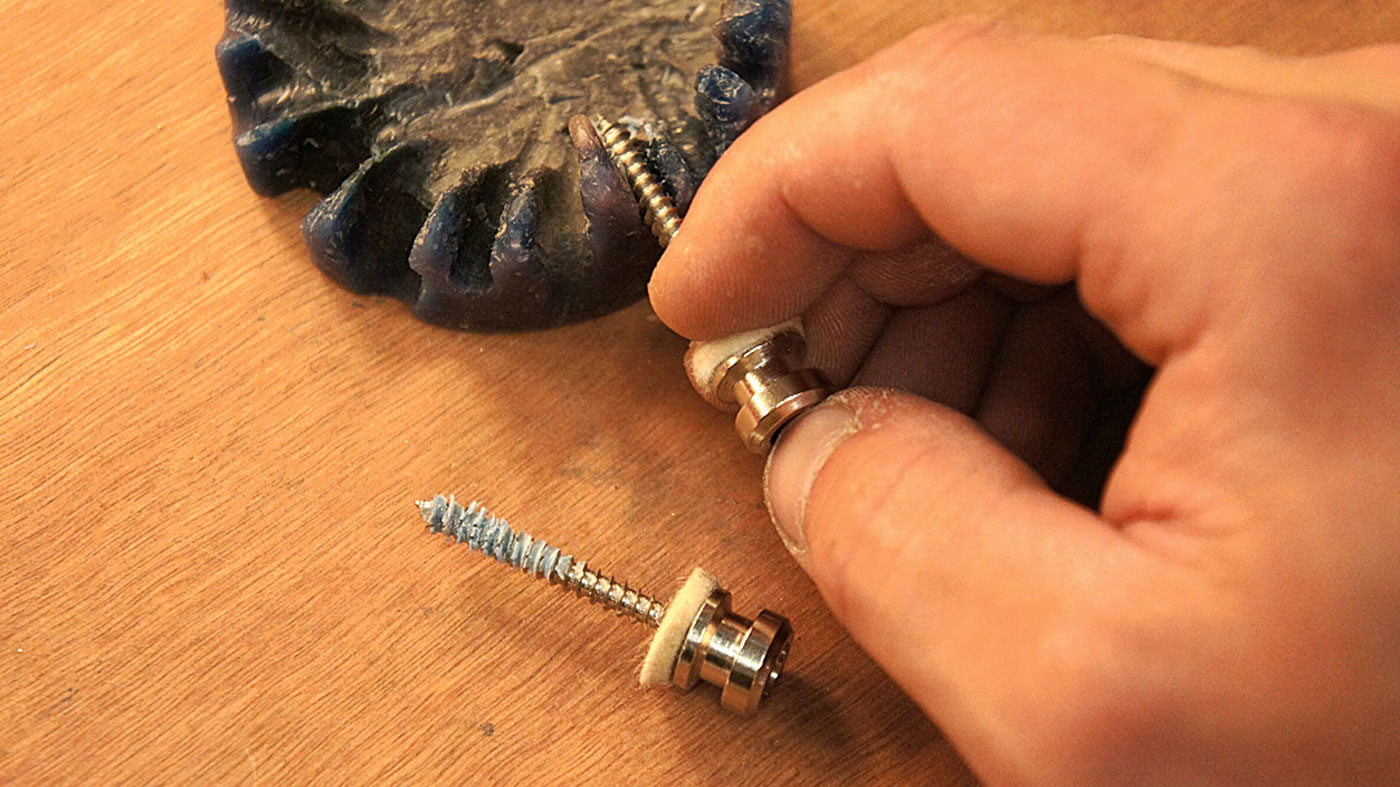
In the middle is the new strap button with the screw that comes supplied with it and on the right is the winner with a screw that’s more worthy of the job! The screw on the right is the same size as the ones that attach the necks on Strats and Teles (4x45mm).
Step 4
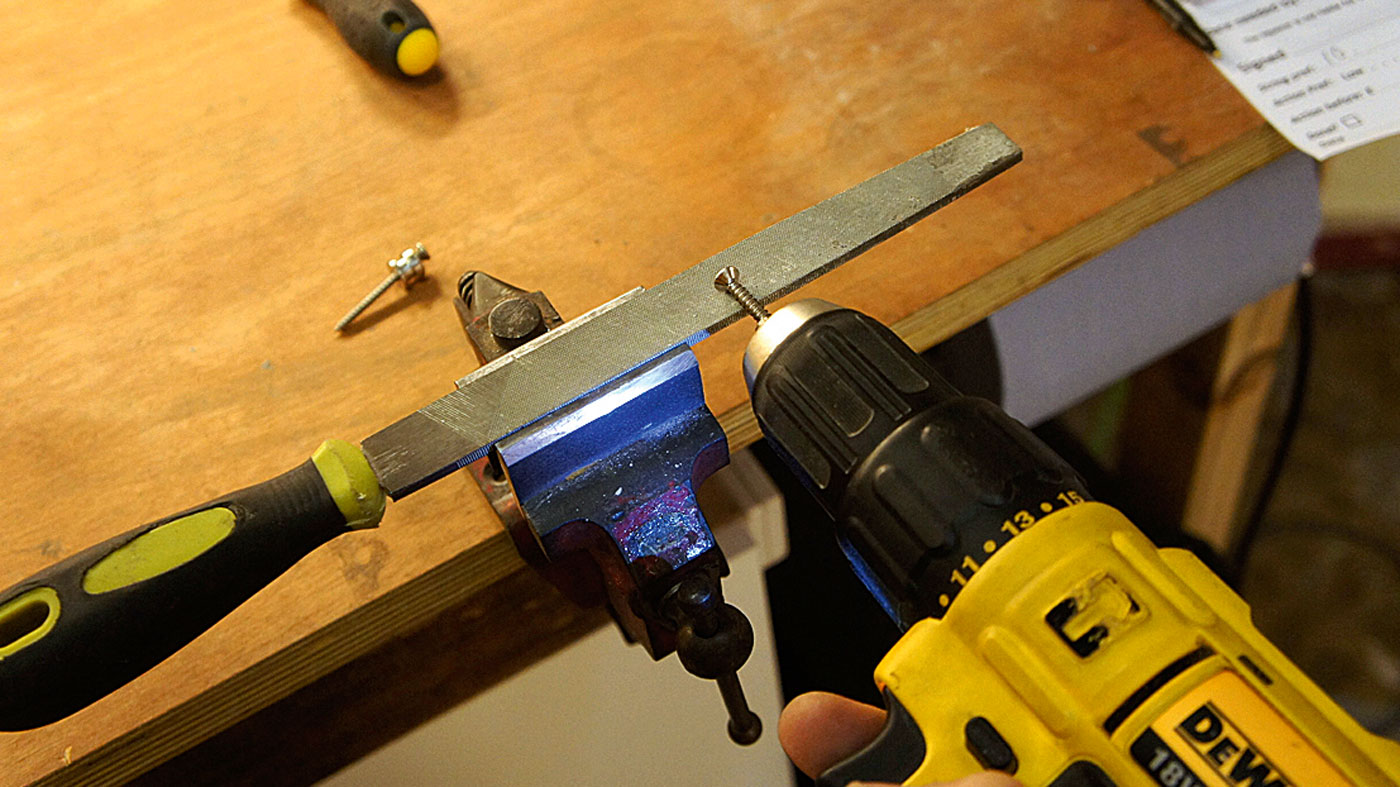
Now that the threaded part of the screw fits we need to mess with the screw’s head.
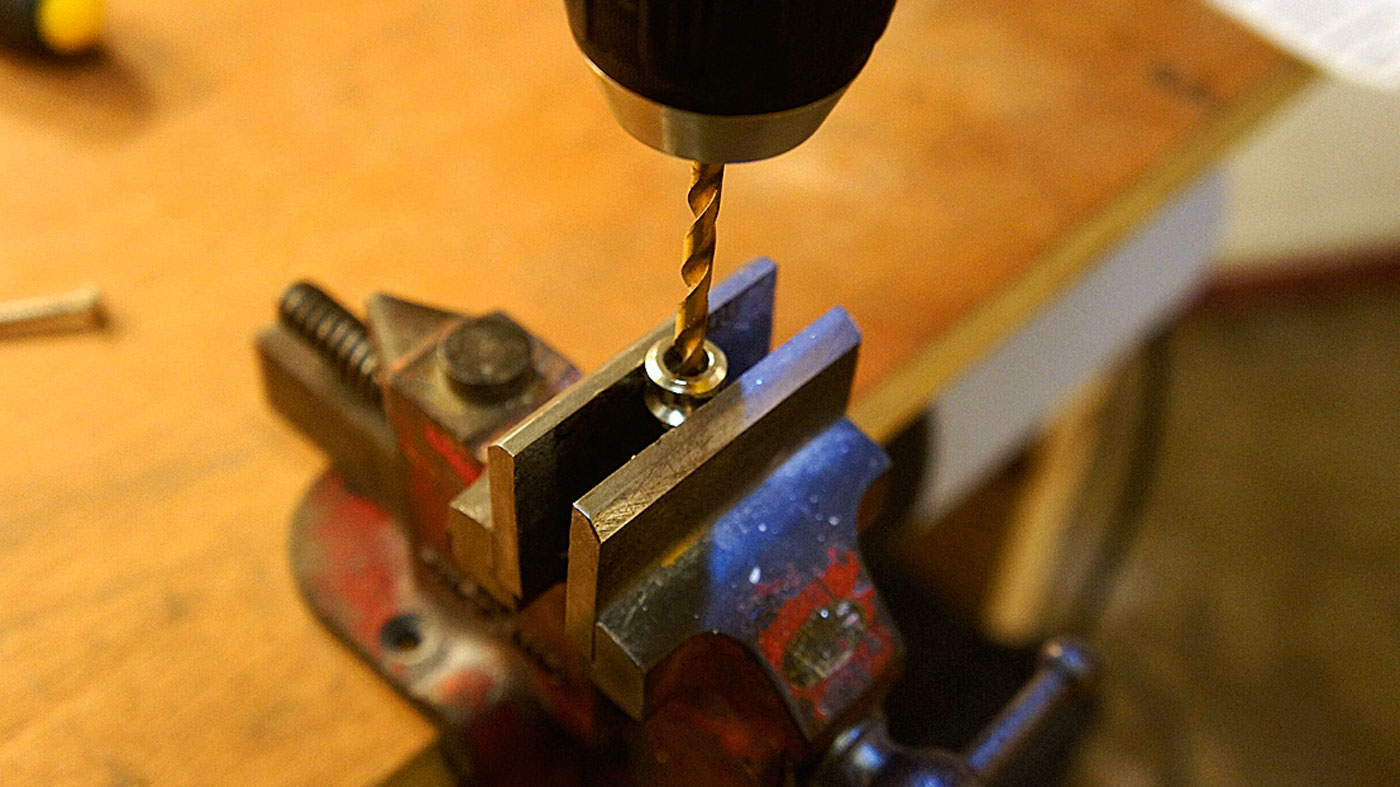
Clamp a coarse flat file into the vice and then put your new screw into the drill chuck; we’re going to use the drill as a makeshift lathe to slim down the screw head. Keep it level and pull the trigger, like you’re firing a gun sideways.
Step 6
Test fit the screws into the new strap pins, they should go in smoothly and the important thing is that the head sits deep enough.
Now test fit the locking mechanism onto the strap pin (with the screw installed), check that the catch drops down low enough. If it doesn’t lock down properly, you have some more work to do.
Step 9
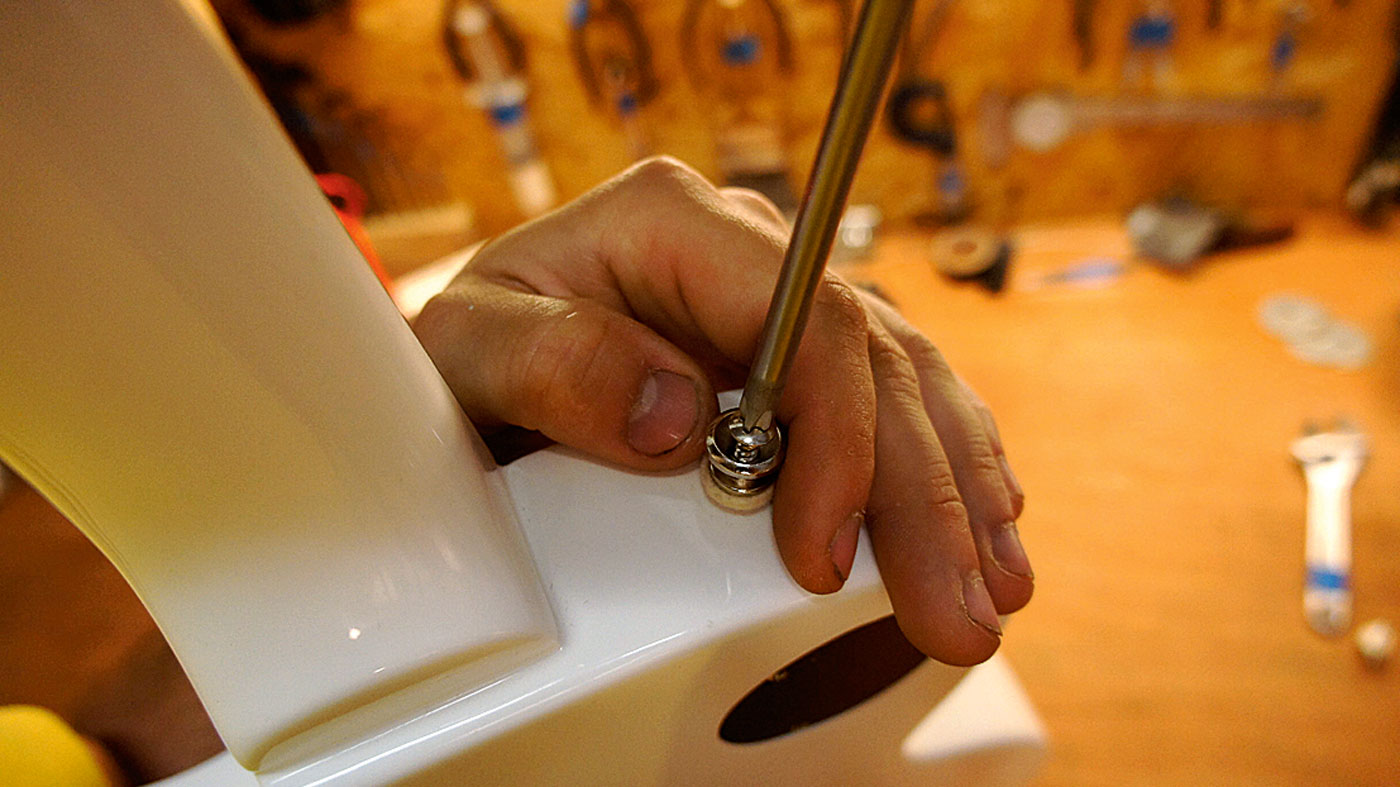
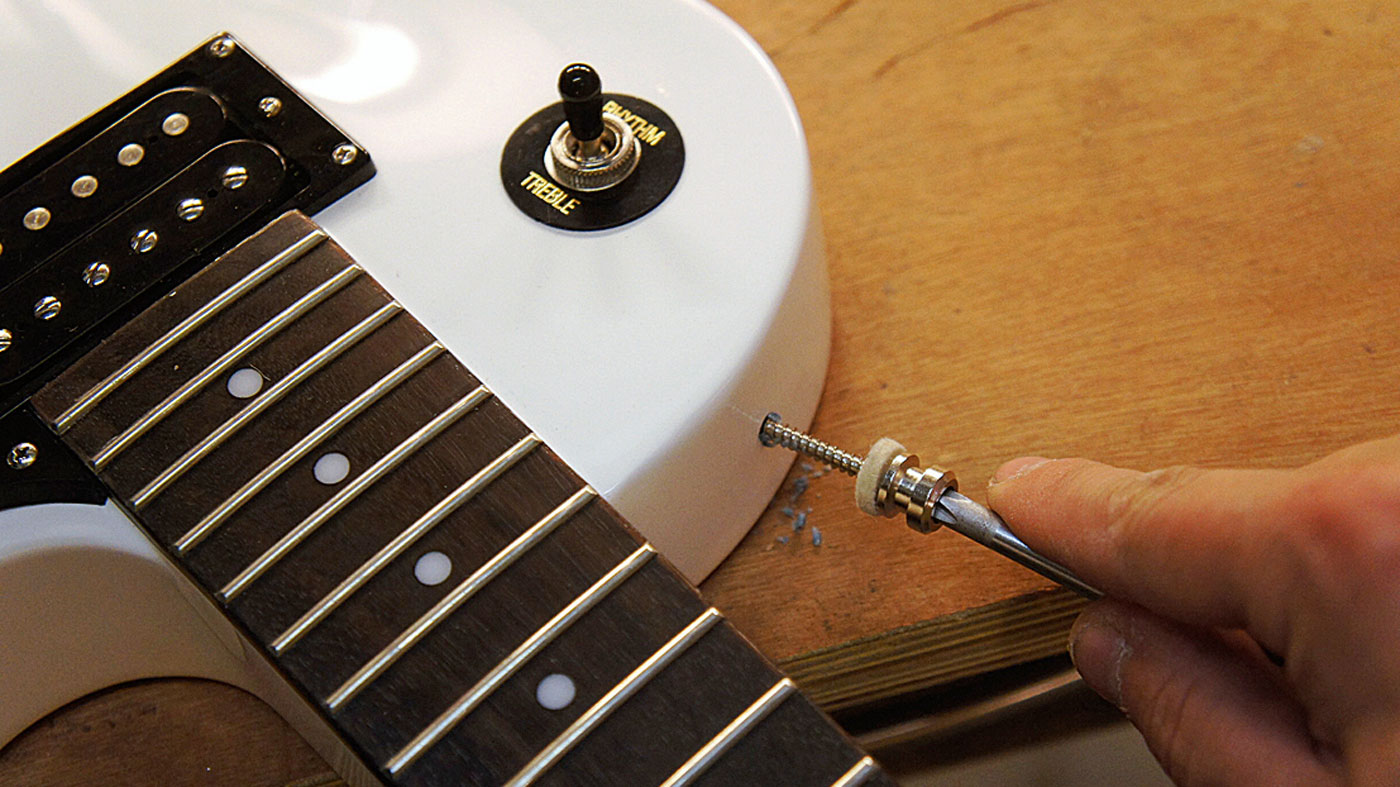
Using your PH2 screwdriver, screw in the strap pin. We like to use a screwdriver and not a drill driver, it’s too easy to overdo it and cause damage.
With an old school screwdriver you can feel when to stop. Blow off the excess wax - don’t be tempted to wipe it as it will smear onto the paint job!
Jack runs an independent guitar setup and guitar repair service in Manchester, England. He serves the musicians of the Northwest of England, working on electric guitars, bass guitars, acoustic guitars and more. Jack has been writing the Fix Your Guitar column in Total Guitar Magazine since 2017.
