Replace your electric guitar's pots to get rid of annoying snap, crackle 'n' pop, in 12 easy steps
A step-by-step guide to repairing your electric's electronics
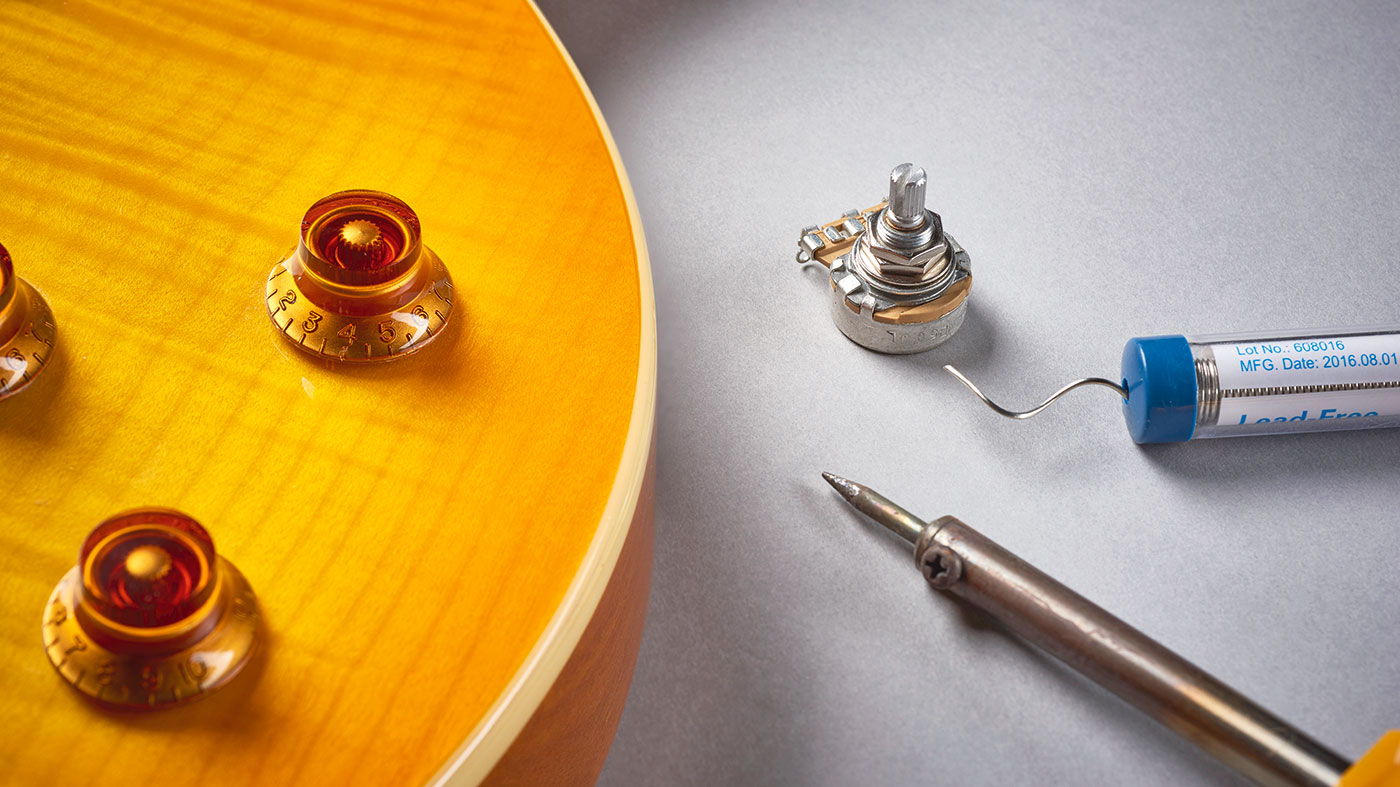
Snap, crackle and pop is for Rice Krispies - sort out those annoying noisy controls on your electric guitar with our step-by-step guide to replacing your pots.
Your guitar’s controls are a low-cost, yet integral part of your tone, yet they’re often overlooked. There are three main things that can go wrong with your control pots.
The first (and easiest) is when the pot has come loose, so if you turn your volume or tone control to 10 it continues to turn, because you’re actually spinning the entire pot around inside your guitar. Not only is it annoying, but leave it long enough and you’ll snap the connecting wires inside - which is a much bigger problem!
Next up is a scratching or popping sound when you turn the control. It’s usually intermittent, but it’s up there with microphone feedback on the list of ‘Things your audience will hate’. It’s also a simple fix, which we’ll get to in a moment.
Finally, you may discover that your pot is simply worn out, not connected or even physically broken - it might be creating some extreme noise, or not operating at all. Let’s take control and sort this out…
What you need:
• Soldering iron with stand and cleaning sponge
• Control pots
• Helping Hands
• Solder sucker
• Screwdriver
• Safety glasses
• Electrical cleaner
Doff your caps
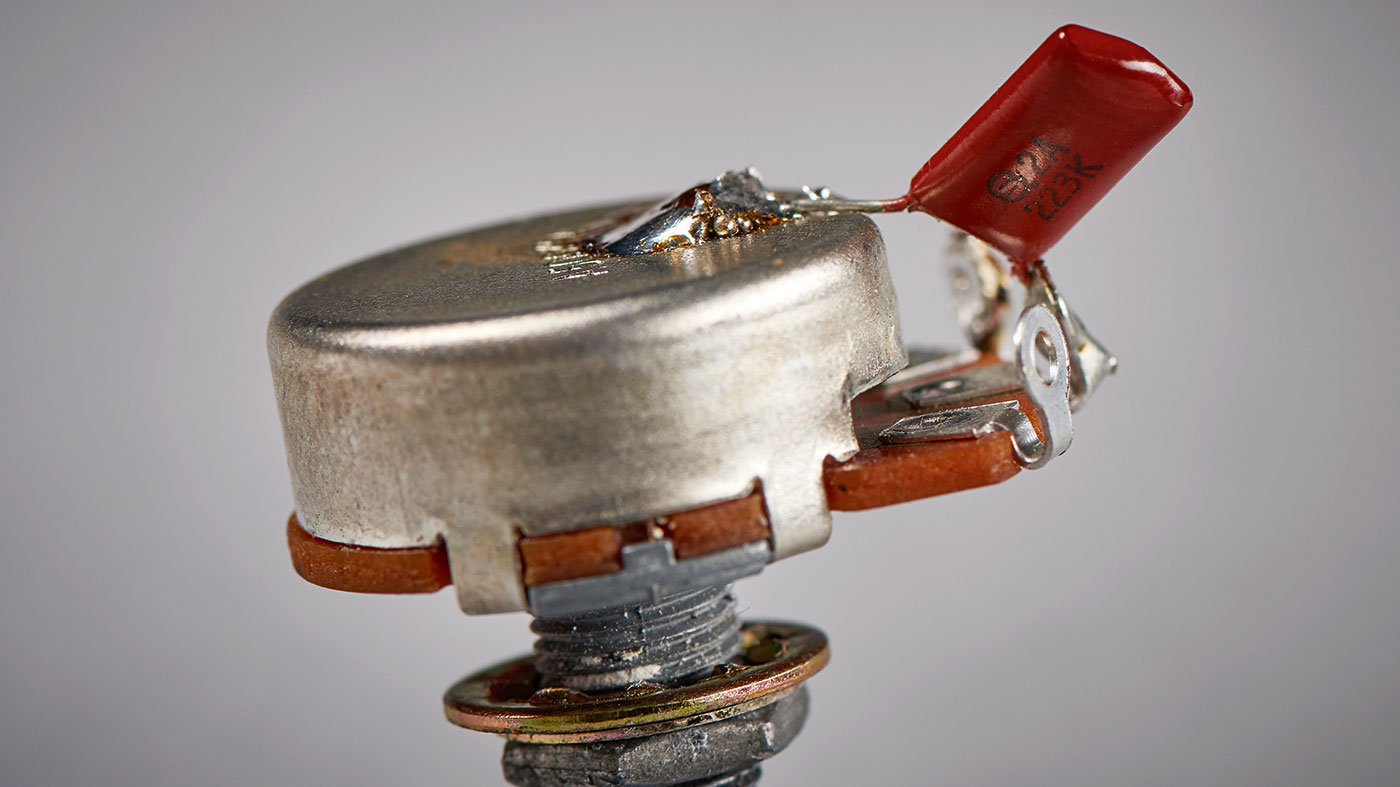
Your tone pots will also have a capacitor attached to them. This little component is the bit that actually rolls off your high frequencies when you turn it down.
Get the MusicRadar Newsletter
Want all the hottest music and gear news, reviews, deals, features and more, direct to your inbox? Sign up here.
Capacitors used in guitar circuits aren’t polarised, so it doesn’t matter which way round you fit the legs - we normally go with the printed side facing out from the pot. They’re measured in microfarads (uF) and will be marked with a number. You can experiment with different values and materials for different results, but if in doubt, just swap it for what you already have.
Step 1
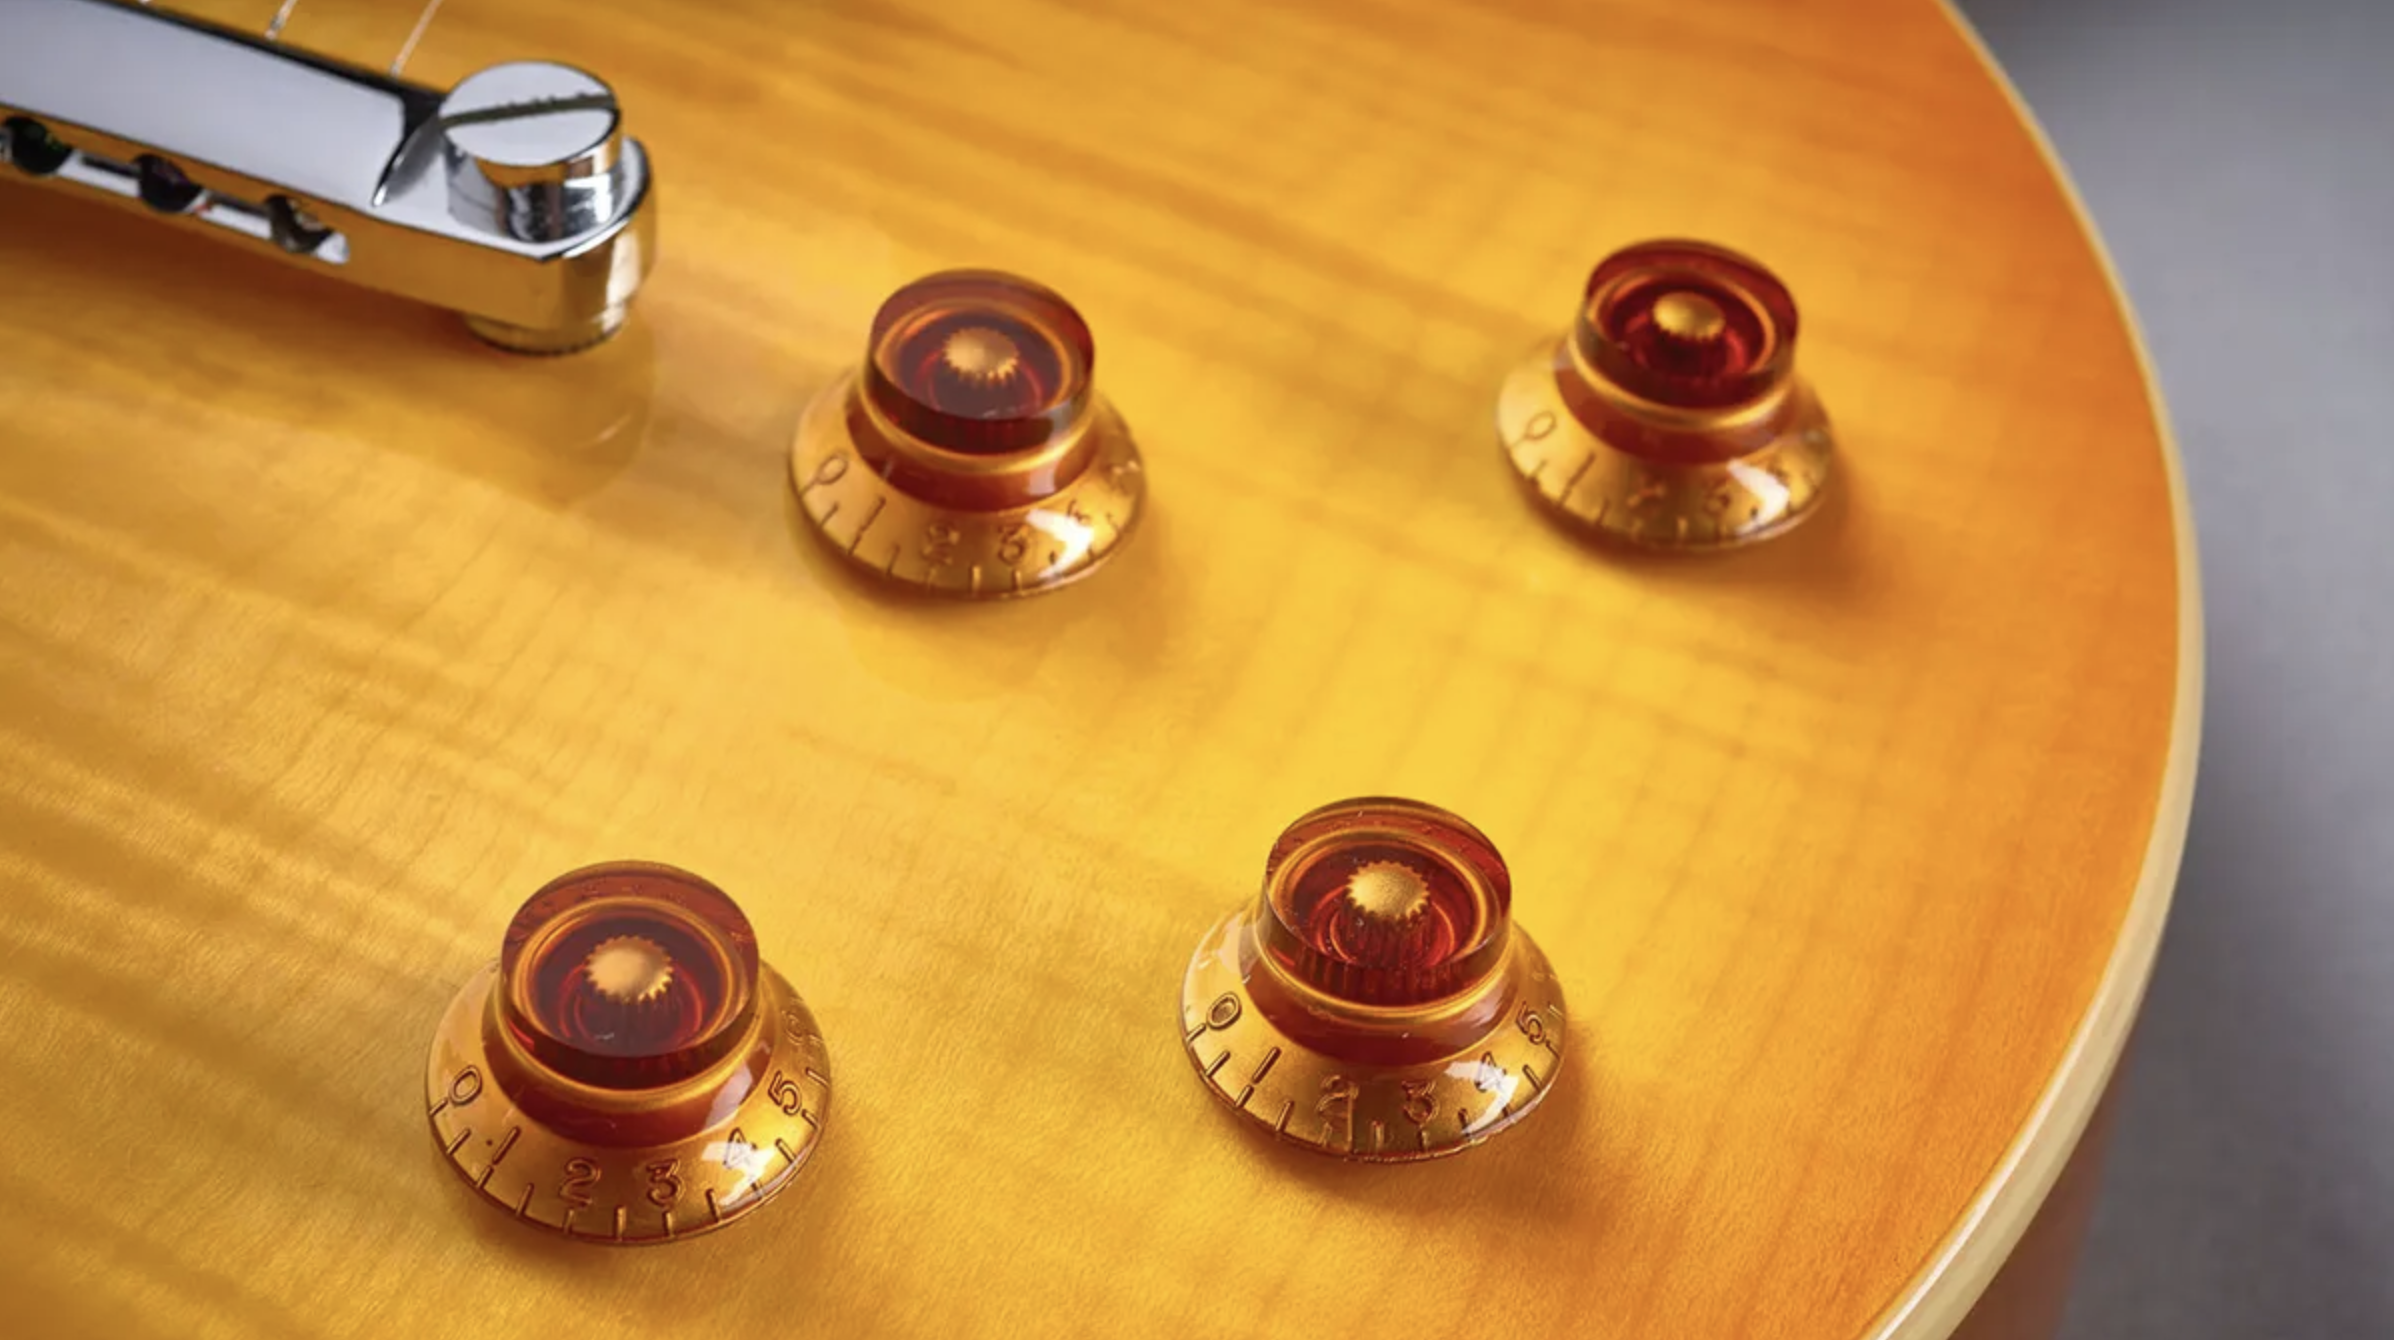
The basic process of working on volume or tone controls is the same, but there are a couple of differences.
Volume pots generally use a logarithmic (B) or ‘audio’ taper, while tone controls are often linear (A), but can also be logarithmic. Your pots will be stamped with the relevant letters, so if in doubt go like-for-like when replacing them.
Step 2
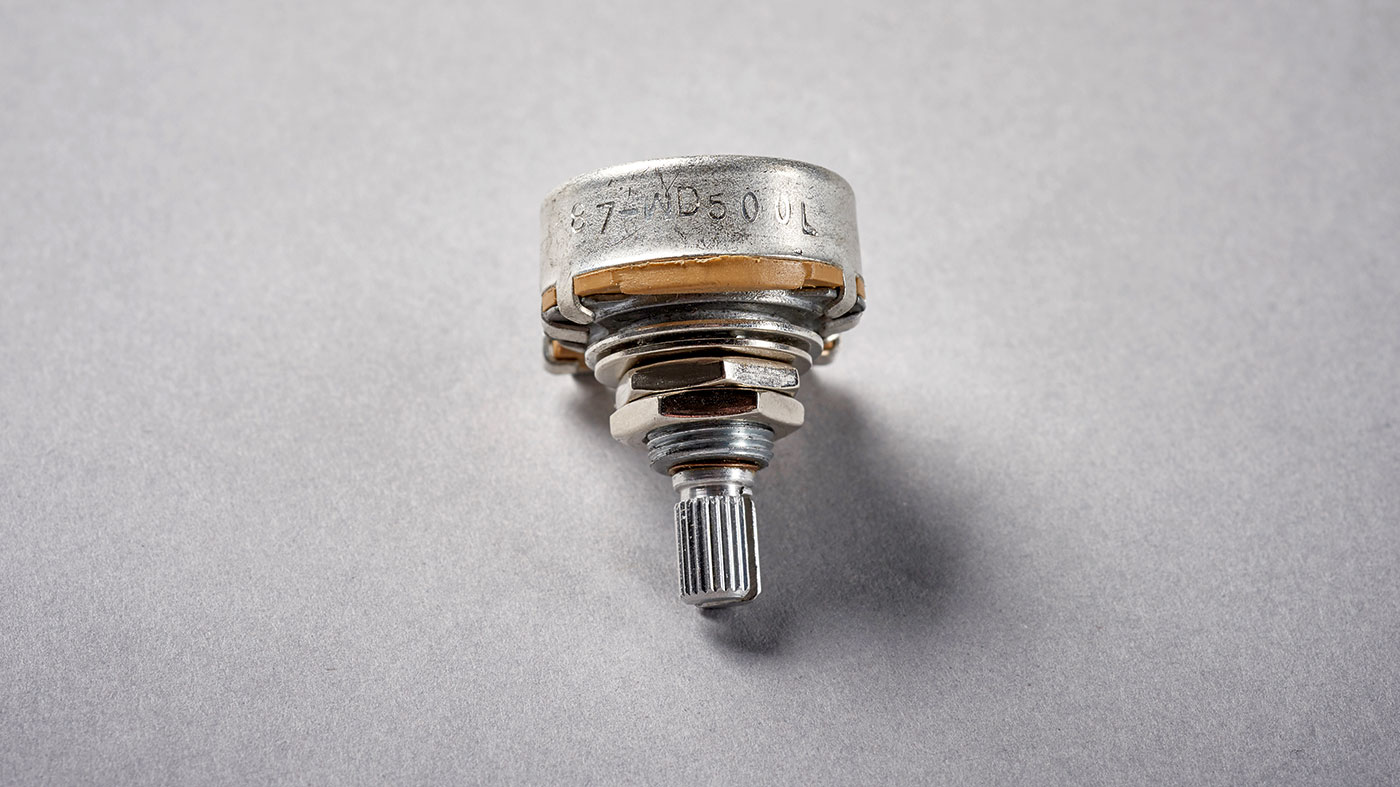
When replacing a volume or tone pot, you need to make sure that you get the right value for your guitar.
As with most things, it’s not set in stone, but as a rule of thumb, single-coil pickup guitars use 250k pots, while humbucker-equipped ones use 500k pots.
Step 3
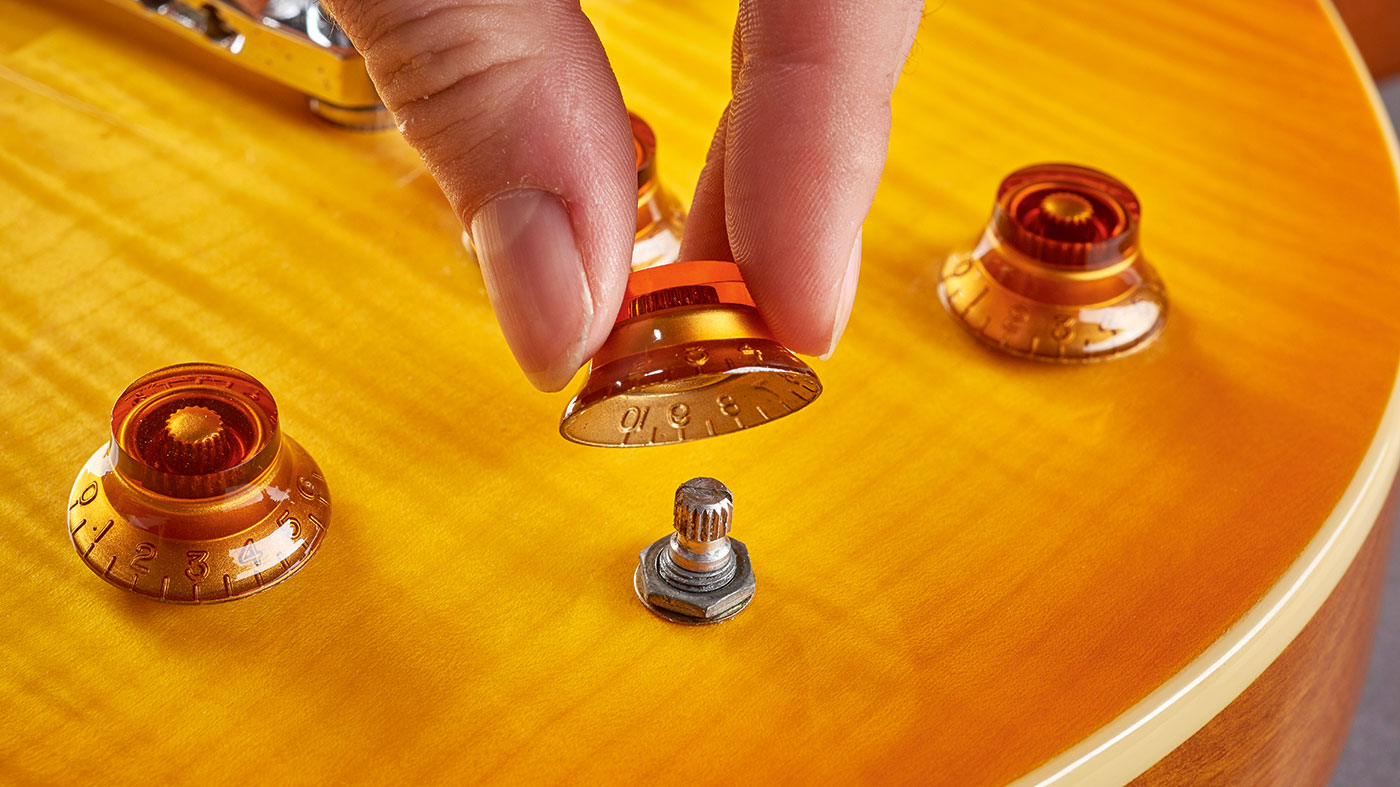
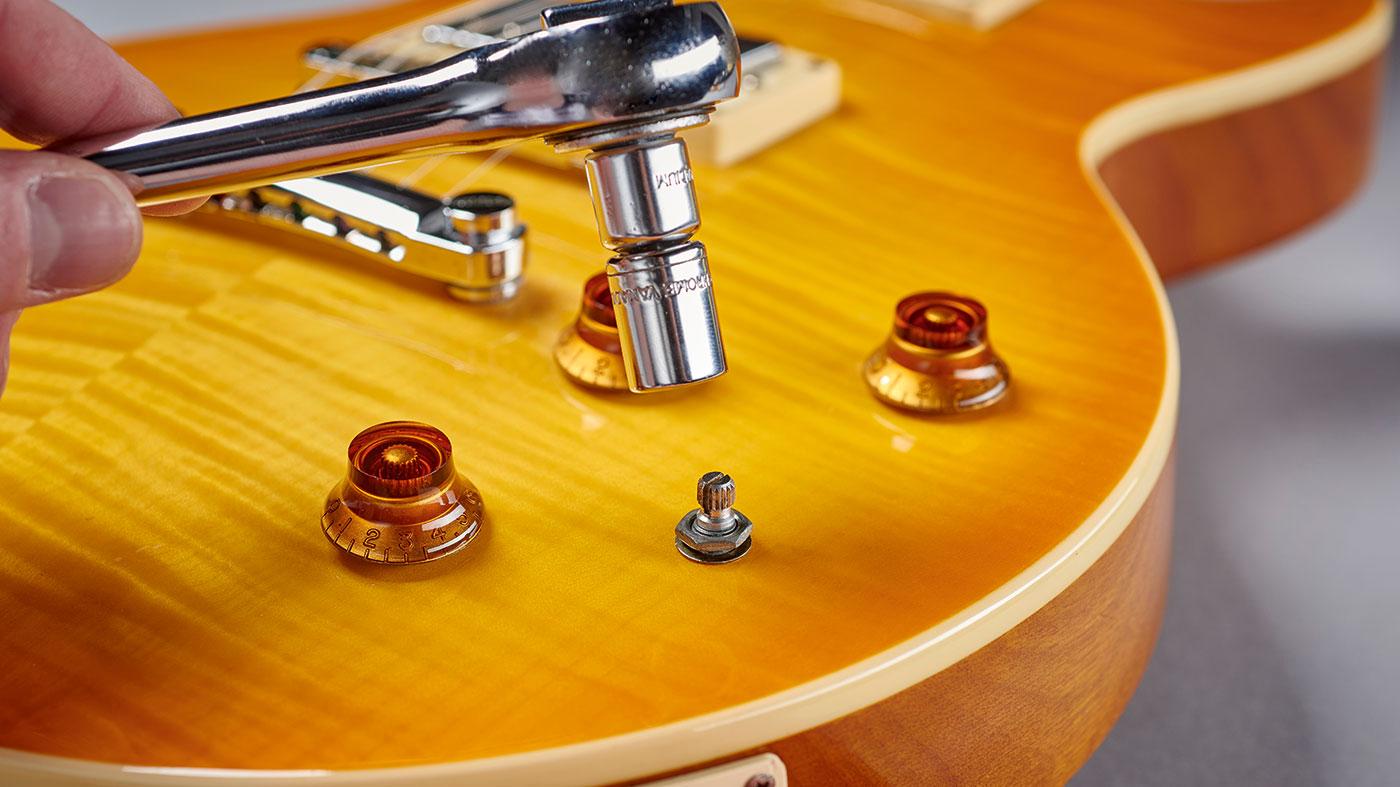
Before you remove your pot, you’ll have to take the control knob off.
This can vary between ‘easy like a Sunday morning’ and ‘why won’t this bloody thing budge?!’ in difficulty depending on your guitar. Don’t use a screwdriver to prise it out: instead, grab yourself a thin cloth or duster and head to the next step.
Step 4
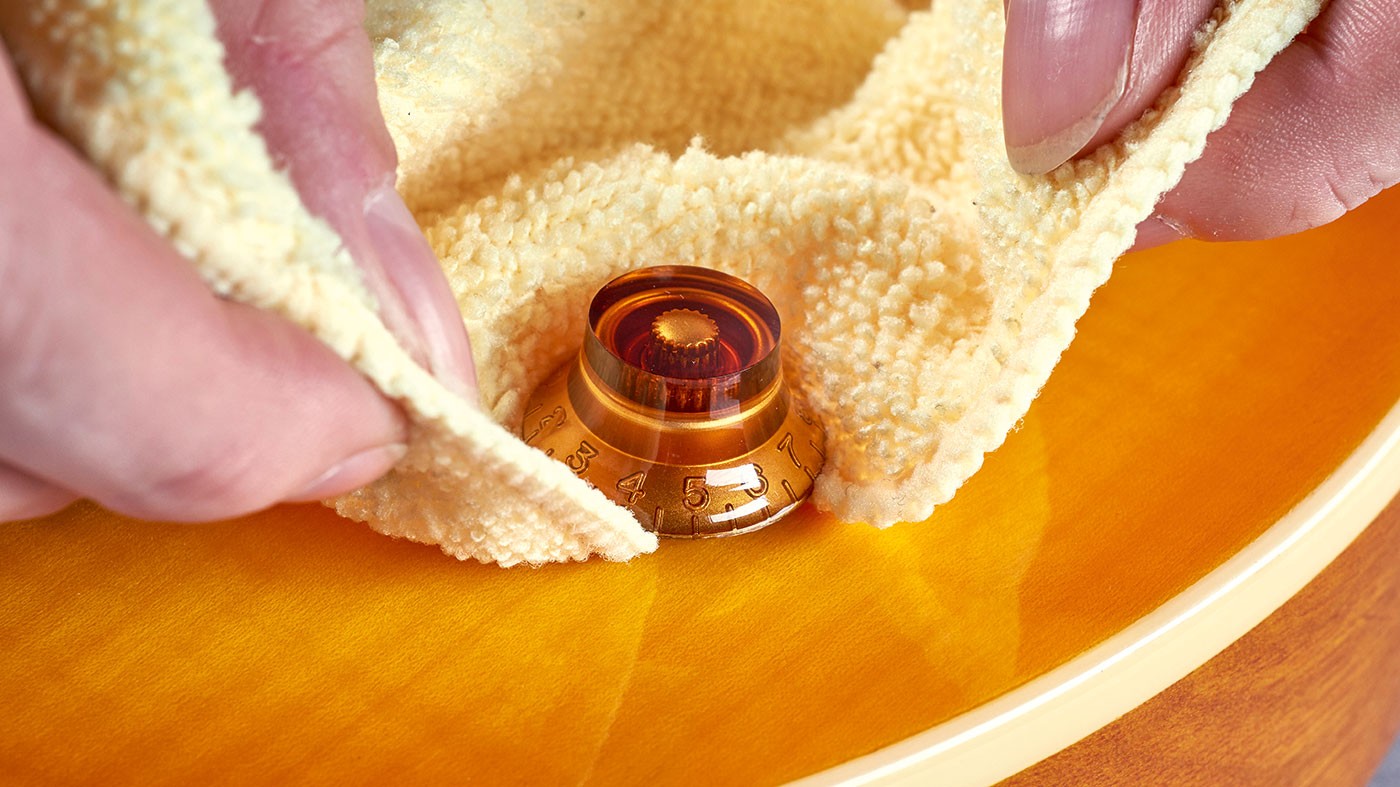
If you find that your knob just won’t budge no matter how much you pull on it (you heard), get the edge of your cloth underneath.
Next, fold the cloth up and pull straight up - the fiddly piece of plastic should come straight off. Go slowly - you don’t want to break it.
Step 5
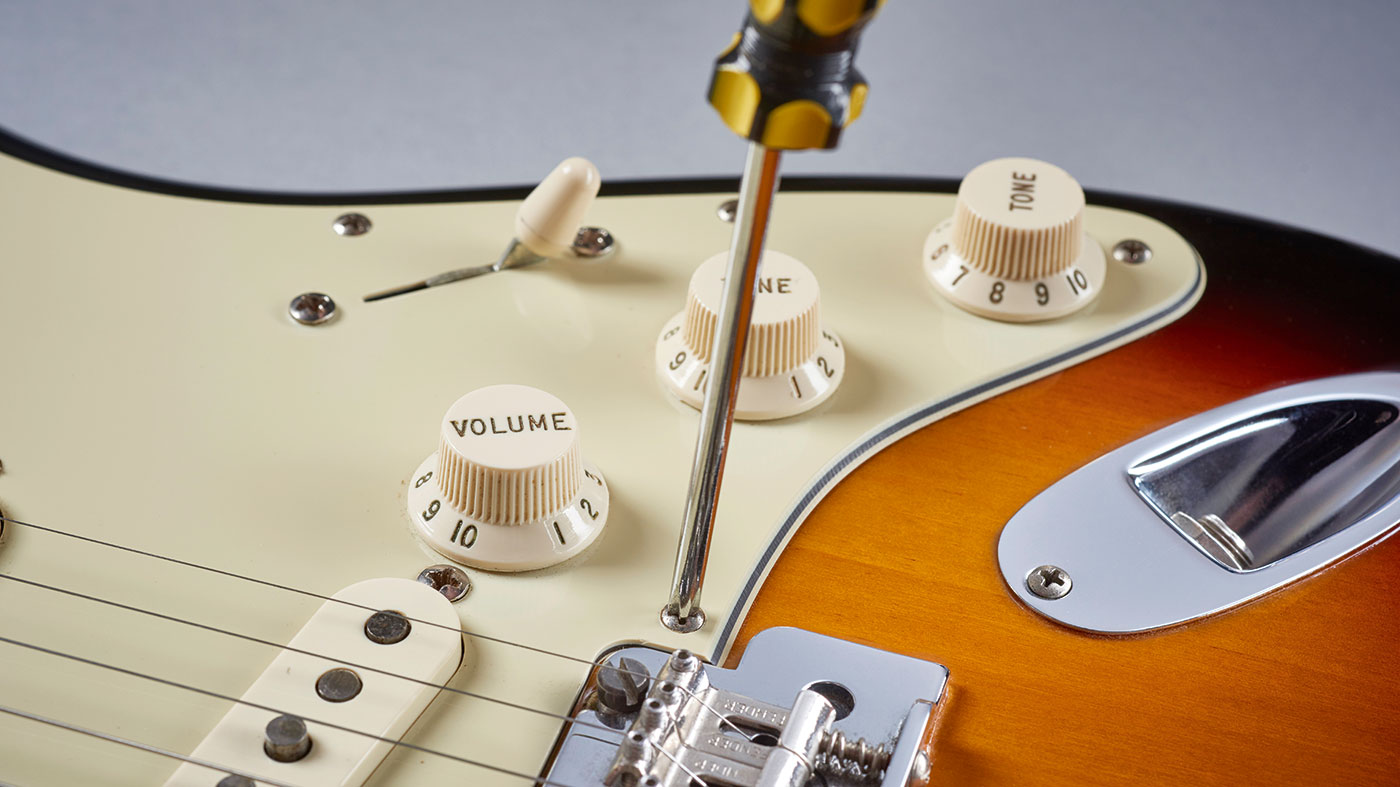
Next, you need to determine how to get to your guitar’s innards.
On a Strat-type guitar with scratchplate-mounted electronics, you’ll need to take the strings off and unscrew the scratchplate. If your controls are mounted through the body (like on our Les Paul), getting to them is much easier.
Step 6
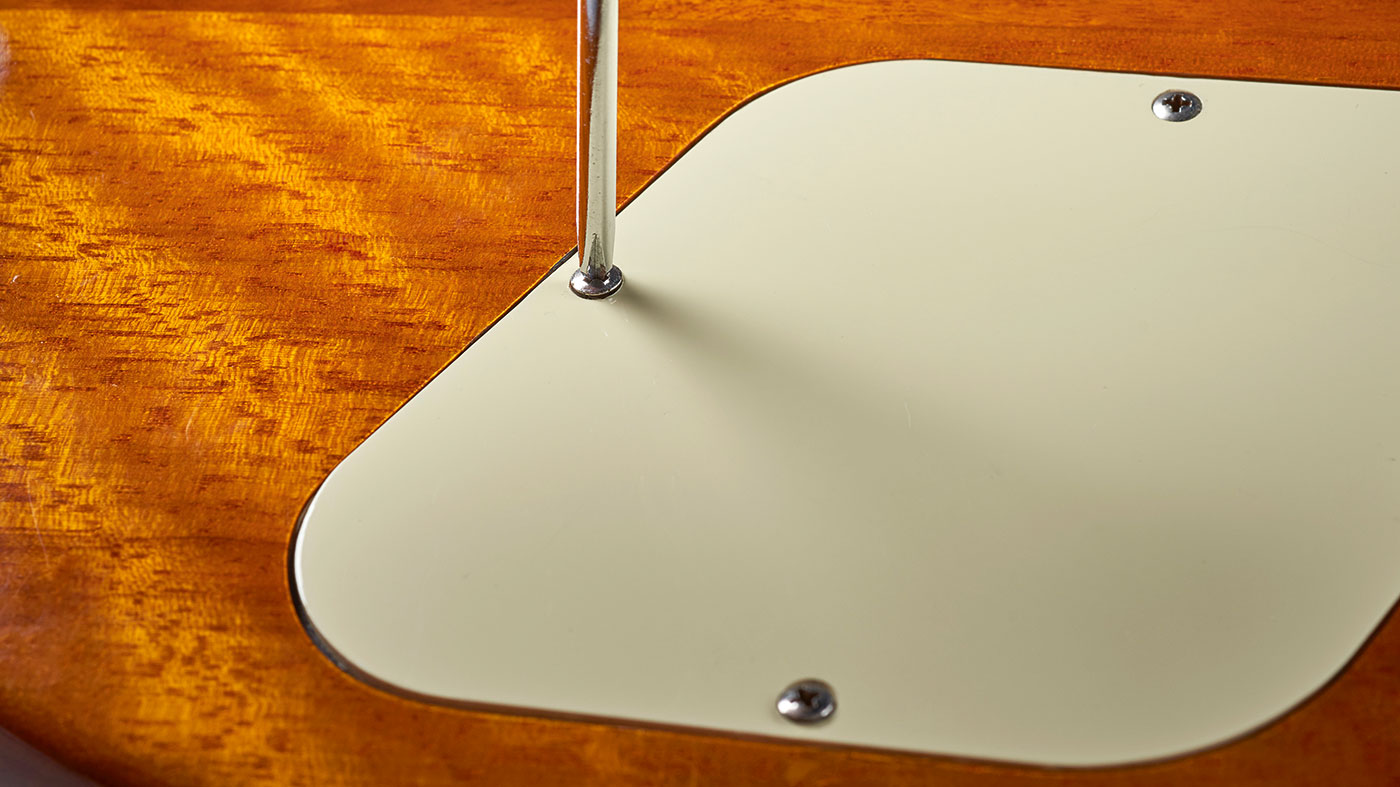
Next, you need to determine how to get to your guitar’s innards.
On a Strat-type guitar with scratchplate-mounted electronics, you’ll need to take the strings off and unscrew the scratchplate. If your controls are mounted through the body (like on our Les Paul), getting to them is much easier.
Step 7
This is the guitar’s control cavity cover: the portal to tonal upgrades.
Take out the screws and lift it out - you should be able to do this with your fingernails, if not, turn it upside down and let gravity do it’s thing. Again, please don’t try to prise it out with a screwdriver, lest you chew up the surrounding wood.
Step 8
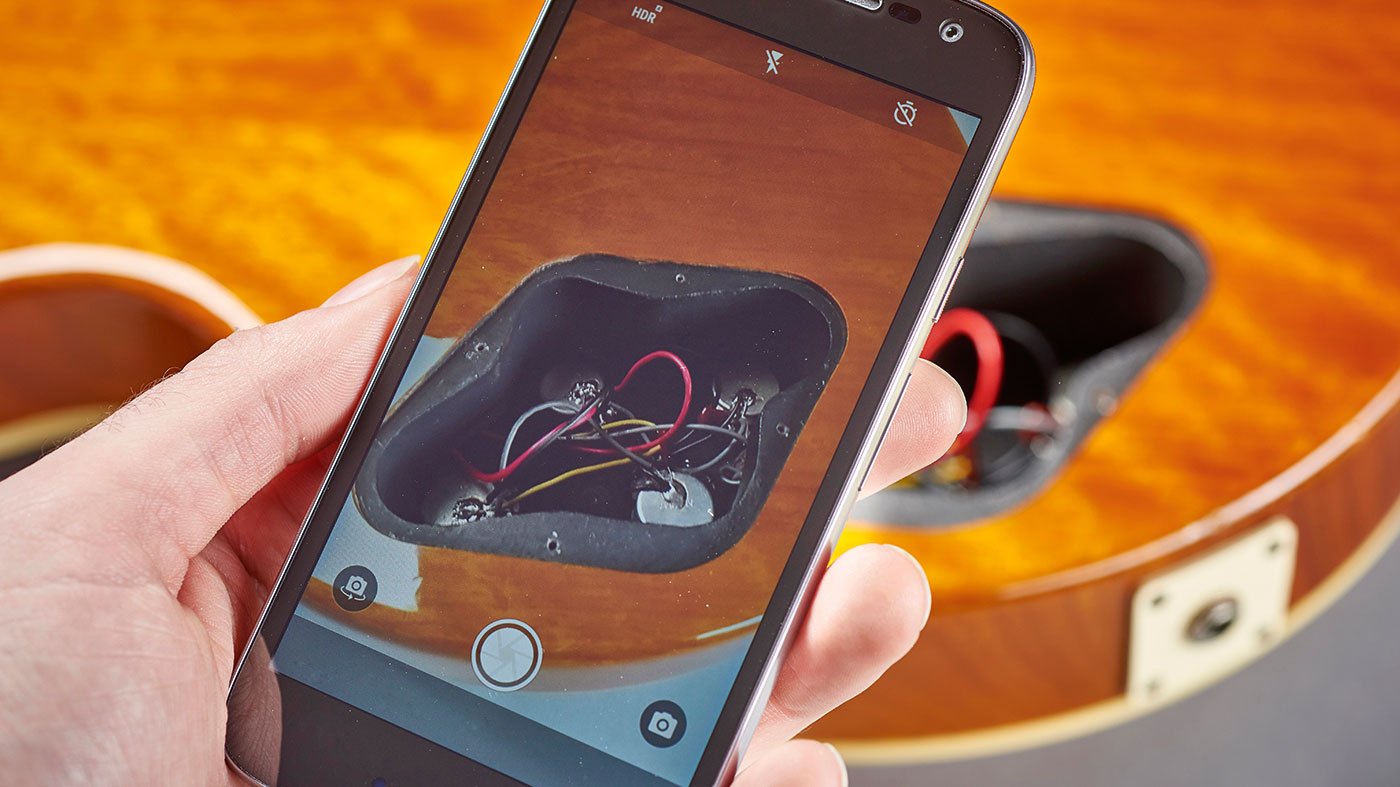
You’re in! Our Les Paul is pretty neatly wired, but if your guitar has had previous after-market work, it may not be.
Arrange the wires neatly and take a photo on your phone. This way you’ll be able to see where everything goes if you accidentally dislodge a wire.
Step 9
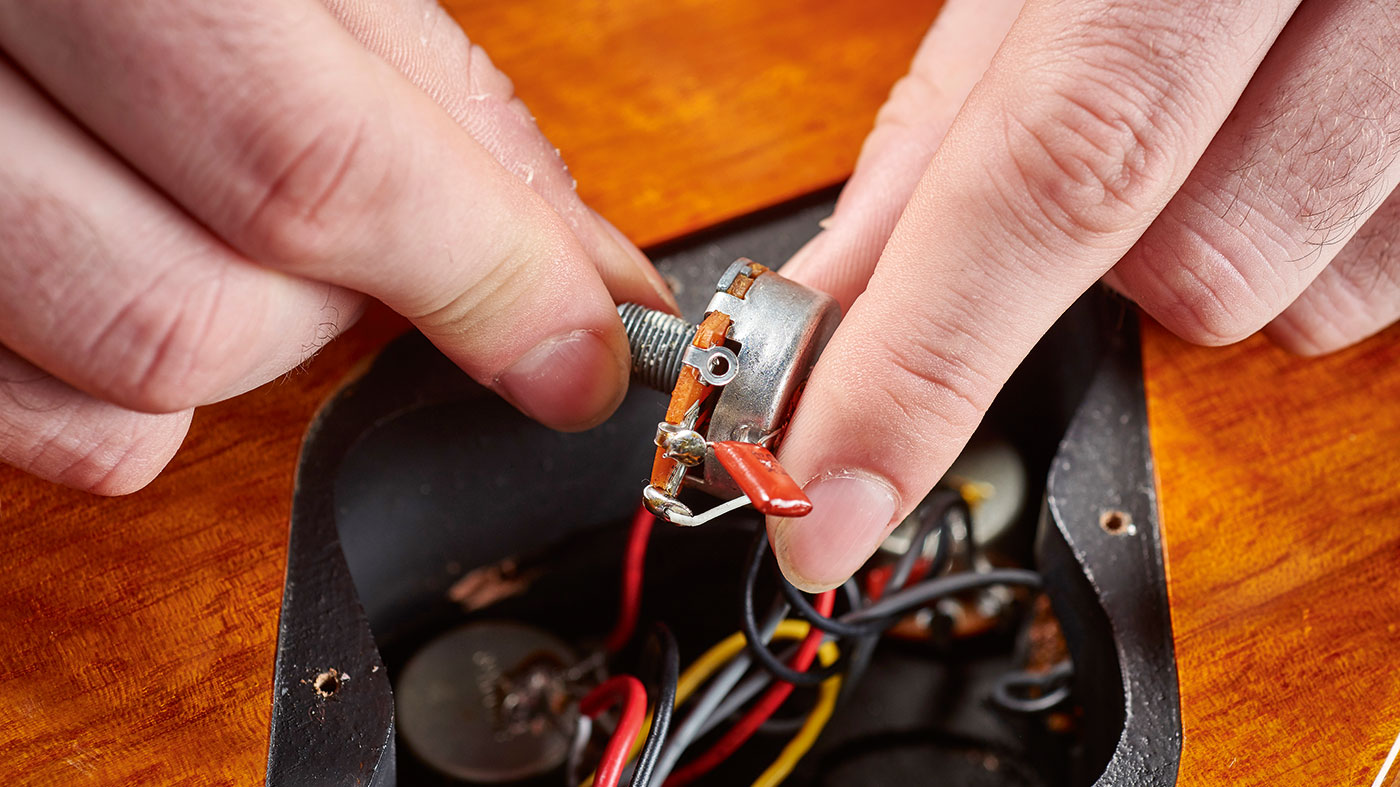
Next, we’ll look at the problem of crackles. The back of your pots are pretty much sealed, but that doesn’t stop dust and other debris getting in there and causing noise when you turn the control.
You can see inside the pot by looking along the edge near the contacts, which allows for cleaning the inside track of your pot.
Step 10
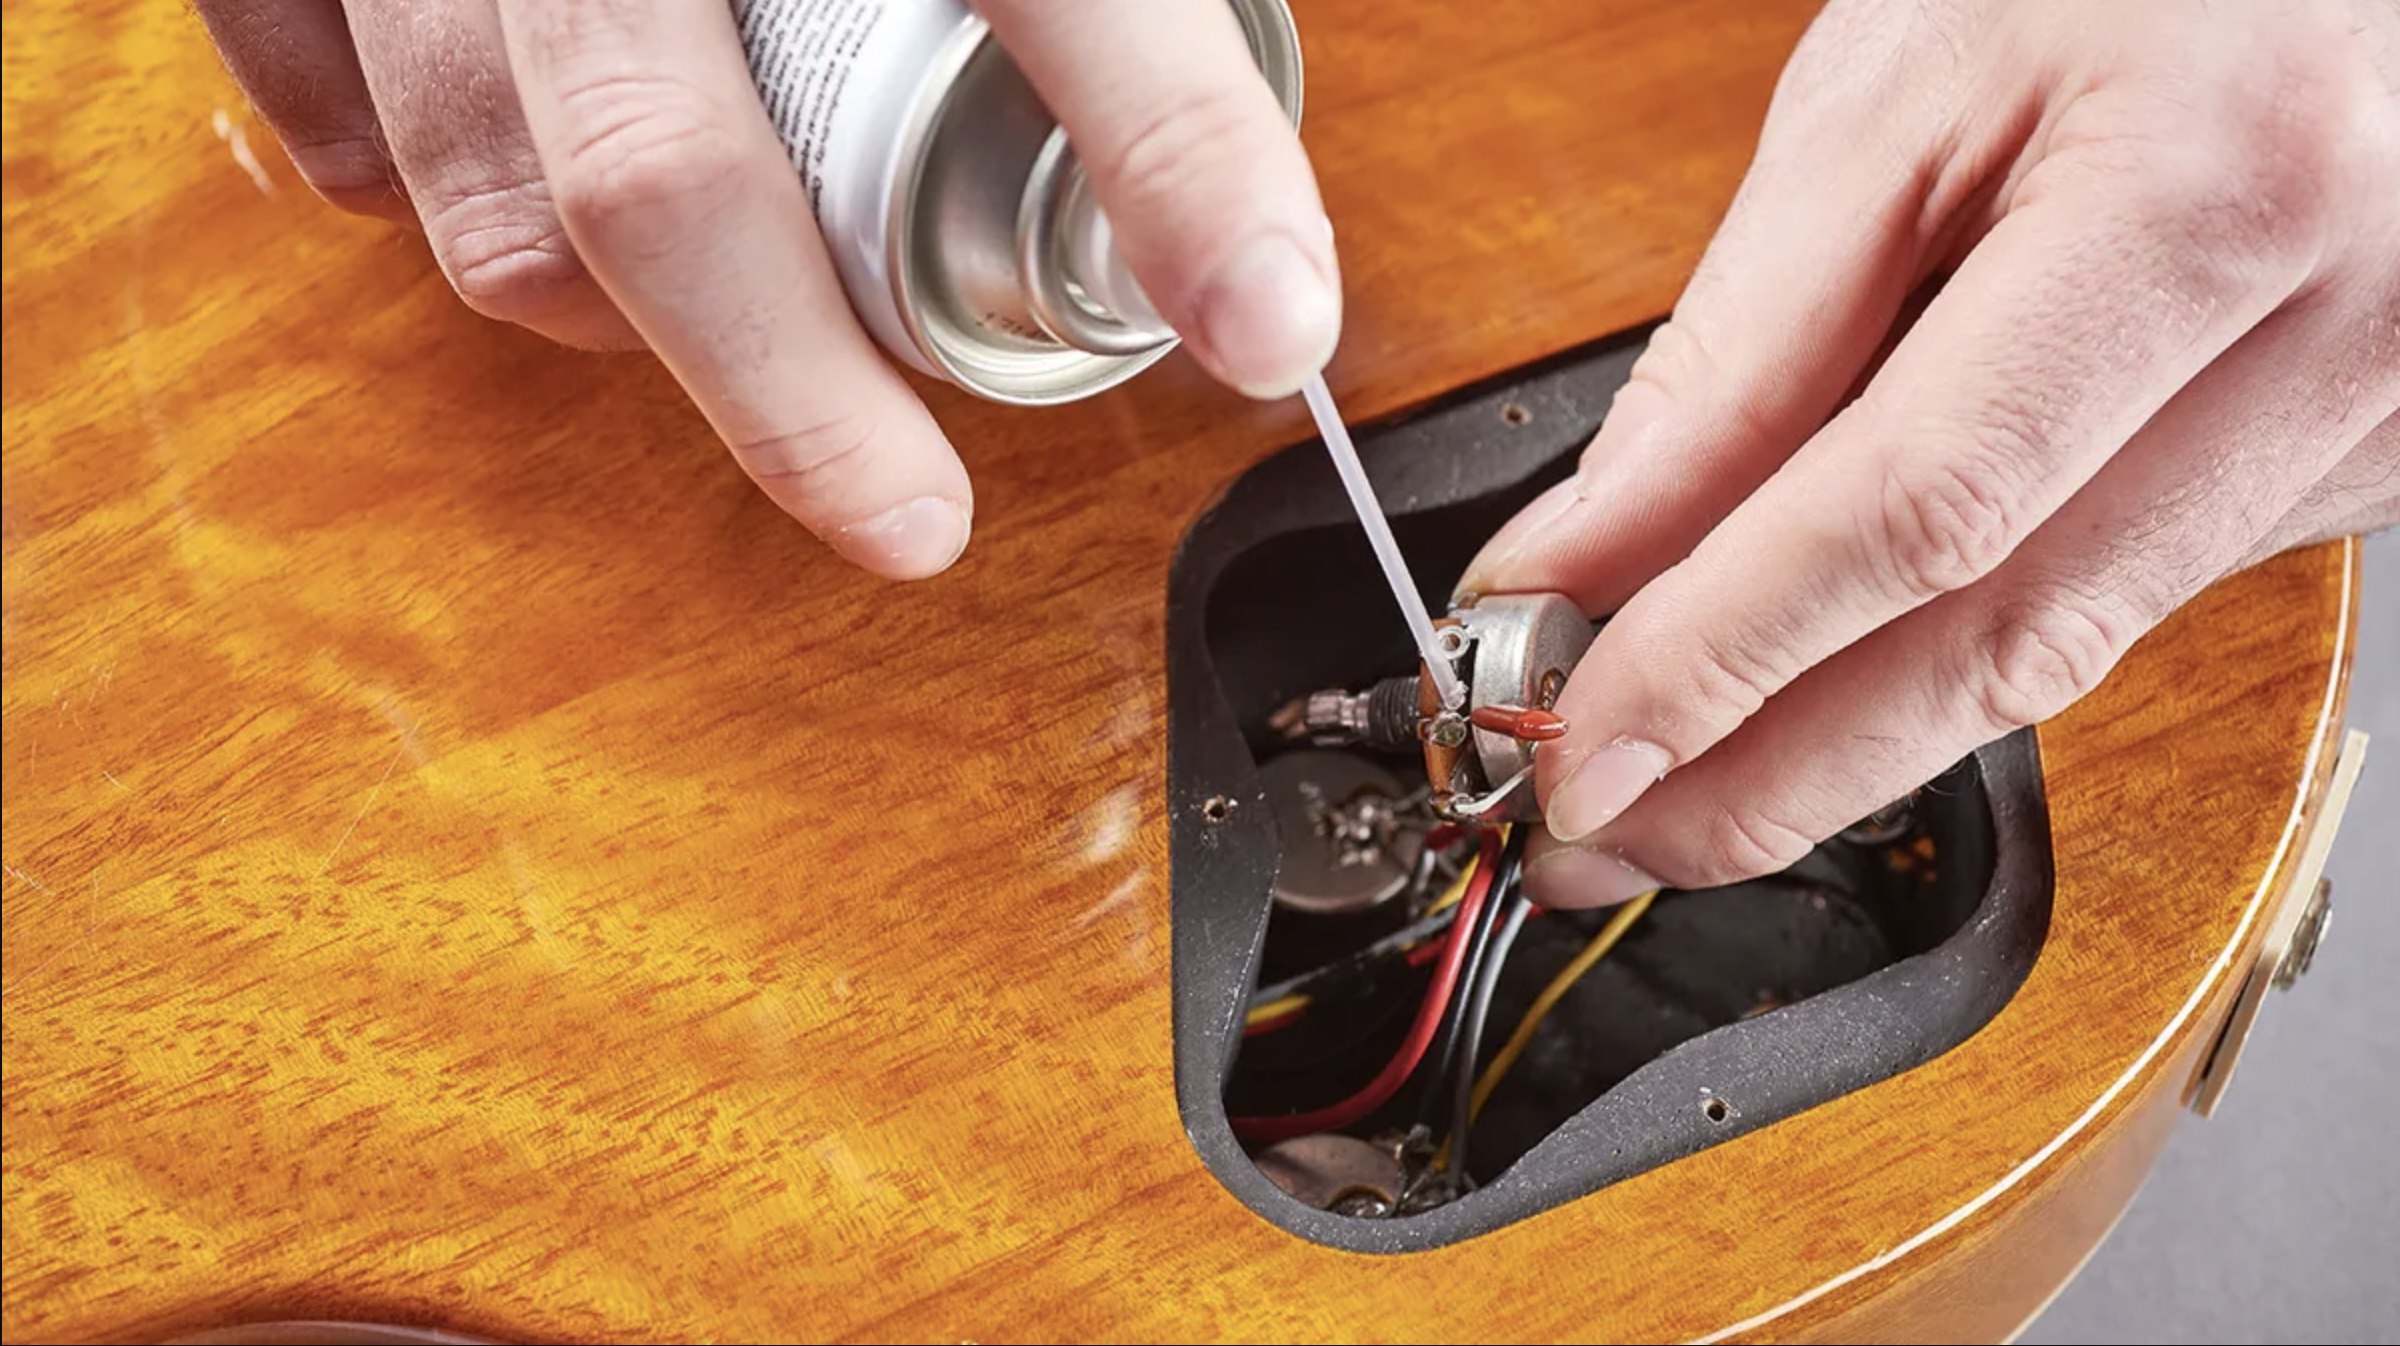
Get some cleaning solution (we’re using Servisol Super 10, which both cleans and lubricates your pots), attach the straw to the nozzle and blast it in the gap.
Don’t go mad, or you’ll end up with a flood inside the control cavity. Whatever you do, don’t use three-in-one oil, it’s not the same thing!
Step 11
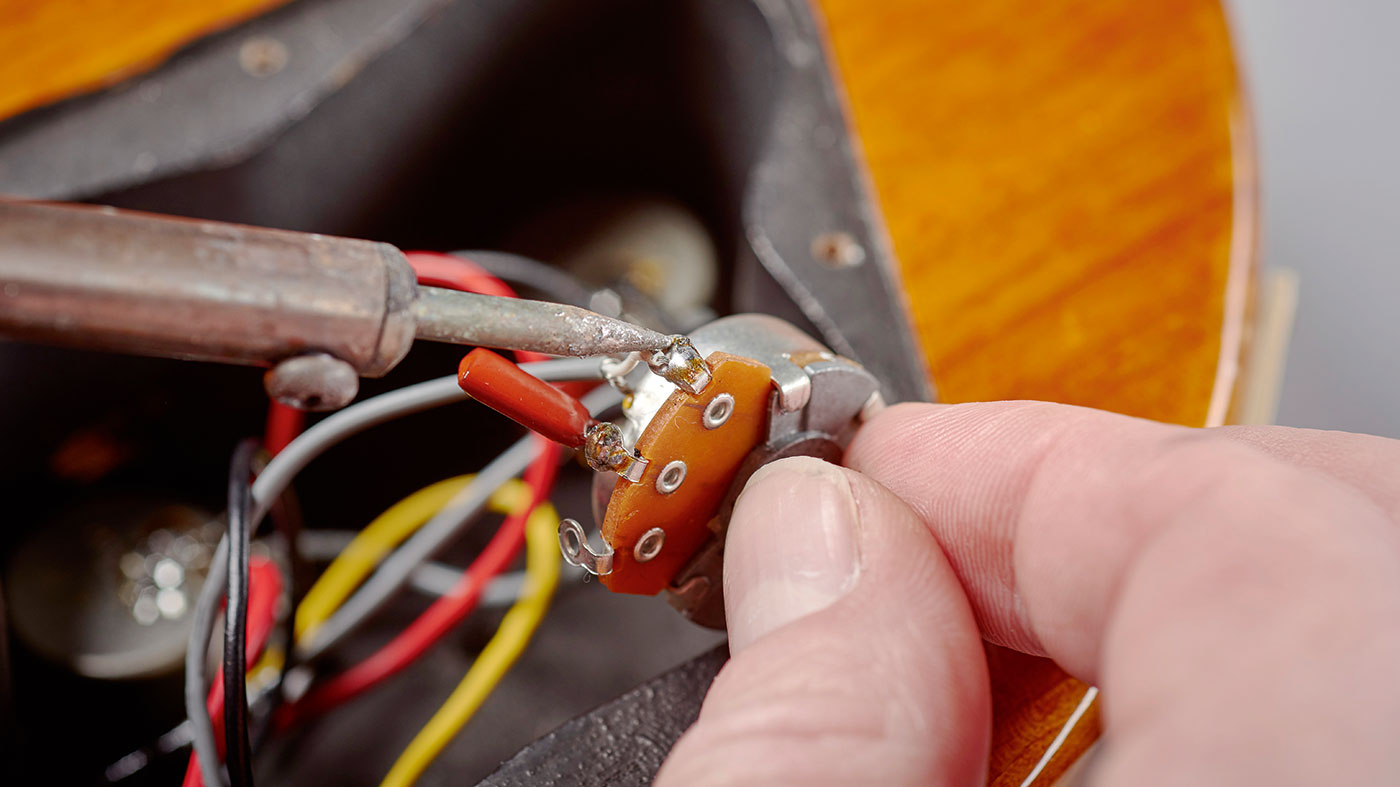
Next, quickly turn the pot up and down a dozen or so times to help dislodge the crud. If that doesn’t fix it, it’s time to replace the pot.
Make a note of where the wires are connected, then desolder the connections. Undo the nut we talked about earlier and put your replacement pot in.
Step 12
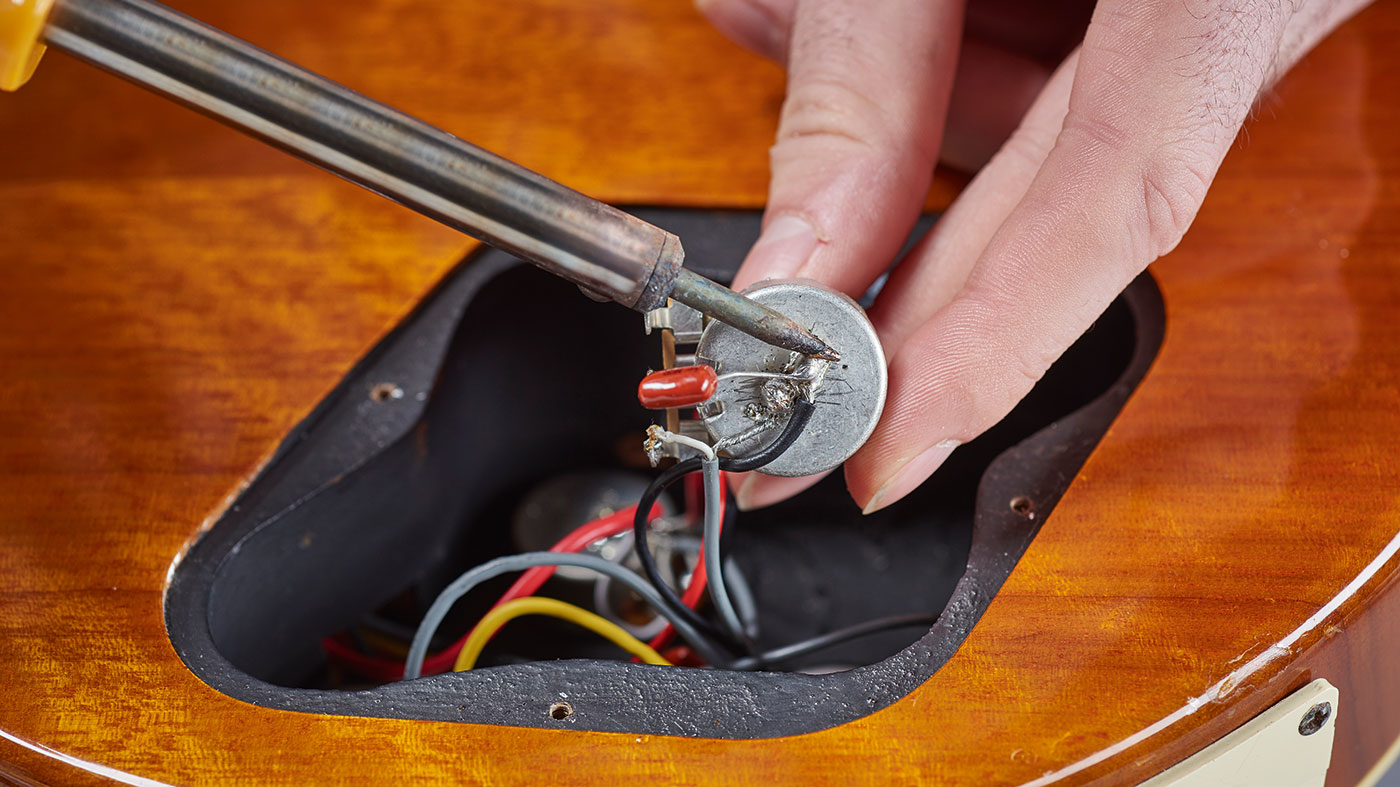
With your new pot safely back in the body of your guitar, refer back to the photos, notes or pieces of masking tape that you used to determine what goes where, and connect the wires back up. There you go - noise free operation for thousands more turns!

I'm a freelance member of the MusicRadar team, specialising in drum news, interviews and reviews. I formerly edited Rhythm and Total Guitar here in the UK and have been playing drums for more than 25 years (my arms are very tired). When I'm not working on the site, I can be found on my electronic kit at home, or gigging and depping in function bands and the odd original project.
