Guitar setup: how to install a new pickup selector switch
Replace a broken switch with our step-by-step guide
Introduction
Need to change your pickup switch? Our man in the workshop will show you how to change this crucial component as used on Strats, Teles and more...
Pickup switches come in a variety of shapes and sizes and, confusingly, the terminals that you solder to are nonstandardised. Many USA and Mex Fenders use Oak Grigsby or CRL brand switches. Our case study here did not, so we will take you through what you need to do to change from one style to another.
A good-quality switch is essential, so expect to pay about a fiver for one. It’s important to note that they all sound the same but cheapo ones wear out much faster and begin to crackle quicker. The best switch we’ve found is the CRL, as it uses a lovely little spring.
This Strat has been stored in a cellar. Luckily, the pickups survived and, magically, the pots too but the damp was all too much for the switch even when cleaned. The poor neck of the guitar has had its lacquer flaked off nearly all of the fretboard and the timber has swollen... yes, it’s true: cellars are bad for guitars. Let’s do it! Are you ready to switch a switch?
What you need
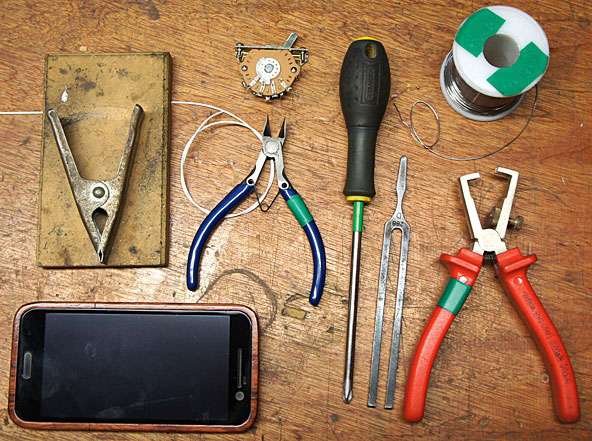
- 40-watt soldering iron
- 60/40 solder Wire
- Wire cutter
- Wire strippers
- Soldering helping hand
- New pickup selector switch
- PH2 screwdriver
- Tuning fork
- Amp
- Soft mat
Skill level: Intermediate
Step 2
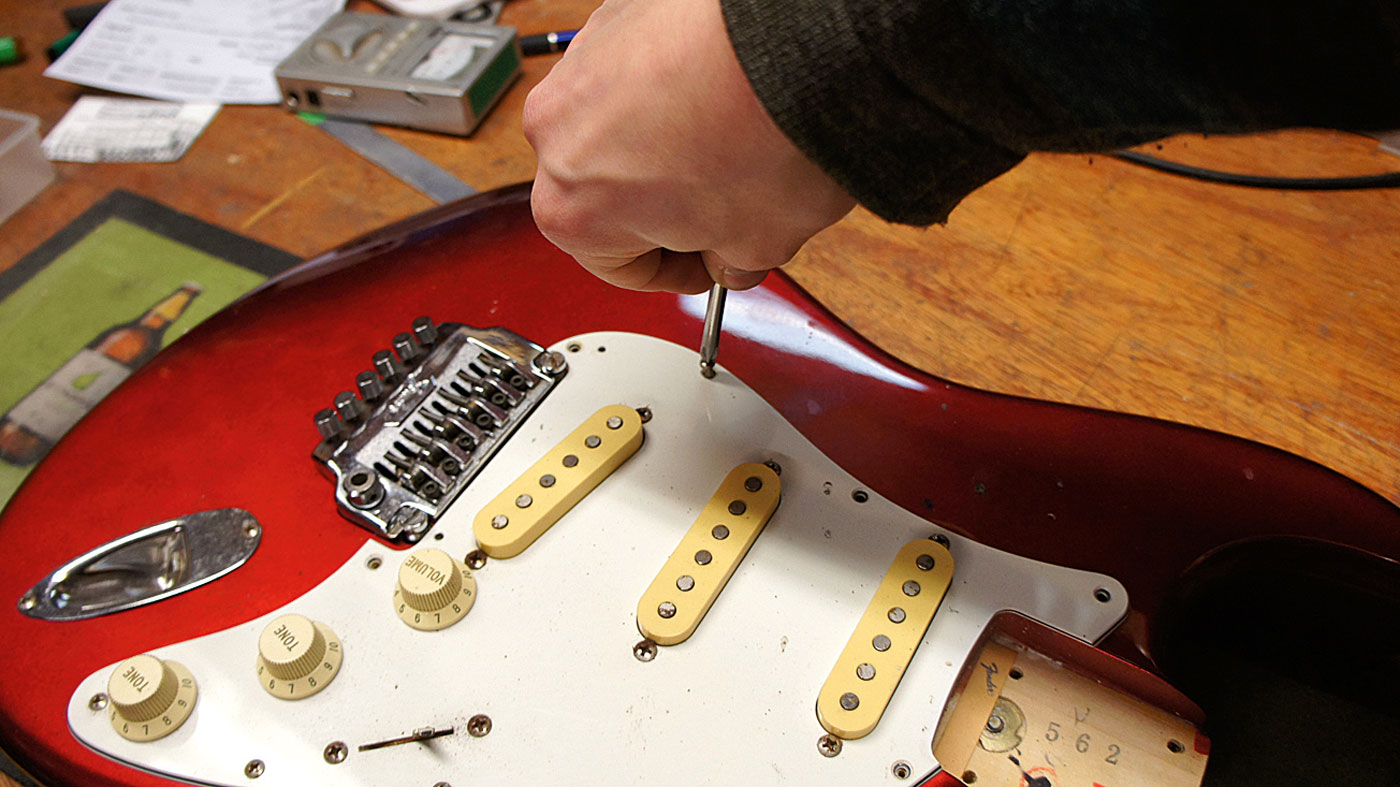
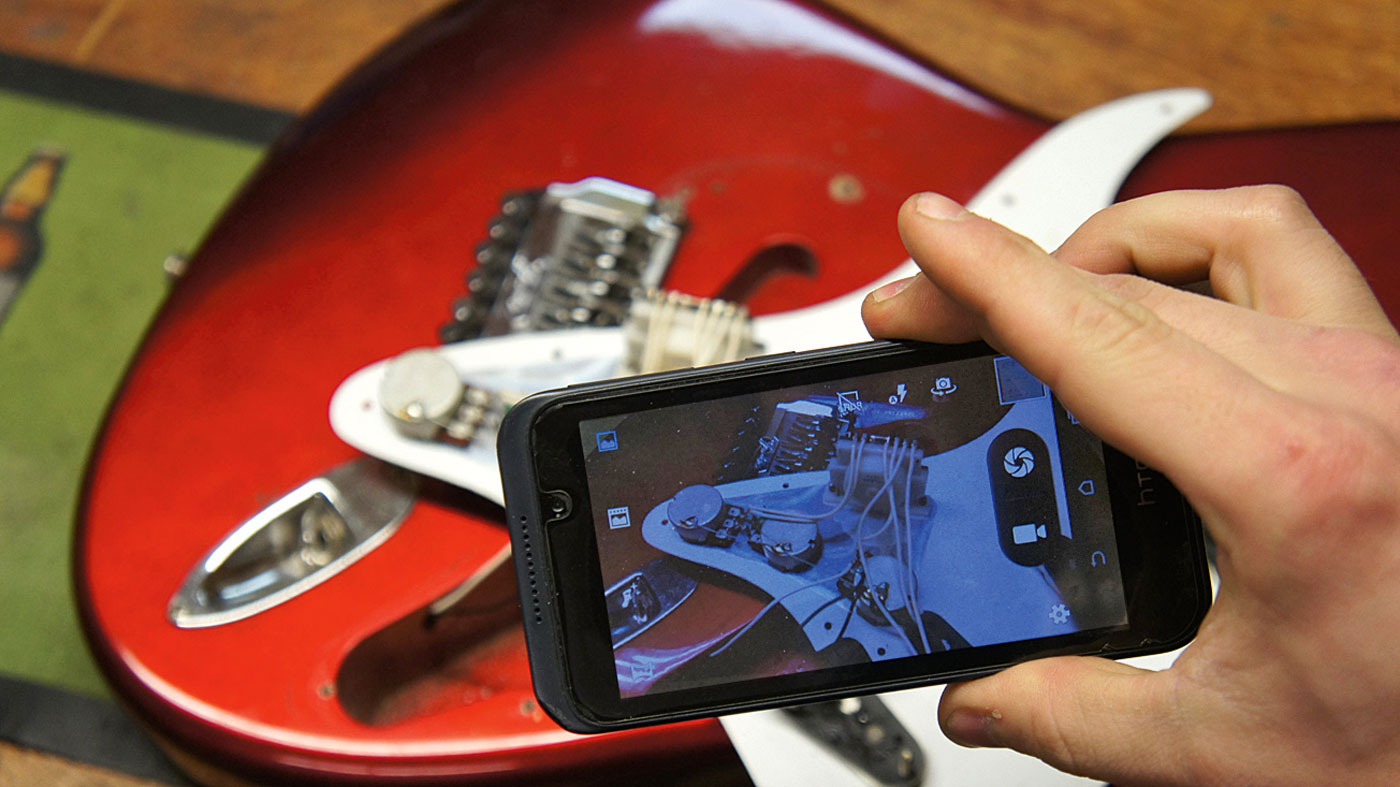
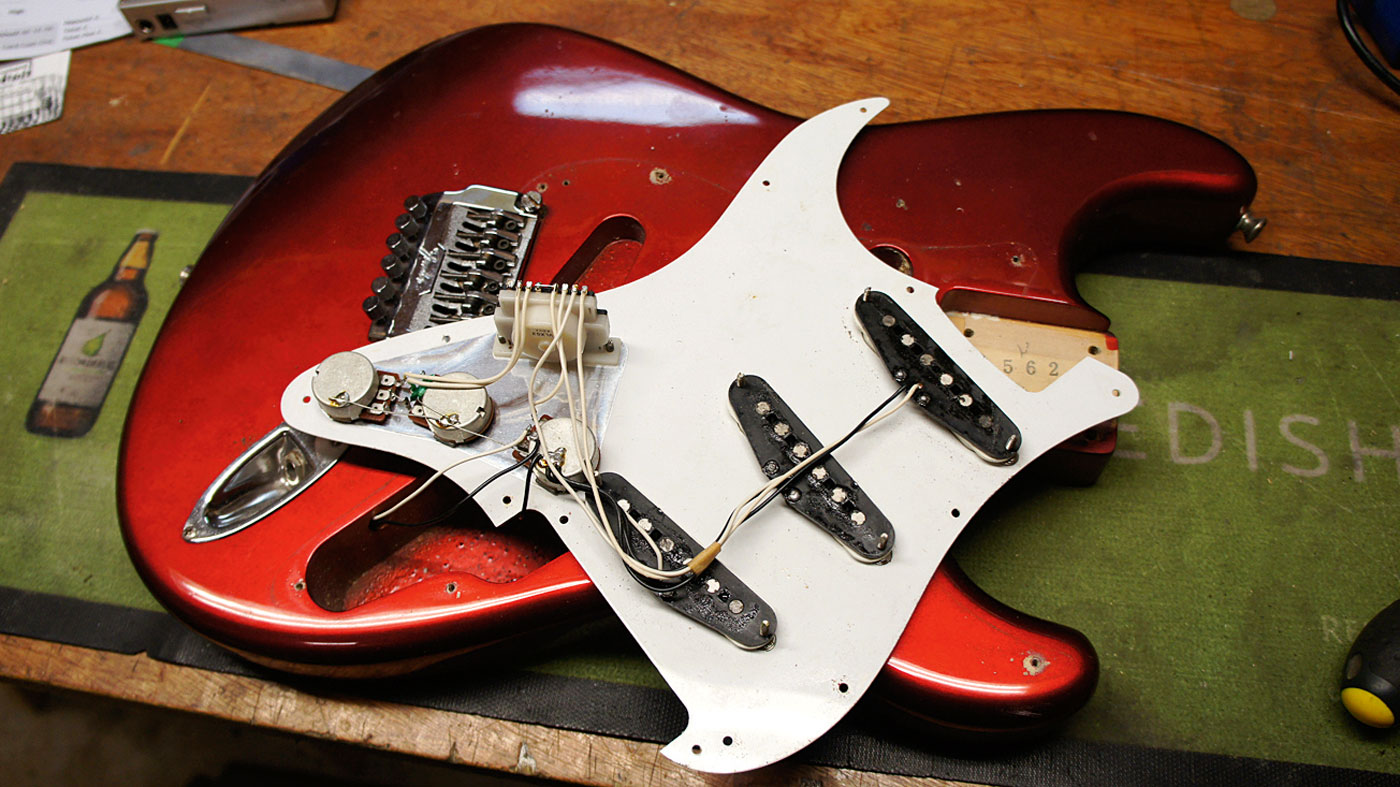
The good thing about a Strat is that the pickguard acts as a soldering station when you flip the guard upside down.
Be careful not to yank the three wires that are still connected. They’re for the output jack and the bridge earth wire. Put a mat inbetween the pickguard and the face of the guitar to avoid any scratching.
Step 4
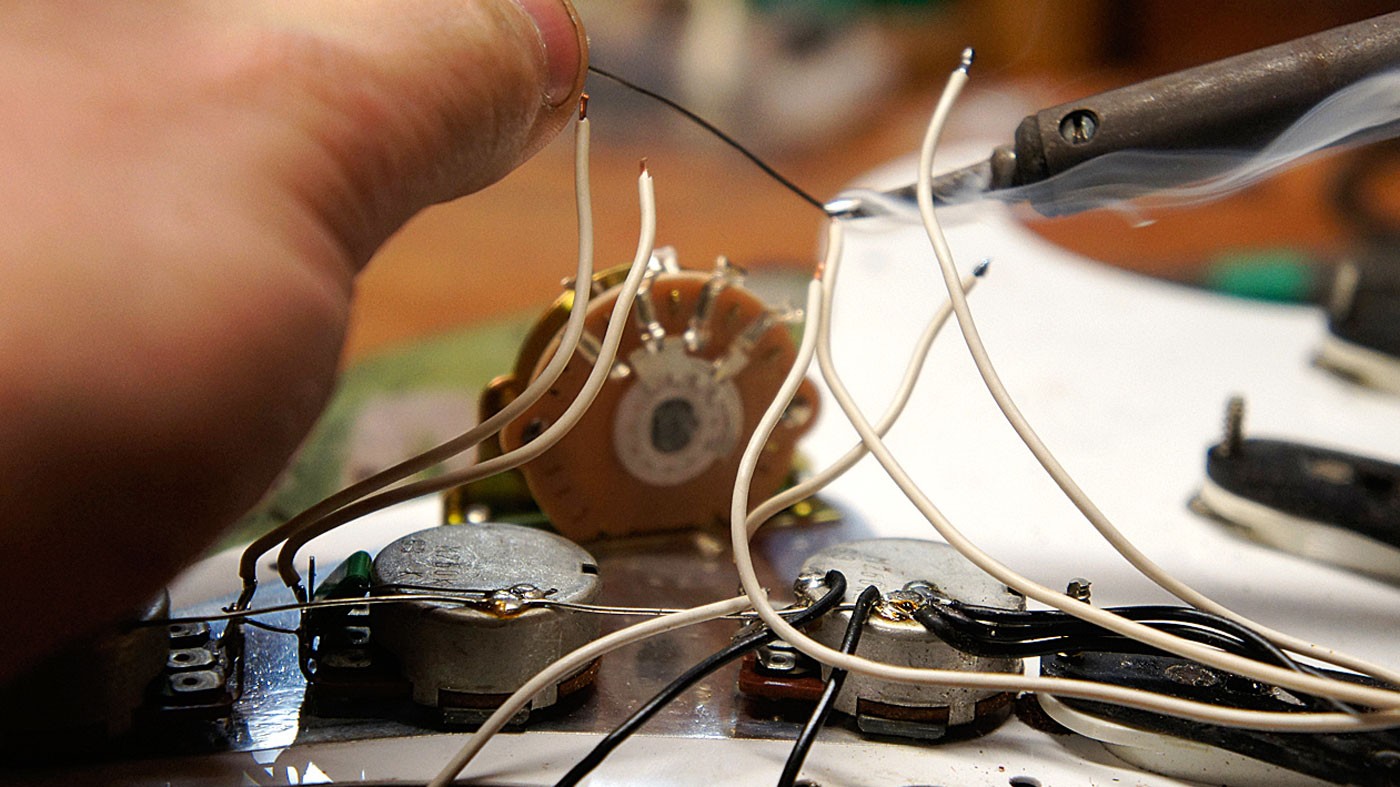
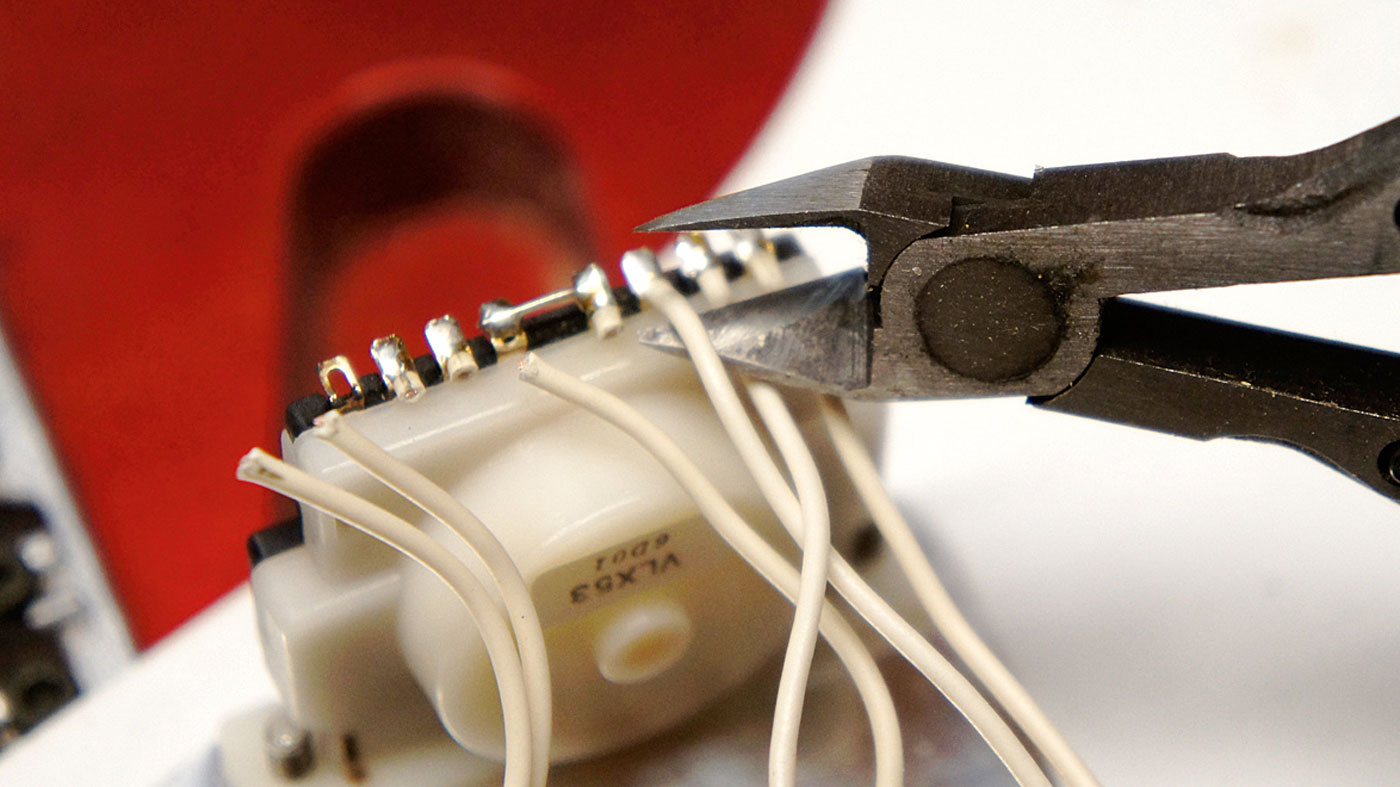
Out with the old, useless and crackly! We’re cutting off the old wires leaving ourselves as much of the wire as possible.
On the right we have the three pickup hot wires and the output to the master volume pot. On the left we have the two wires that go to the tone controls. Note the small jumper wire in-between the terminals.
Step 5
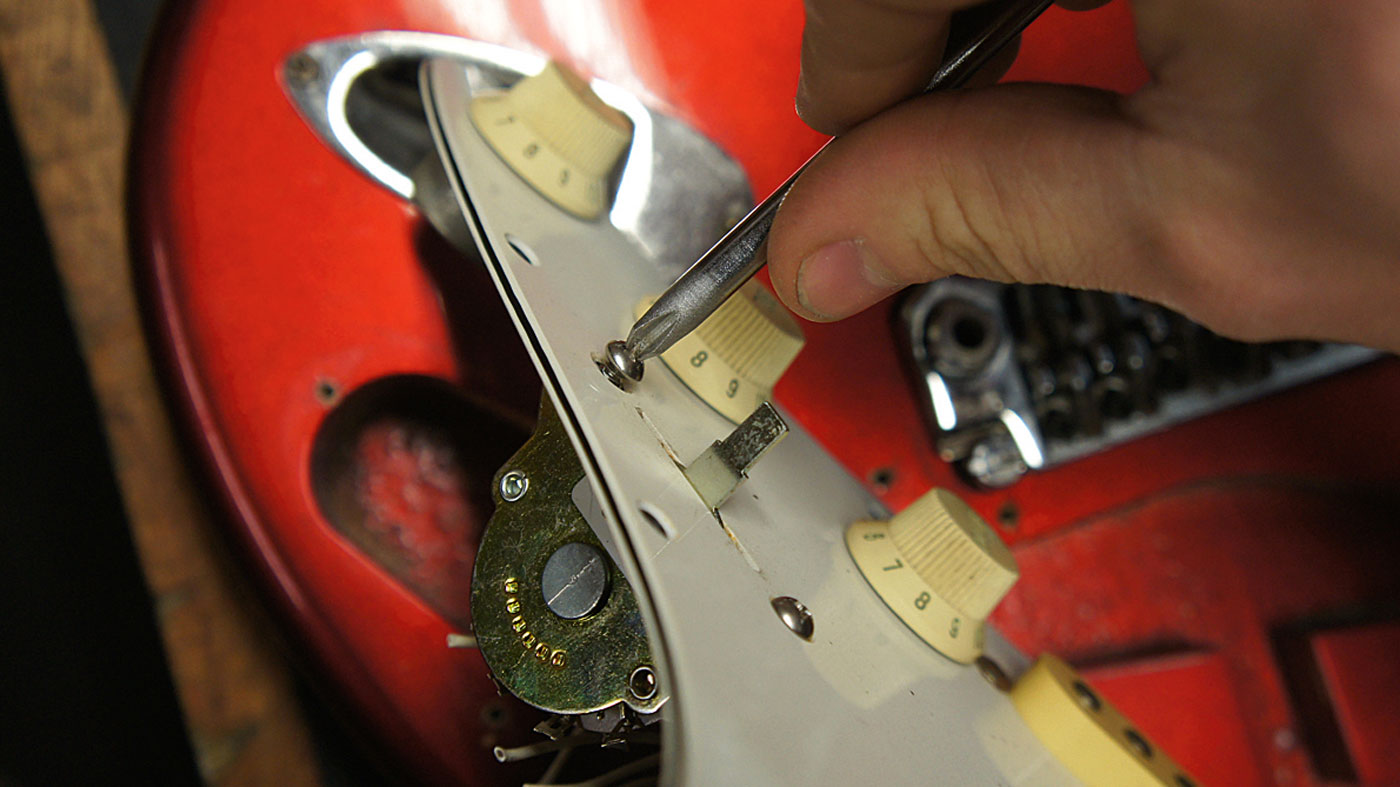
Screw in the new pickup selector switch. We’ve chosen an Oak Grigsby, which are common, however, the terminal layout is confusingly different.
The PH2 screwdriver is the right size for the bolts they supply with these switches. Note the orientation: terminals facing towards the pots and not the outside.
Step 7
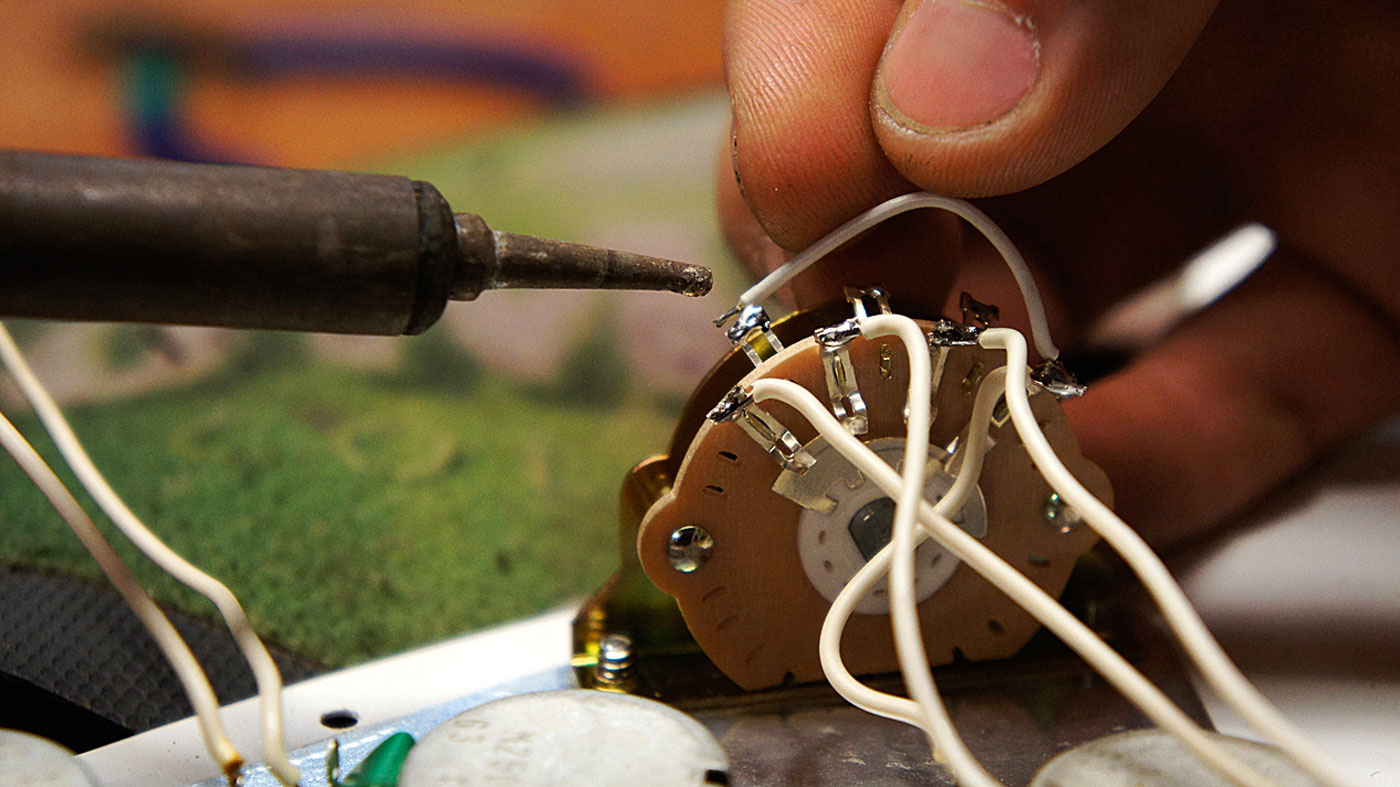
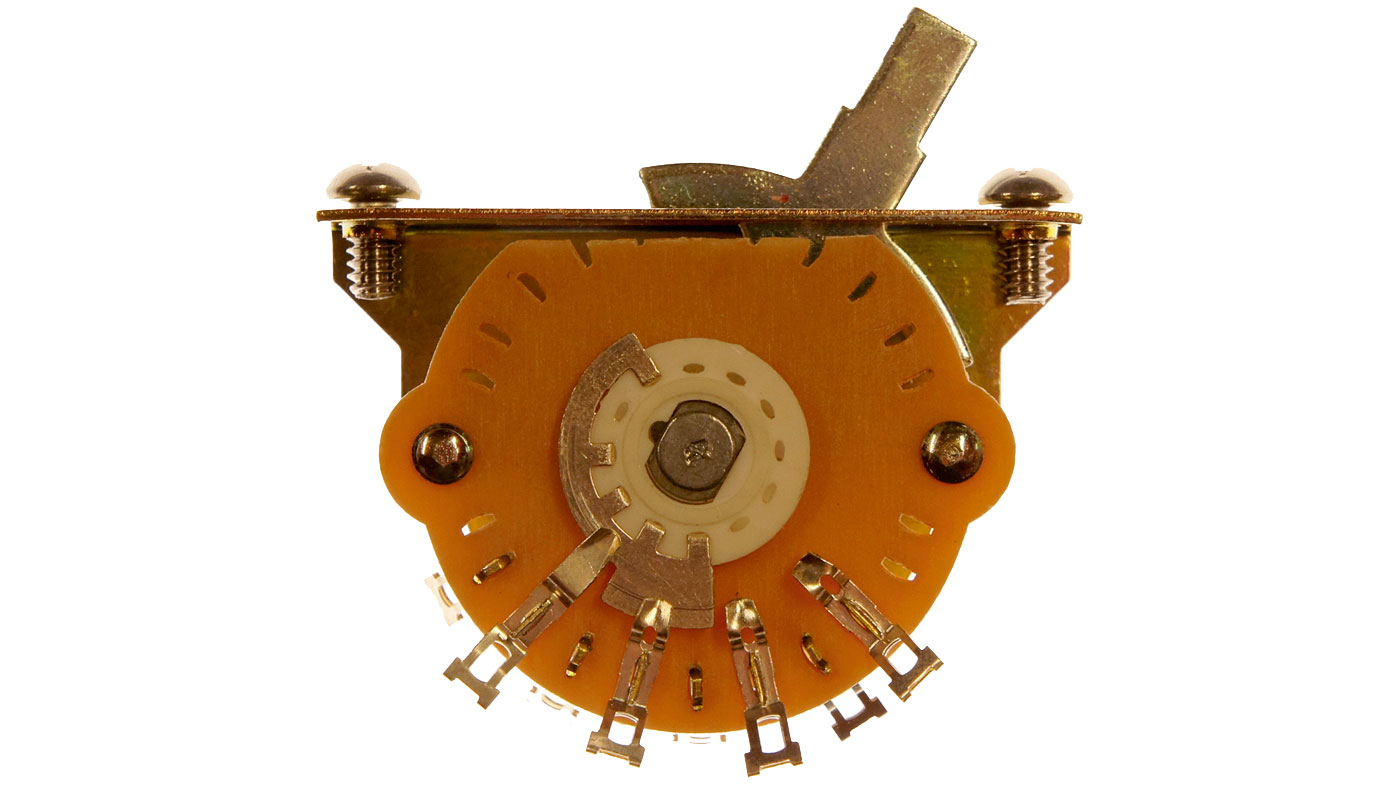
The Oak Grigsby switch has a total of eight terminals, four on each side. We like how you can see what’s going on!
On the left we have the ‘common’ terminal and then three other terminals. The common one will be connected to the volume pot and the other three for the pickups. We’ll deal with the other side later.
Step 8
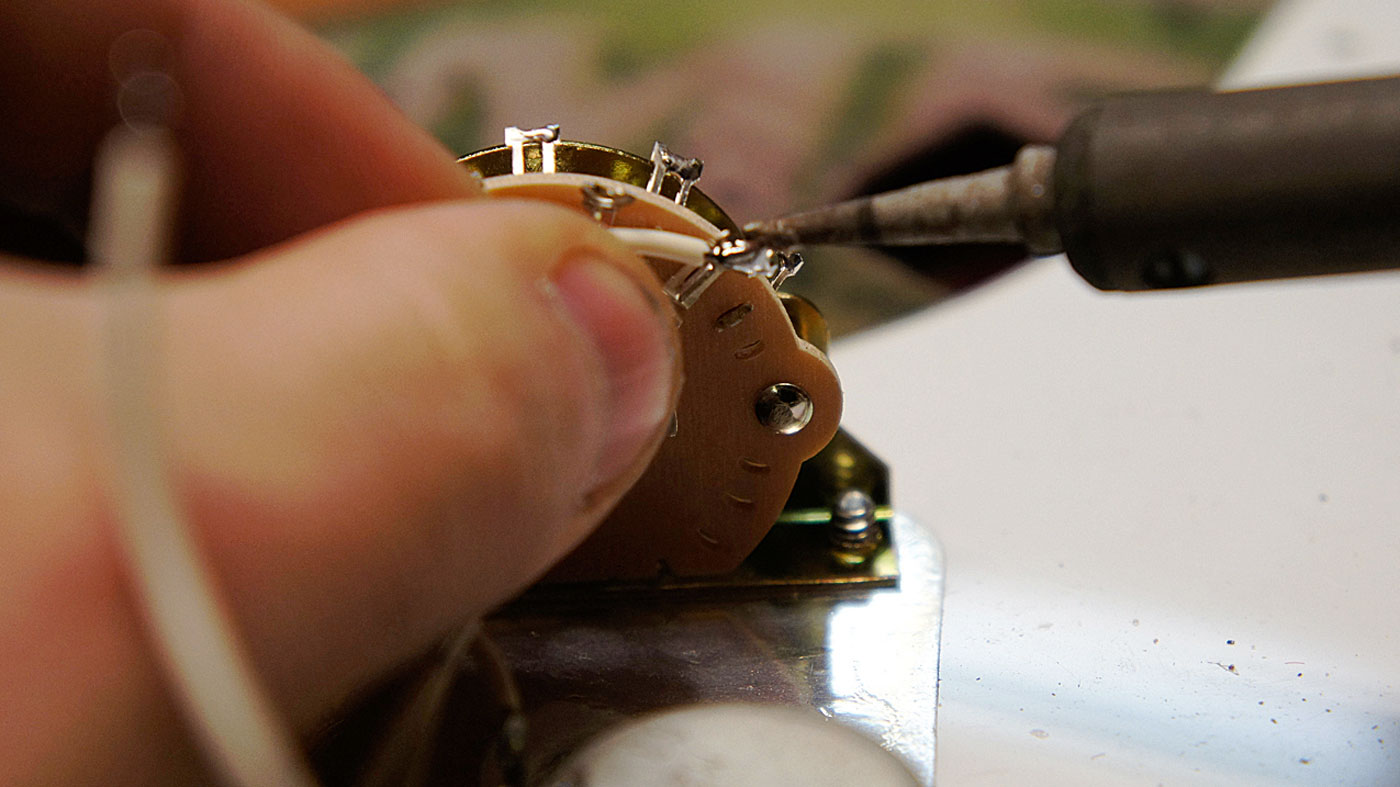
Flip the pickup switch towards the neck switch position and check which terminal is connected to the common one – that’s where you should solder the neck pickup’s white wire to.
Here is the pot output wire. Because we tinned, we don’t need three hands! Hold the wire to the terminal and apply heat – it will pool and melt together.
Step 10
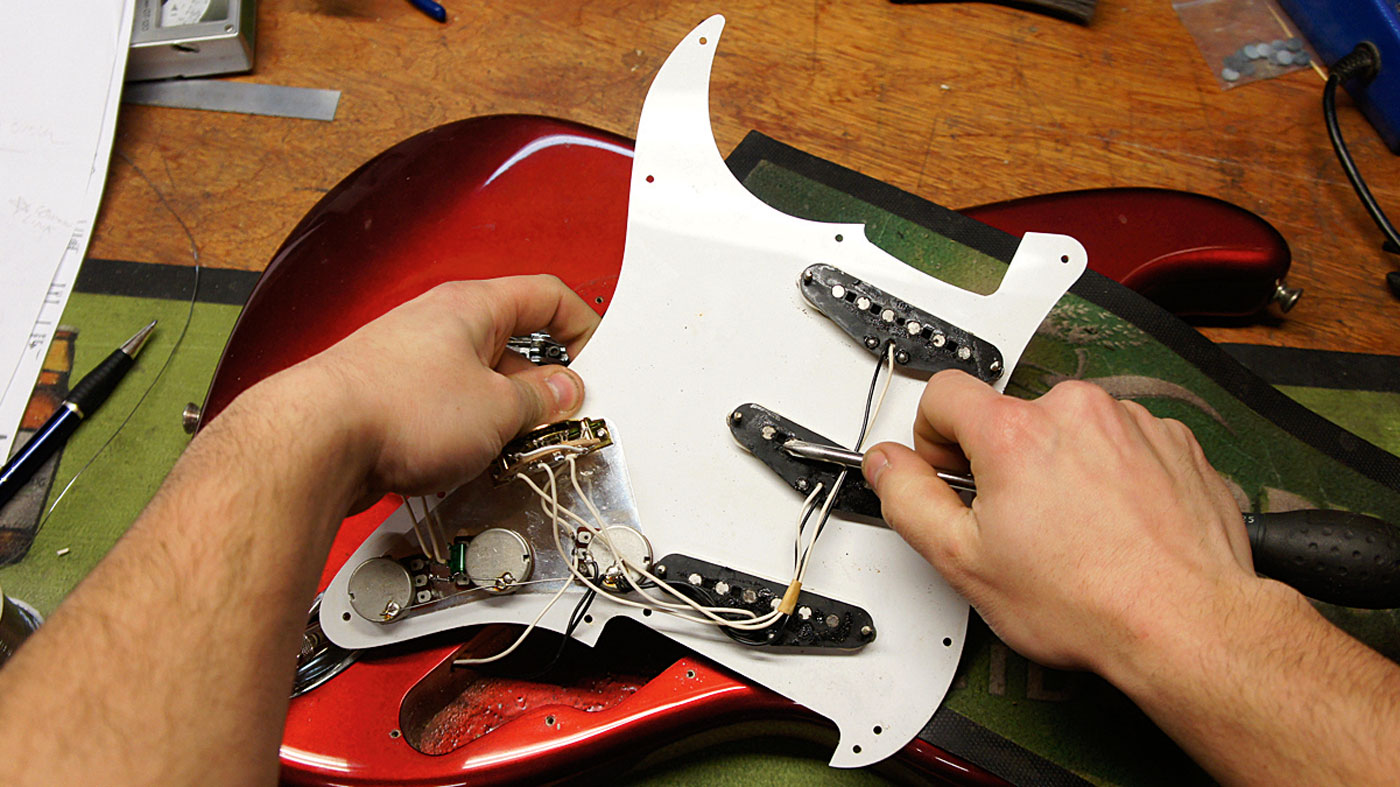
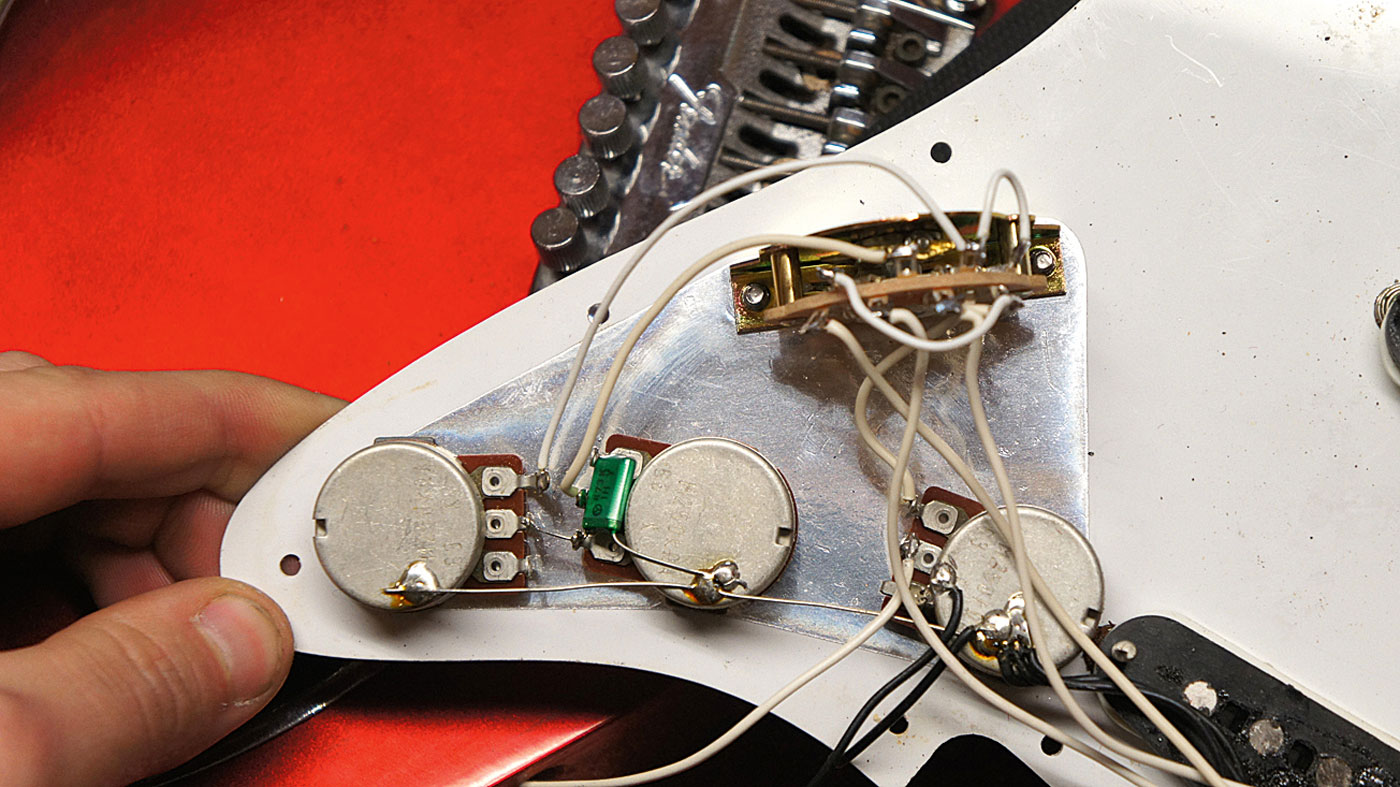
At this stage we have our three pickups and output connected with the jumper ready to go.
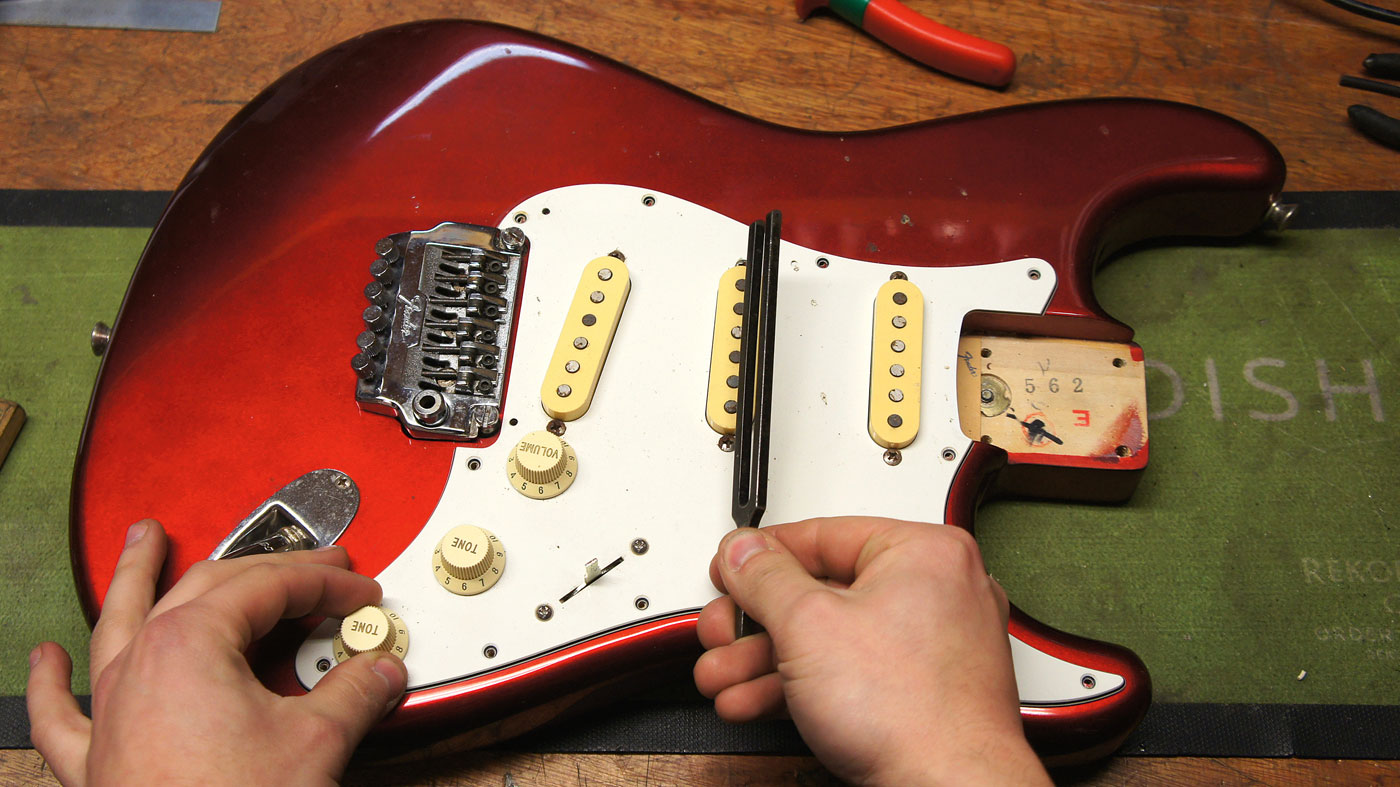
Let’s test that we got it right so far. Plug into your amp and we’ll tap-test the backs of the pickups. Flip the switch to neck and test that the neck is on (and not the bridge). If you’ve got it wrong, swap the terminal the pickup wire goes to.
Step 11
Let’s now wire up the tone pots. There are a couple of different schemes for the two tone pots and you can choose which tone pot is assigned to which pickup(s).
Throw the switch to neck and see which terminal is connected and solder the corresponding tone pot wire to it. Repeat for the other pickups.

Step 12
Check your work with the tuning fork. You should have the pickup selector switch the right way around and your tone pots assigned as you wish.
The tuning fork simulates a string and saves stringing the guitar up in case you need to make a change! When you’re done, sew it all up and tighten the pickguard screws up.
Jack runs an independent guitar setup and guitar repair service in Manchester, England. He serves the musicians of the Northwest of England, working on electric guitars, bass guitars, acoustic guitars and more. Jack has been writing the Fix Your Guitar column in Total Guitar Magazine since 2017.
