Guitar setup: how to fix a broken strap pin
Go beyond matchsticks and get the job done properly
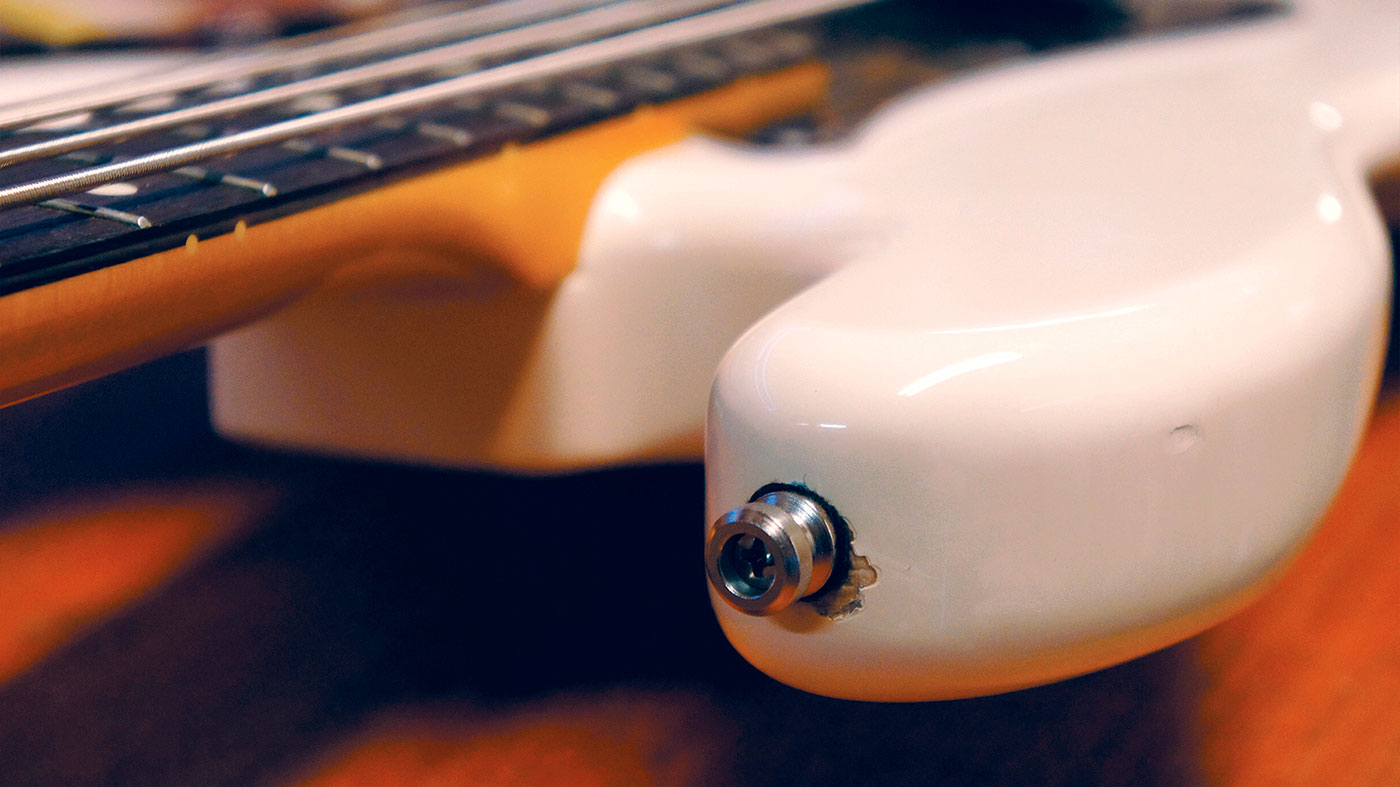
Learn how to DIY your knackered strap pin holes in your guitar’s body the proper way using household tools.
Guitar strap pins are always coming loose. You tighten it up and after practice, it’s loose again. In the worst-case scenario the strap pin can come off all together - which could result in you chucking your guitar on the floor.
This is exactly what happened to James King, the bass player in Spring King, on stage. We sorted this out for him just before he headed off to his next tour date, upgrading it in the process.
The standard screws that hold strap pins in aren’t usually much cop and they also get a lot of abuse - especially if you’re prone to swinging the guitar around your neck. When a screw hole is as wrecked as James’ there’s no choice but to put a whopping 9.5mm dowel in there.
Now, it has to be hardwood, and that means a wood that’s hard - so no pine! There’s little point in repairing this with matchsticks (they’re just soft wood made for burning, after all). We’ve gone for oak but ash, walnut, oak or maple are all great choices; you can get them on eBay.
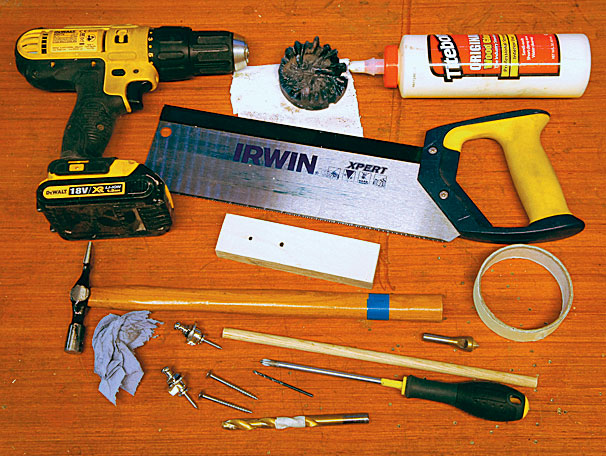
What you need
- Safety goggles
- Drill
- 240 grit sandpaper
- Wax candle or a bar of soap
- Wood glue
- Tenon saw
- Pin hammer
- Wooden block
- Blue roll
- Hardwood dowel
- Masking tape
- A brand new countersink bit
- 9.5mm twist drill bit
- 2mm twist drill bit
- PH2 screwdriver
- Optional new strap pins or bigger screws
Skill level: beginner
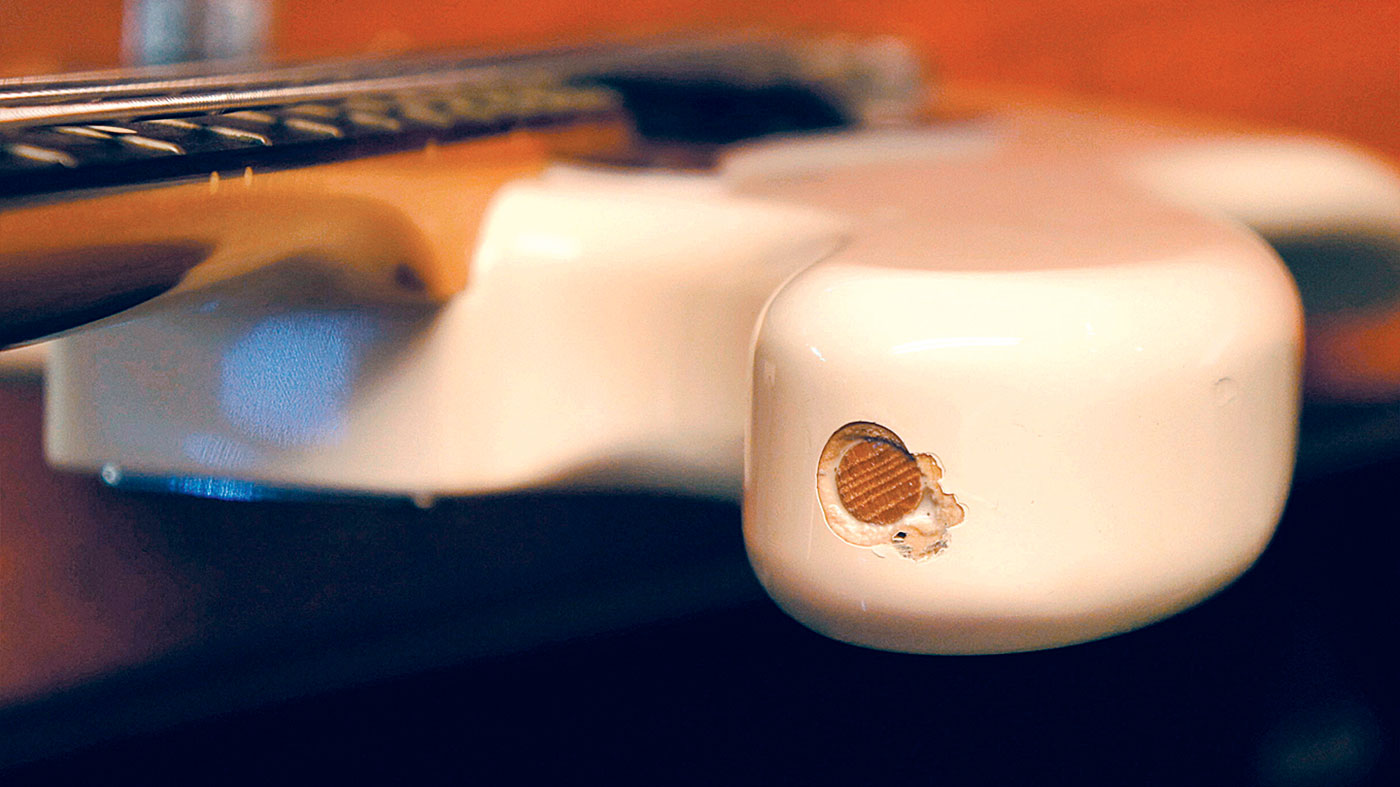
Step 1
This strap pin and screw have really ripped up the body. It’s even torn away crispy lacquer.
Using a brand new countersink bit (it has to be sharp) enlarge the remains of the hole. Our hardwood dowel is 9.5mm so we’re retracting the crispy paint to a safe 10mm clearance. This will prevent the massive twist bit attacking the paint!
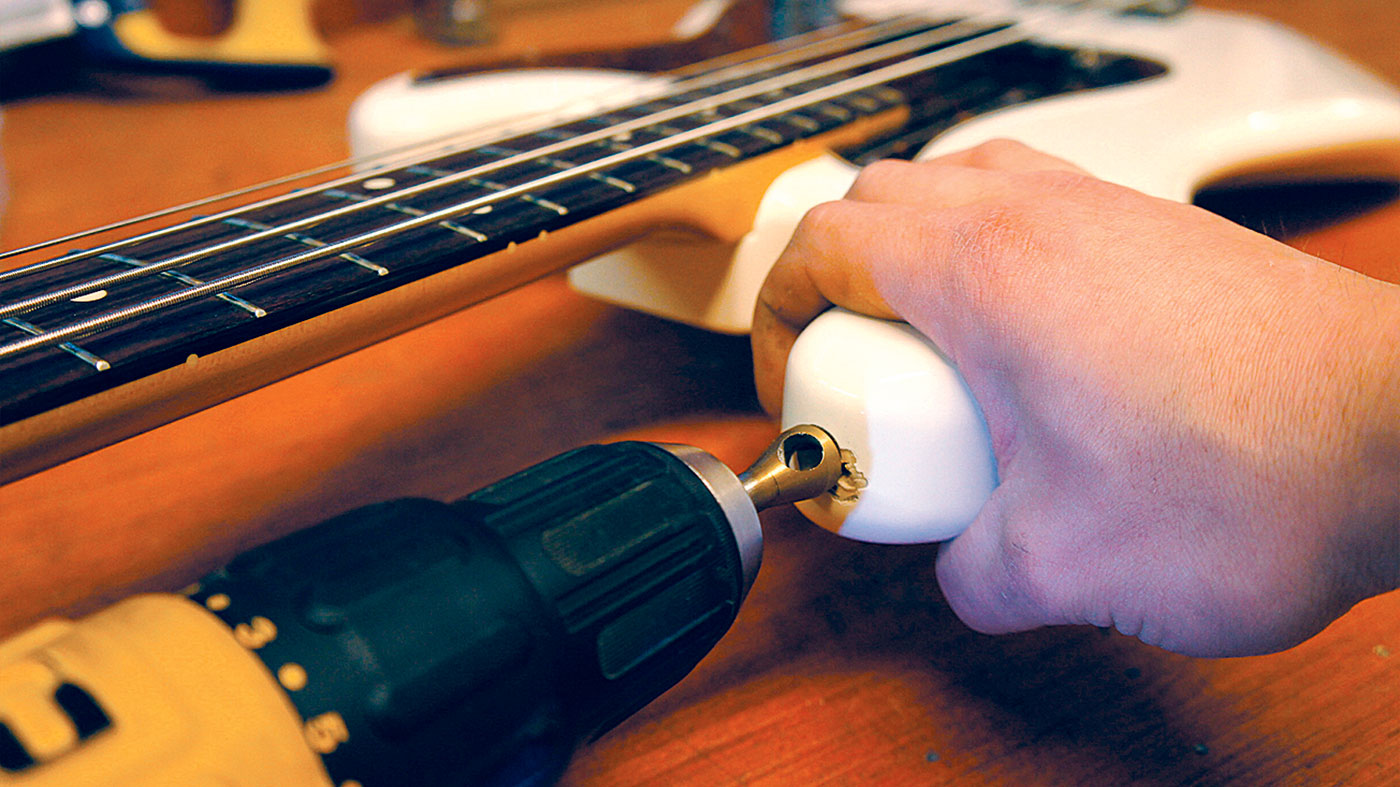
Step 2
The super-sharp countersink cuts through the lacquer safely - this starter hole will help us use the larger twist bit, too.
With a large twist bit it bites and works very fast so you will have to watch out! This bass is made from a soft timber called basswood so the drill will work fast. It’s not surprising the old strap pin came out.
Step 3
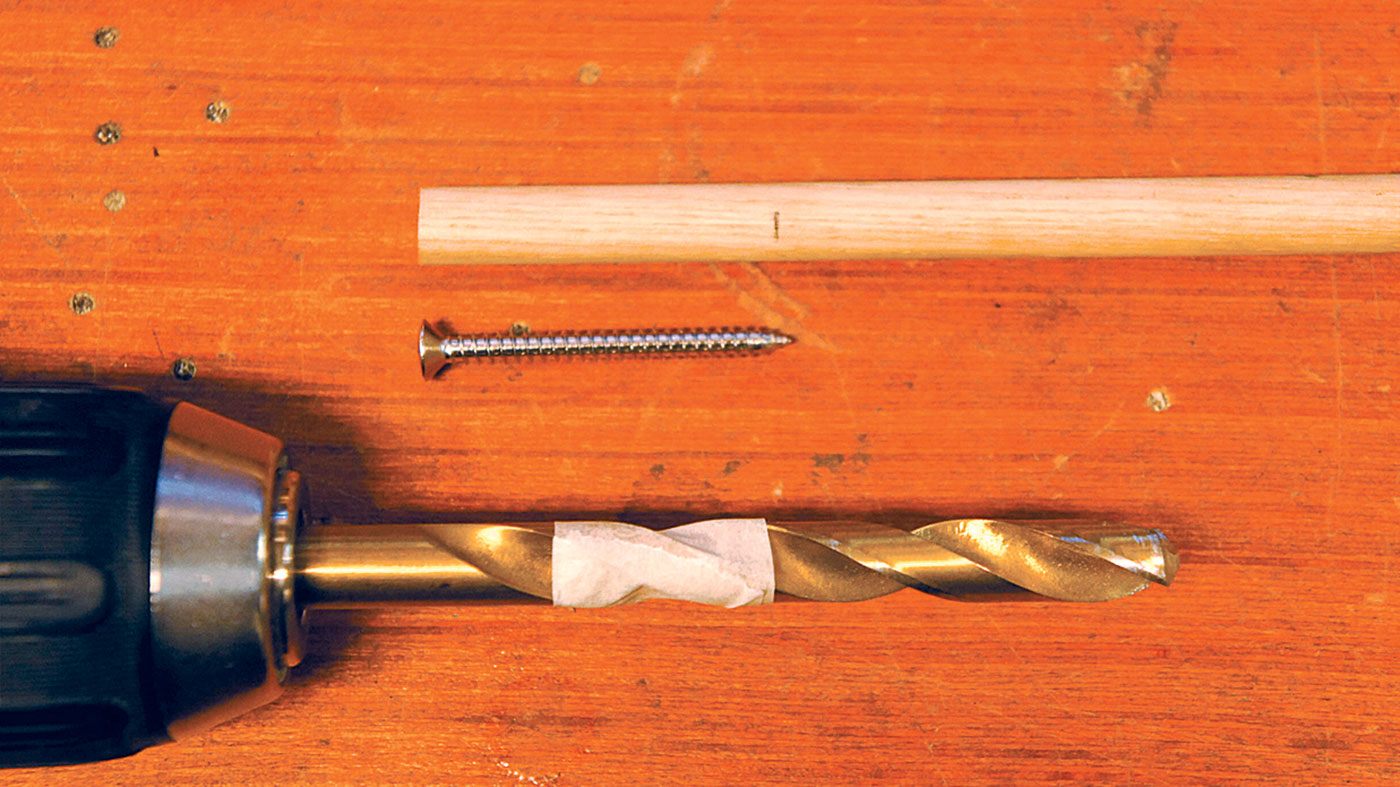
Due to the size of the damage we opted for a ‘9.5mm’ oak hardwood dowel, which usually suits a 10mm drill bit.
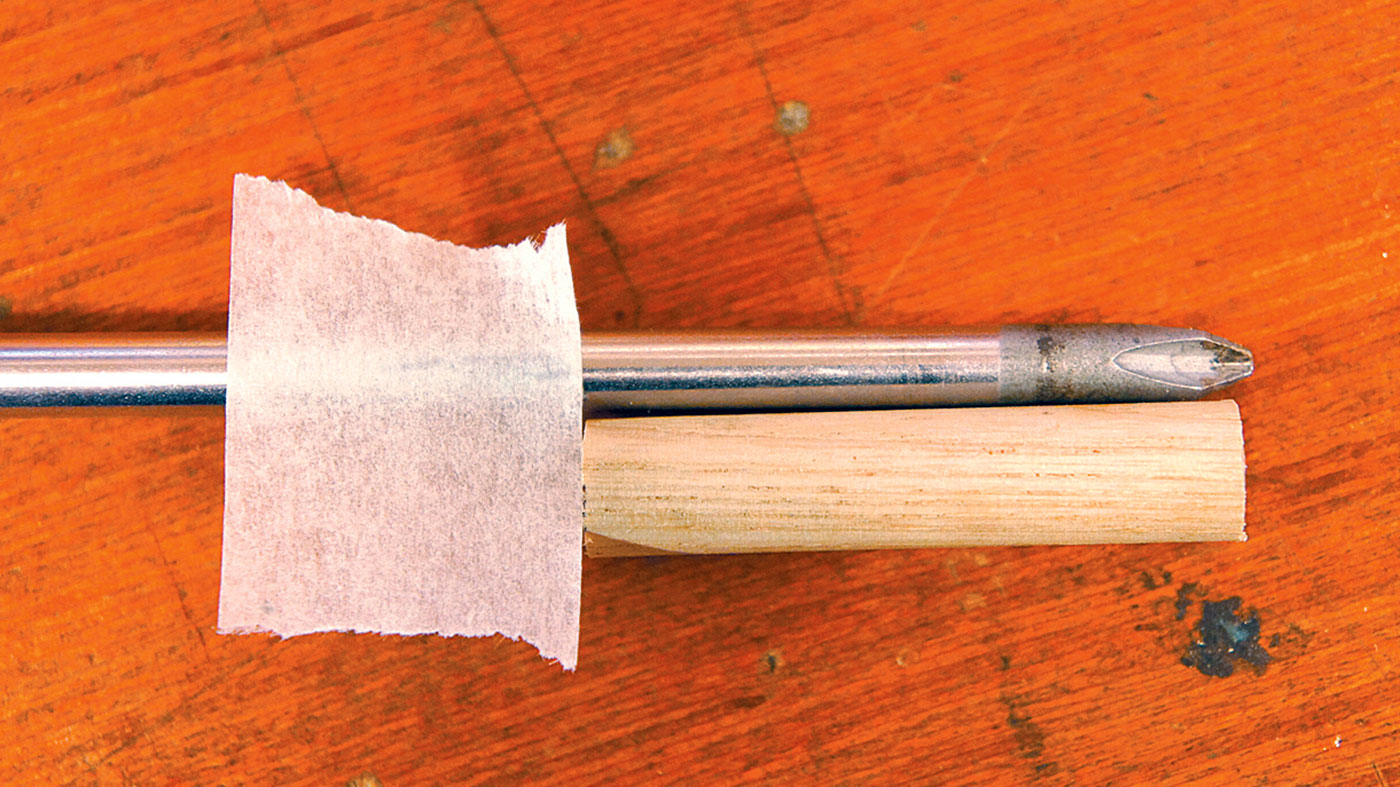
When measured, the dowel was slightly oval shaped and marginally smaller than 9.5mm so we went for a 9.5mm drill bit. We have copied the length of the new screw onto the dowel and marked a depth stop on the drill bit, too.
Step 7
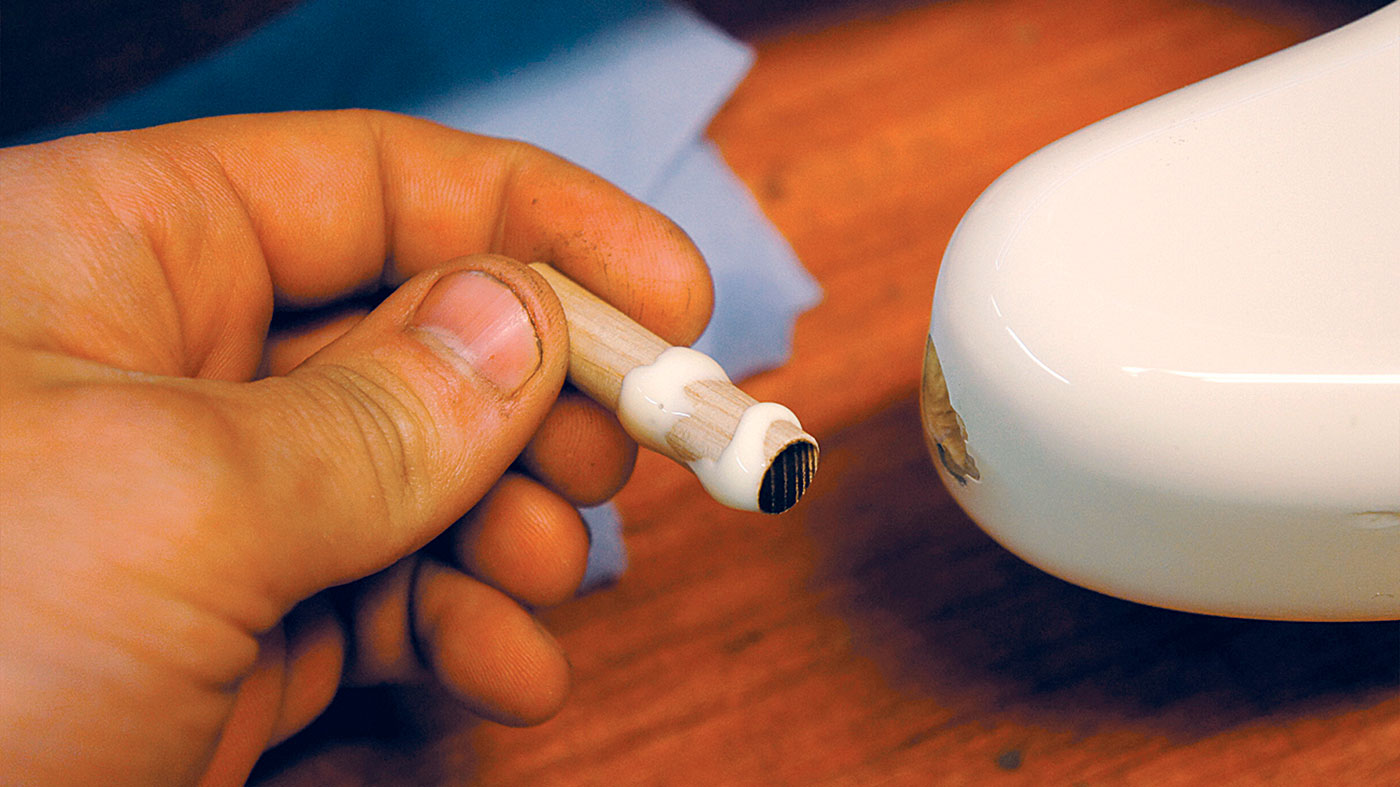
Remember how the dowel was misshapen as an oval? This suits us fine as it will allow the glue to escape.
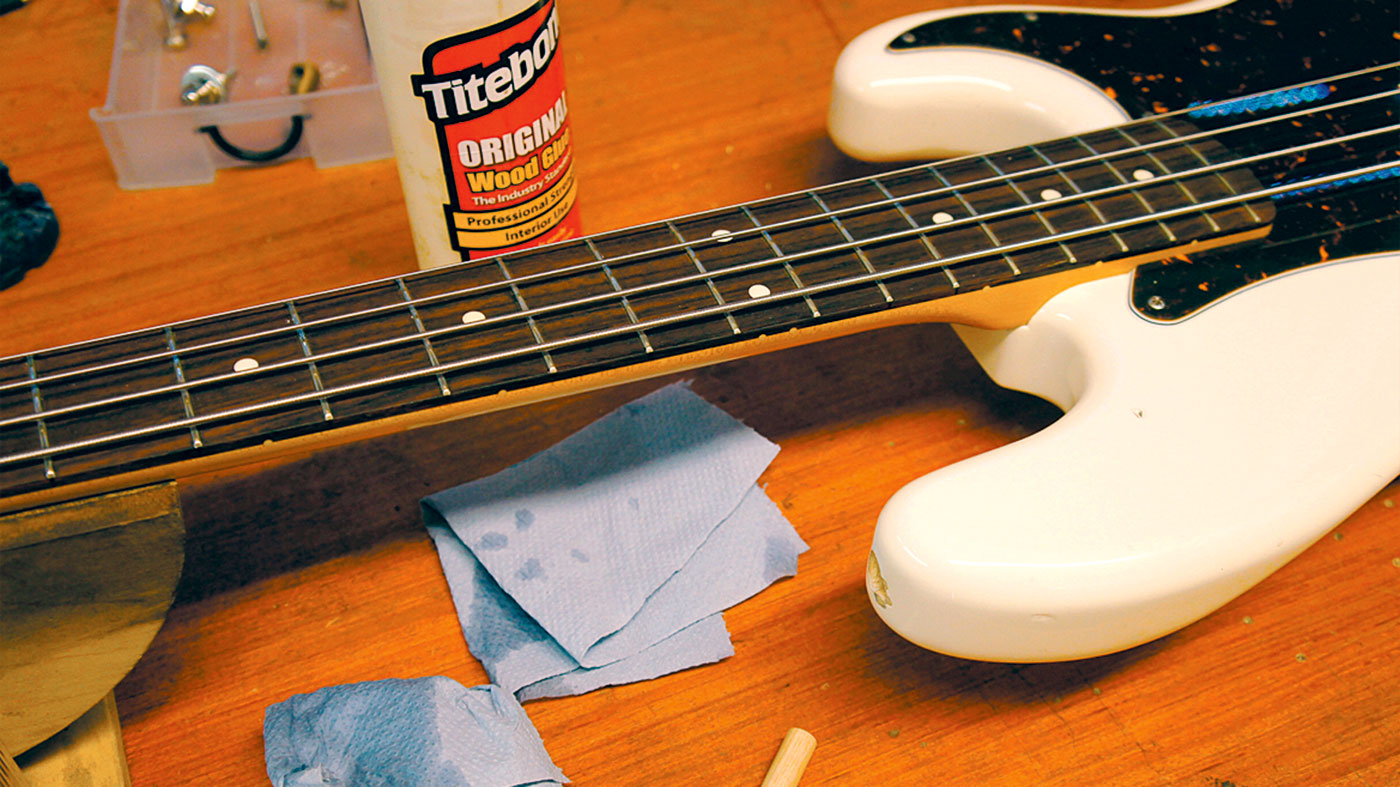
If you have a better dowel than us we’d advise over-sizing the drilled hole by 0.5mm. For instance, a 9.5mm dowel into a 10mm hole. The timber will expand a little with the moisture of the glue, so goop it on!
Step 10
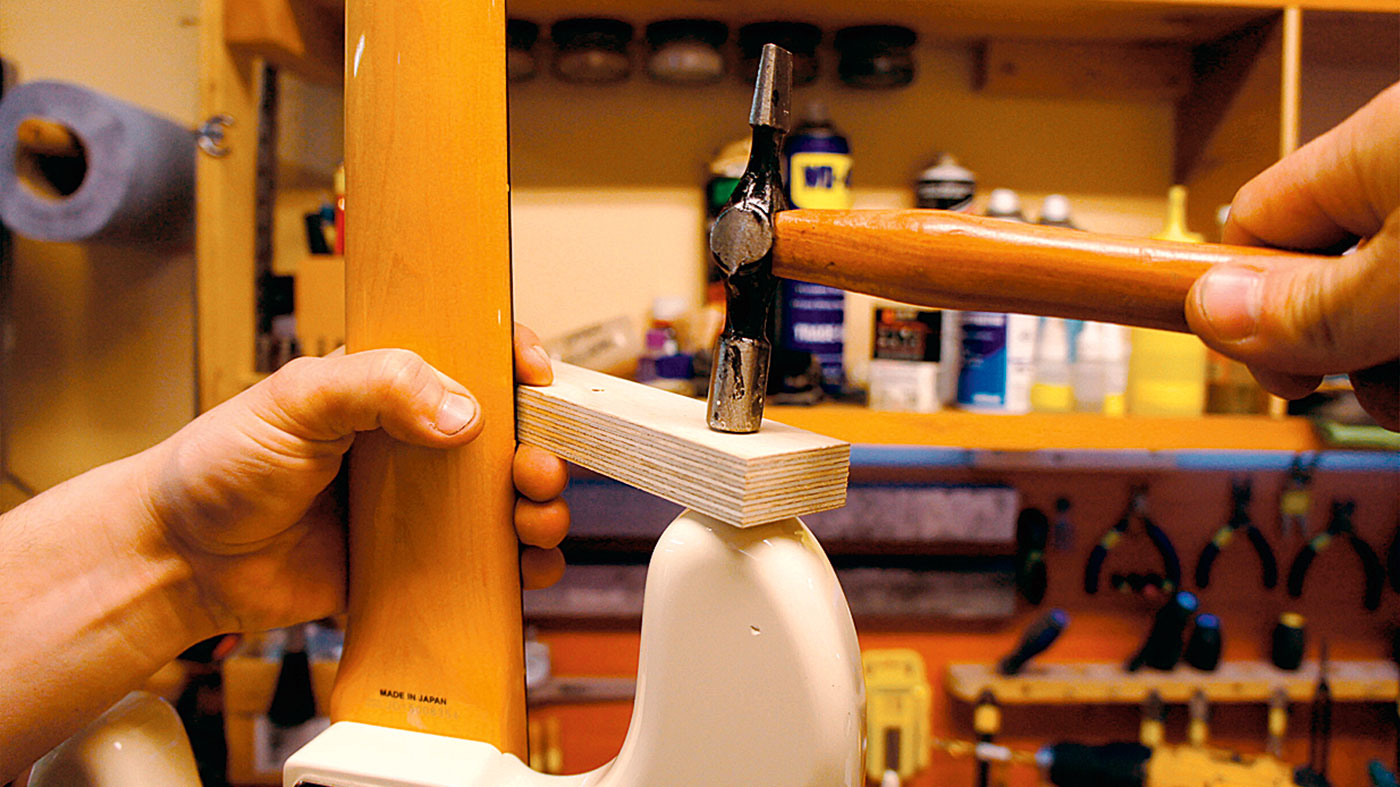
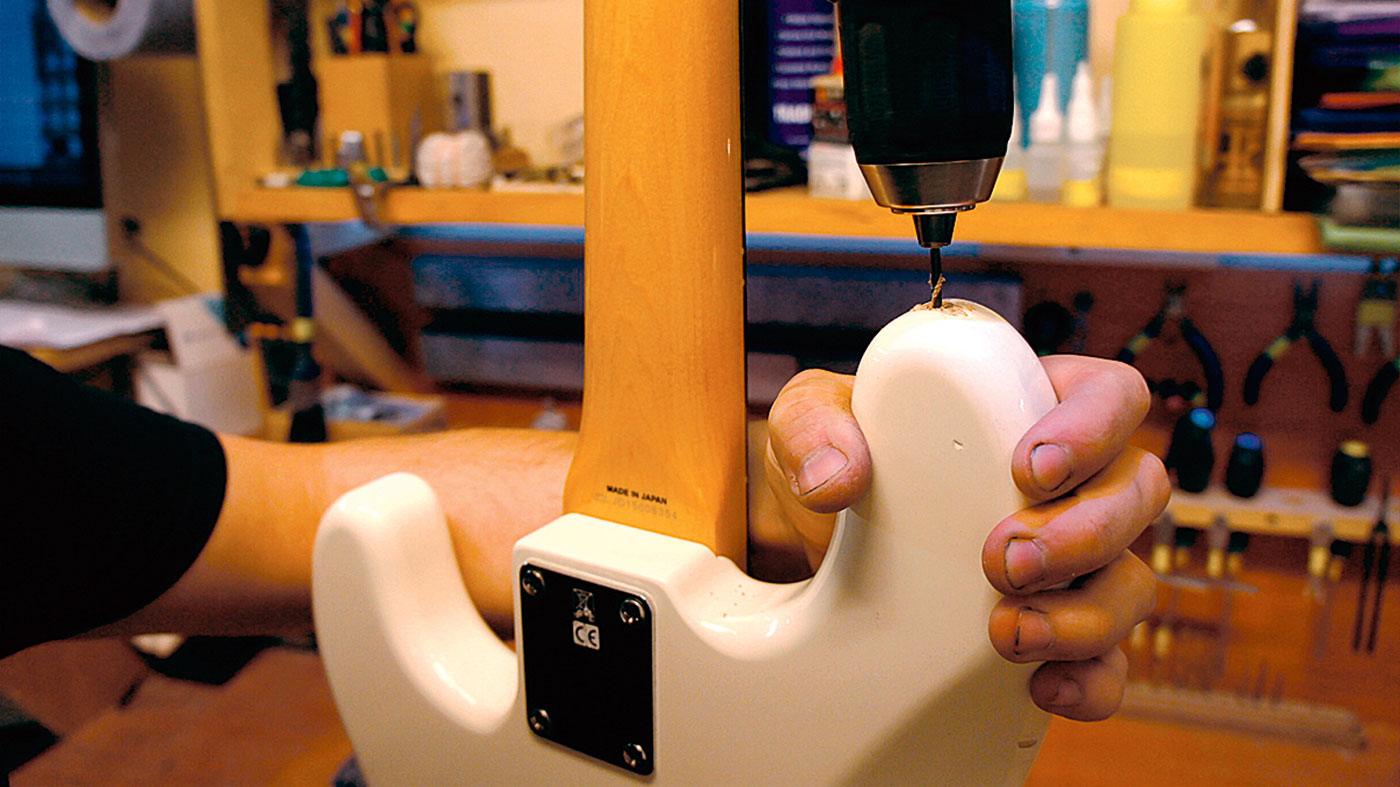
That hardwood plug is now a reinforced part of the body, especially in this case as the super-soft basswood really is quite bad at holding a screw in!
Now we must pick a drill bit to suit your strap pin screw. If you have a 3mm width screw, use a 2mm drill bit. This is hardwood and pretty unforgiving.
Step 11
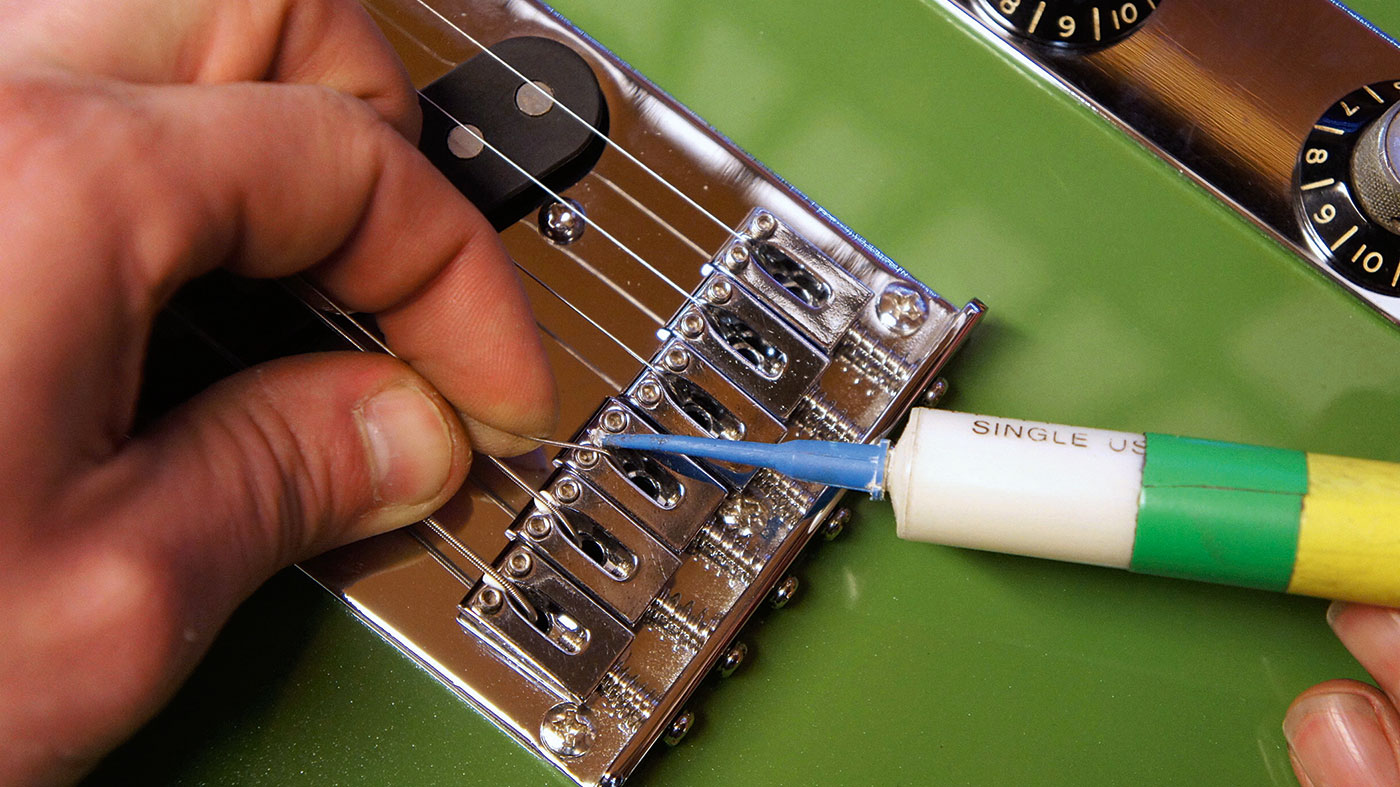
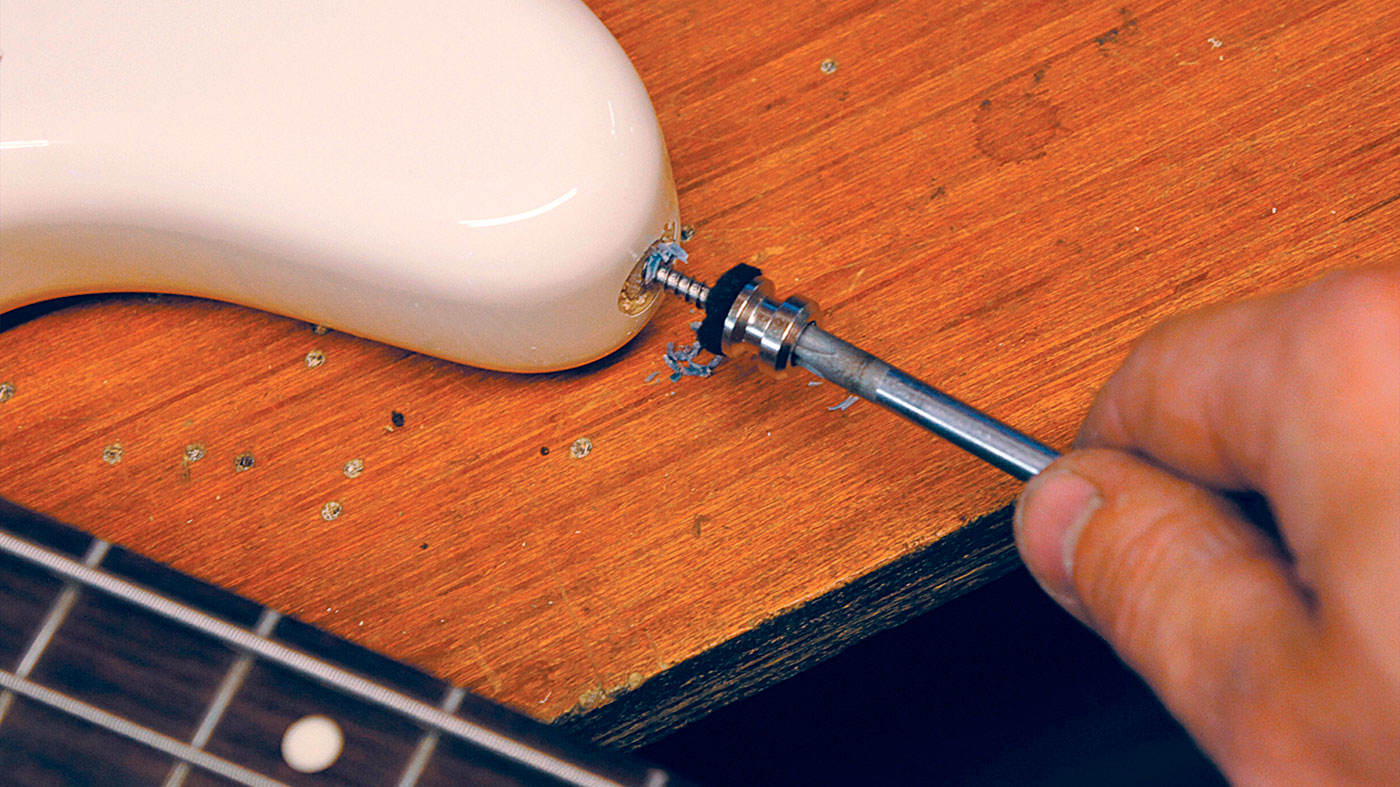
To help introduce the screw back in, we’re going to rub the threads of the screw onto a candle (or bar of soap) to lubricate it as it drives in.
Don’t forget the screw is forming its threads into the timber whilst going in so it’s under quite a bit of force. Without the wax it’s too easy to shear the screw off - don’t even go there.
Jack runs an independent guitar setup and guitar repair service in Manchester, England. He serves the musicians of the Northwest of England, working on electric guitars, bass guitars, acoustic guitars and more. Jack has been writing the Fix Your Guitar column in Total Guitar Magazine since 2017.
