Guitar modding: how to install an acoustic pickup
Prep your acoustic for plugging-in
Introduction
Competing with a band when armed with an acoustic presents some obvious sound issues. Is it time to boost your acoustic for stage performances? Here’s how to do it yourself...
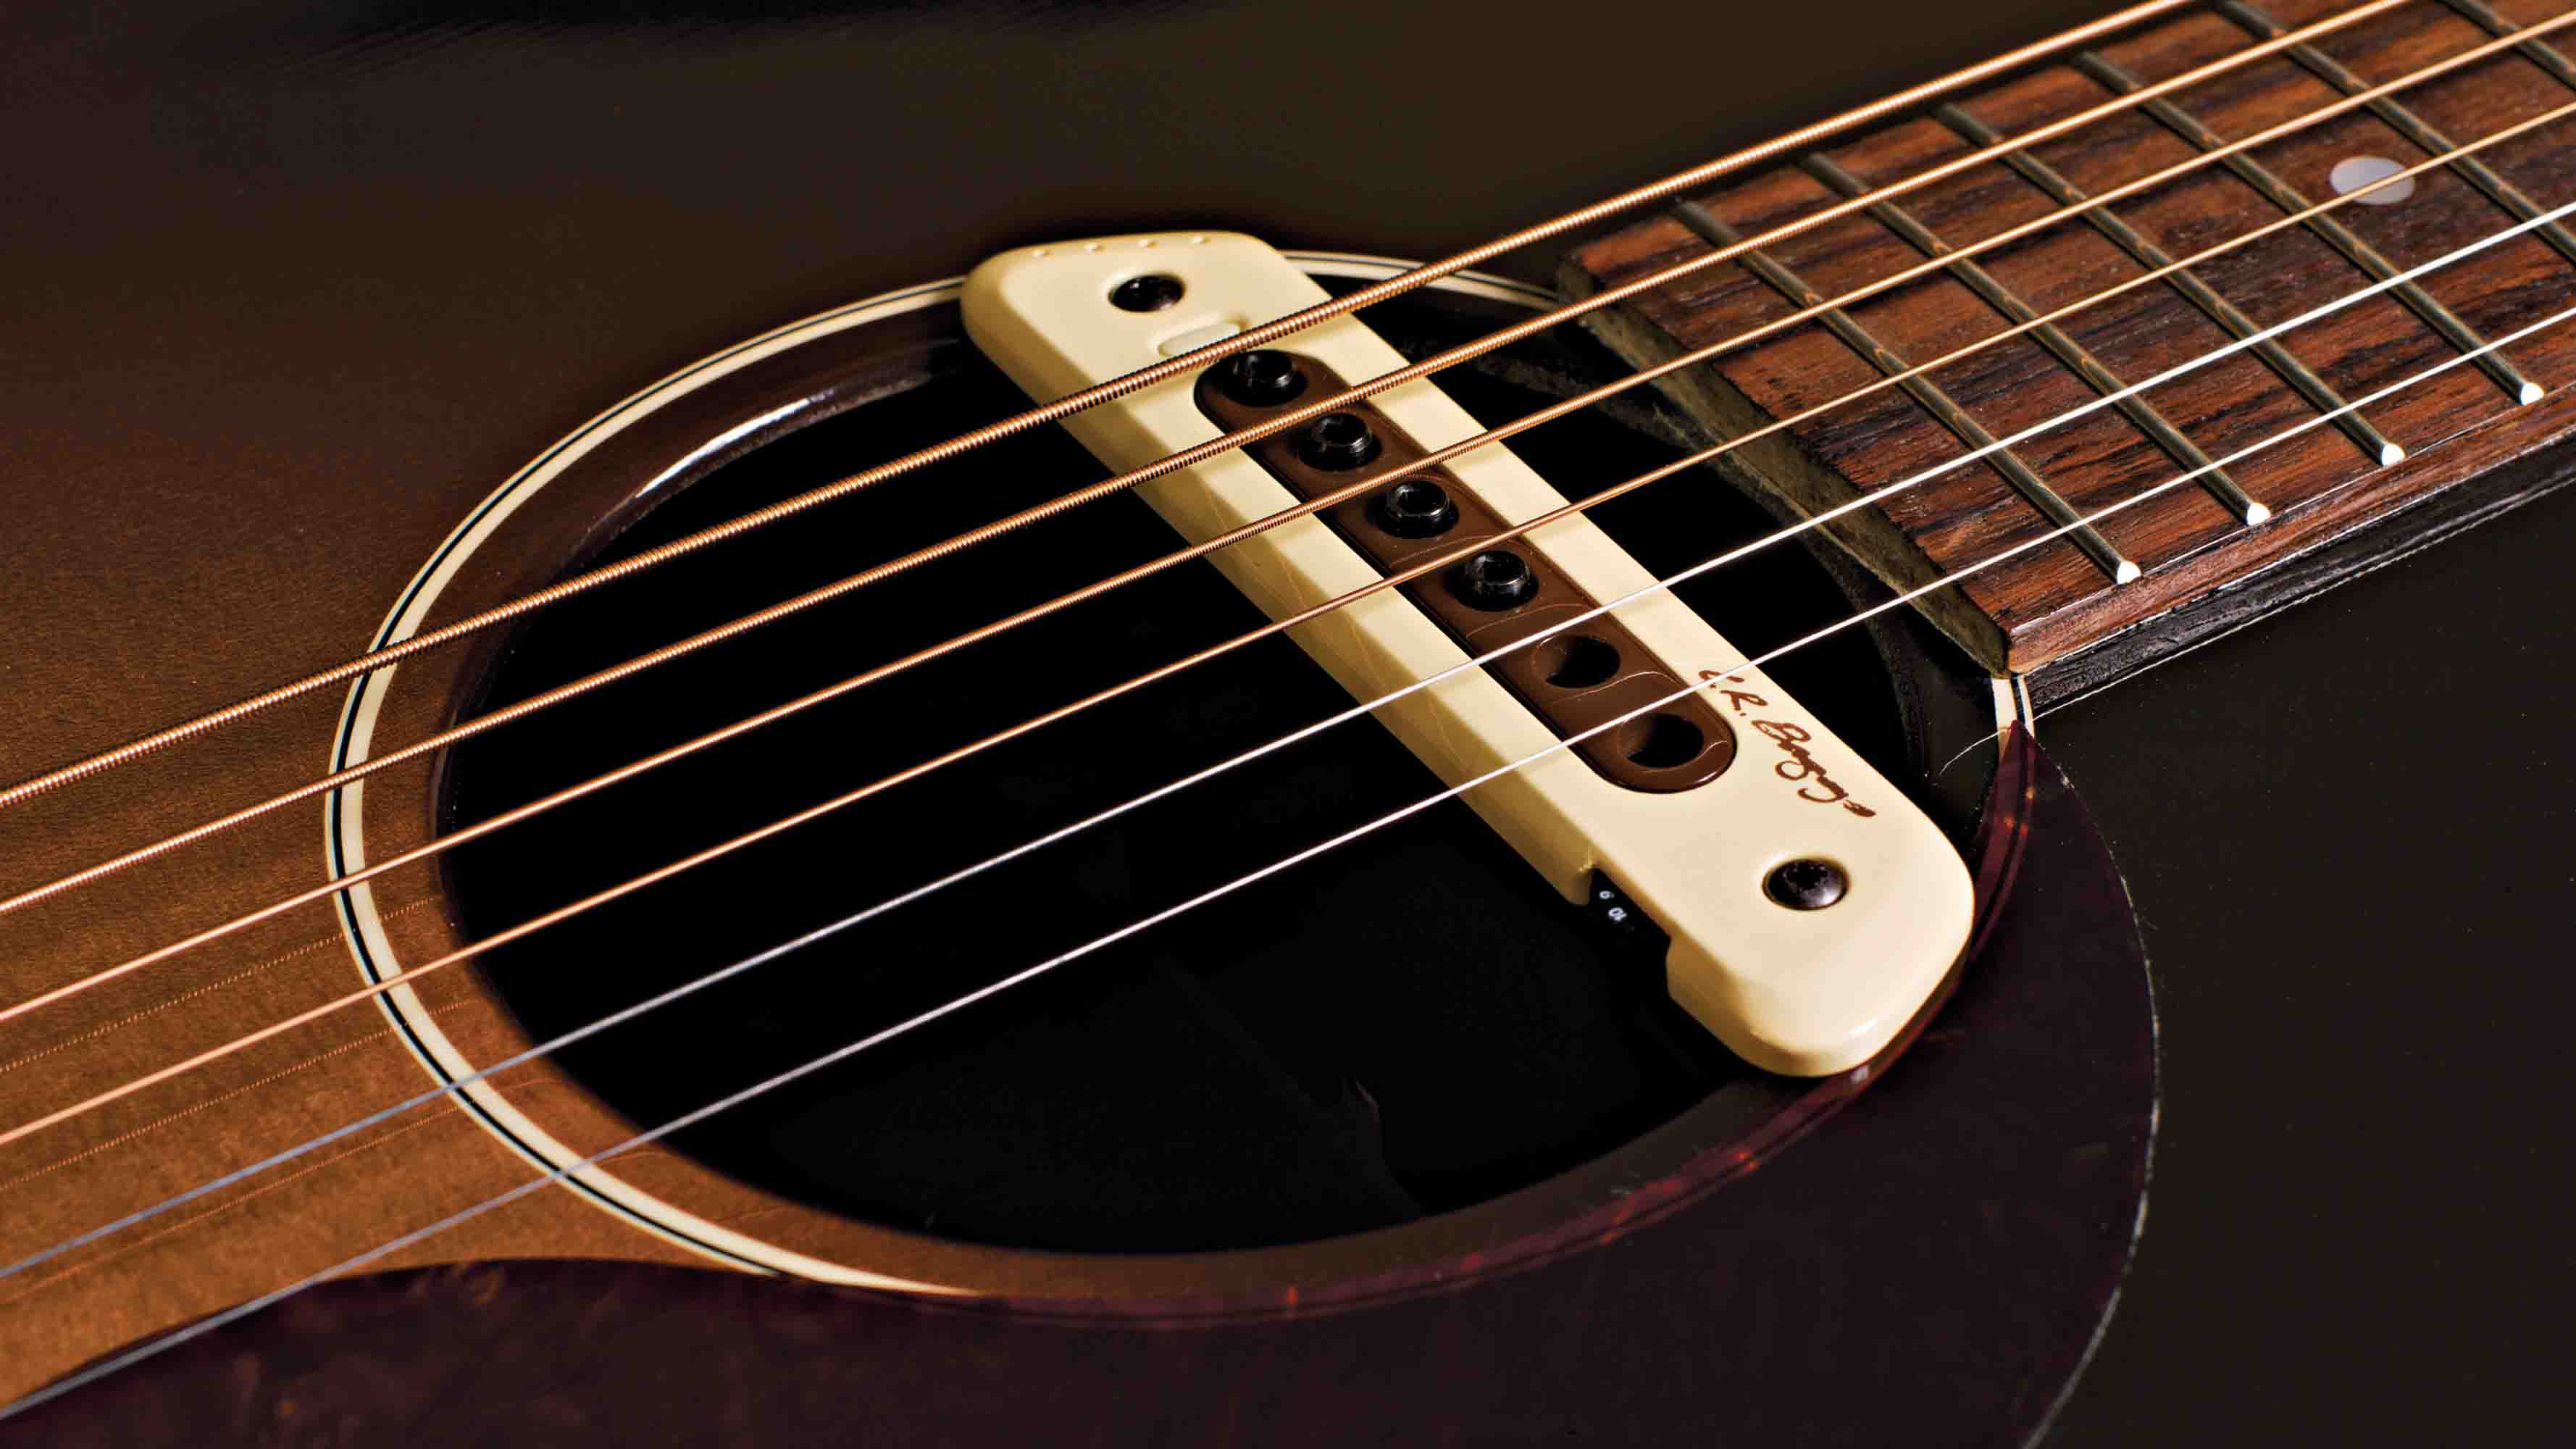
Acoustic guitars don’t stand much of a chance versus a drum kit but that’s no reason to abandon it side stage: there are lots of types of after-market acoustic pickup systems these days all with different technologies and strengths. This month we’ll be installing the most popular style: the under-saddle pickup.
This style is great for stage performances: it’s nice and isolated and gives a good reflection of the natural sound of the guitar… just louder!
We’ll be installing a B-Band A1.2 pickup, which is similar to the Fishman Matrix Infinity, the LR Baggs Element, the Highlander IP1, the K&K FantaStick and more. When it comes to choosing one, spend time online to check them out.
Some have extra features like being able to run without a battery, EQ units or multiple input sources (like a microphone). We find that the under-saddle pickup is the best all-rounder. Once you’ve bought your pickup system and you’re amped, the stage awaits…
Step 2
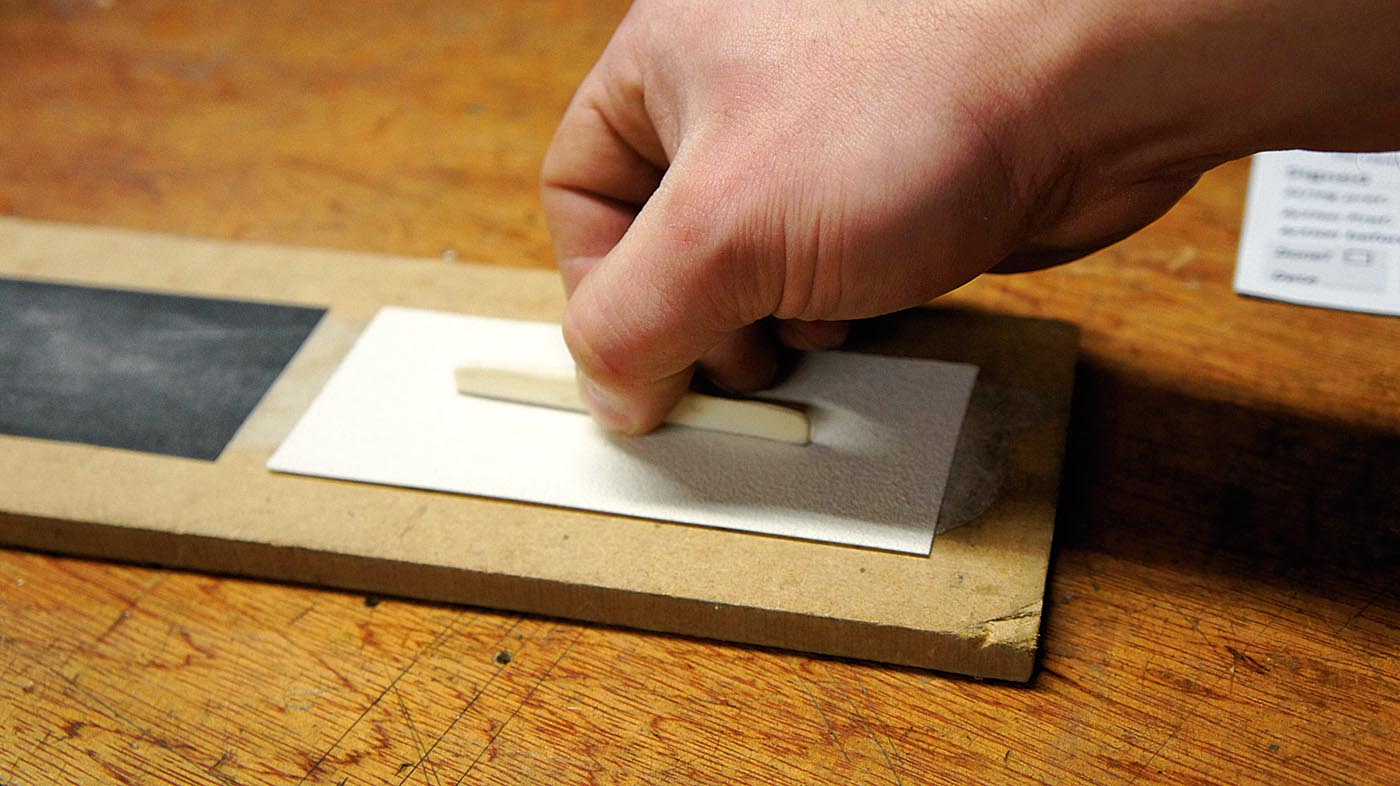
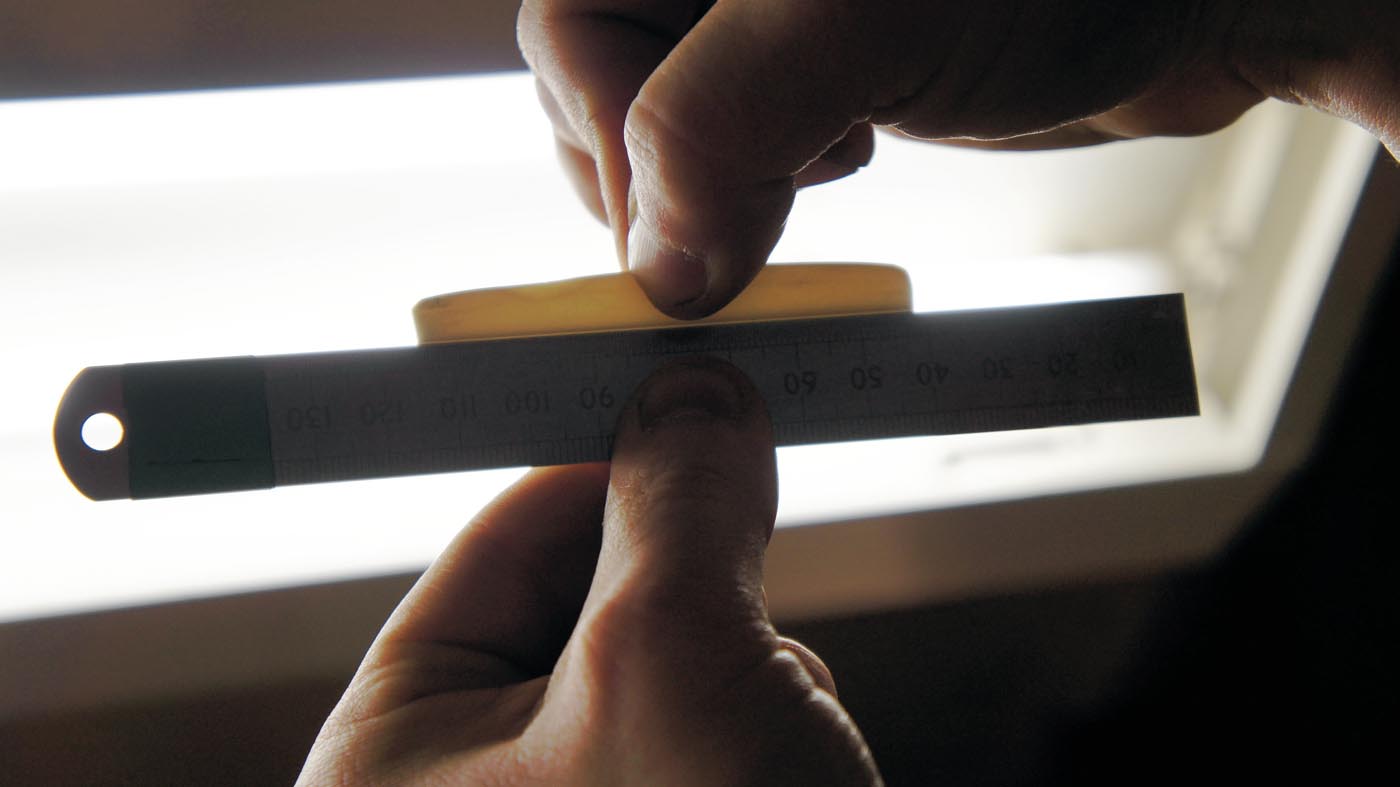
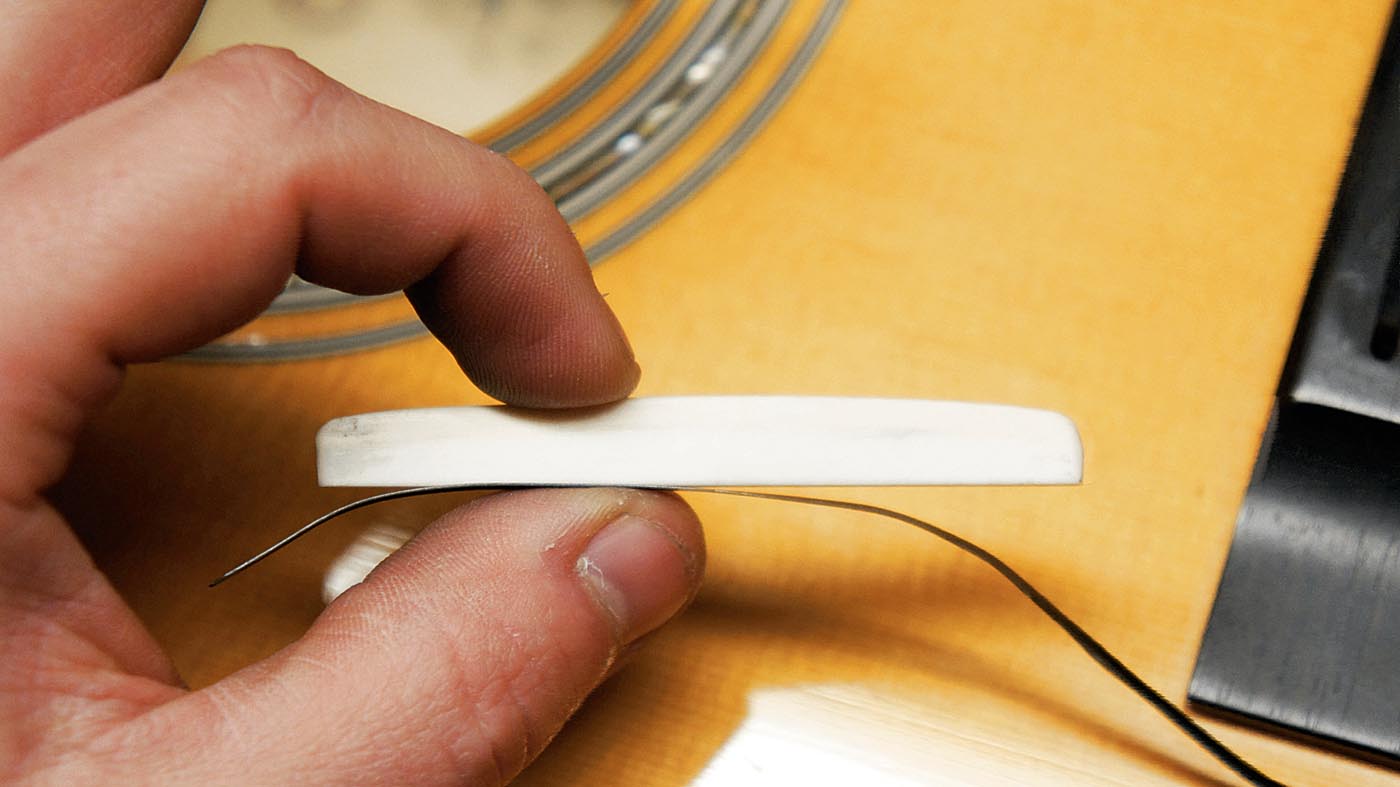
We will be adding a new gizmo in between the bottom of the saddle and the bottom of the saddle slot, so make sure not to raise the string’s height.
Measure how thick your under-saddle pickup is and reduce that from the bottom of the saddle. If you had shims you can subtract the thickness of them so that you can chuck them away.
Step 5
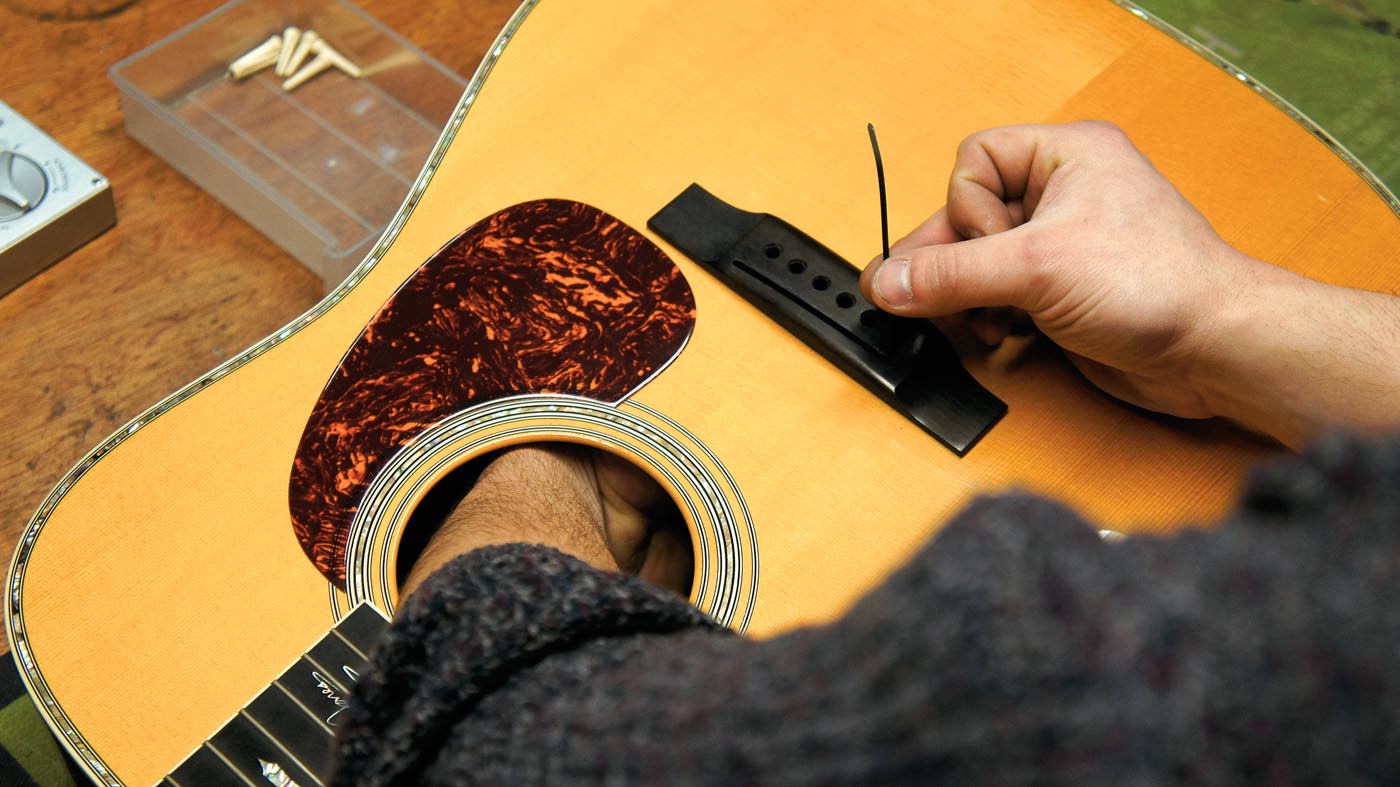
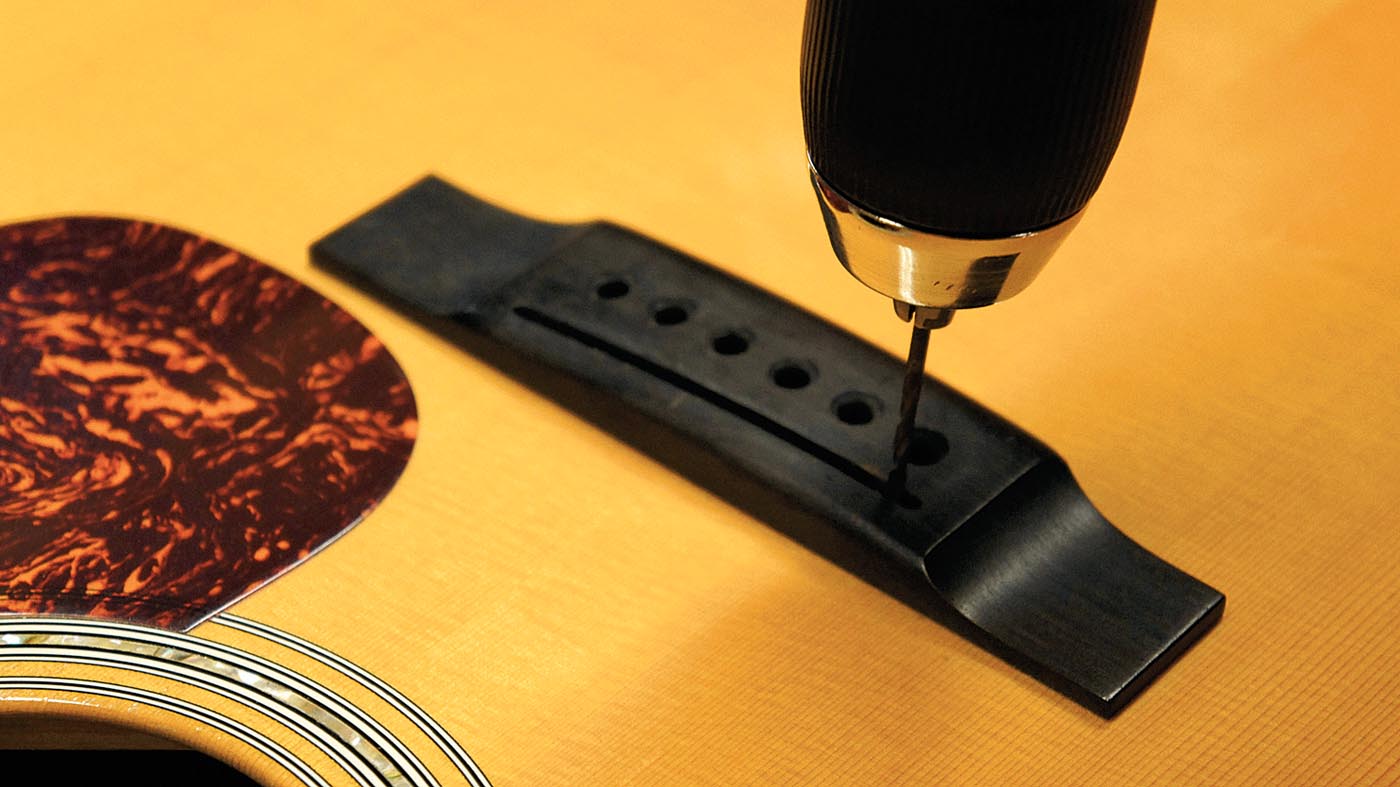
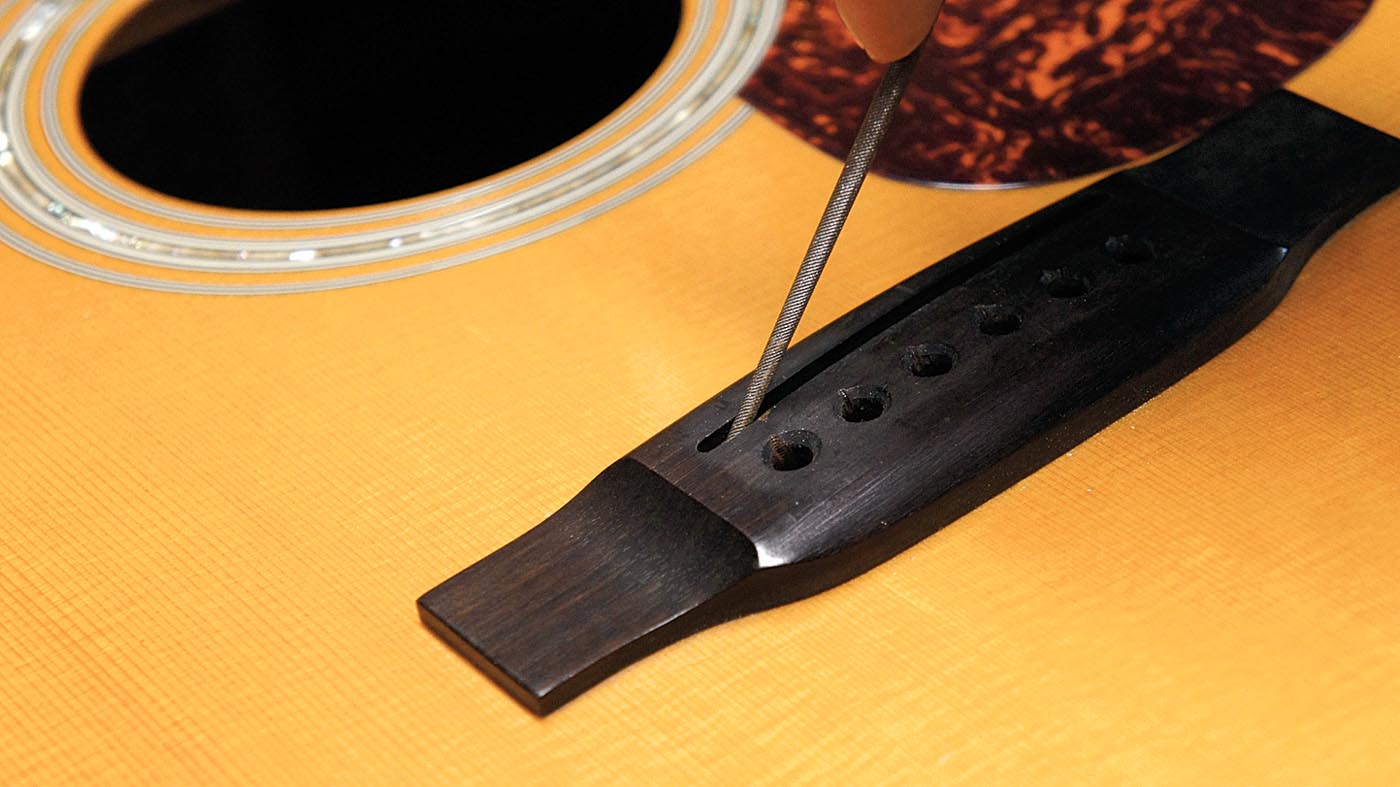
We need to drill a hole for the under-saddle piezo pickup to pass through.
Our saddle slot measured at exactly 2.5mm wide, which also suited the piezo pickup’s wire - no argument there. Noting the location of the wire on the pickup, drill a hole in the bottom of the saddle slot until you break through inside the guitar.
Step 6
The pickup we’ve put in here is a funny type in that it actually needs two angled holes but this can be a useful principal for any type of pickup.
The pickup’s wire shouldn’t be snagged or trapped, it should go neatly through the hole we just made. It might be necessary to file away the edges of our new hole to suit.

Step 7
After checking there’s no sawdust in the slot, fit the under-saddle pickup into the saddle slot - this might be from the top (pretty common) or like this where you have to install it from below! Remember that the pickup is very delicate, don’t force or bend it if you can help it, they’re very pricey to replace.
Step 8
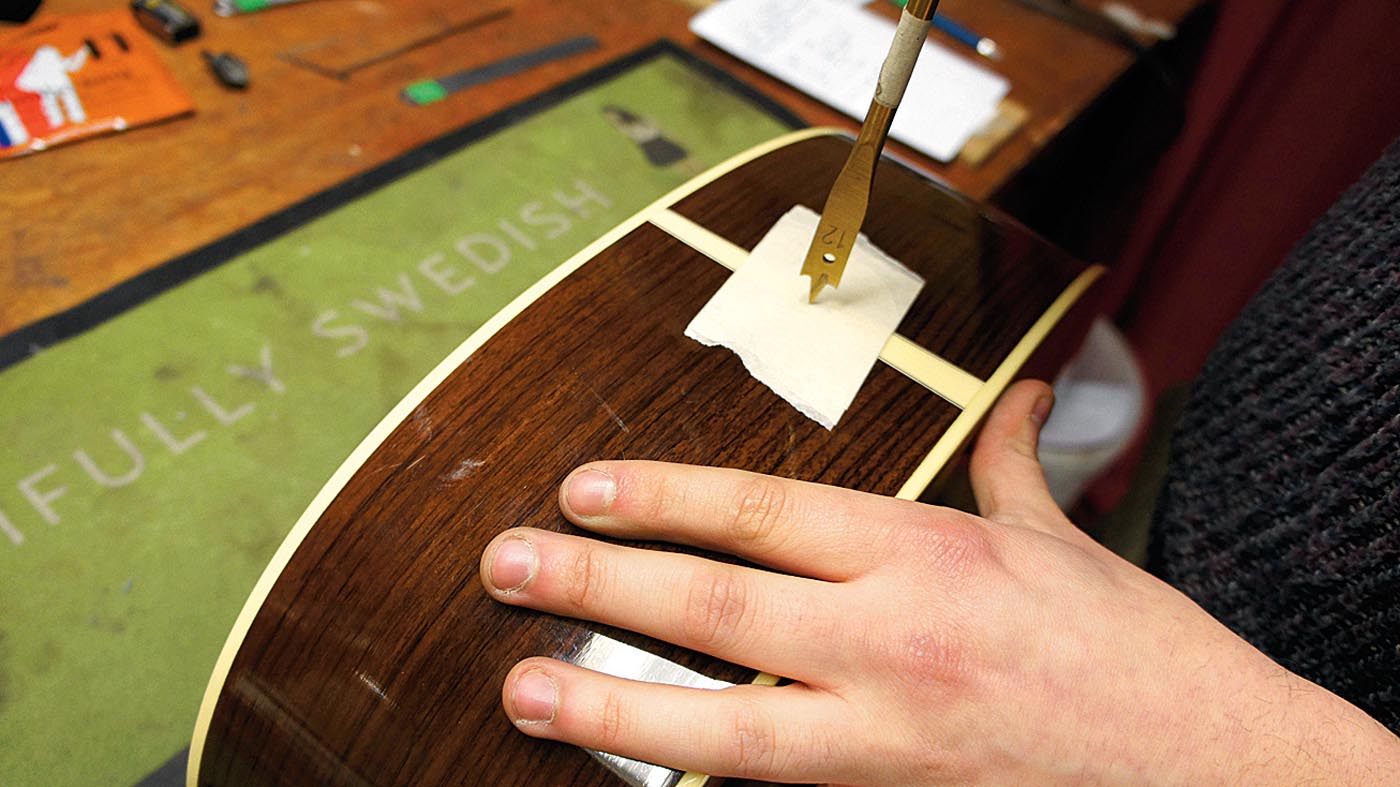
This B-Band uses a ‘strapjack’, which combines a jack socket with an end pin, we don’t need the old end pin now, so unscrew it.
A decent quality spade bit is actually quite nice for drilling out the 12mm hole needed. Masking tape helps protect the finish as we drill it but work slowly and as accurately as you can.
Step 9
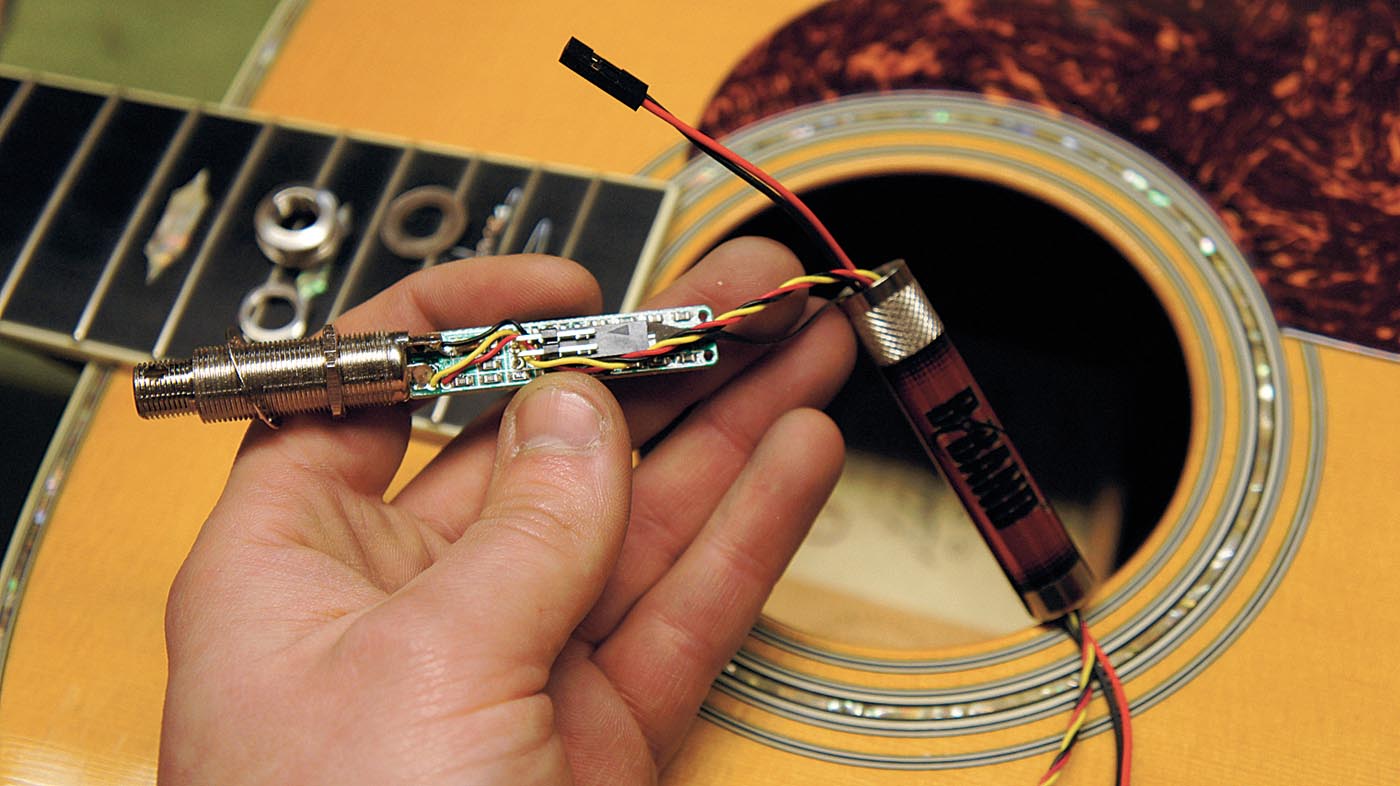
With the hole drilled it’s time to plug in the battery, pickup and control connections into the main preamp.
Each make and model is slightly different here so it’s best to check the manual to see if there’s a particular way round that’s required. Install the end pin (usually internally) and tighten up the nuts on the outside of the guitar.

Step 10
Check that the screw-on strap jack is not stopping a jack lead from plugging in correctly; if that’s an issue you’ll have to set the end pin a little more proud - try and see! Let’s attach the battery bag to the inside of the neck heel (Velcro works well). The volume wheel attaches with self-adhesive, which is easy to do.
Step 11
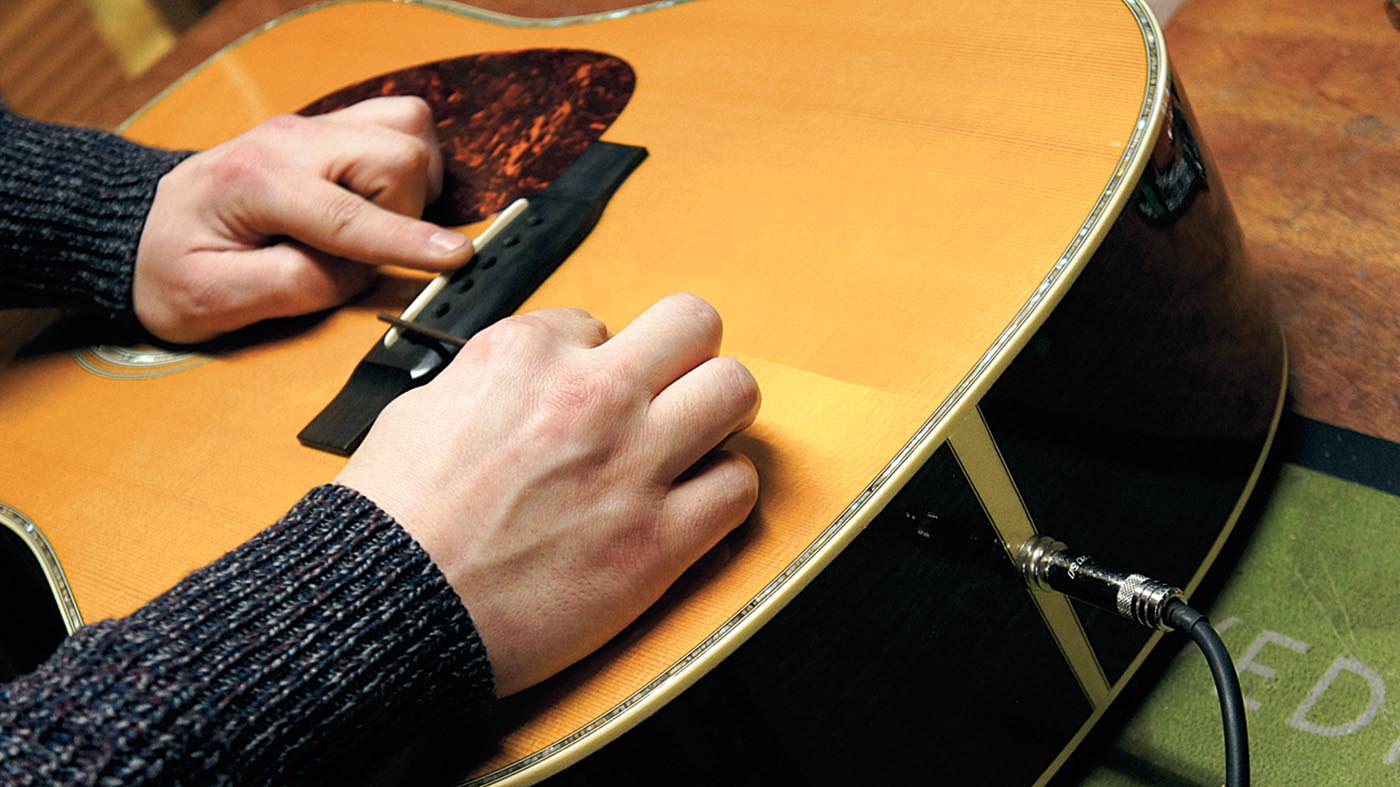
Install a fresh 9v battery, replace the saddle into the slot and plug into an amp.
When you plug into this new strap jack it also powers the system on at the same time. Now press the saddle down and tap test the output through the amp. You should have level output from each string and you can also test the volume and tone controls.
Step 12
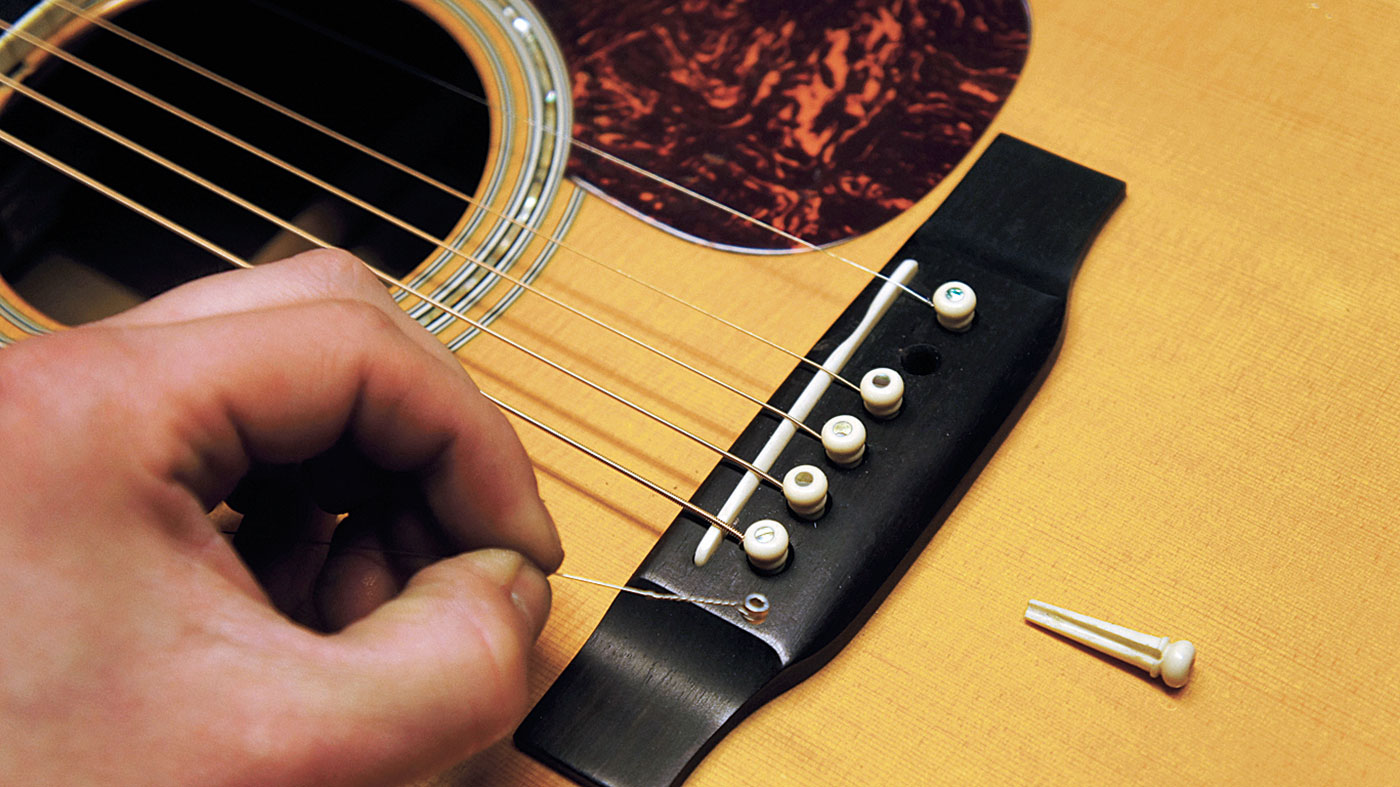
Time to restring. At pitch you are aiming for level output from each string when plugged in.
If it’s any different it means there’s a different pressure on different spots; either dust or non-flat surfaces under the saddle or the pickup can be to blame. Also check that when you tuned up the saddle isn’t now leaning forward.
Jack runs an independent guitar setup and guitar repair service in Manchester, England. He serves the musicians of the Northwest of England, working on electric guitars, bass guitars, acoustic guitars and more. Jack has been writing the Fix Your Guitar column in Total Guitar Magazine since 2017.
