Guitar modding: how to change pickups on a Telecaster
Supercharge your Telecaster’s sound with a single-coil swap
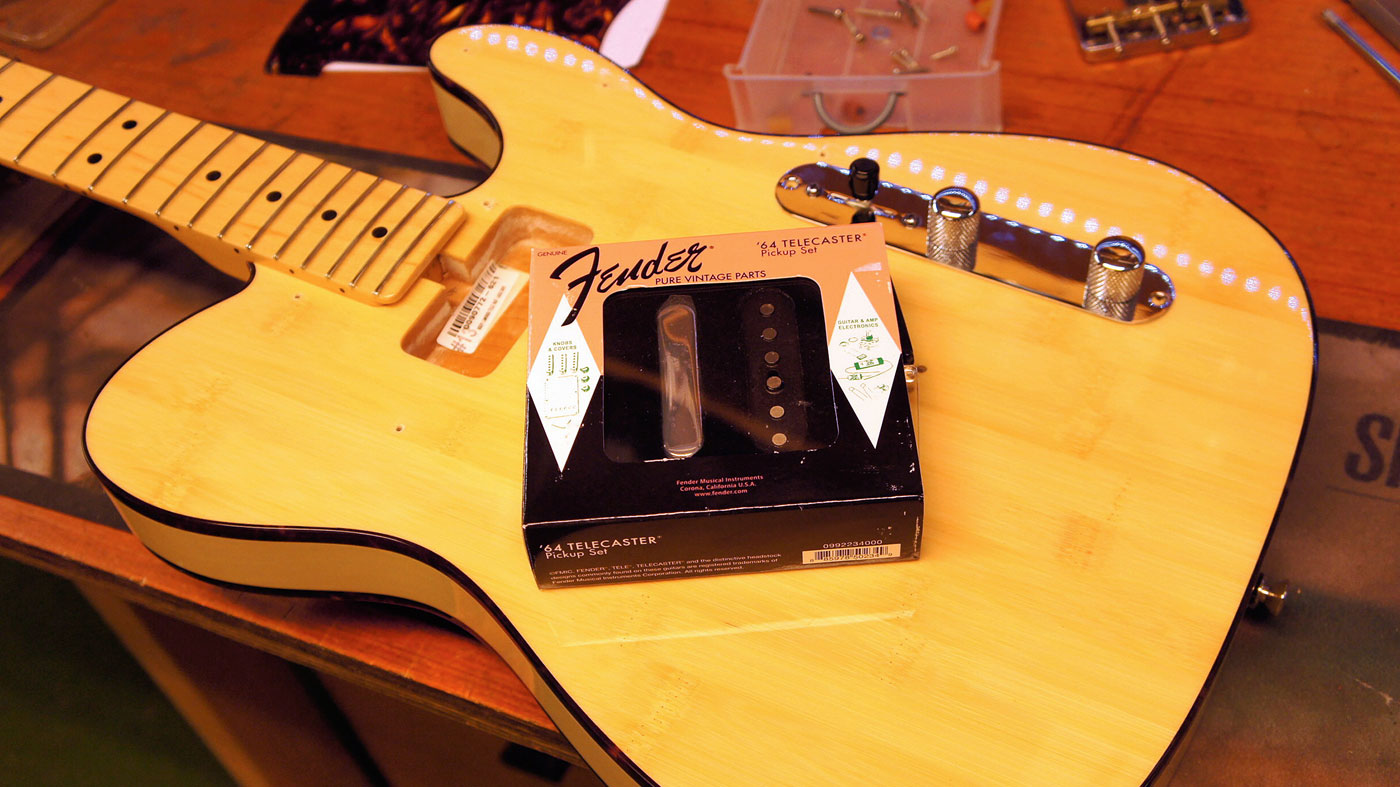
Changing a pickup can really rejuvenate your old guitar, and with the Telecaster design there are hundreds of choices for upgrades - you can certainly beat those stock pickups.
The Telecaster isn’t the easiest guitar to swap pickups on, we will admit, as you’ve got to de-string and take the bridge off to do it. We will take you through the DIY method to get you twanging your heart away...
To avoid confusion we’re going to call the neck pickup the ‘rhythm pickup’ and the bridge pickup the ‘lead pickup’. This guide will also cover two different types of lead pickup.
The patient of choice is a Fender ‘Tele-bration’ Bamboo Tele (a bit of a rarity!) and we’re upgrading to some swish ’64 Telecaster pickups. The ’64 pickups feature a copper backplate on the rear of the lead pickup, which saves a step. For the sake of this demo we’ve shown you how to solder a plastic baseplate lead pickup too. Get your screwdrivers out and soldering iron on!
Tools
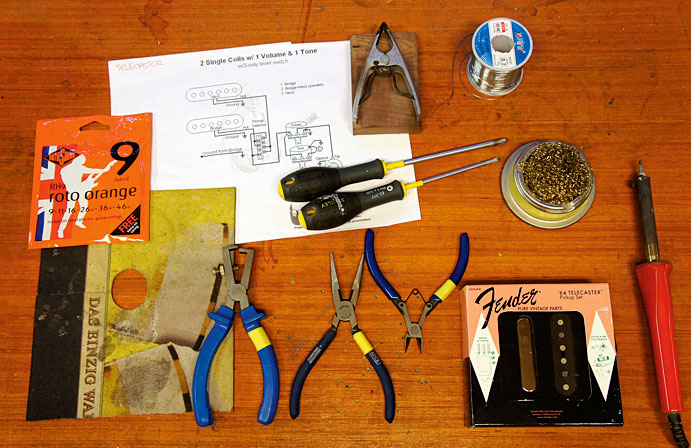
- New set of pickups
- 40-watt soldering iron
- Soldering iron tip cleaner
- Soldering protector mat
- Safety goggles
- Handy helper clip
- Wire strippers
- Wire cutters PH1 and PH2 screwdrivers
- Backup wiring diagram
- A fresh set of strings
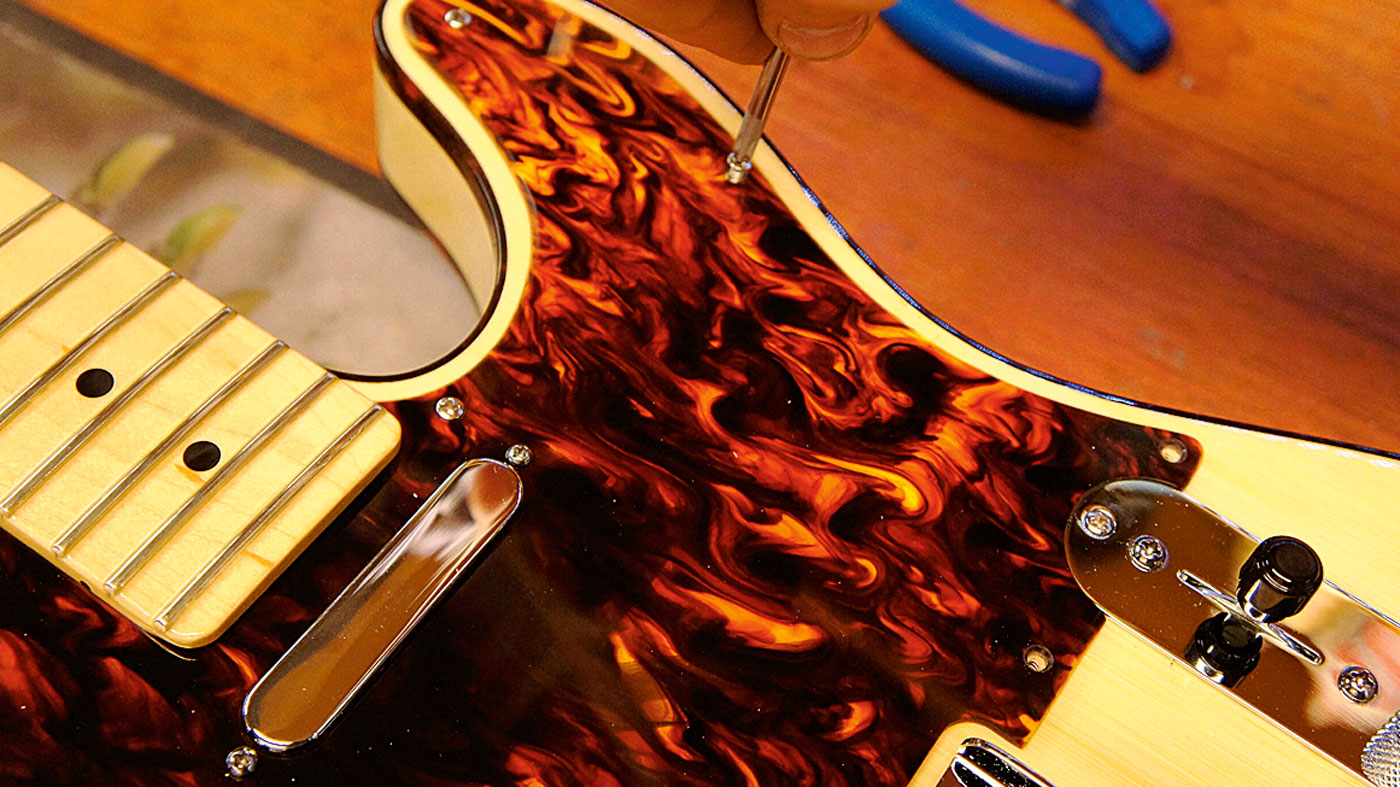
Let’s get stuck in by chopping your old strings off. With your fretboard exposed, this is a good time to clean it.
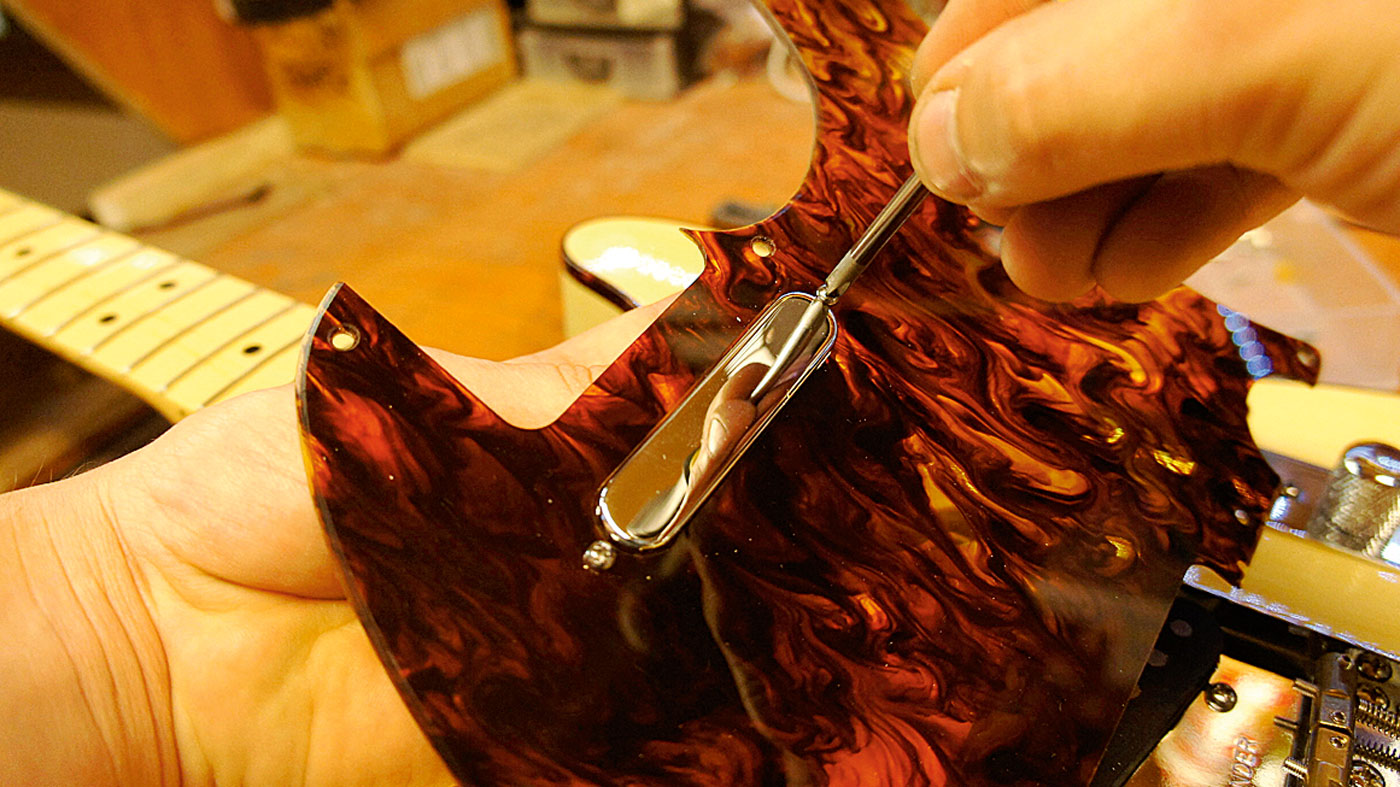
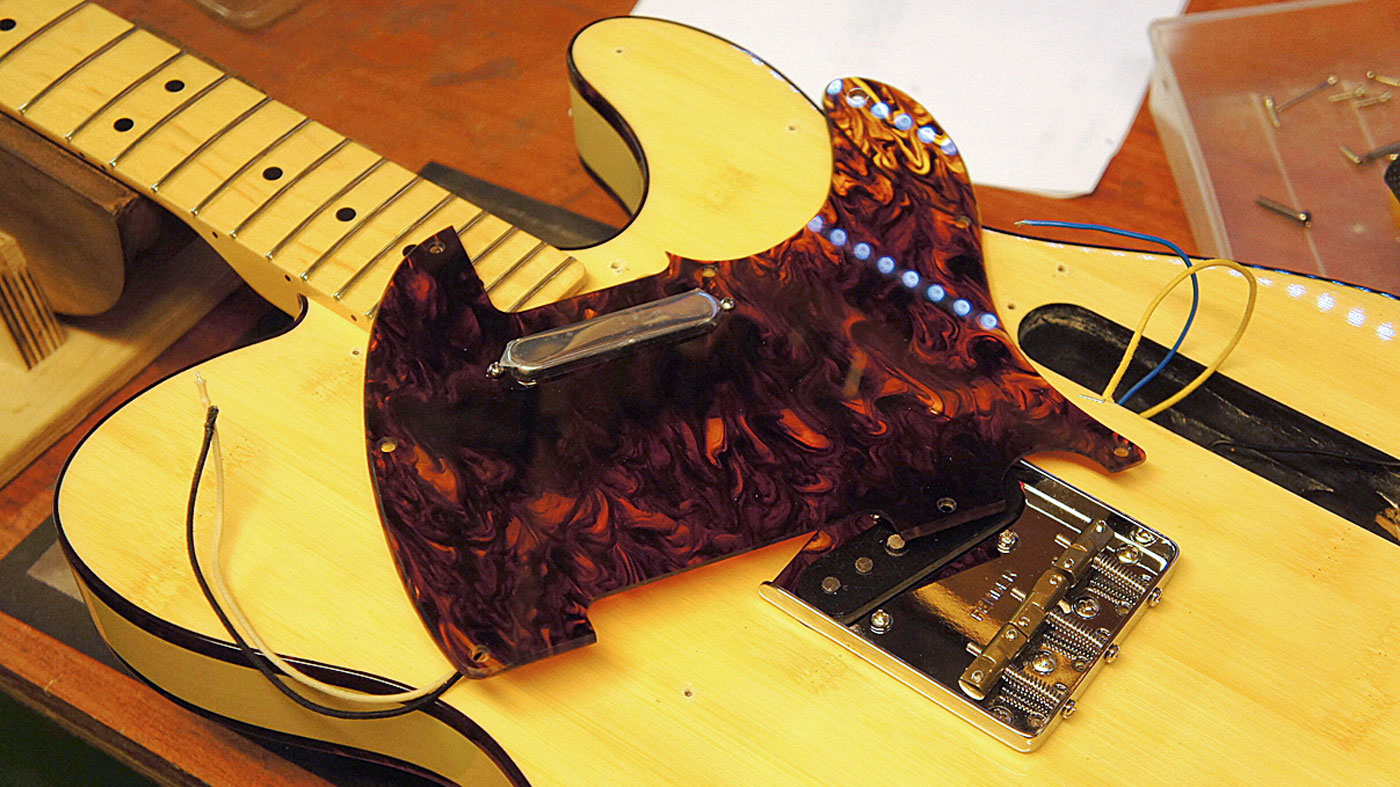
On Telecasters, the rhythm pickup can be attached to the pickguard or screwed into the body. Whip off the ’guard with your PH1 screwdriver, making sure that you don’t lose any of the small parts.
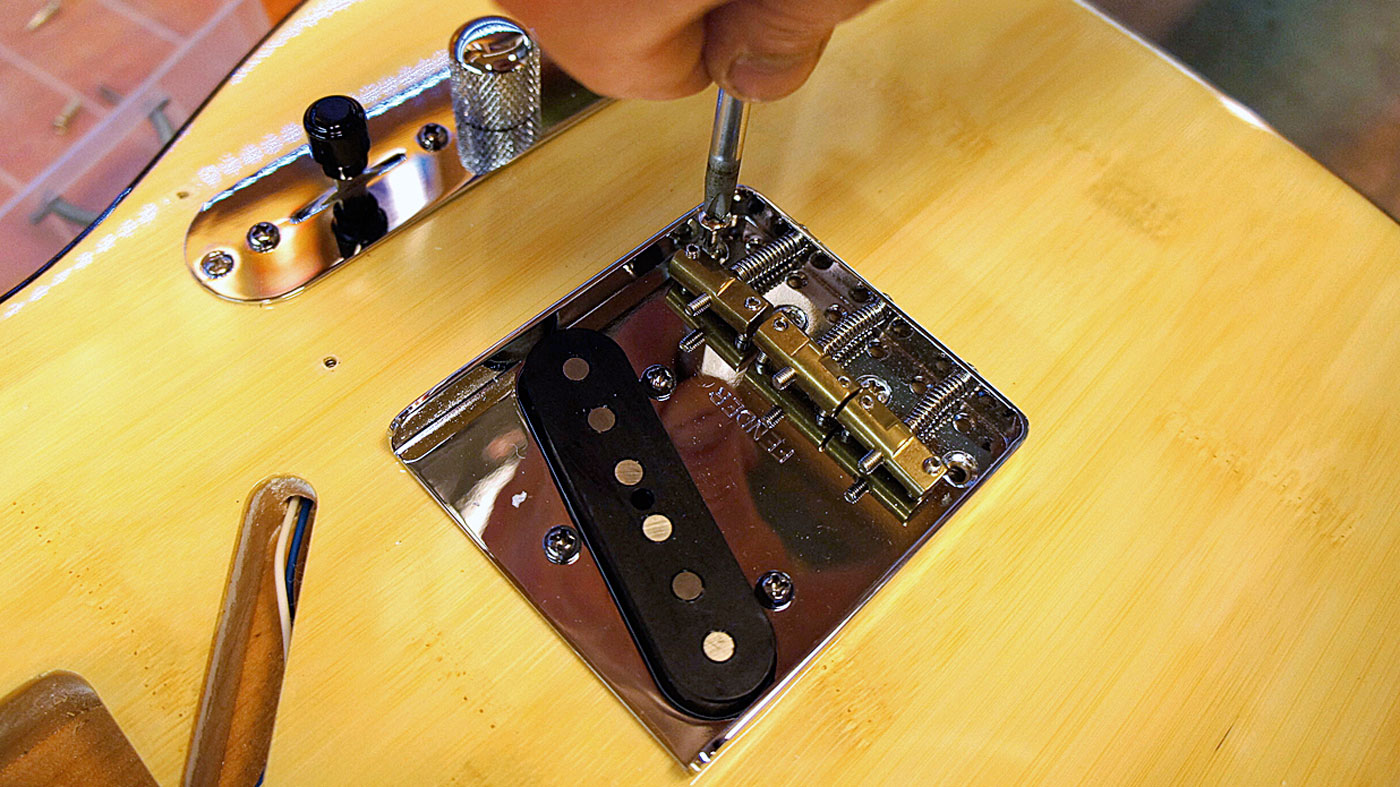
The telecaster bridge is unique and has to be removed to take the lead pickup out. The PH2 screwdriver seems to fit most of these longer screws nicely.
Be wary of the torque that these are tightened up to (that’s the twisting force); when we screw these back in, we don’t want to over-tighten them and strip the screws.
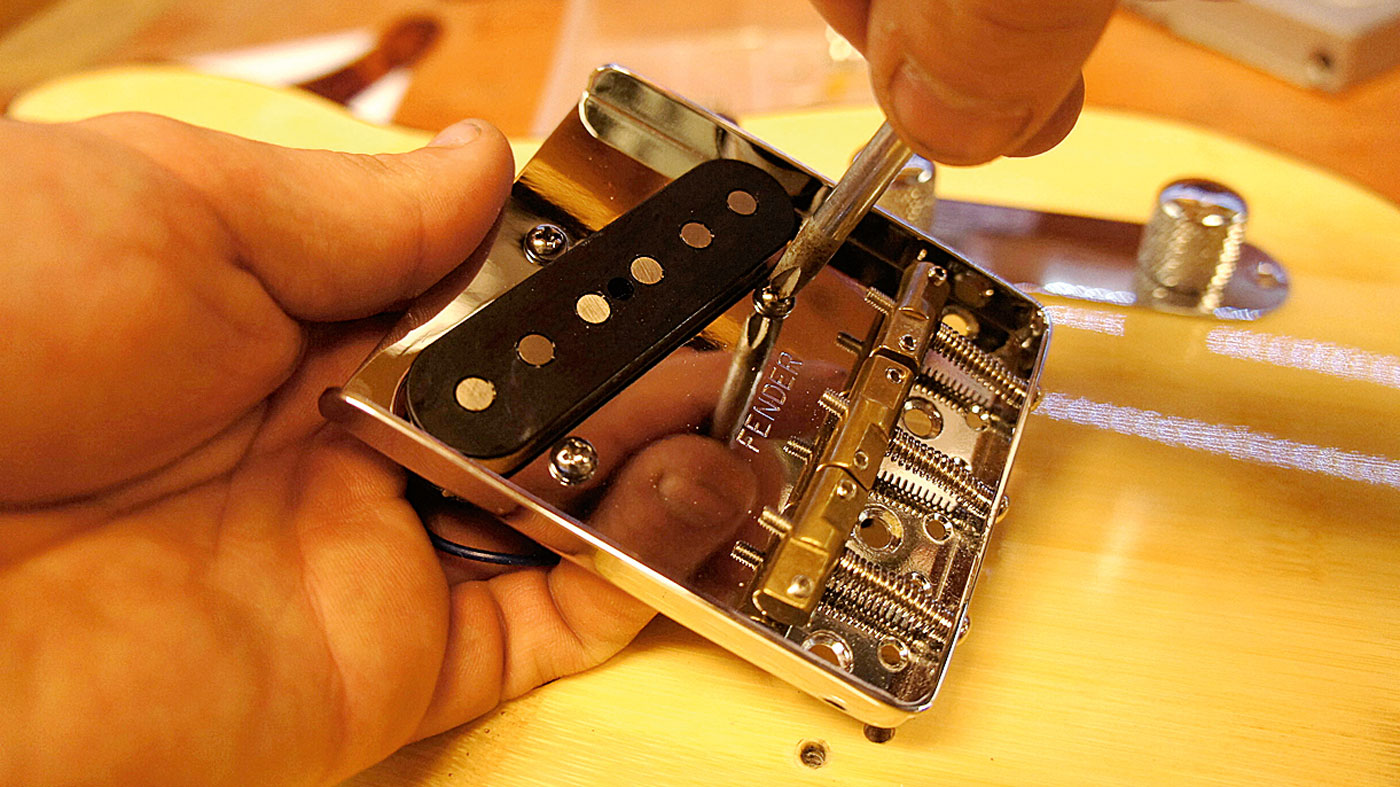
Loosen the pickup bolts (PH2 again) but be mindful of the solder tag that may be hanging off.
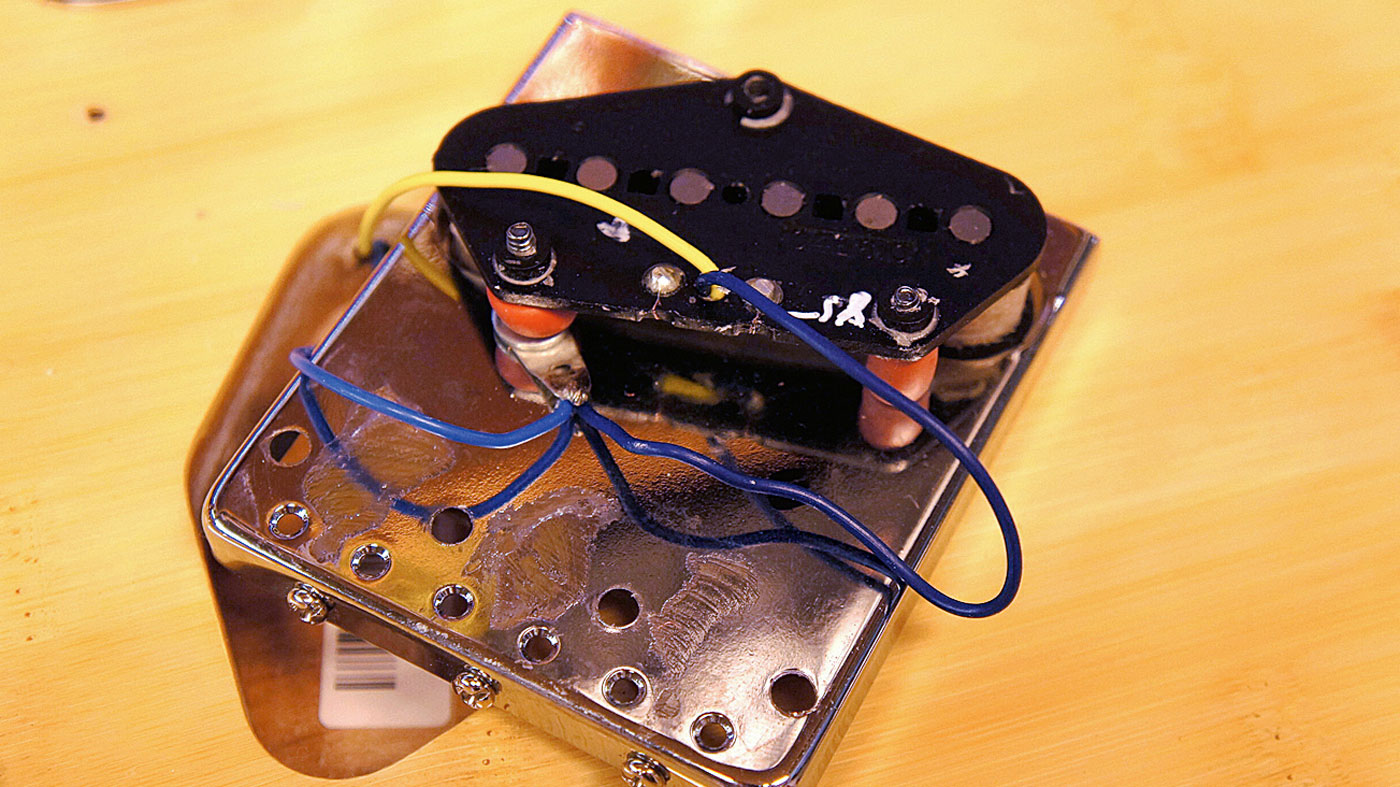
Make sure this won’t spin and trash the delicate coil wires as you unscrew it. The solder tag is used to connect the pickup’s ‘ground wire’ to the bridge itself, as this helps to reduce humming in the circuit.
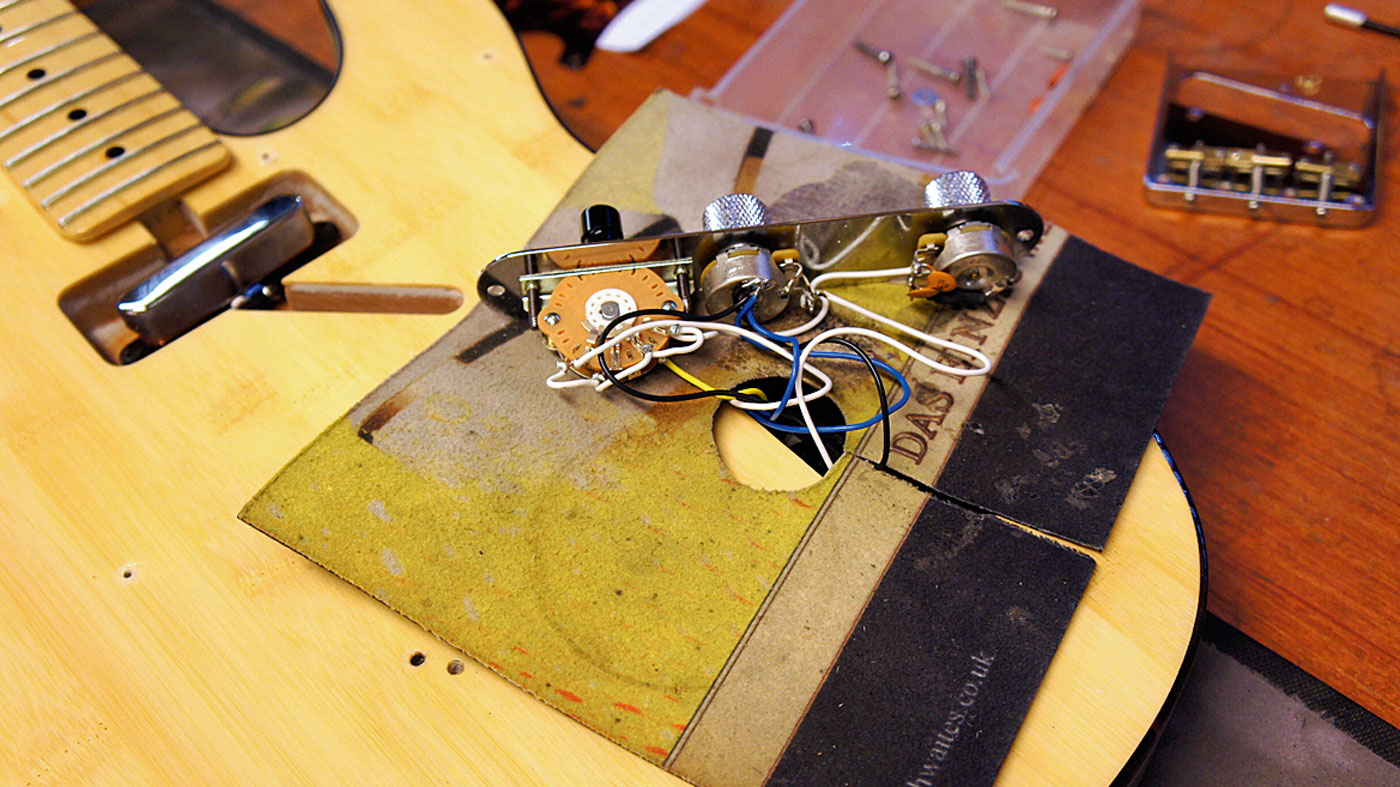
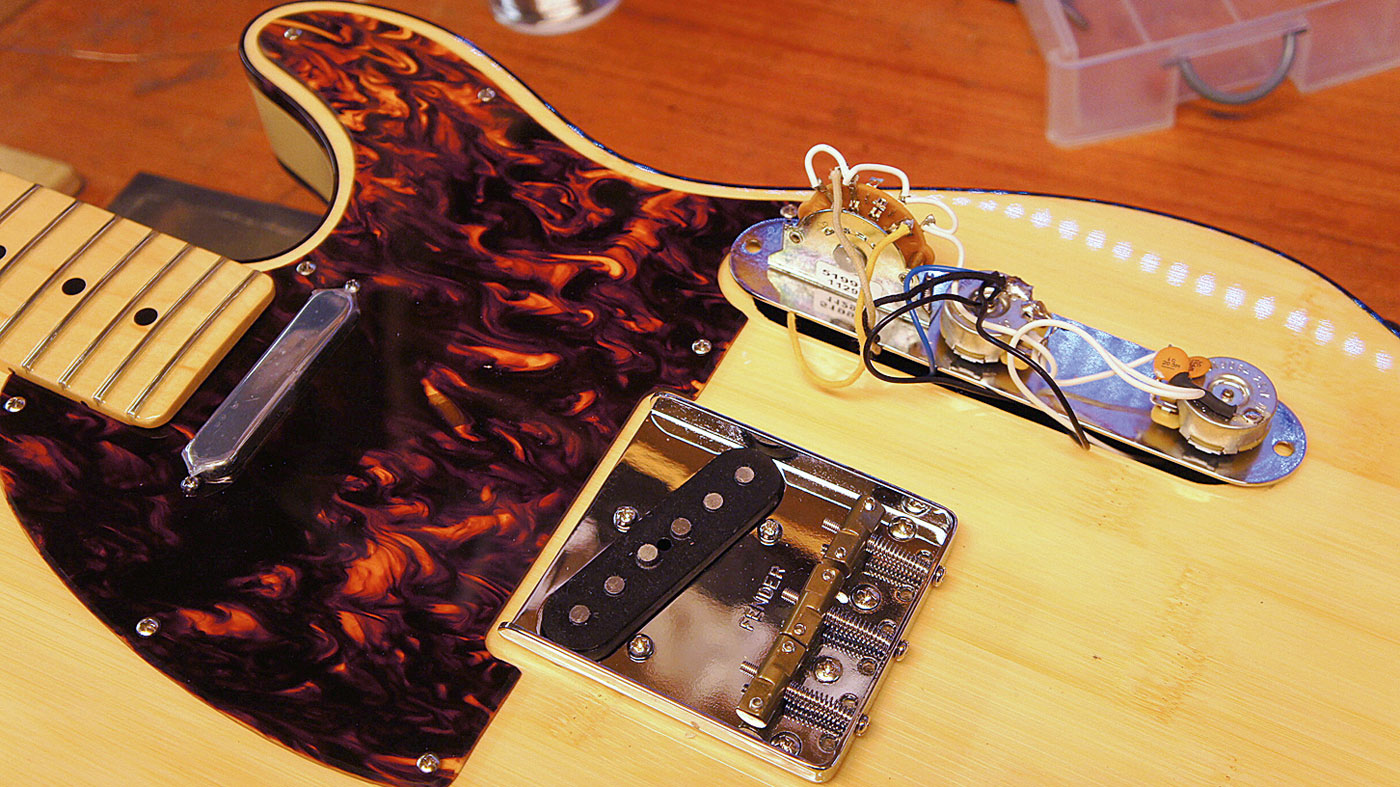
Our rhythm pickup and lead pickup are still hanging on! Unscrew the control plate and stash the screws.
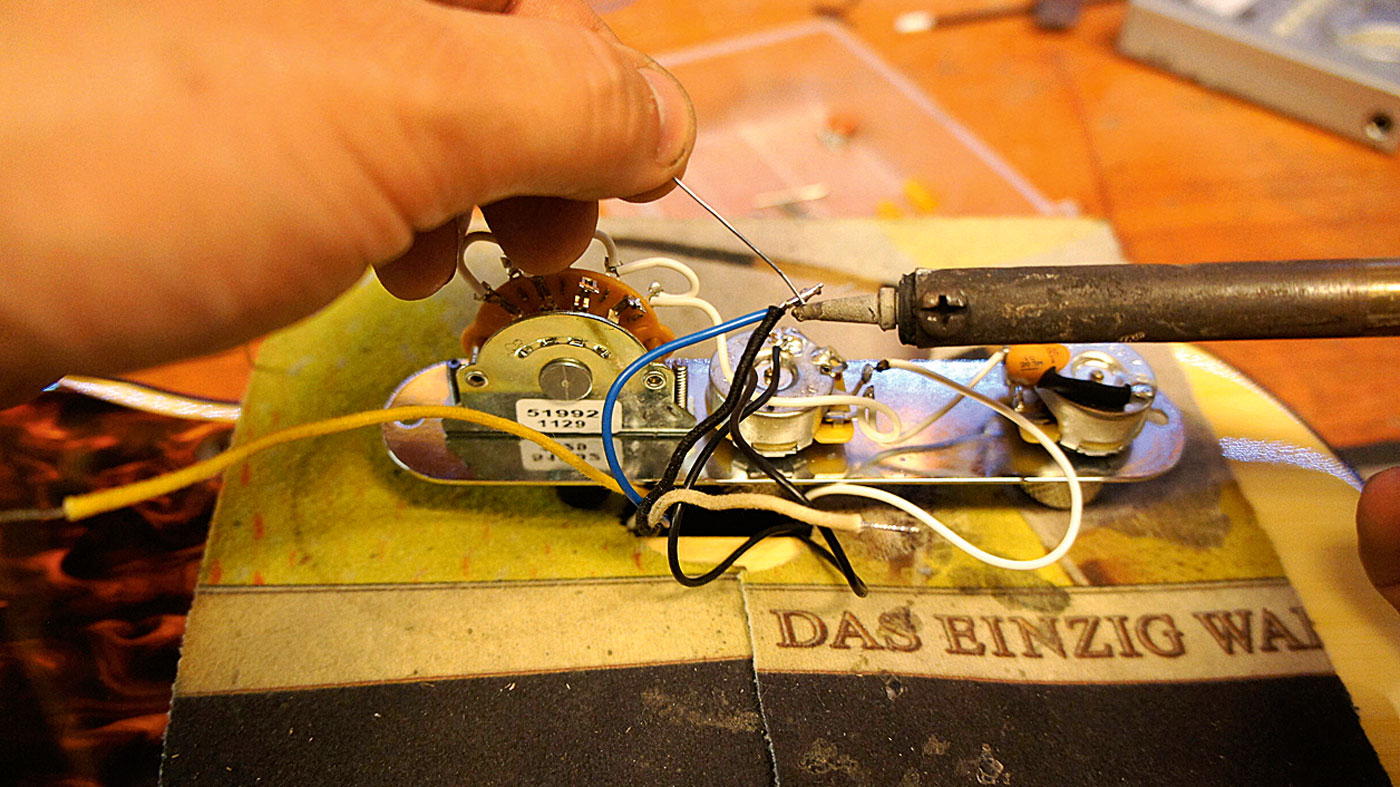
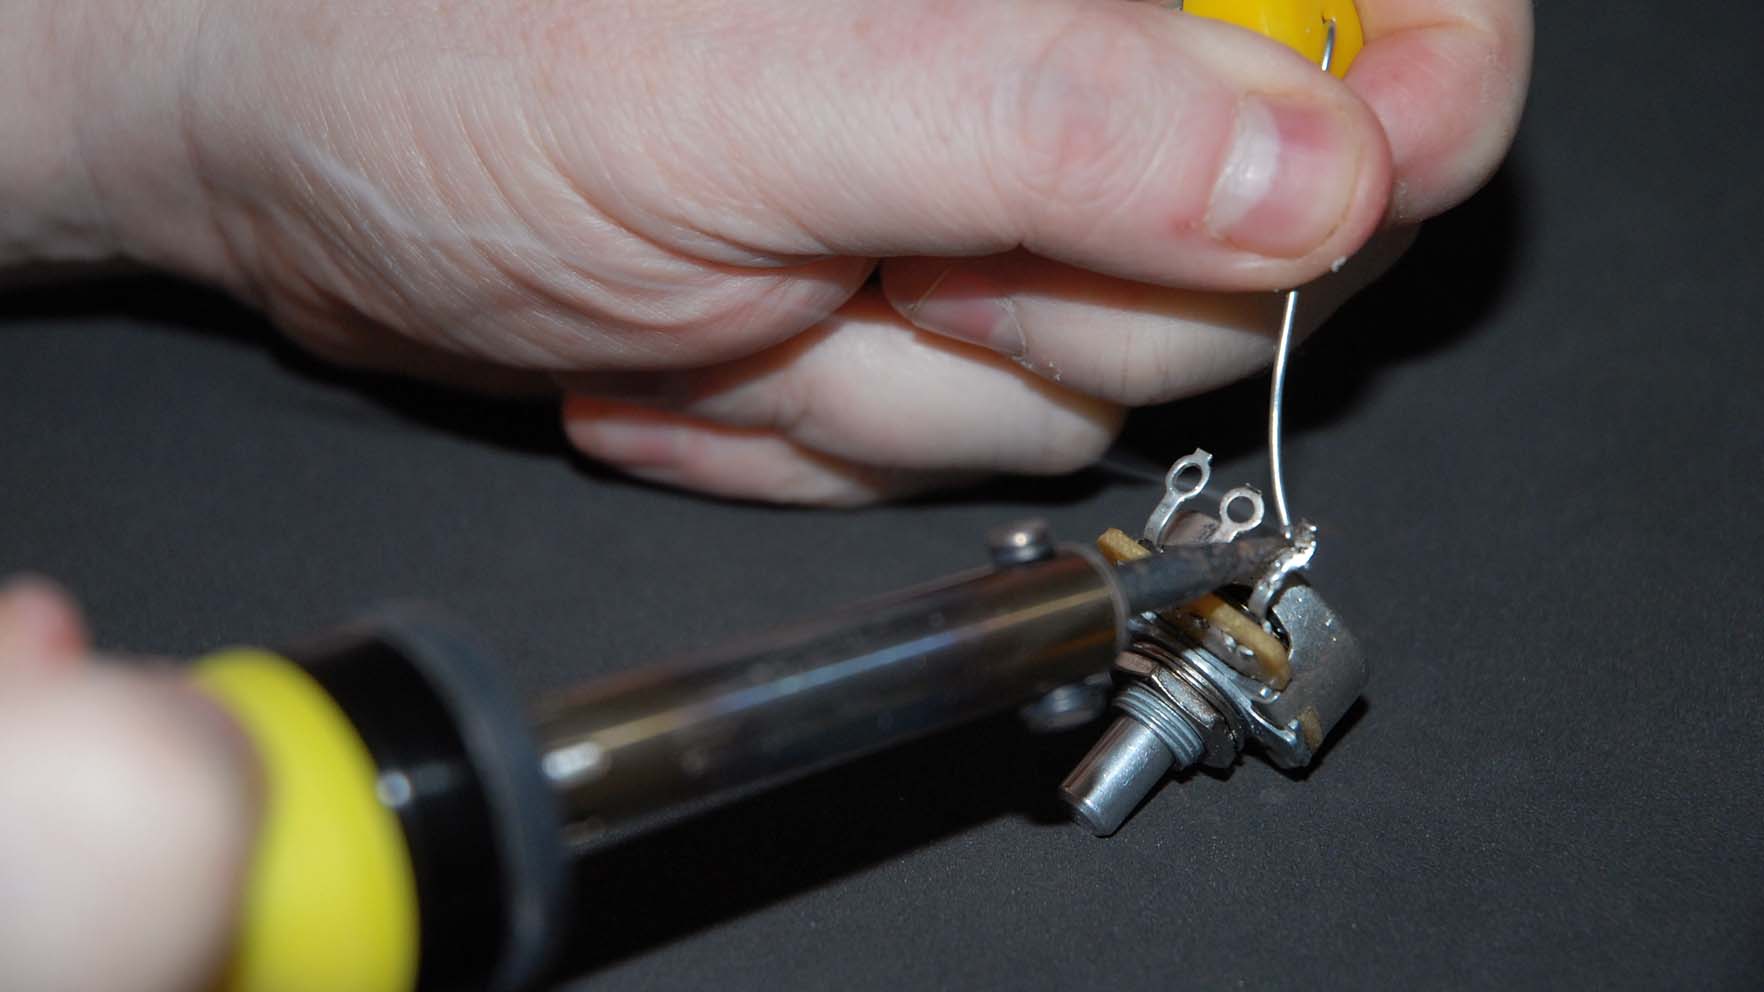
This DIY protector mat comes in handy at the workshop. It’s an old bar runner mat from a pub but it’s heat and solder-proof. Each Tele is different, so you may have different colours and other wires inside there.
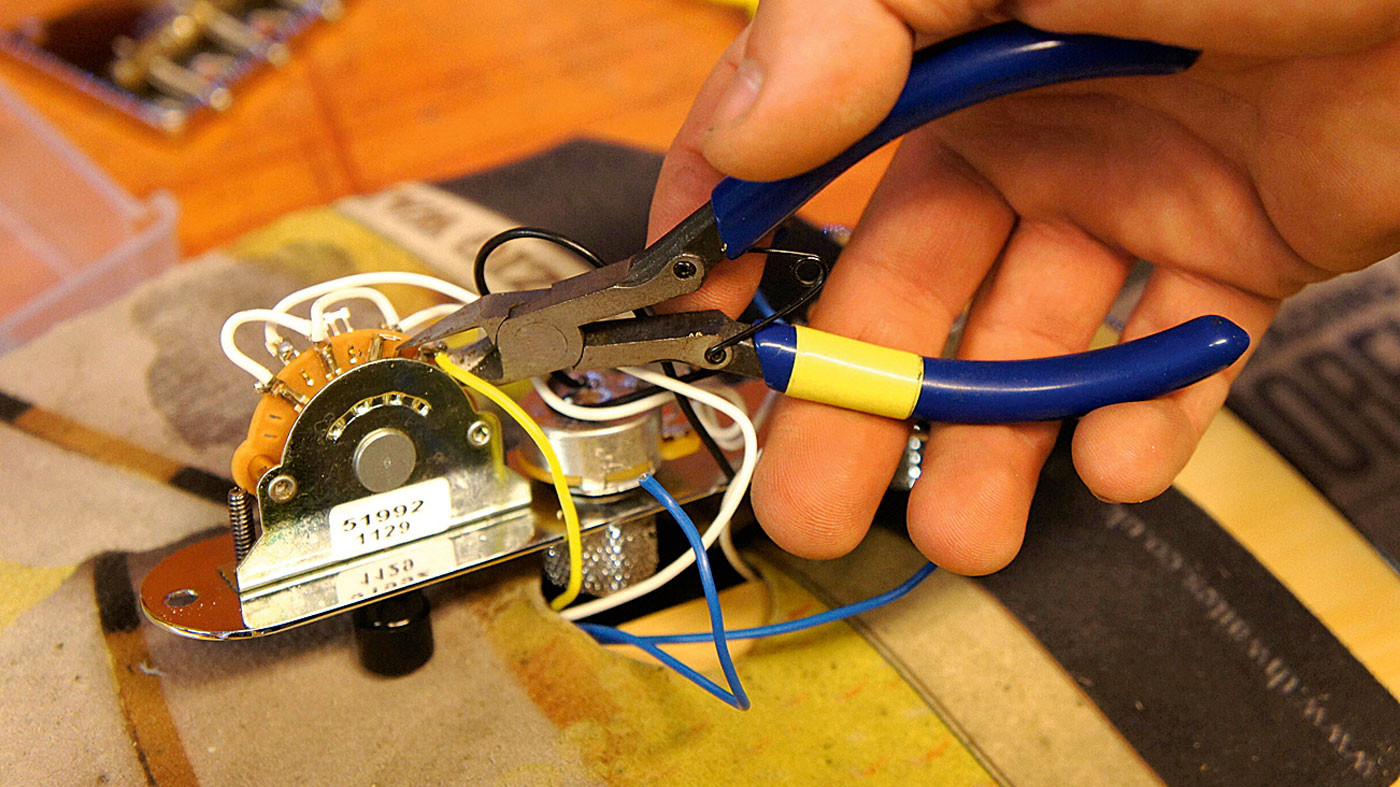
Chop, chop! We’ve got to figure out which wires are the ones belonging to our old pickups, give them a light tug and you’ll see.
True singlecoils will have two wires coming from them: a ‘hot’ and a ‘ground’ but sometimes there’s a third that is soldered to the back of a pot. If there is, chop that off too.
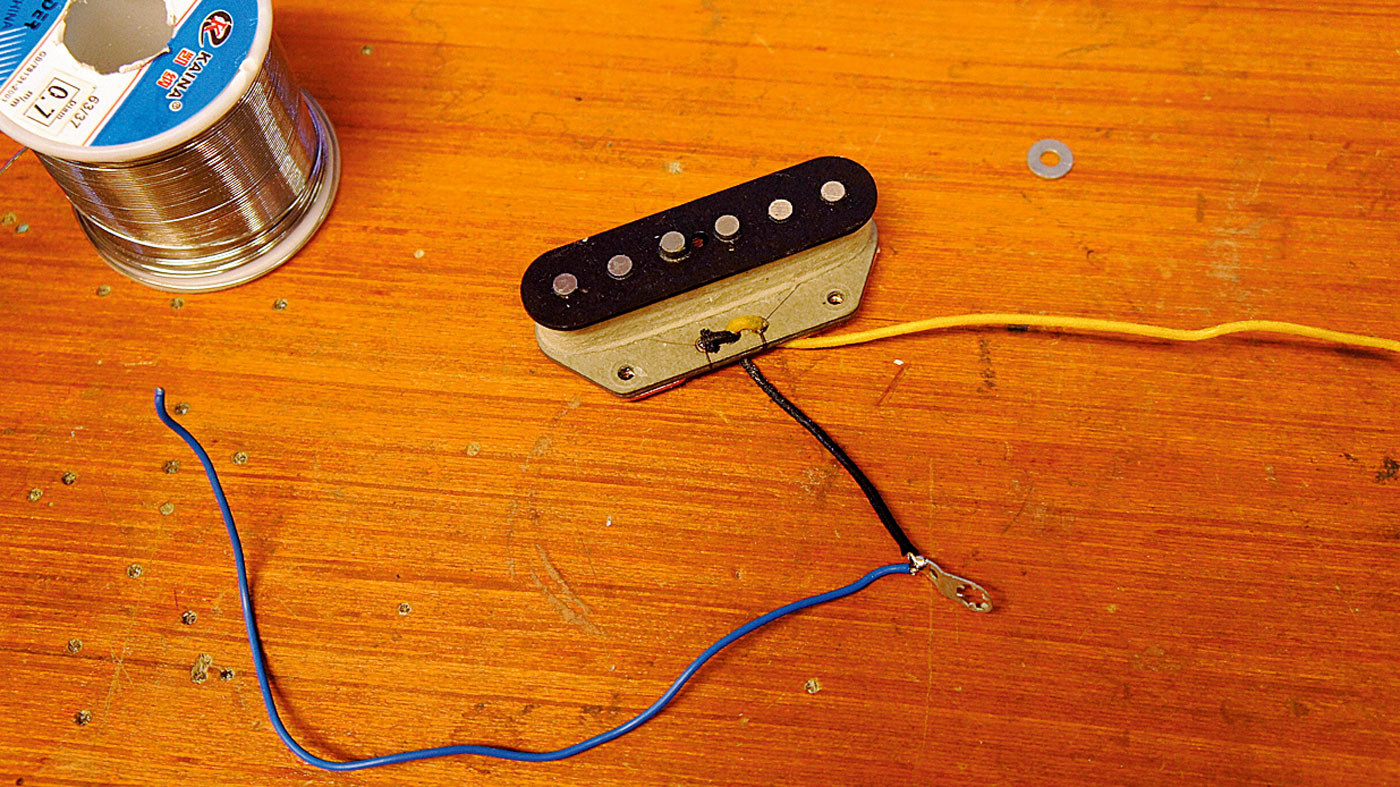
Some Teles have an extra wire trapped under the chrome bridge - this is the ‘bridge ground’ wire and is connected to earth.
The old lead pickup had a plastic base plate, which needed the solder tag to join the earth wire to the bridge. If you are putting in another pickup with a plastic base, replace this solder tag.
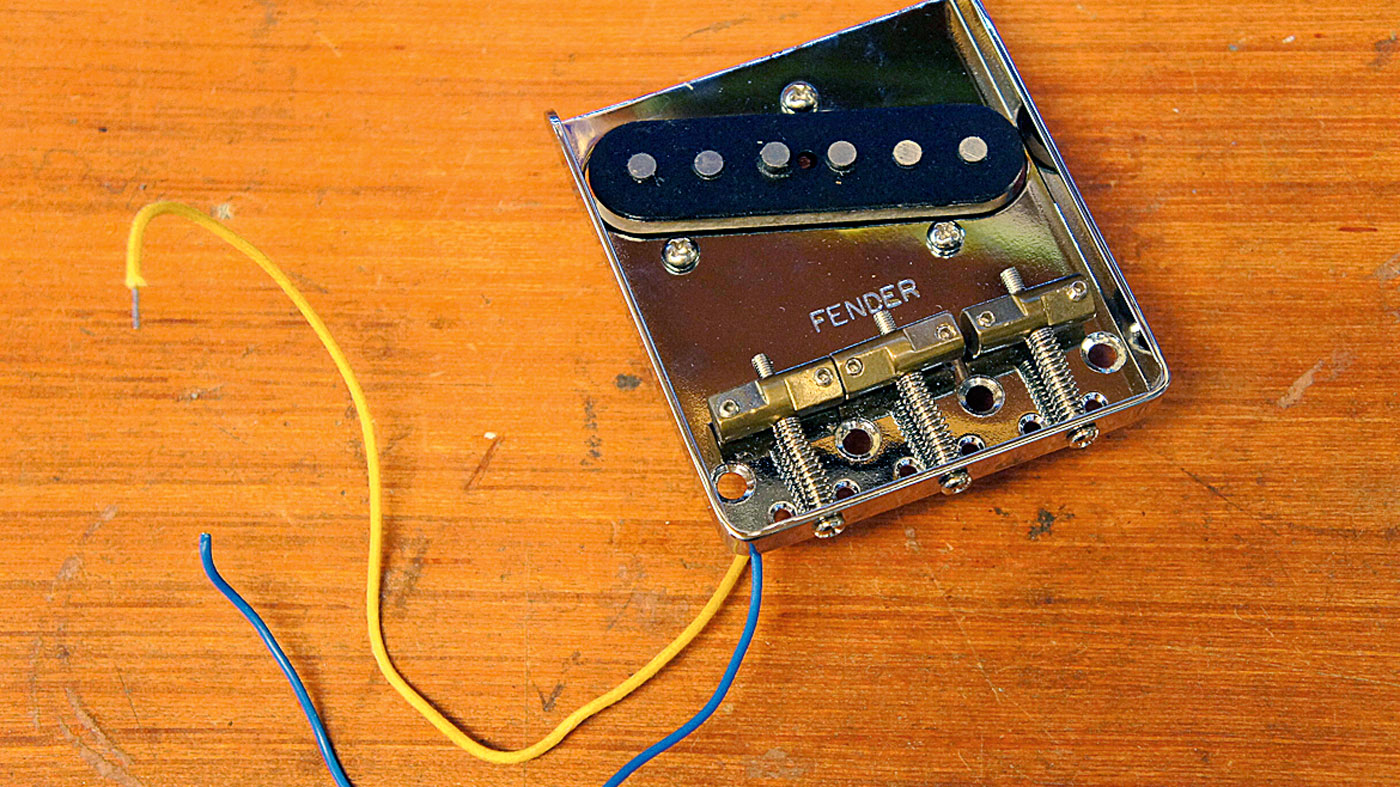
If you need the solder tag, the order for the parts is: bolt > bridge > solder tag > rubber/spring > pickup.
Make sure that the solder tag can’t spin and wreck your lovely new pickup. If you have a metal base plate on your new pickup there should be a small jumper wire connecting the ground wire already, so this is not needed!
Jack runs an independent guitar setup and guitar repair service in Manchester, England. He serves the musicians of the Northwest of England, working on electric guitars, bass guitars, acoustic guitars and more. Jack has been writing the Fix Your Guitar column in Total Guitar Magazine since 2017.
