Getting started with Native Instruments Guitar Rig 6
Discover the new gear and sonic possibilities in Native Instruments’ one-stop shop for amp and pedal simulation
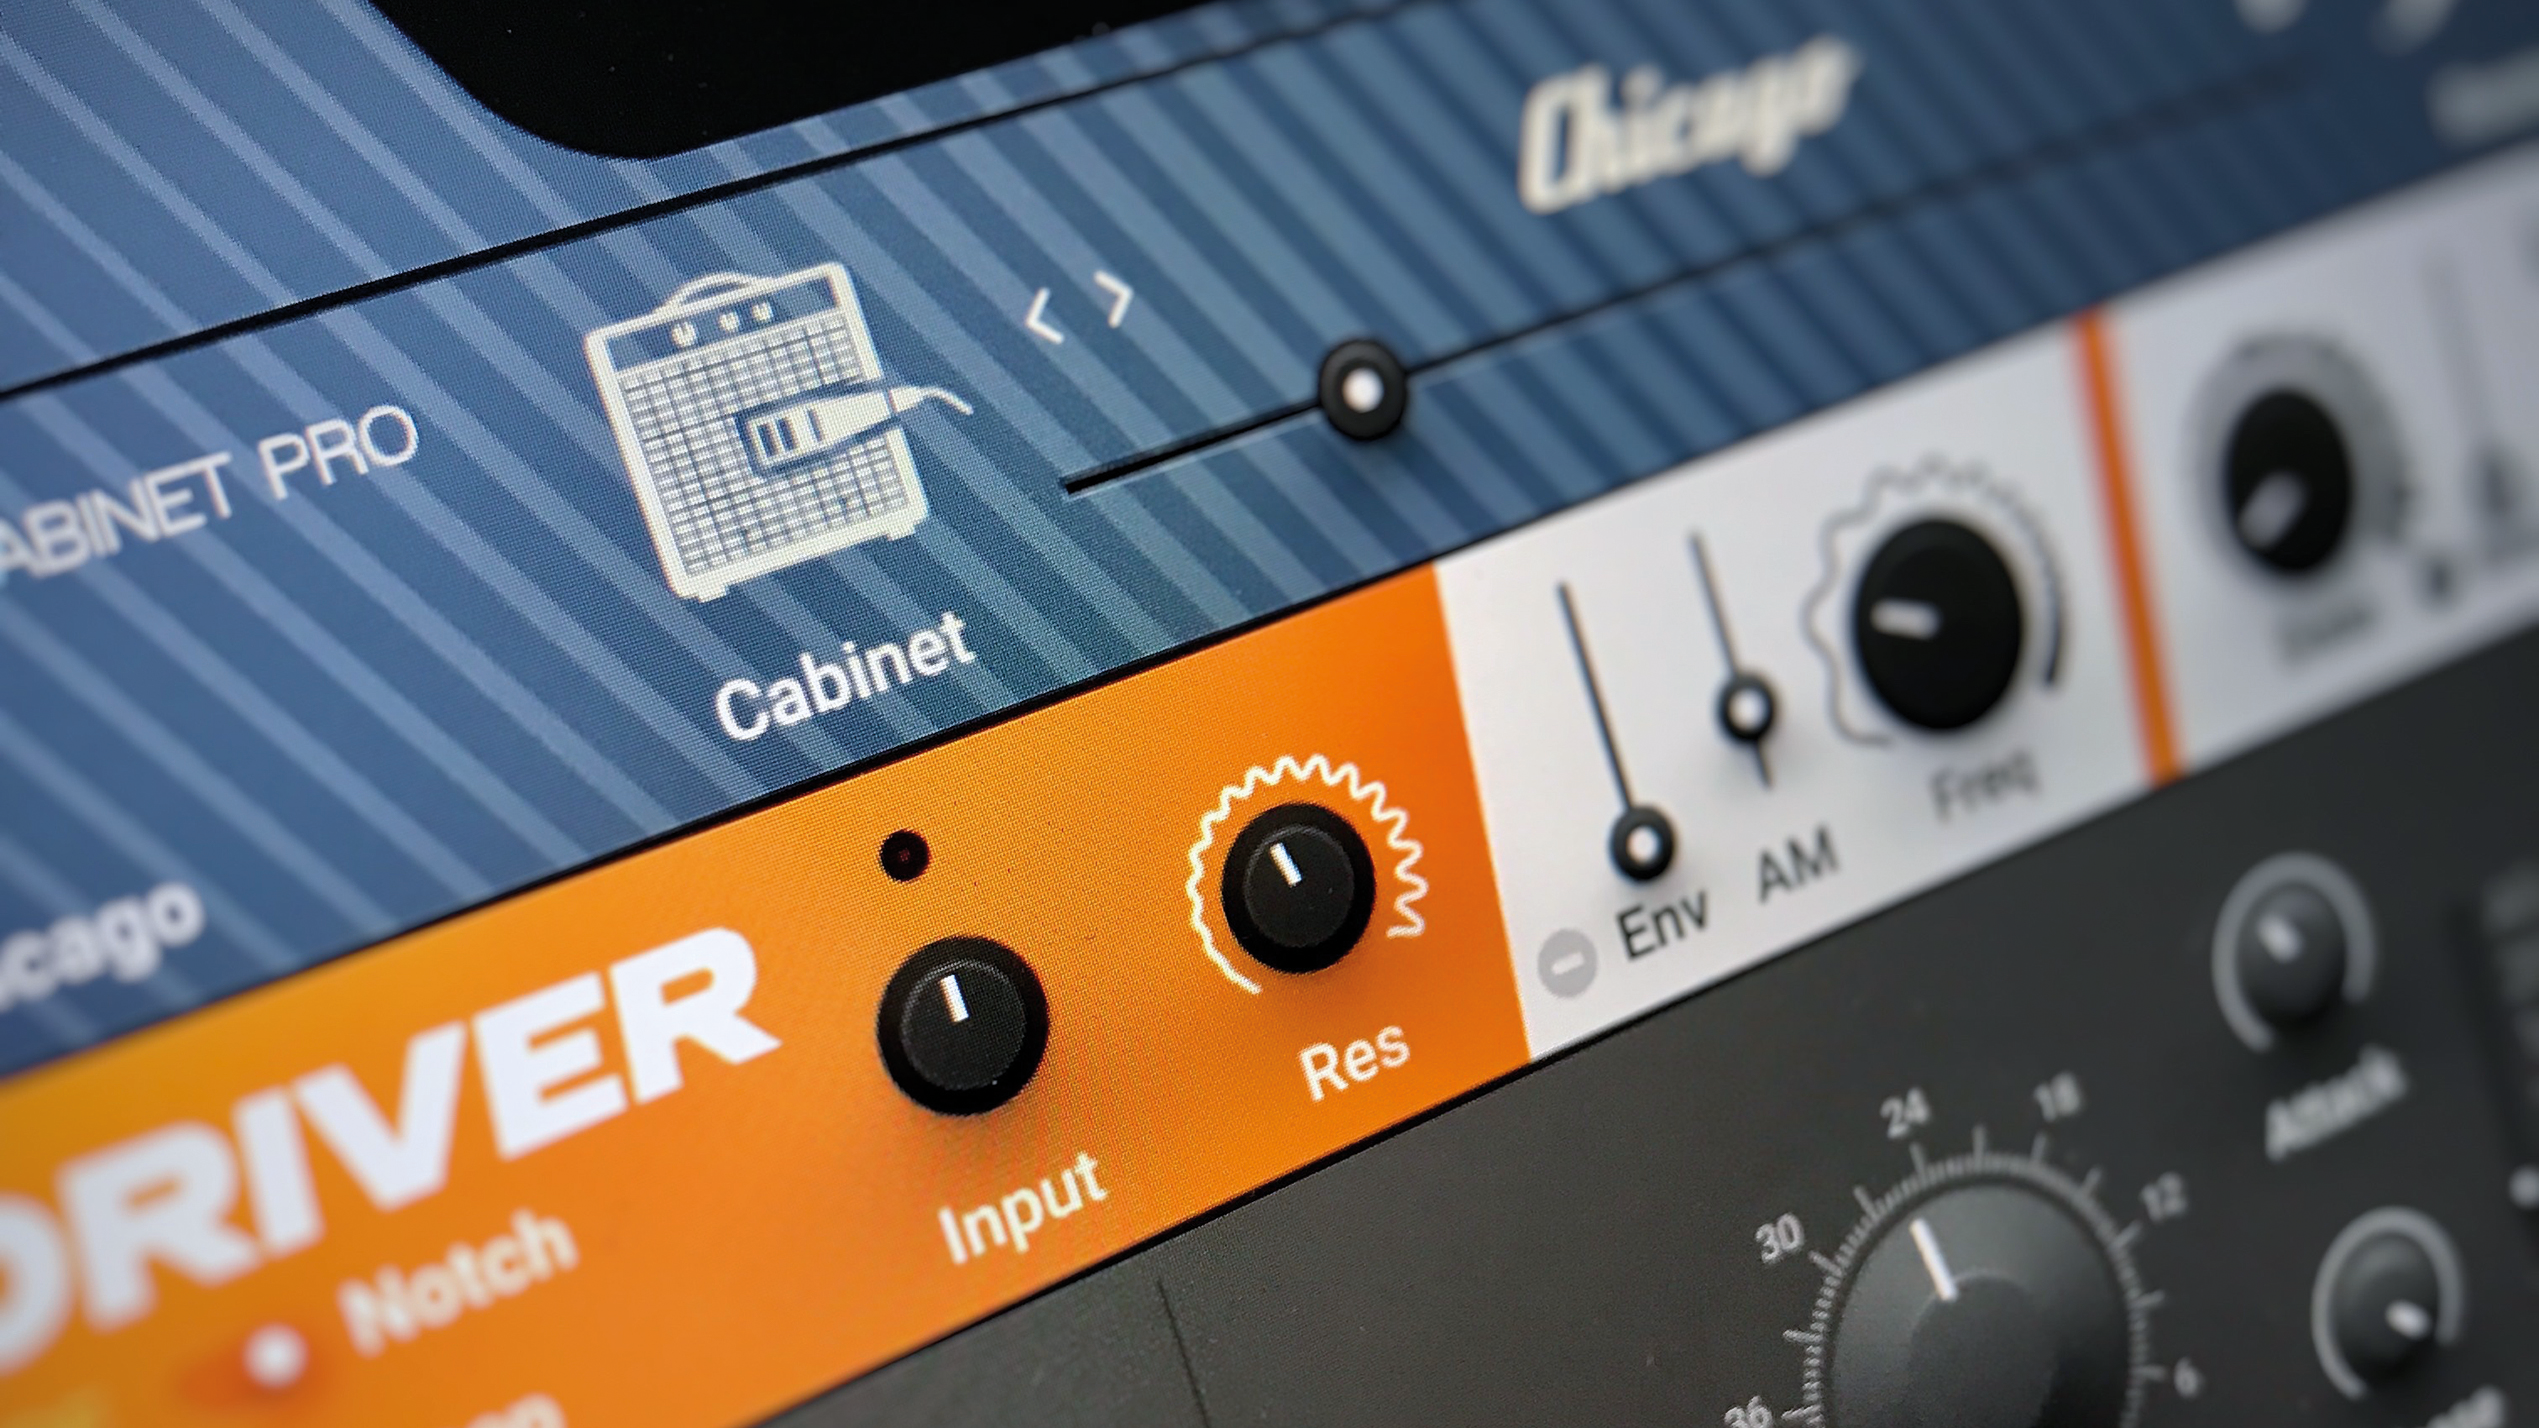
With the history of amplifiers spanning nearly 100 years, nowadays there are more ways to send an electrical signal from a guitar pickup rattling through a loudspeaker than you can shake a six-stringed stick at. Tube, solid state, modeling, hybrid; heads, cabinets, parallel or series – it’s enough to make your head melt.
For the average home producer, trying out every possible model and mode of amplification would be enough to make your wallet melt too, added to the cost of finding the right mic, preamp and room acoustics to record your sound faithfully. For these reasons and more, amp simulation has become a hugely popular part of production.
An amp simulator is a plugin that mimics the sound of a real-life hardware amplifier. With only a laptop, audio interface and amp simulator software, you can put anything with an output jack through its paces, whether you’re looking for smooth tube overdrive or a sparkly, clean, solid-state amp feel.
As you can imagine, any piece of software that manages to do this successfully could potentially save consumers a great deal of money and floor space, so it’s no surprise that audio tech companies have been trying to mine the idea for a number of years now.
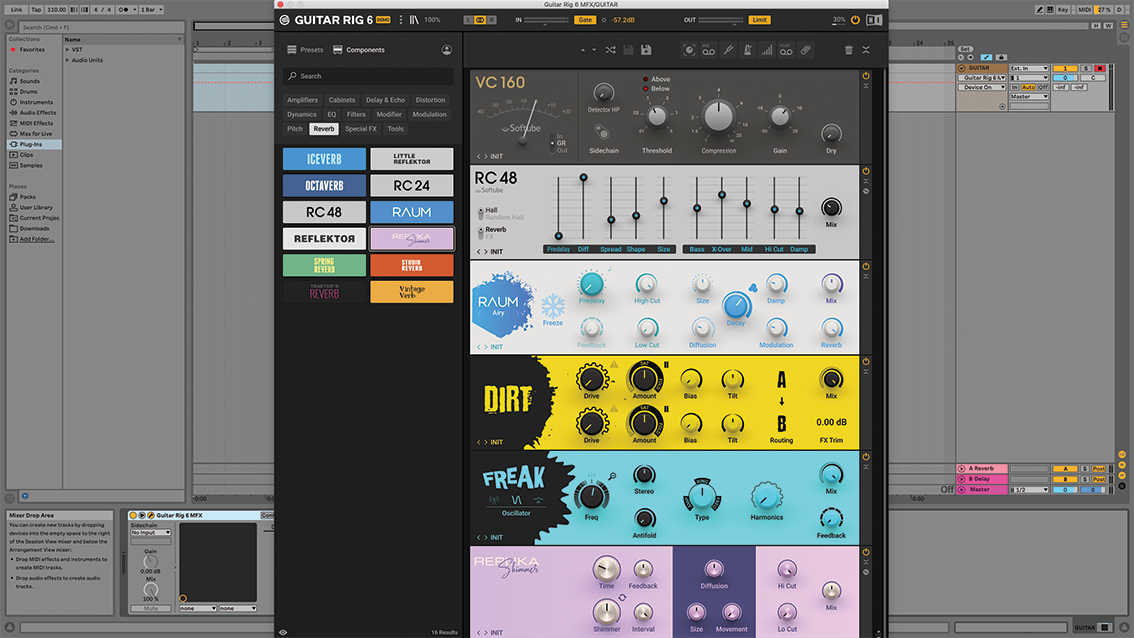
Native Instruments’ Guitar Rig was first introduced for both Mac and Windows in 2004 as a hardware and software hybrid. The program was simple, featuring only three tube amp emulations, but in the iterations since, the software has been refined to a huge extent.
Guitar Rig 5, released in 2011, quickly became a market leader in the amp-modeling game, and a go-to when it came to software-based multi-effects processing.
Sure, the user interface was a little clunky, but at the time of its release there was noone better at doing what it did, and it took a while for competitors to catch up. Catch up they did, however, and in the nine years since Guitar Rig 5 was released, it slowly became less relevant to guitarists and producers.
Get the MusicRadar Newsletter
Want all the hottest music and gear news, reviews, deals, features and more, direct to your inbox? Sign up here.
In 2021 though, Guitar Rig 6 is a slick, multi-faceted amp and effects modeling software package that brings NIs’ amp simulation software back to centre stage, and puts a whole host of creative possibilities at your fingertips. A plugin (also available as a standalone application) with this kind of multi-effects processing ability is far more than just the preserve of bedroom guitar players noodling into audio interfaces.
Guitar Rig 6 is a complete audio processing workstation, and it can function as a shop floor for all your audio tinkering, even if turning dry, DI guitar signals into stadium-ready amp tones is still its sweet spot. With a redesigned user interface, new amps, new effects, and new machine learning technology to model state-of-the-art hardware makes Native Instruments first major update to the software since 2011 an intriguing proposition.
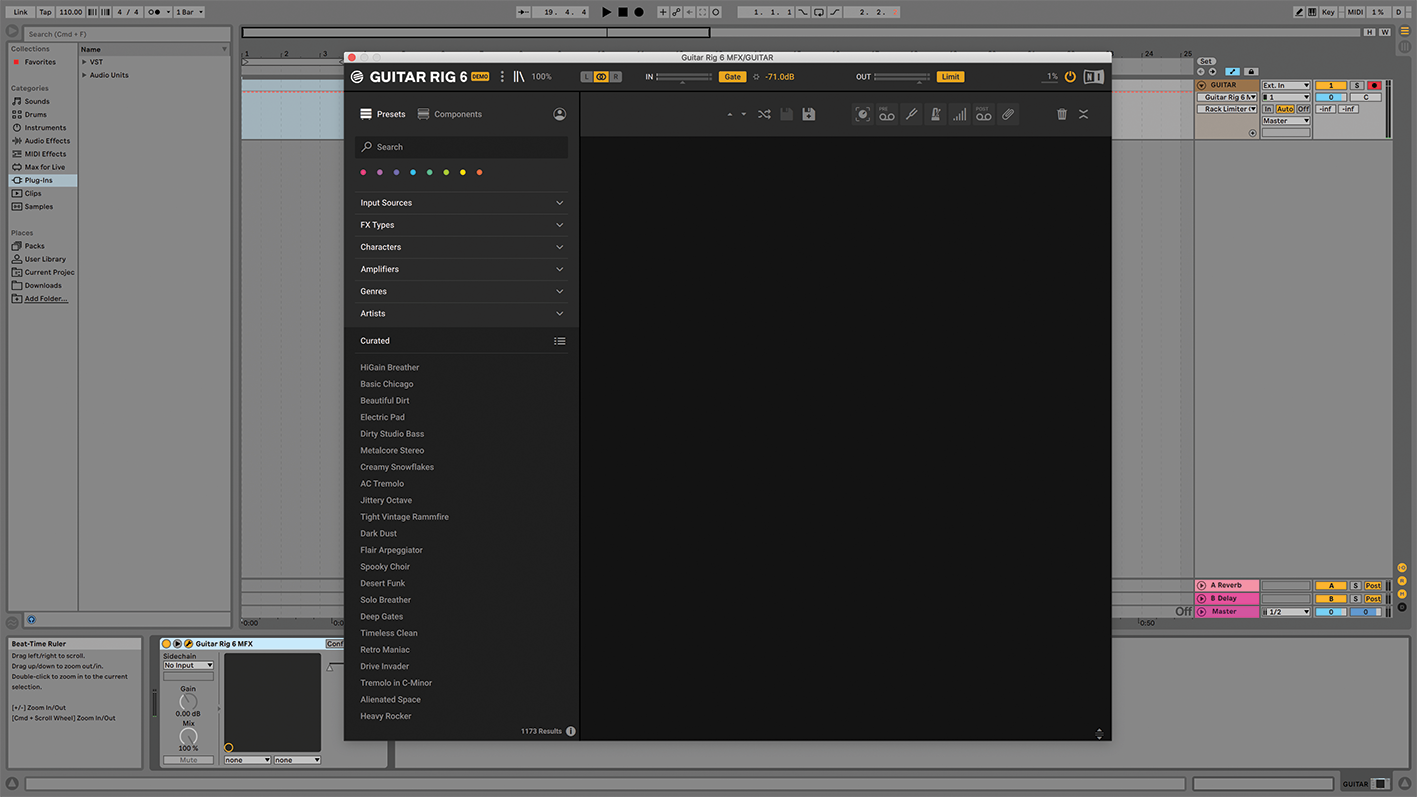
Step 1: Load Guitar Rig 6 onto an audio track in your DAW. At the top, choose either left, right or stereo as your input, and check your gain. There’s a Gate that can eliminate any noise below a threshold you set. The output level is shown to the right, alongside a Limiter.
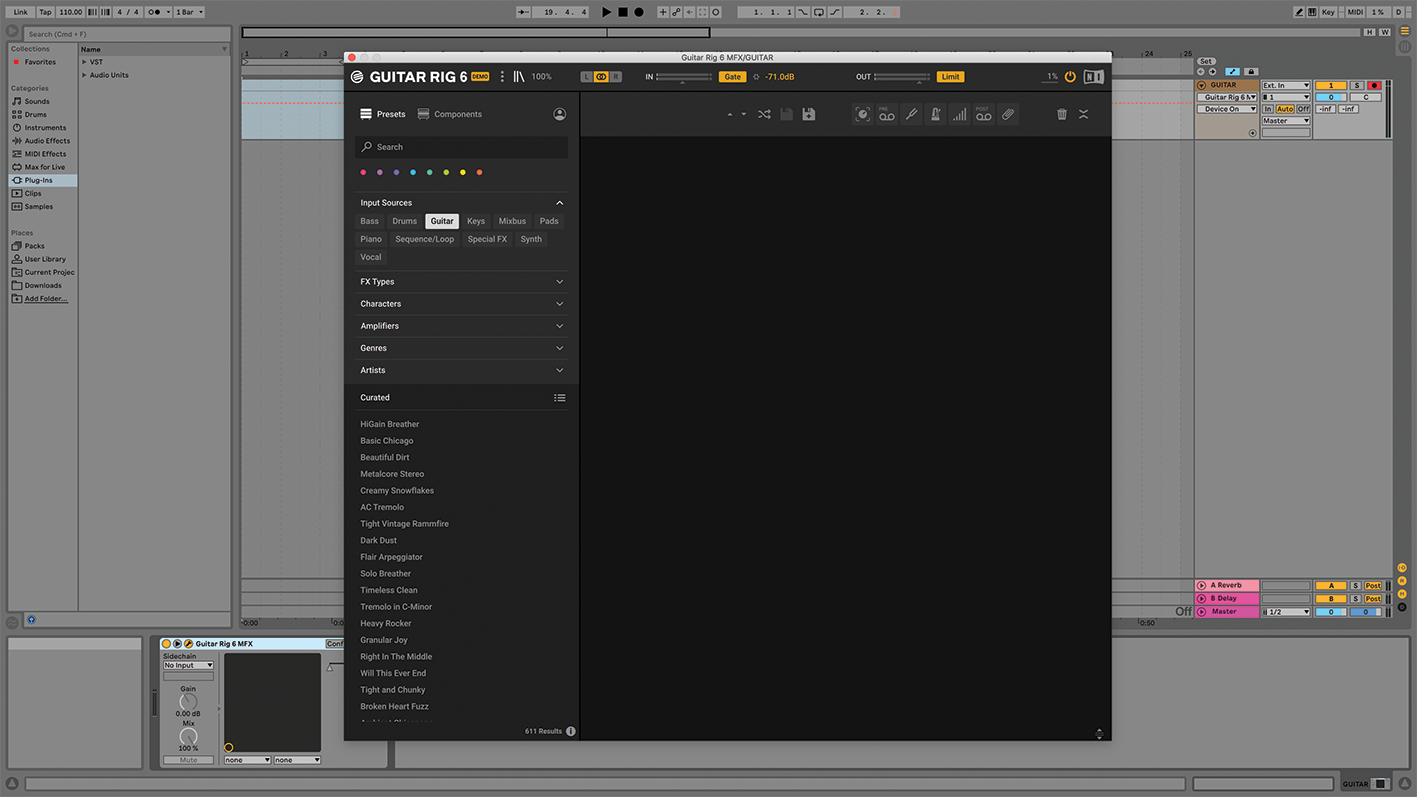
Step 2: Select an input source in the menu on the left of the display – we’re using a guitar – and browse through the Curated presets to hear a selection of sounds. Presets can be filtered by genre, character, effect type and more.
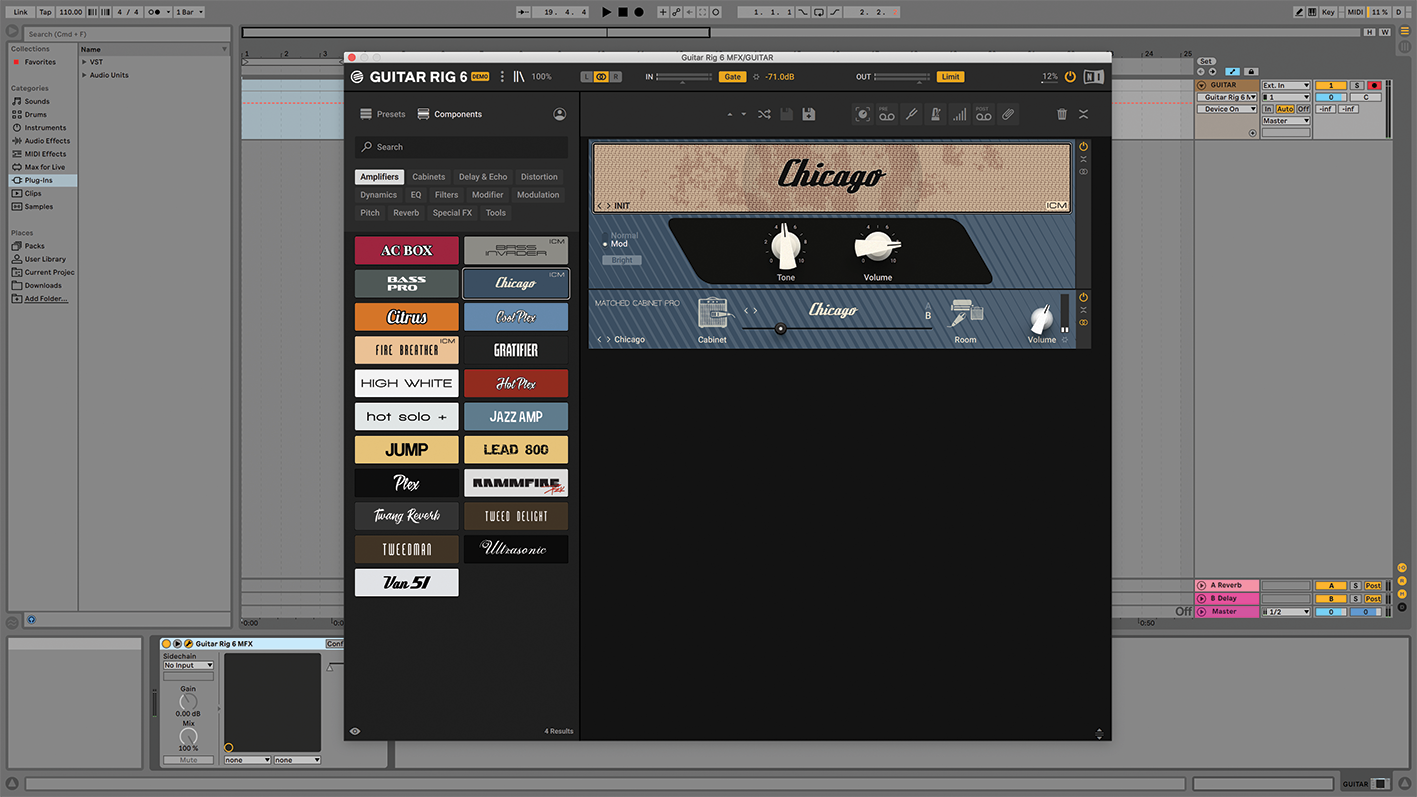
Step 3: Let’s build our own virtual rig. Switch to the Components menu and click Amplifiers. We’ll build a basic amp/cab setup using Chicago, a mid-’50s combo amp, new in v6. The amp is automatically matched with a cab, but can be changed.
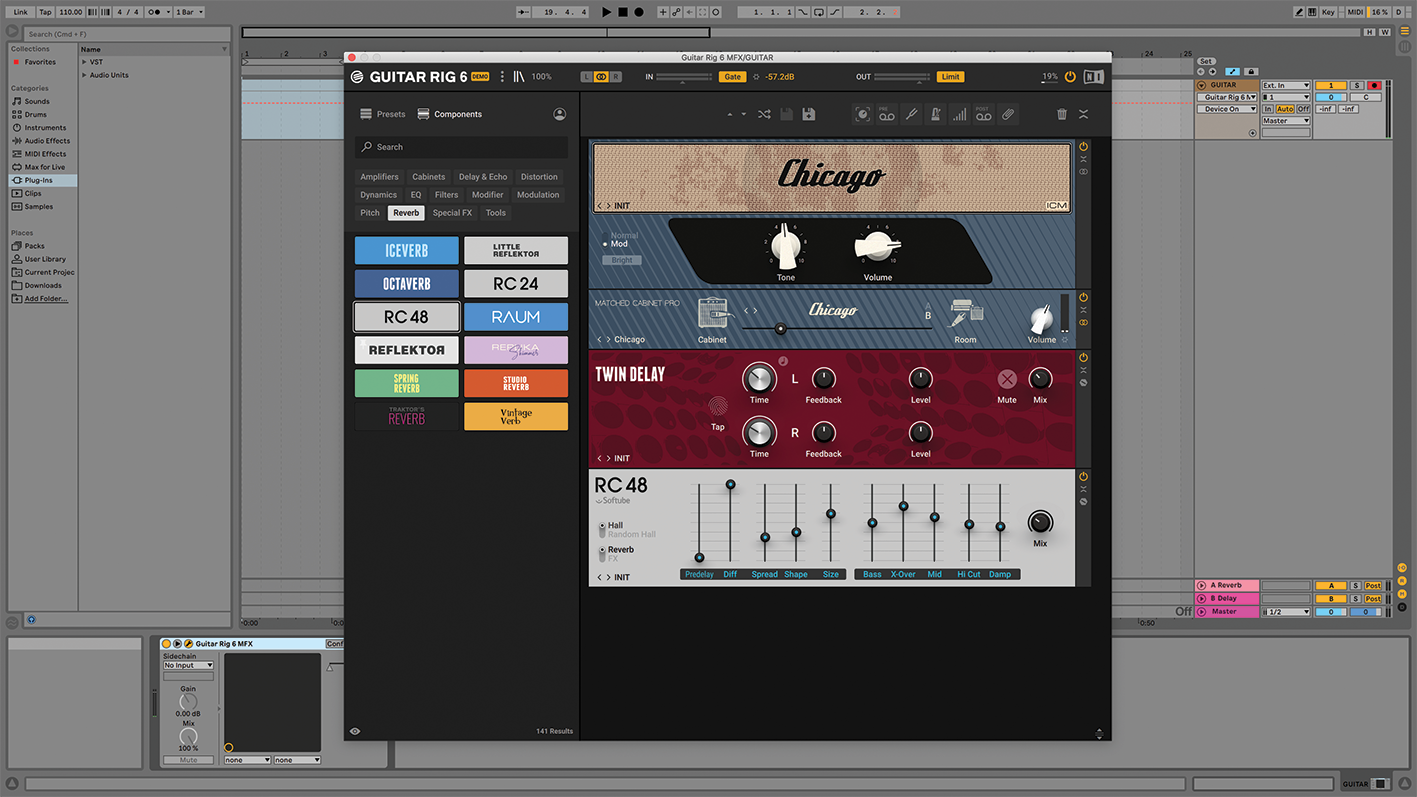
Step 4: Next, we can build an effects chain on our preset. Selecting any of the effects types displays a list of choices below. We’ll add Twin Delay and RC 48 Reverb. You may recognise the ‘48 from another NI plugin.
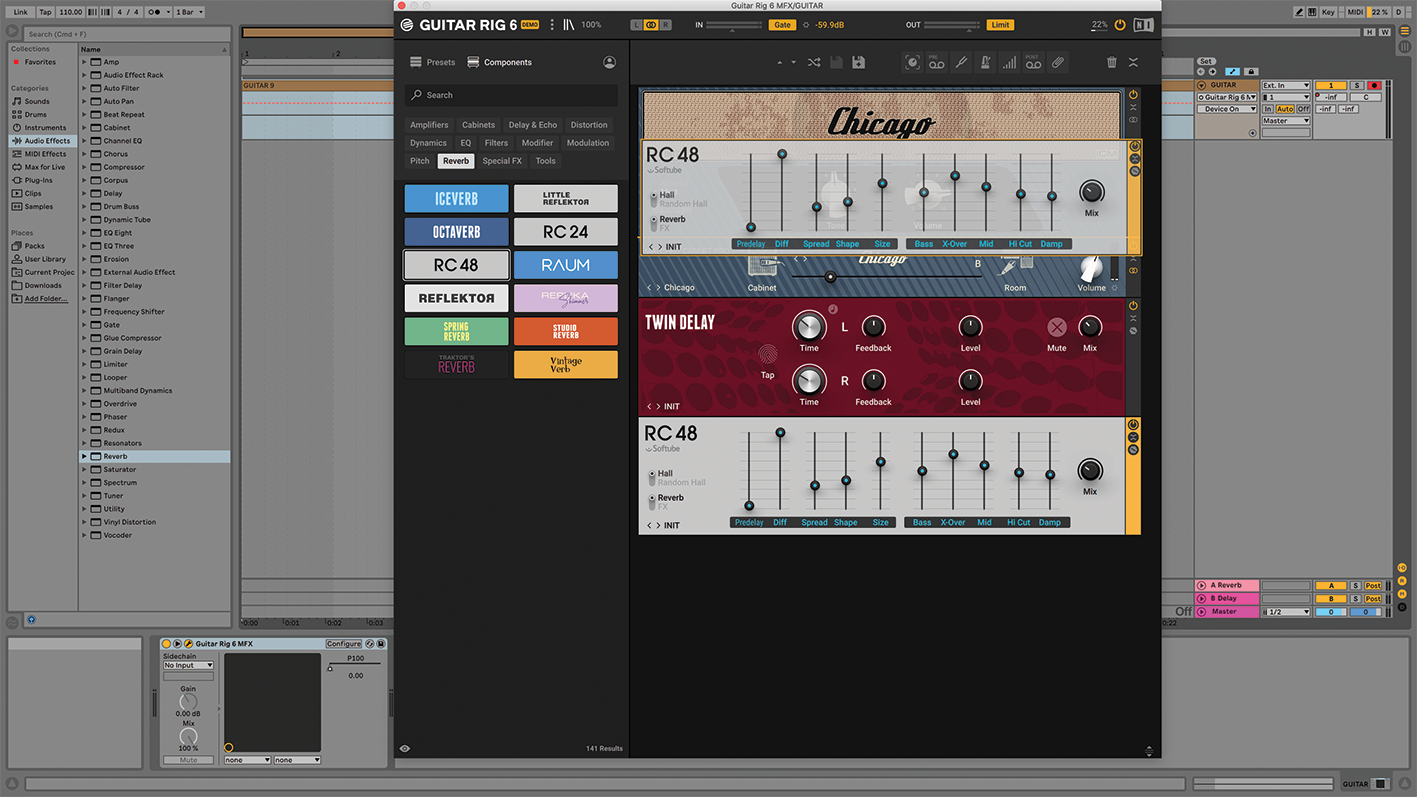
Step 5: The position of the components in the rack can be moved to change your signal flow (top to bottom). The order of the effects makes a big impact on the sound, and effects like delay and reverb are typically added after the amp in simulated rigs.
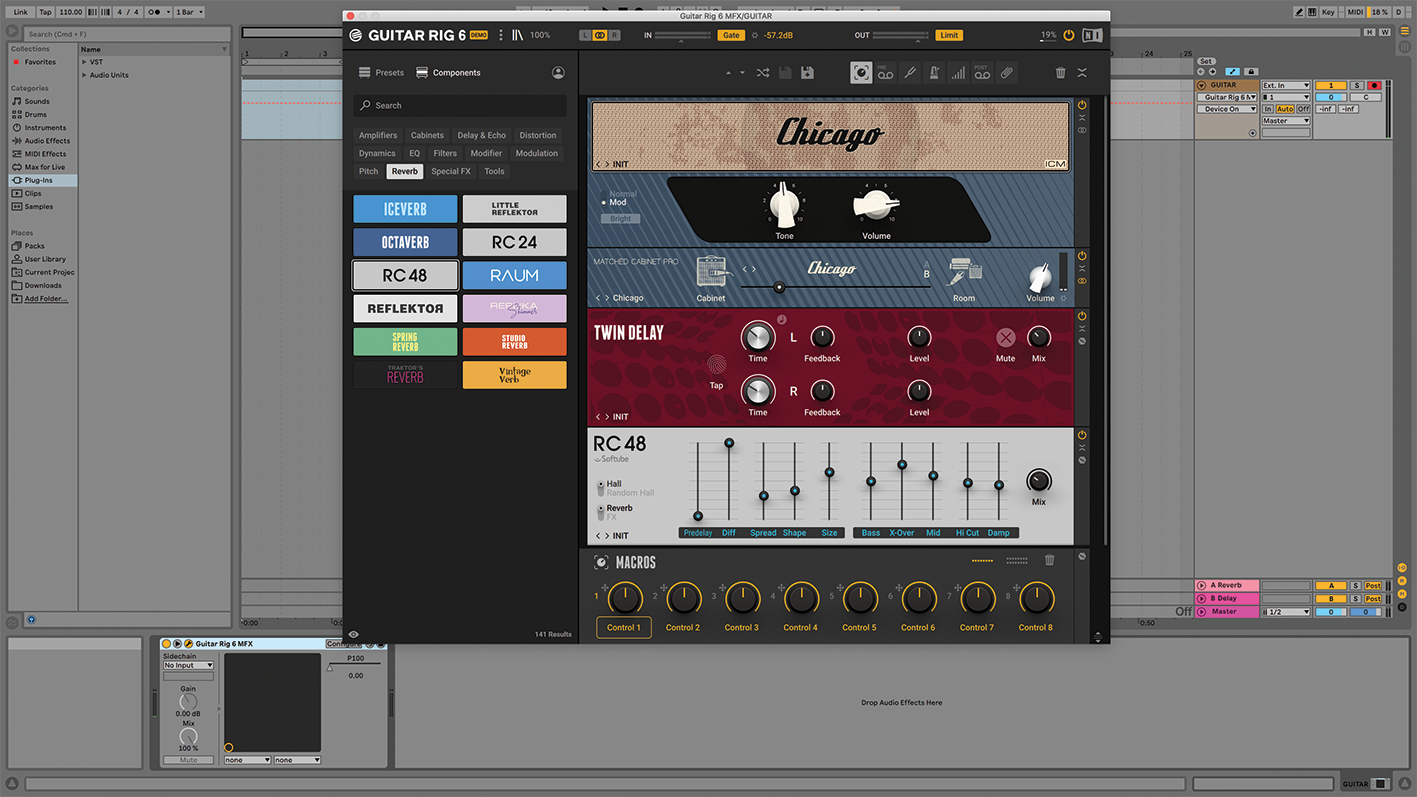
Step 6: In the toolbar you find rack tools, including macro controls. Macros provide global instructions that can be assigned to any parameter in the rack by dragging. This lets you automate multiple things at once, using a single knob.
Computer Music magazine is the world’s best selling publication dedicated solely to making great music with your Mac or PC computer. Each issue it brings its lucky readers the best in cutting-edge tutorials, need-to-know, expert software reviews and even all the tools you actually need to make great music today, courtesy of our legendary CM Plugin Suite.
“Its mission is simple: unleash the power of any amplifier or line-level source without compromise”: Two Notes promises a “watershed” in tube amp control with the Torpedo Reload II
MusicRadar deals of the week: Enjoy a mind-blowing $600 off a full-fat Gibson Les Paul, £500 off Kirk Hammett's Epiphone Greeny, and so much more


