How to get started with the free Eurorack simulator VCV Rack
Create your first patches with this free emulation
Not only is modular synthesis a lot of fun, it can present a whole new world of creative possibilities. However, that doesn't come cheap, with the price of a typical Eurorack set-up running into the thousands.
One way around this is to try out VCV Rack 2.0, a virtual Eurorack studio that brings the best of modular synthesis right into your DAW. Not only is it packed with sonic potential, it's also 100% free. Head over to VCV Rack's website to download the software and get patching in no time.
Step 1: There’s no better route to getting your head around the world of modular synthesis, than by downloading and experimenting with the free VCV Rack. Visit their website to grab it for free.
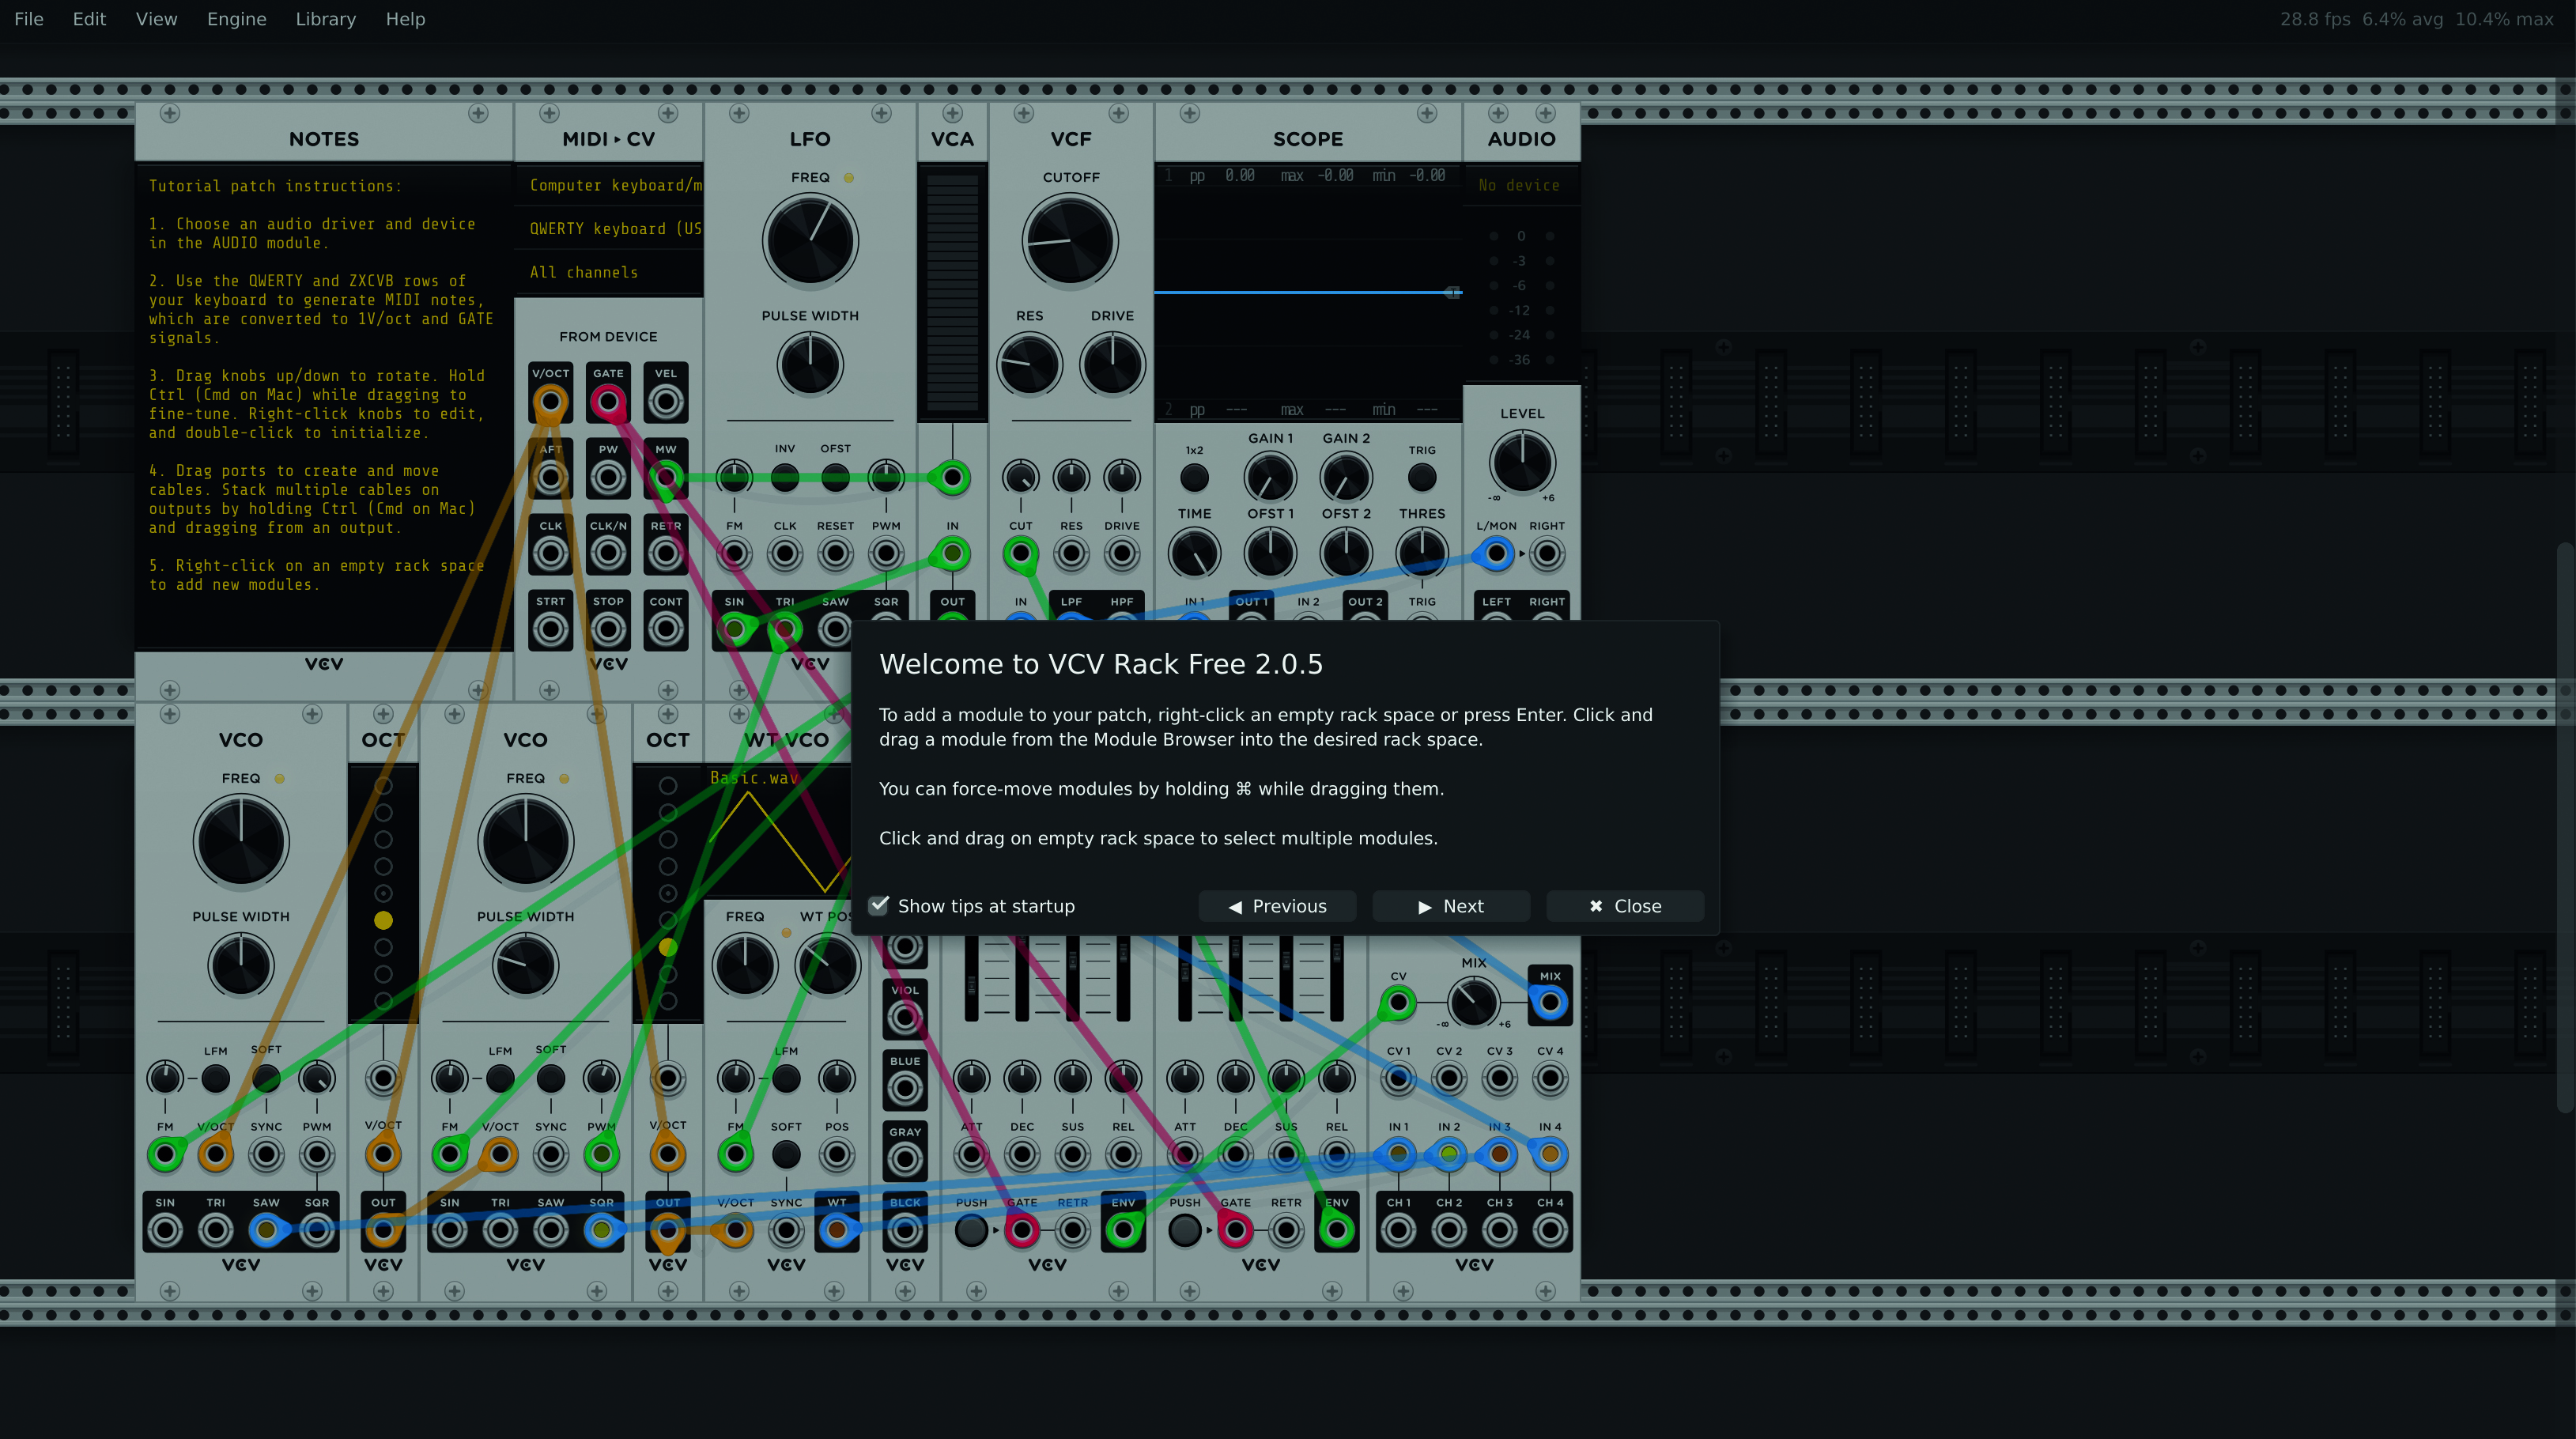
Step 2: VCV Rack runs as a self-contained piece of software. You’ll notice that a basic arrangement of virtual modules has already been predetermined.
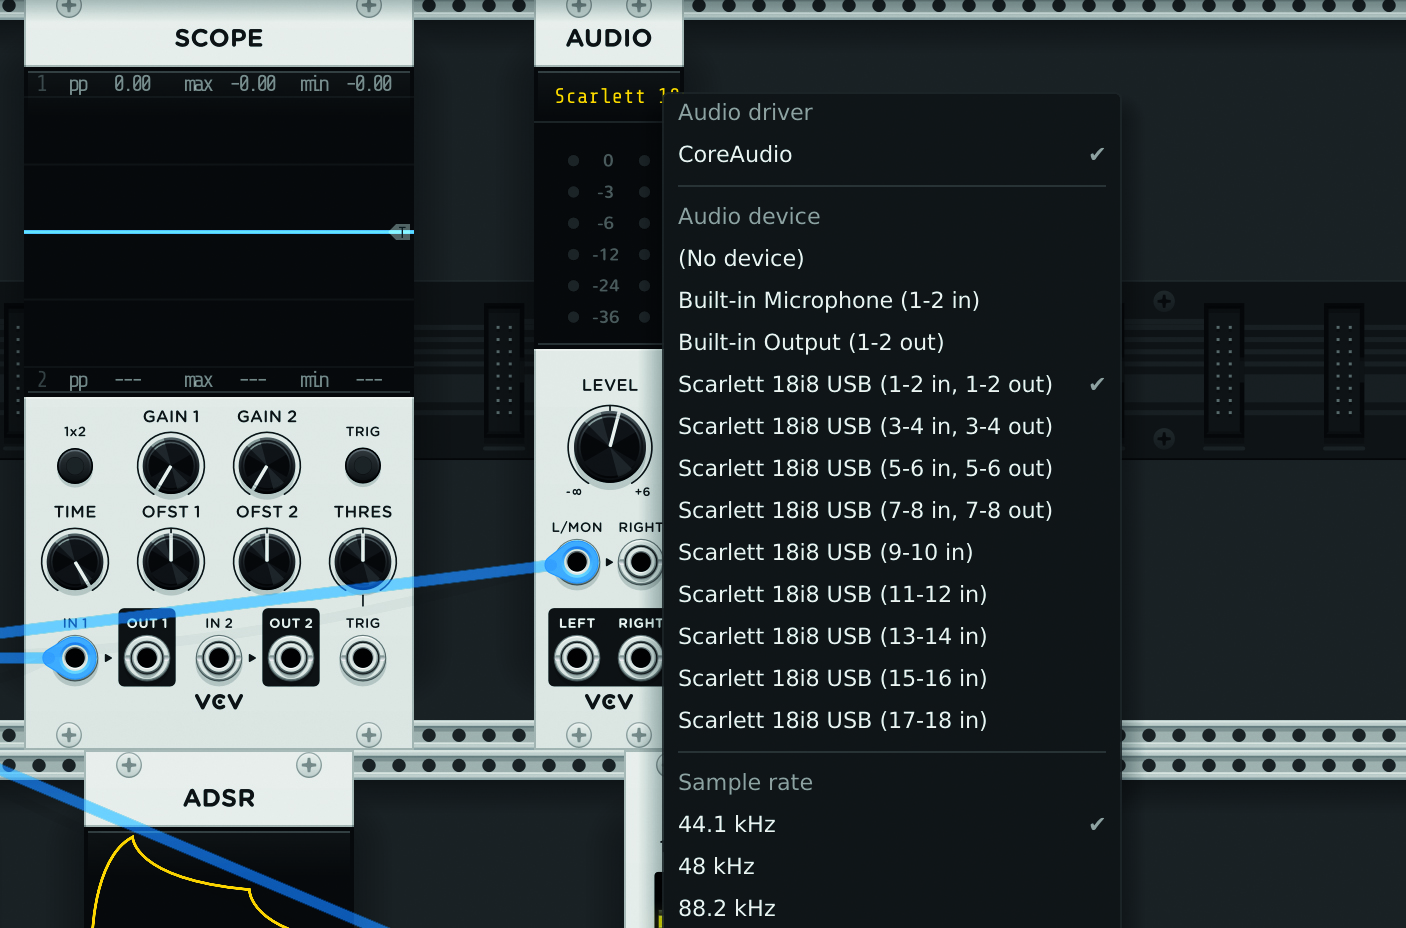
Step 3: In the ‘Audio’ Module, select your audio interface. Once done, you’ll see that your inputs/outputs correspond to that of your interface. Generate MIDI notes by using the QWERTY keyboard.
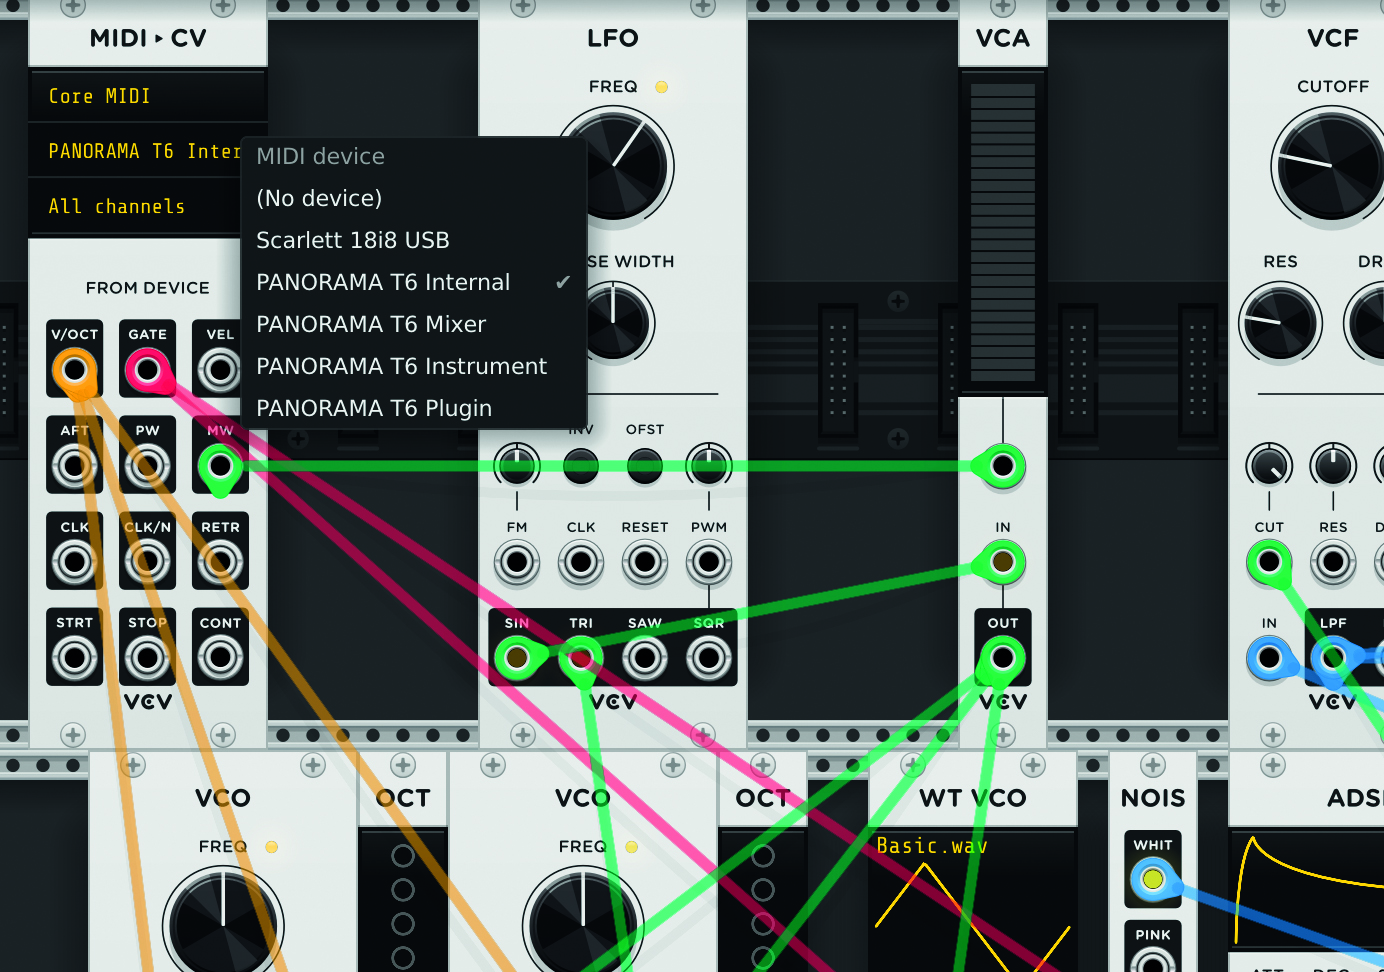
Step 4: But we want to use our actual keyboard, right? Find it by scrolling through the Core MIDI > Device List within the MIDI > CV module. Boom, we can now operate VCV Rack with our keyboard.

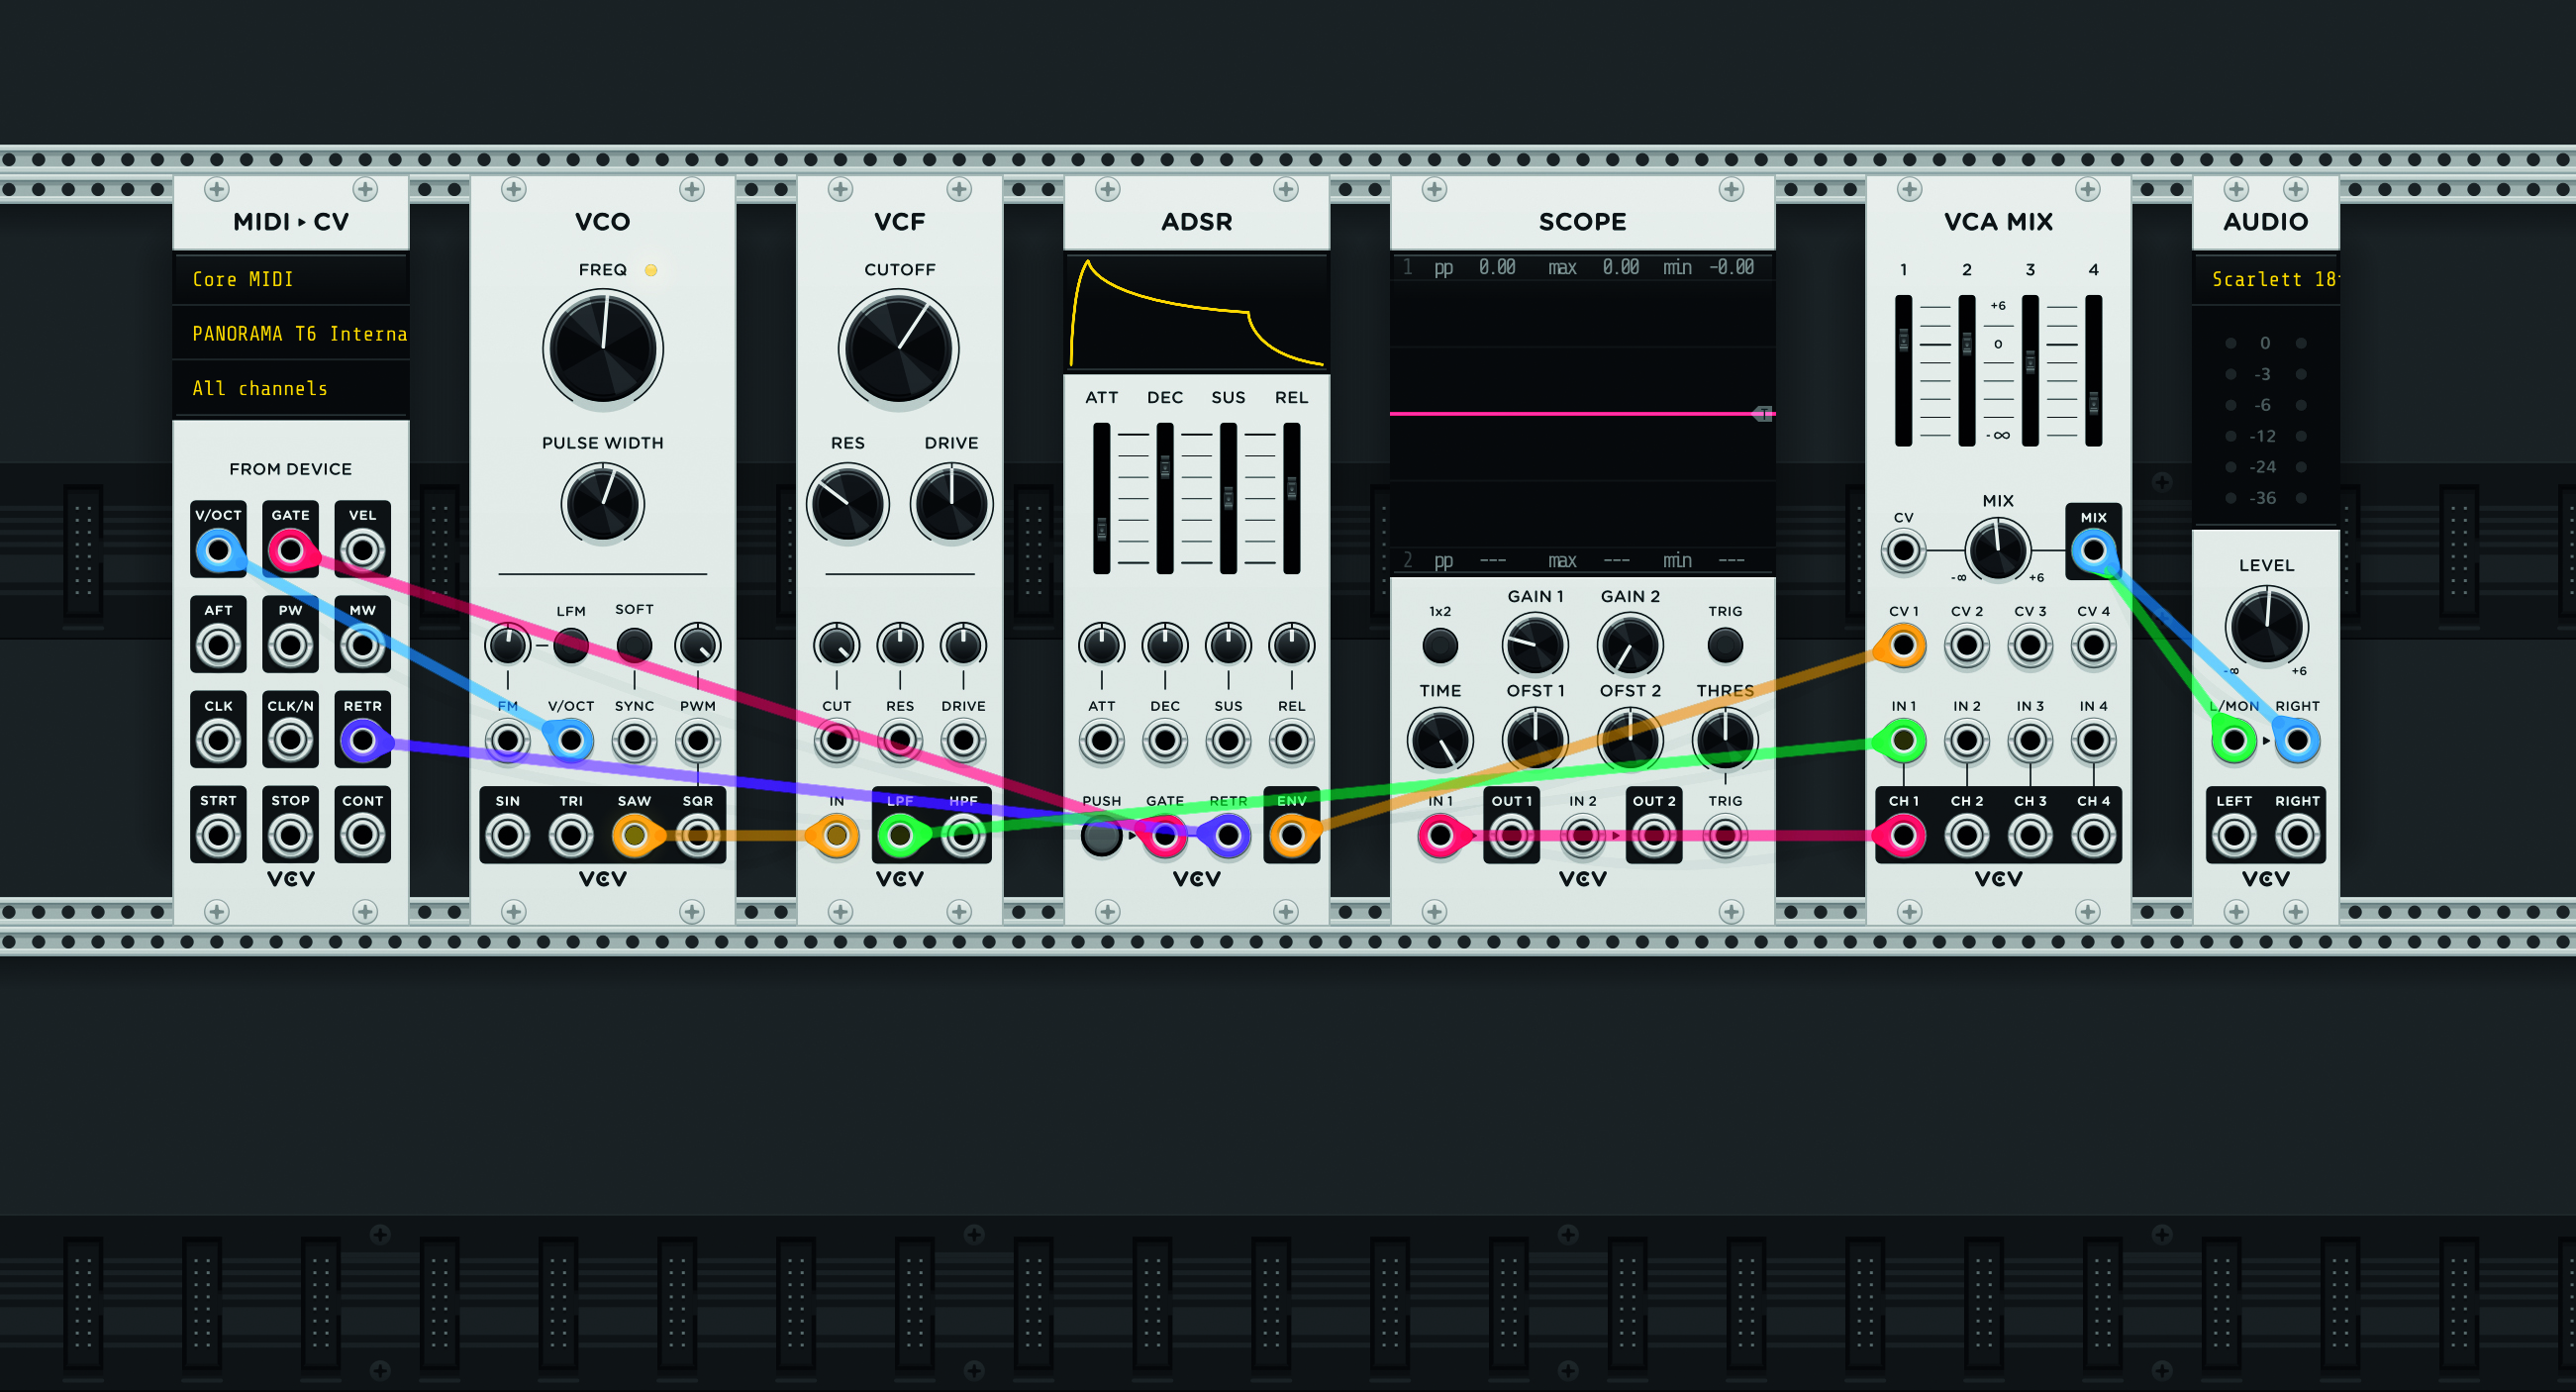
Step 5: While VCV Rack sets up a nice assortment of modules automatically, let’s rebuild it from the ground up. Lay out a basic selection of modules on one rack, as pictured (or in the following order) MIDI/CV - VCO - VCF - ADSR - SCOPE - VCA MIX - AUDIO.
Get the MusicRadar Newsletter
Want all the hottest music and gear news, reviews, deals, features and more, direct to your inbox? Sign up here.
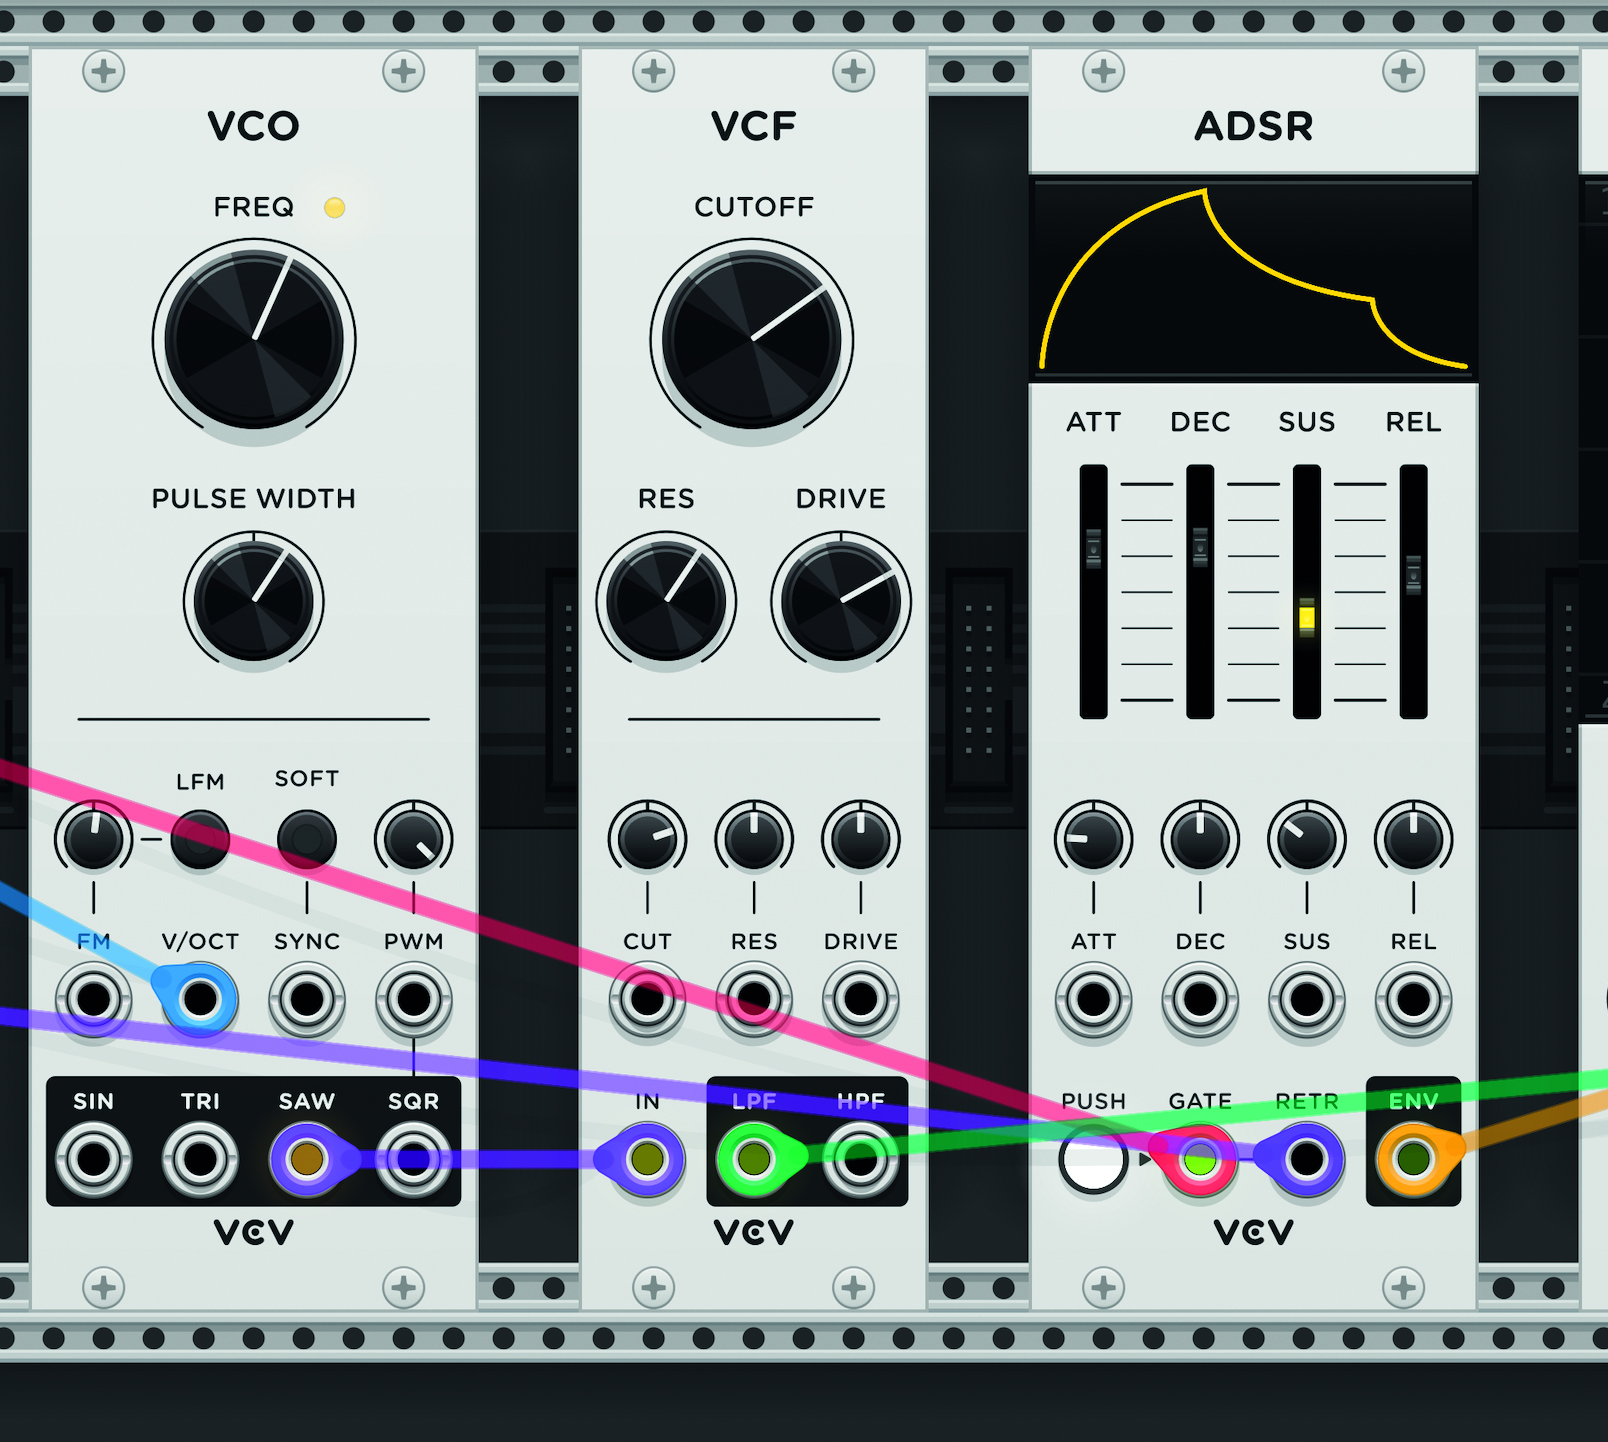
Step 6: Starting with the VCO, you can adjust pulse-width, frequency and select your source wave-form here. Drag your patch cables across from your waveform output to the corresponding input of the next unit in the chain.
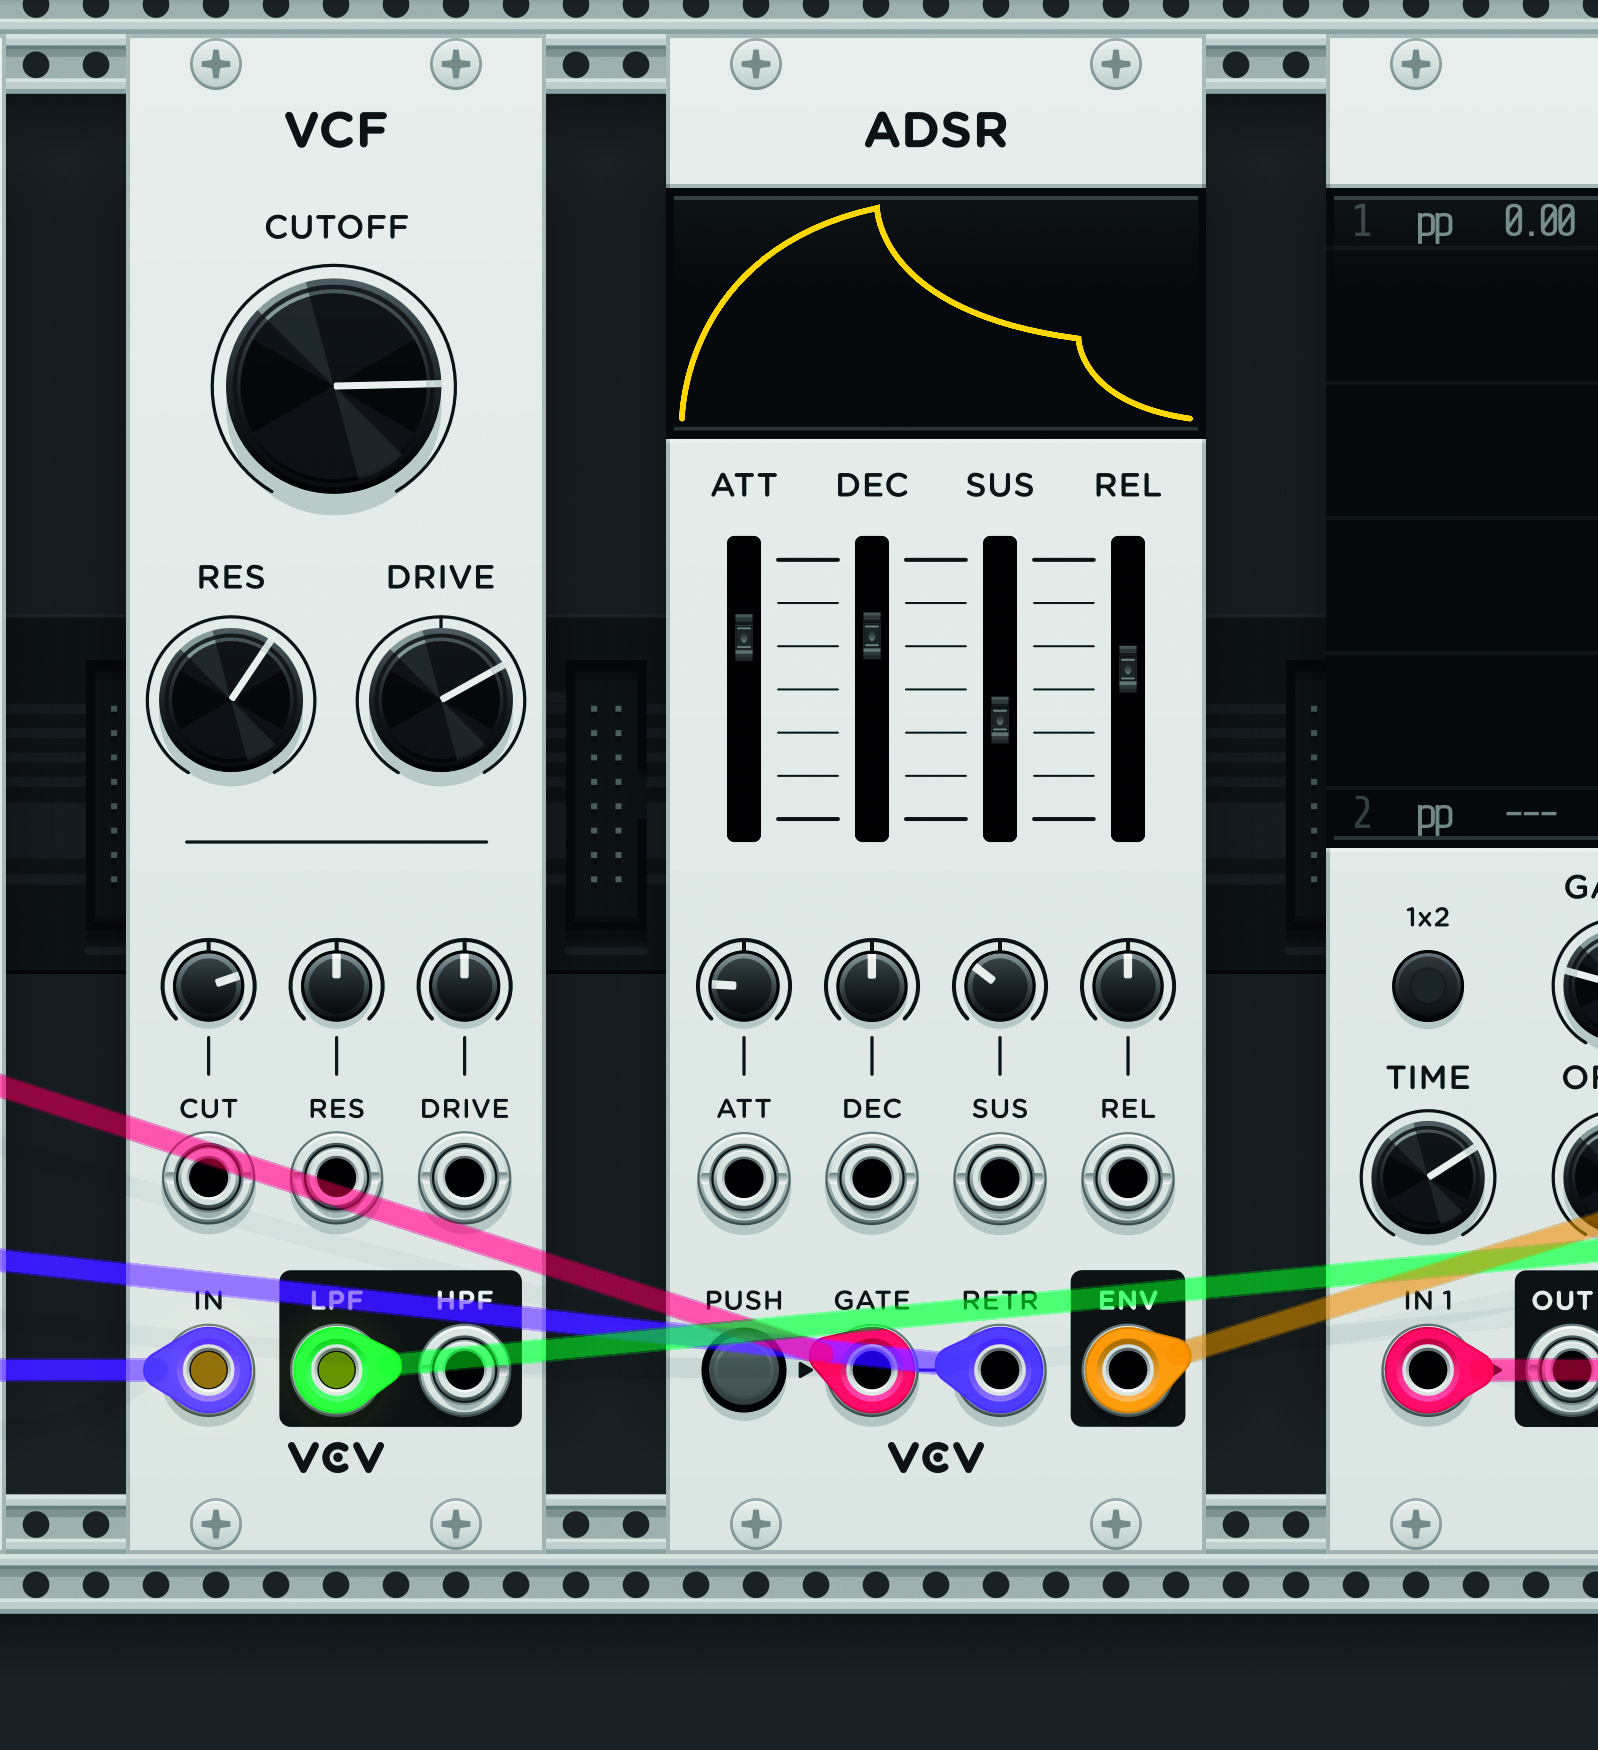
Step 7: The VCF module allows for the removal of certain frequencies, via its CutOff knob. This, in conjunction with your VCO’s Freq knob, lays at the heart of finding your first virtual modular sound.
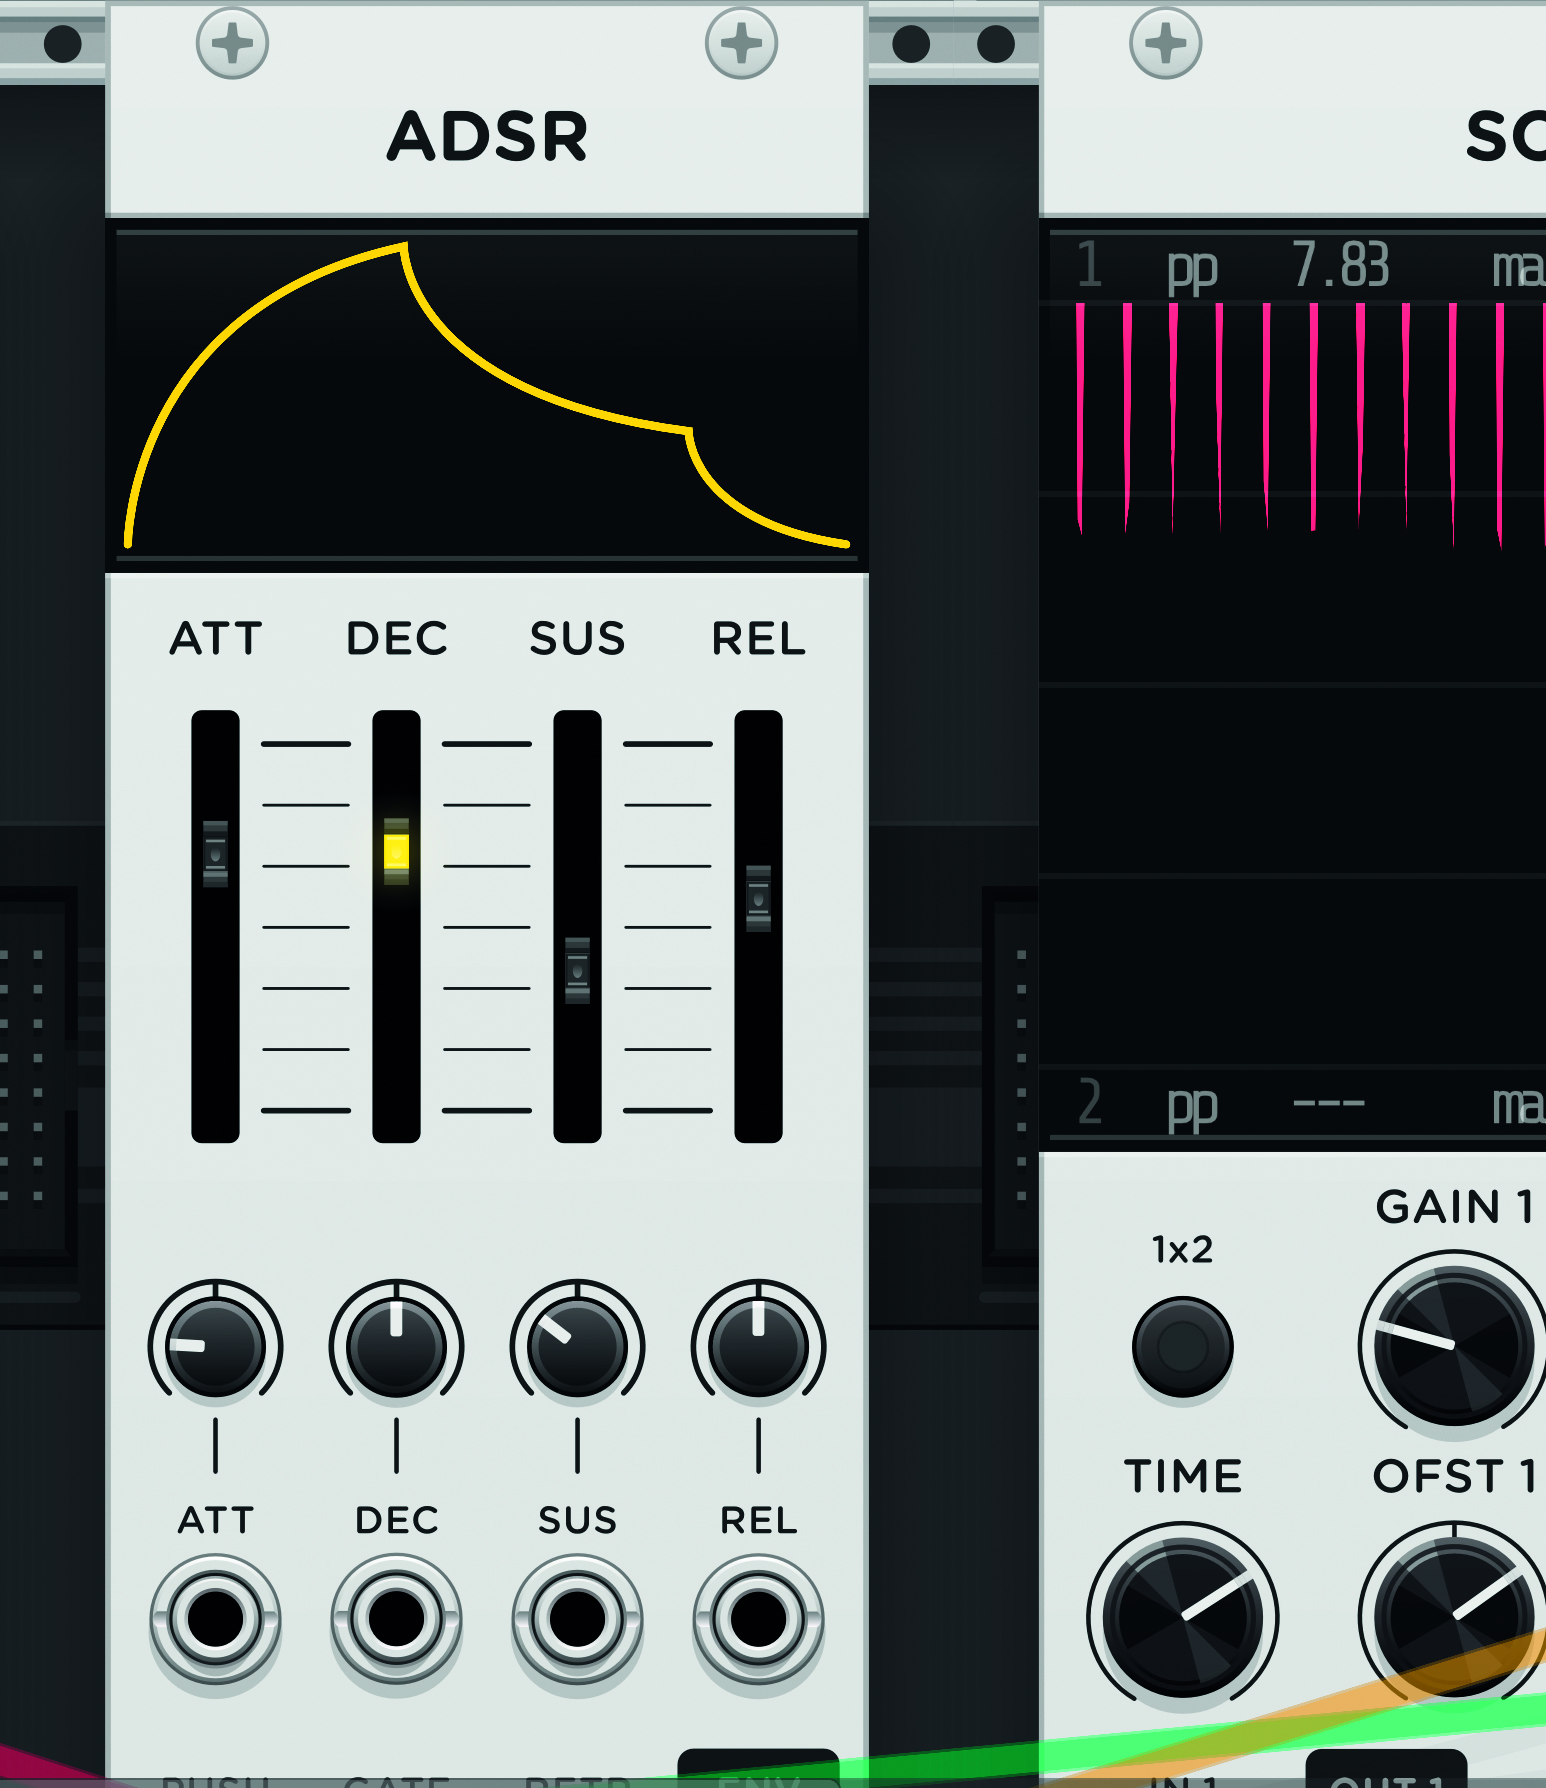
Step 8: Adjusting the ADSR module allows for fine-sculpting of the attack, delay, sustain and release of your developing sound. You should be sure to output gate and re-trigger control to here, too.
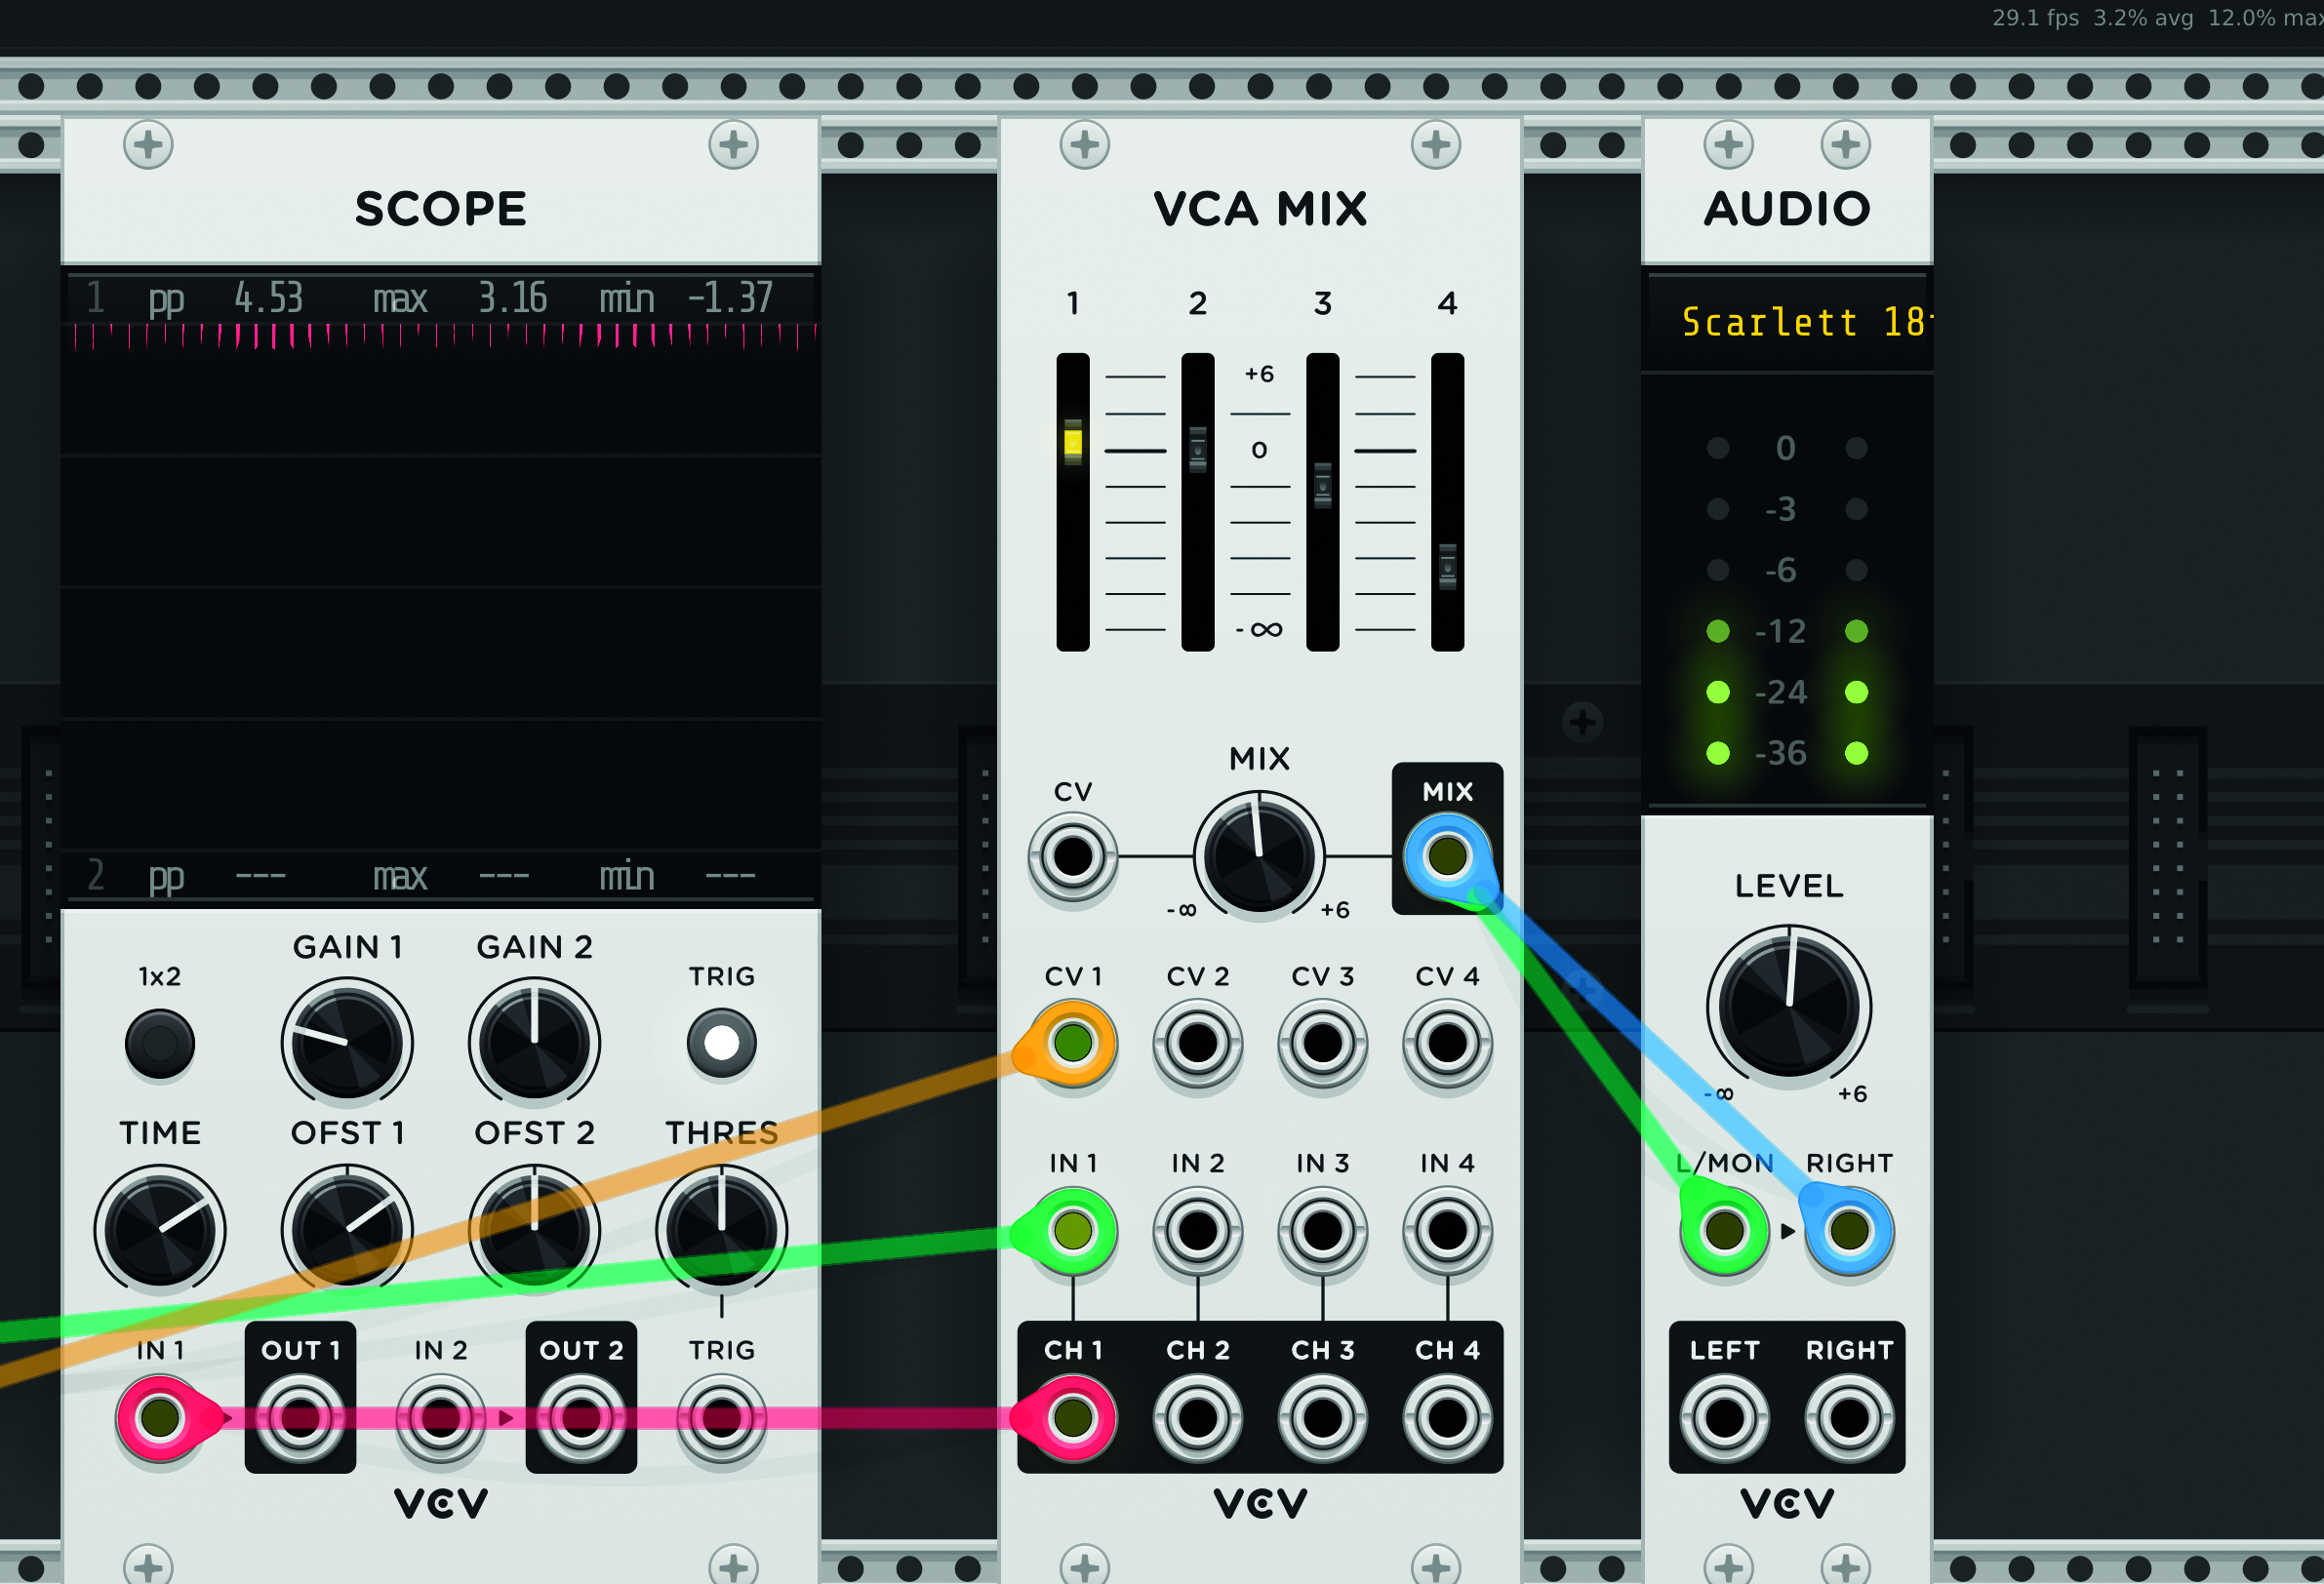
Step 9: At the end of the chain, you can manage output options with VCA Mix and Audio. Using this as a basic starting point, you can expand with a multitude of other modules and units to make your sound as fascinating as possible!
Computer Music magazine is the world’s best selling publication dedicated solely to making great music with your Mac or PC computer. Each issue it brings its lucky readers the best in cutting-edge tutorials, need-to-know, expert software reviews and even all the tools you actually need to make great music today, courtesy of our legendary CM Plugin Suite.

