Explainers: reverb parameters and how they work
Master your reverb plugin and hardware units with this glossary of terms
With our explainers, the aim is to deliver concise, explicit information on how to do specific recording/audio-related tasks. This instalment describes how various reverb parameters affect your sound.
Whether you're using outboard gear, guitar pedals or software plugins, this article will provide a glossary of the terms found in most reverb units.
Type
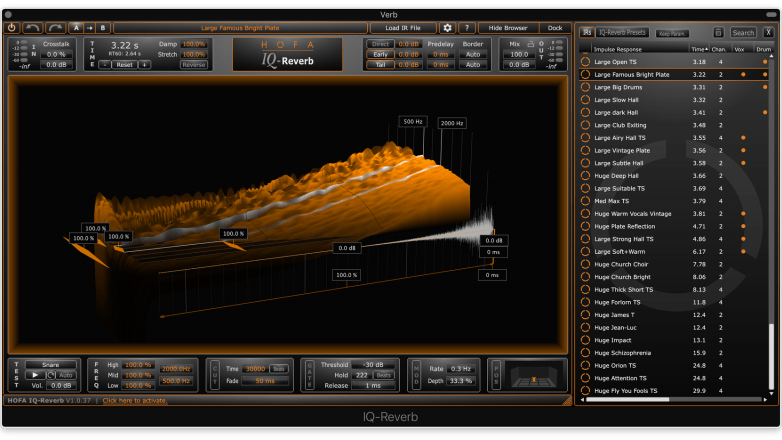
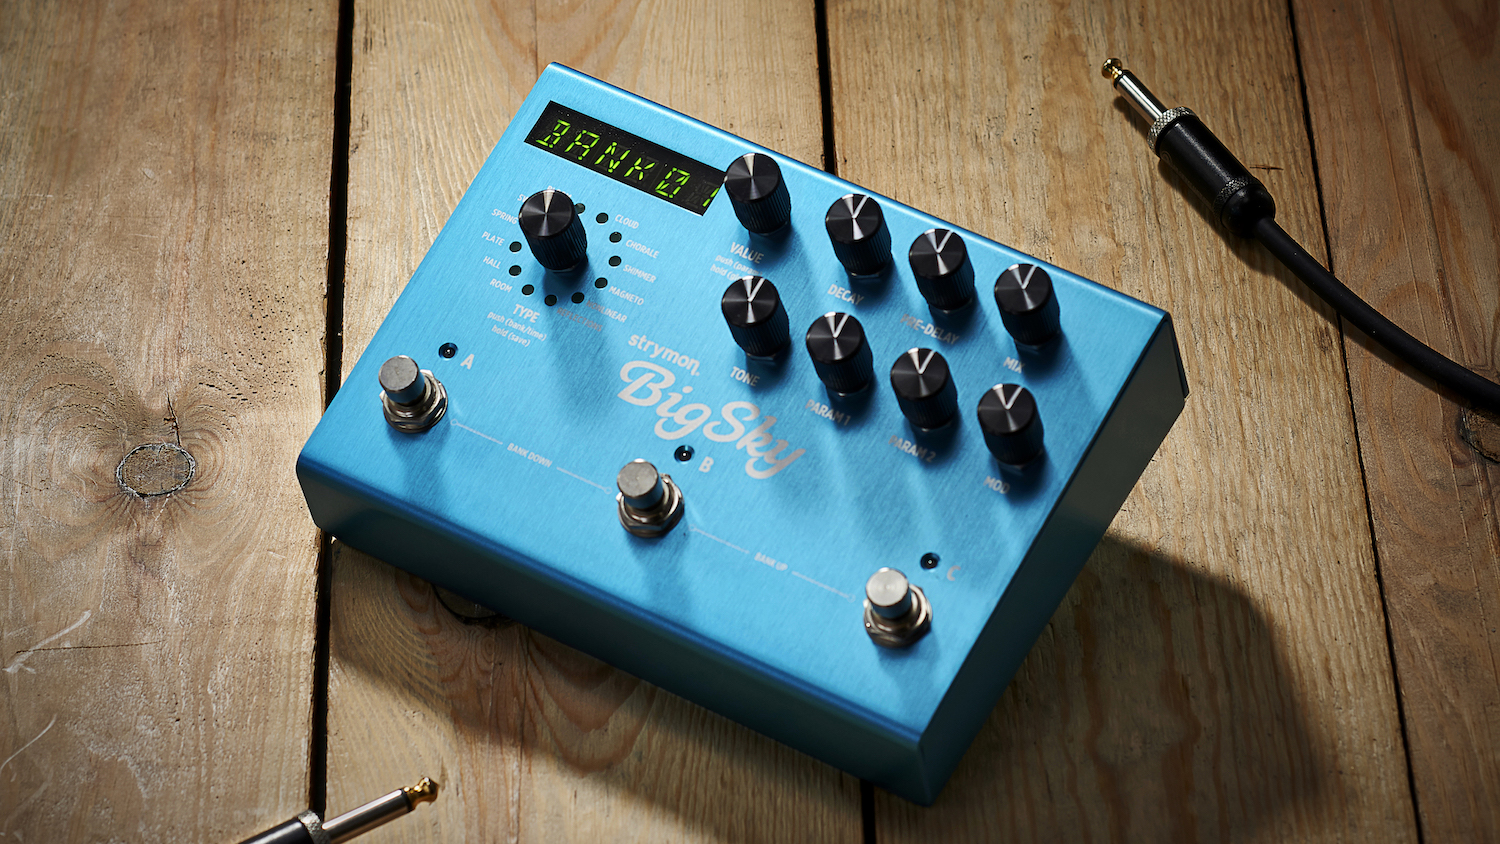
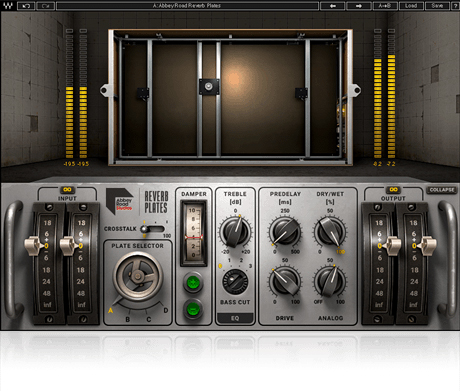
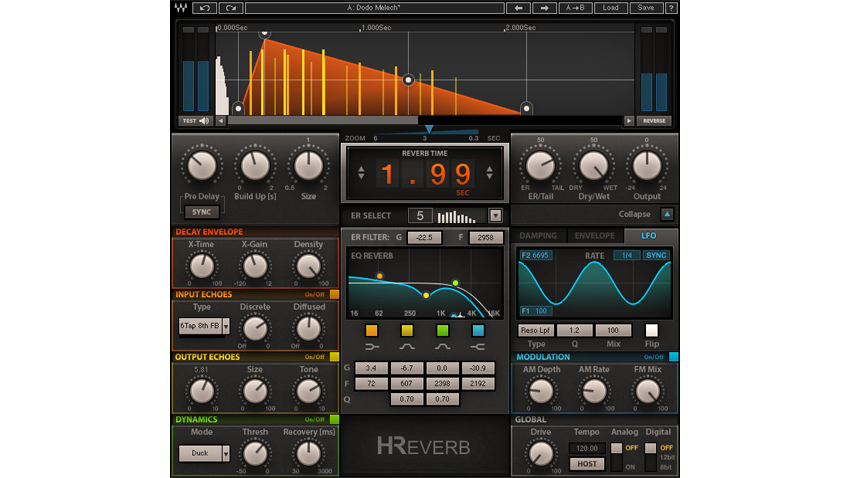
Hall and Room are self-explanatory. Plate emulates the plate reverbs common in the ’60s, which were often used for vocals. Inverse creates a reverse reverb effect, where the reverberation starts at a lower level and increases to a higher level. Spring types emulate old mechanical reverbs known for a “sproingy,” metallic sound. Gated reverb has a decay that cuts off abruptly below a certain level. Convolution reverbs load a sample (also called impulse) that defines a room’s characteristics, and impresses these characteristics on the signal being reverberated.
Room size
Larger sizes typically correlate to longer reverb times and possibly a wider stereo image. As even synthetic rooms can have standing waves, if the reverb sound has flutter (a periodic warbling effect), vary this parameter in conjunction with decay time (described later) for a smoother sound.
Early reflections level
This parameter sets the level of the first group of echoes that occurs when sound waves hit walls, ceilings, etc. These reflections tend to be more defined and sound more like “echo” than “reverb.” Prominent early reflections tend to work better with sustained sounds, such as vocals and pads, than percussive sounds. Balance the early reflections so they are neither obvious discrete echoes, nor masked by the decay. Lowering the early reflections level also places the listener further back in the room, and more toward the middle.
Pre-delay
Simulates the amount of time it takes for a sound to leave its sound source and create a first reflection. Setting a slight pre-delay offsets the reverb from the dry signal, which can prevent reverb from “stepping on” the signal being reverberated. Also, increase pre-delay to give the feeling of a bigger space; for example, large room sizes tend to work well with significant pre-delay.
• The 10 best reverb pedals 2020: our pick of the best guitar effects
• How to create rumbling techno kick drums with reverb
Get the MusicRadar Newsletter
Want all the hottest music and gear news, reviews, deals, features and more, direct to your inbox? Sign up here.
Decay time
This determines how long it takes for the reflections in the room to run out of energy. Long reverb times may sound impressive on instruments when soloed, but rarely work in an ensemble context (unless the arrangement is sparse). Reverb presets often link the decay time and room size parameters so you don’t end up with, for example, a small room with a very long decay. However, “wrong” settings can sometimes create useful sounds.
Damping
With softer surfaces (e.g., a hall packed with people), the reverb tails will lose high frequencies as they bounce around, producing a warmer sound with less “edge.” If your reverb has an artificial-sounding high end, add damping to create a warmer sound. Damping affects overall tone, so setting it “oppositely” often works well (lots of damping with a bright-sounding song to warm it up, little damping if the song needs more “air”).
High frequency attenuation
This reduces the high frequencies going into the reverb. If your reverb sounds metallic, reduce the highs starting at 4–8kHz. Remember, many great-sounding plate reverbs didn’t have much response over 5kHz.
Low frequency attentuation
Use this to reduce low frequencies entering the reverb. This can prevent a muddy, indistinct sound that takes focus away from the kick and bass. Try attenuating from 100–200Hz on down.
Width
Some reverbs allow expanding or collapsing the stereo image.
Load impulse file
This is found only in convolution reverbs. A convolution reverb will not function without having a reference impulse audio file loaded.
Modulation depth
To create more variation in reverb sounds, modulation adds subtle changes to the reverb characteristics. Increase modulation depth if the reverb sound needs more “animation.”
Modulation rate
For reverbs with modulation, this determines the rate at which modulation changes occur.
Eearly reflection diffusion
Increasing early reflections diffusion pushes the early reflections closer together, thickening the sound. Reducing diffusion creates more discrete echoes. For percussive instruments, lots of diffusion avoids the “marbles bouncing on a steel plate” effect caused by too many discrete echoes. However, for vocals and other sustained sounds, reduced diffusion can give smooth reverberation that doesn’t overpower the source and maintains clarity.
• How Genesis’s Peter Gabriel and Phil Collins stumbled upon the '80s gated-reverb drum sound
Reverb decay diffusion
This is similar to early reflections diffusion but affects the reverb “tail.” Many reverbs use a single control for both diffusion parameters.
Reverb density
Lower densities give more space between the reverb’s first reflections and subsequent reflections. Higher densities place these closer together. Generally, as with diffusion, higher densities work better for percussive content, and lower densities for vocals and sustained sounds.
High frequency decay
With reverbs having separate decay times for high and low frequencies, this sets the decay of high frequencies. A longer high frequency decay gives a brighter, more ethereal type of reverb that can sound great on vocals as it adds more reverb to sibilants and fricatives, while minimizing reverb on plosives and lower vocal ranges.
Low frequency decay
With reverbs having separate decay times for high and low frequencies, this sets the decay of low frequencies. A longer low frequency decay gives a bigger, more “massive” type of reverb that’s more like a large live space, but when used to excess, can give a “muddy” sound.
Crossover decay
This sets the dividing point between the high and low frequencies mentioned above.
Mix
Use this to edit the balance of dry and reverberated sound. If the reverb serves as an insert effect, set this for the desired blend. If the reverb is a send effect, this is usually set to reverb only, with the return control determing the overall reverb level in the mix.
Gate
For gated reverb, this sets the level below which the reverb tail is cut off. Using relatively high gate settings was a popular effect in ’80s synth-pop.
Gate decay
When using gated reverb, this adjusts how long it takes for the reverb tail to decay after the reverb signal passes below the gate threshold.
Electronic Musician magazine is the ultimate resource for musicians who want to make better music, in the studio or onstage. In each and every issue it surveys all aspects of music production - performance, recording, and technology, from studio to stage and offers product news and reviews on the latest equipment and services. Plus, get in-depth tips & techniques, gear reviews, and insights from today’s top artists!
