How to design a virtual amp in BIAS Amp 2
Positive Grid's guitar amp simulator allows for a deep and sophisticated level of tone manipulation
In our recent guide to getting a great guitar sound without buying an amp, we highlighted a range of options for guitarists looking to use their computer to shape their tone.
At the top of that list was Positive Grid's BIAS Amp 2, a virtual amp designer packed with stunningly accurate emulations of a broad range of killer amps. The software enables users to pick apart the inner workings of a software amp down to the component level, letting you swap and re-arrange tubes, preamps, transformers and more. Read on for an overview of how BIAS Amp 2 works, and how it can help you nail the perfect guitar sound.
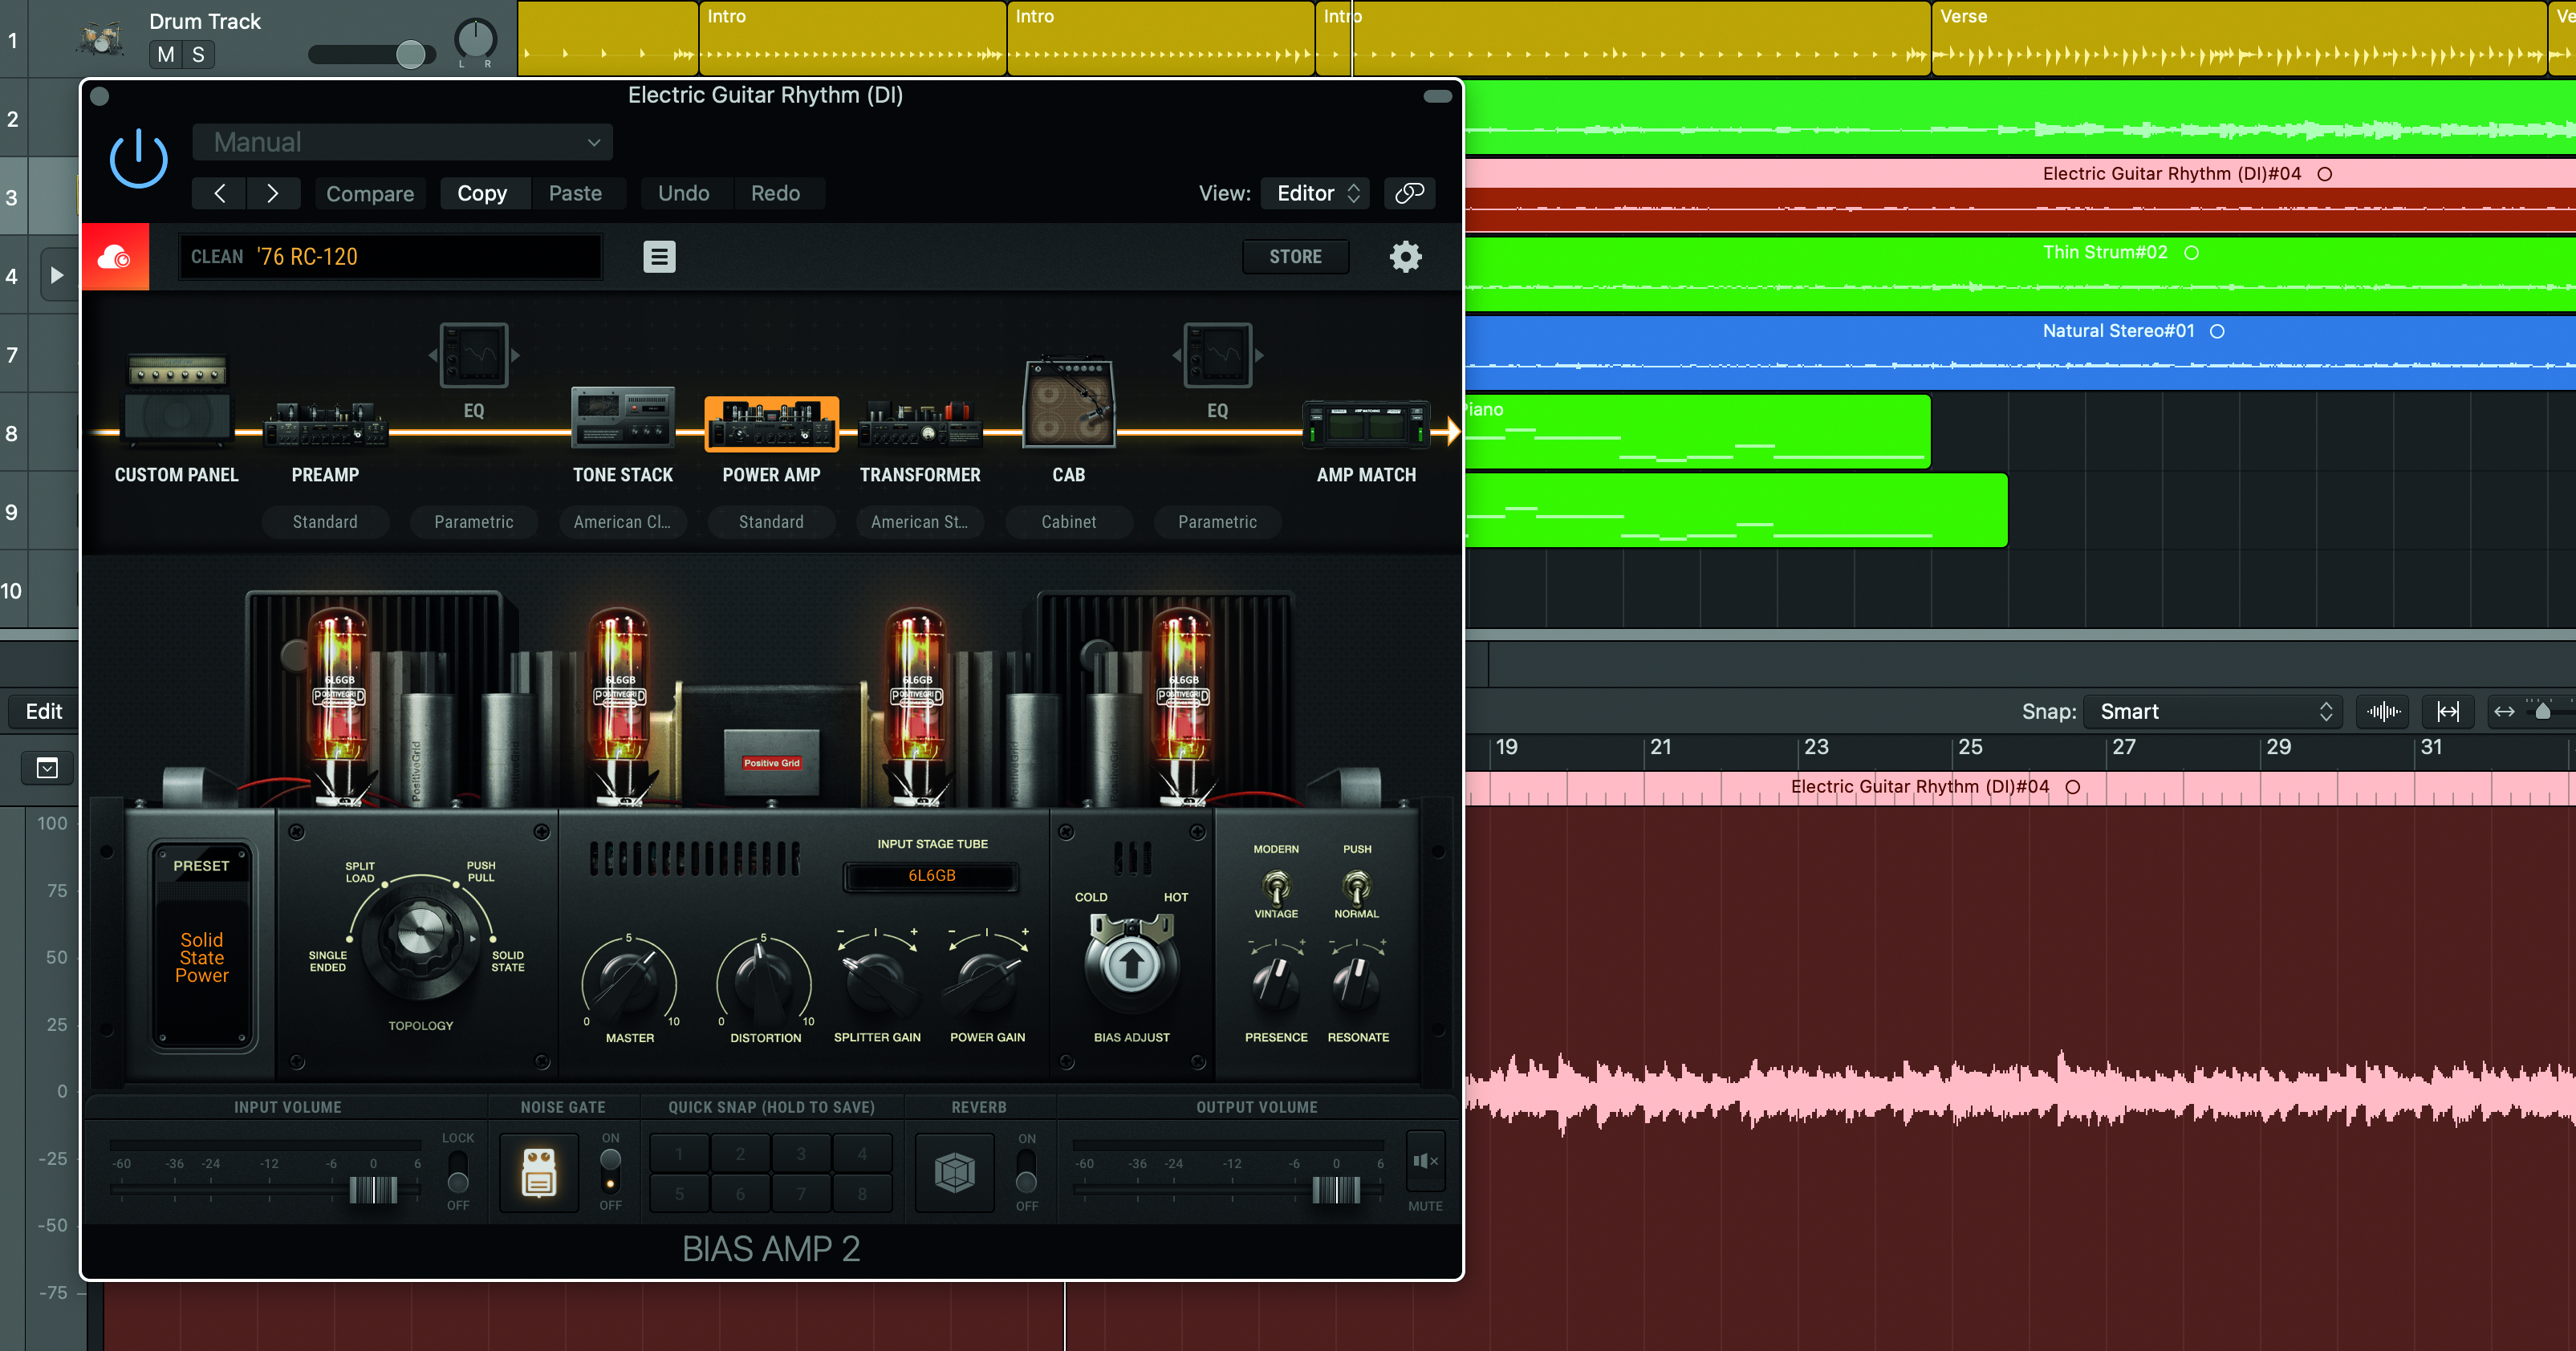
Step 1: Positive Grid’s BIAS Amp 2 allows for a much deeper level of amp creation, with the ability to tweak the components of the chosen amp, allowing you to not just build a more personalised tone, but to learn more about how each amplifier actually works. A free demo is available from PG's website. Though presets can’t be saved, it should be fully workable for seven days. Install the software as a plugin, fire up your DAW and add it to your selected guitar track.
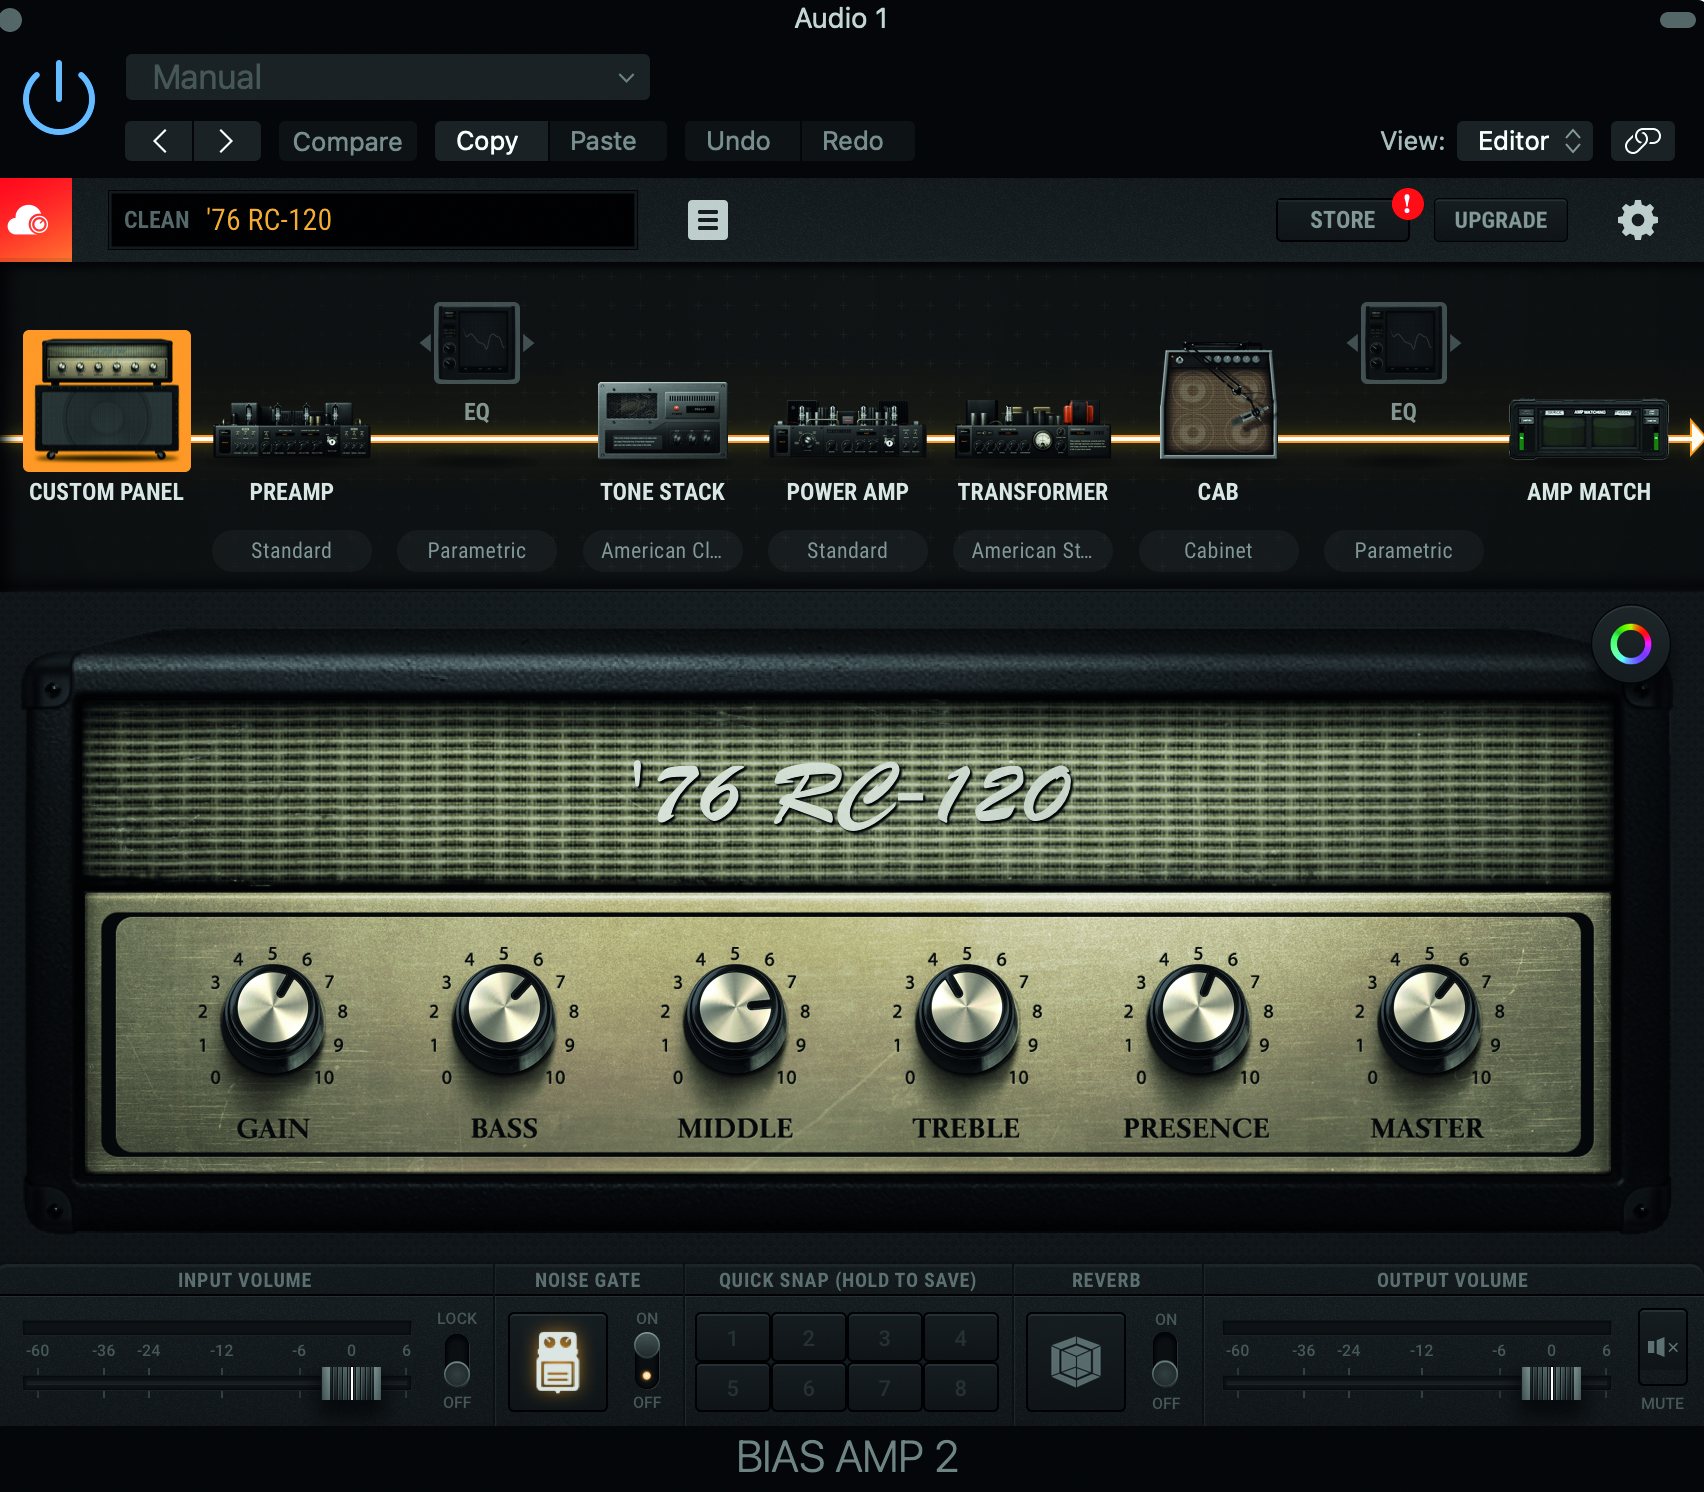
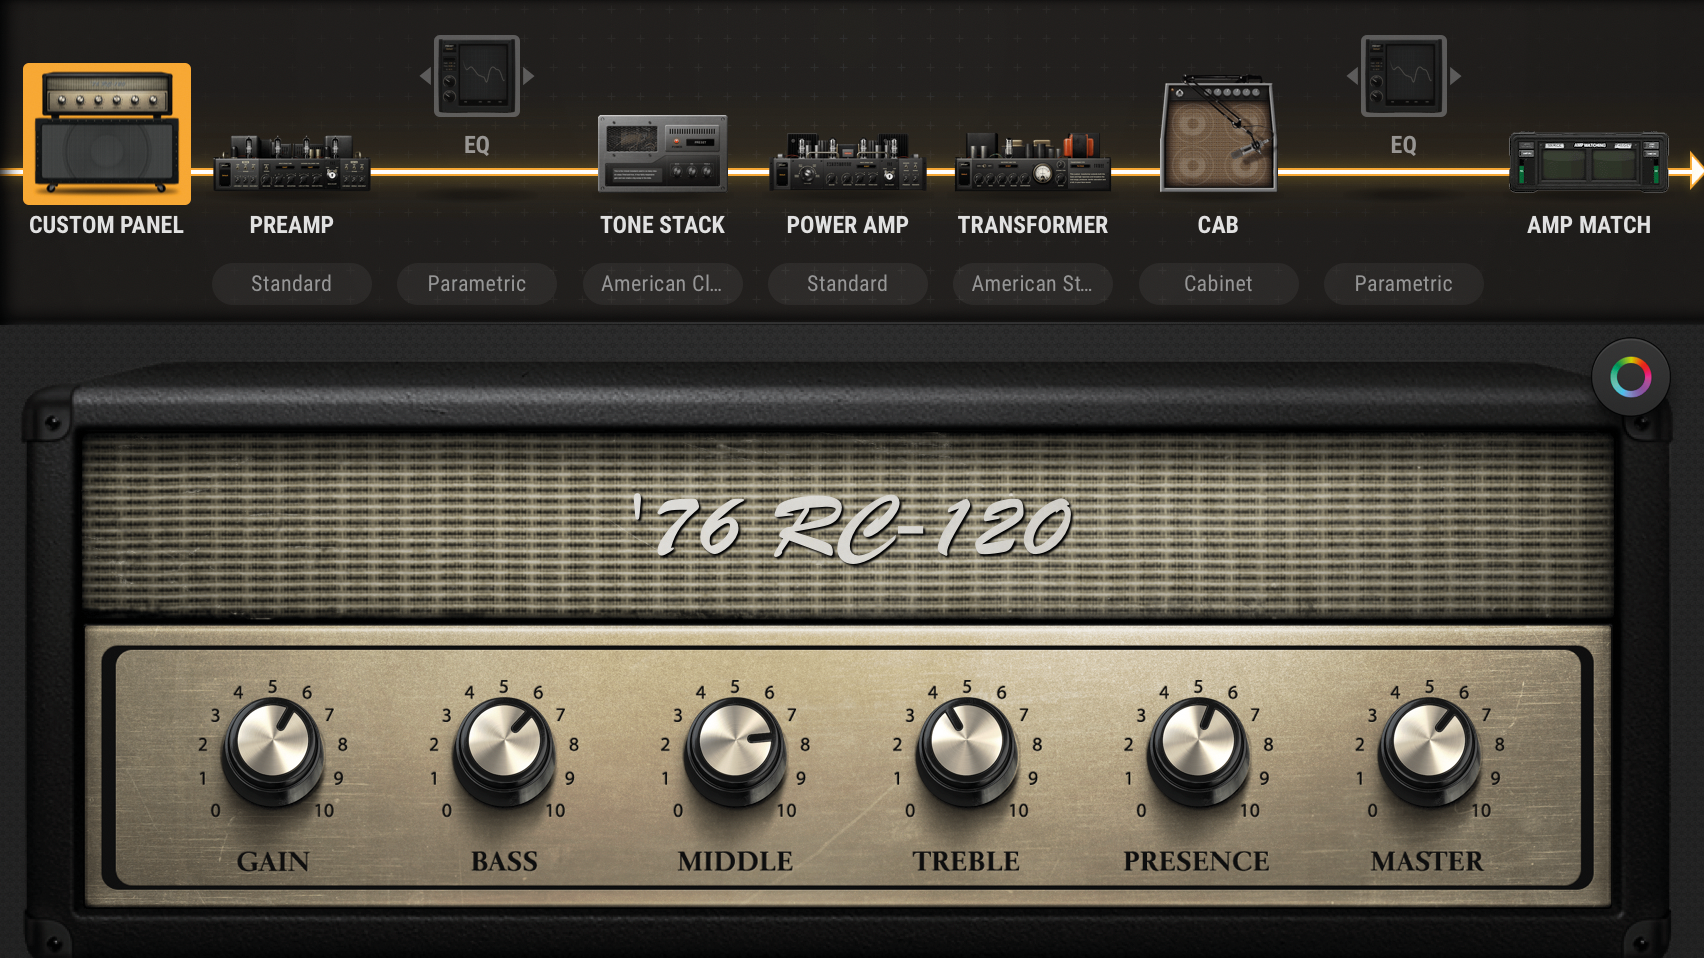
Step 2: The UI is pretty straightforward, giving the signal path overview at the top of the window, and each selected component becoming deeply modifiable once selected. It starts with the amp head, before moving down to preamp, an authentic tone stack, the power amp, transformer and then the cab, with EQing at various stages.
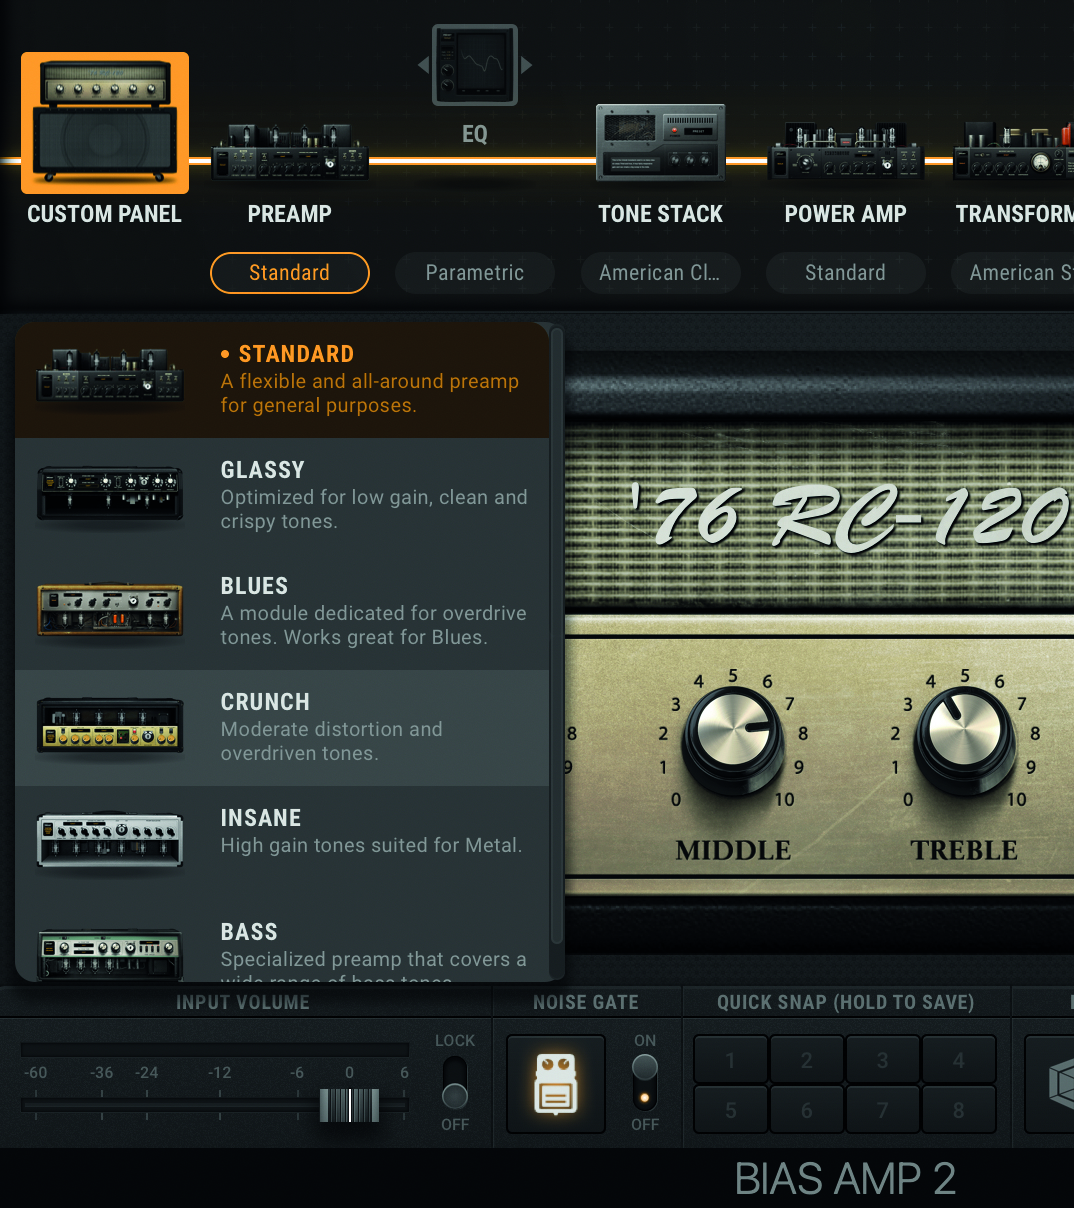

Step 3: We want a clean rhythm guitar tone, so with the default RC-120 preset, and the Standard preamp, we can make initial modifications to our tone via the virtual amp head (the classic amp controls of Bass, Middle, Treble and Gain) before moving on to the preamp. Here we get the option of switching out our pairs of input stage tubes and cathode follower tubes – a simple click will cycle the variants (and their tonal characteristics).
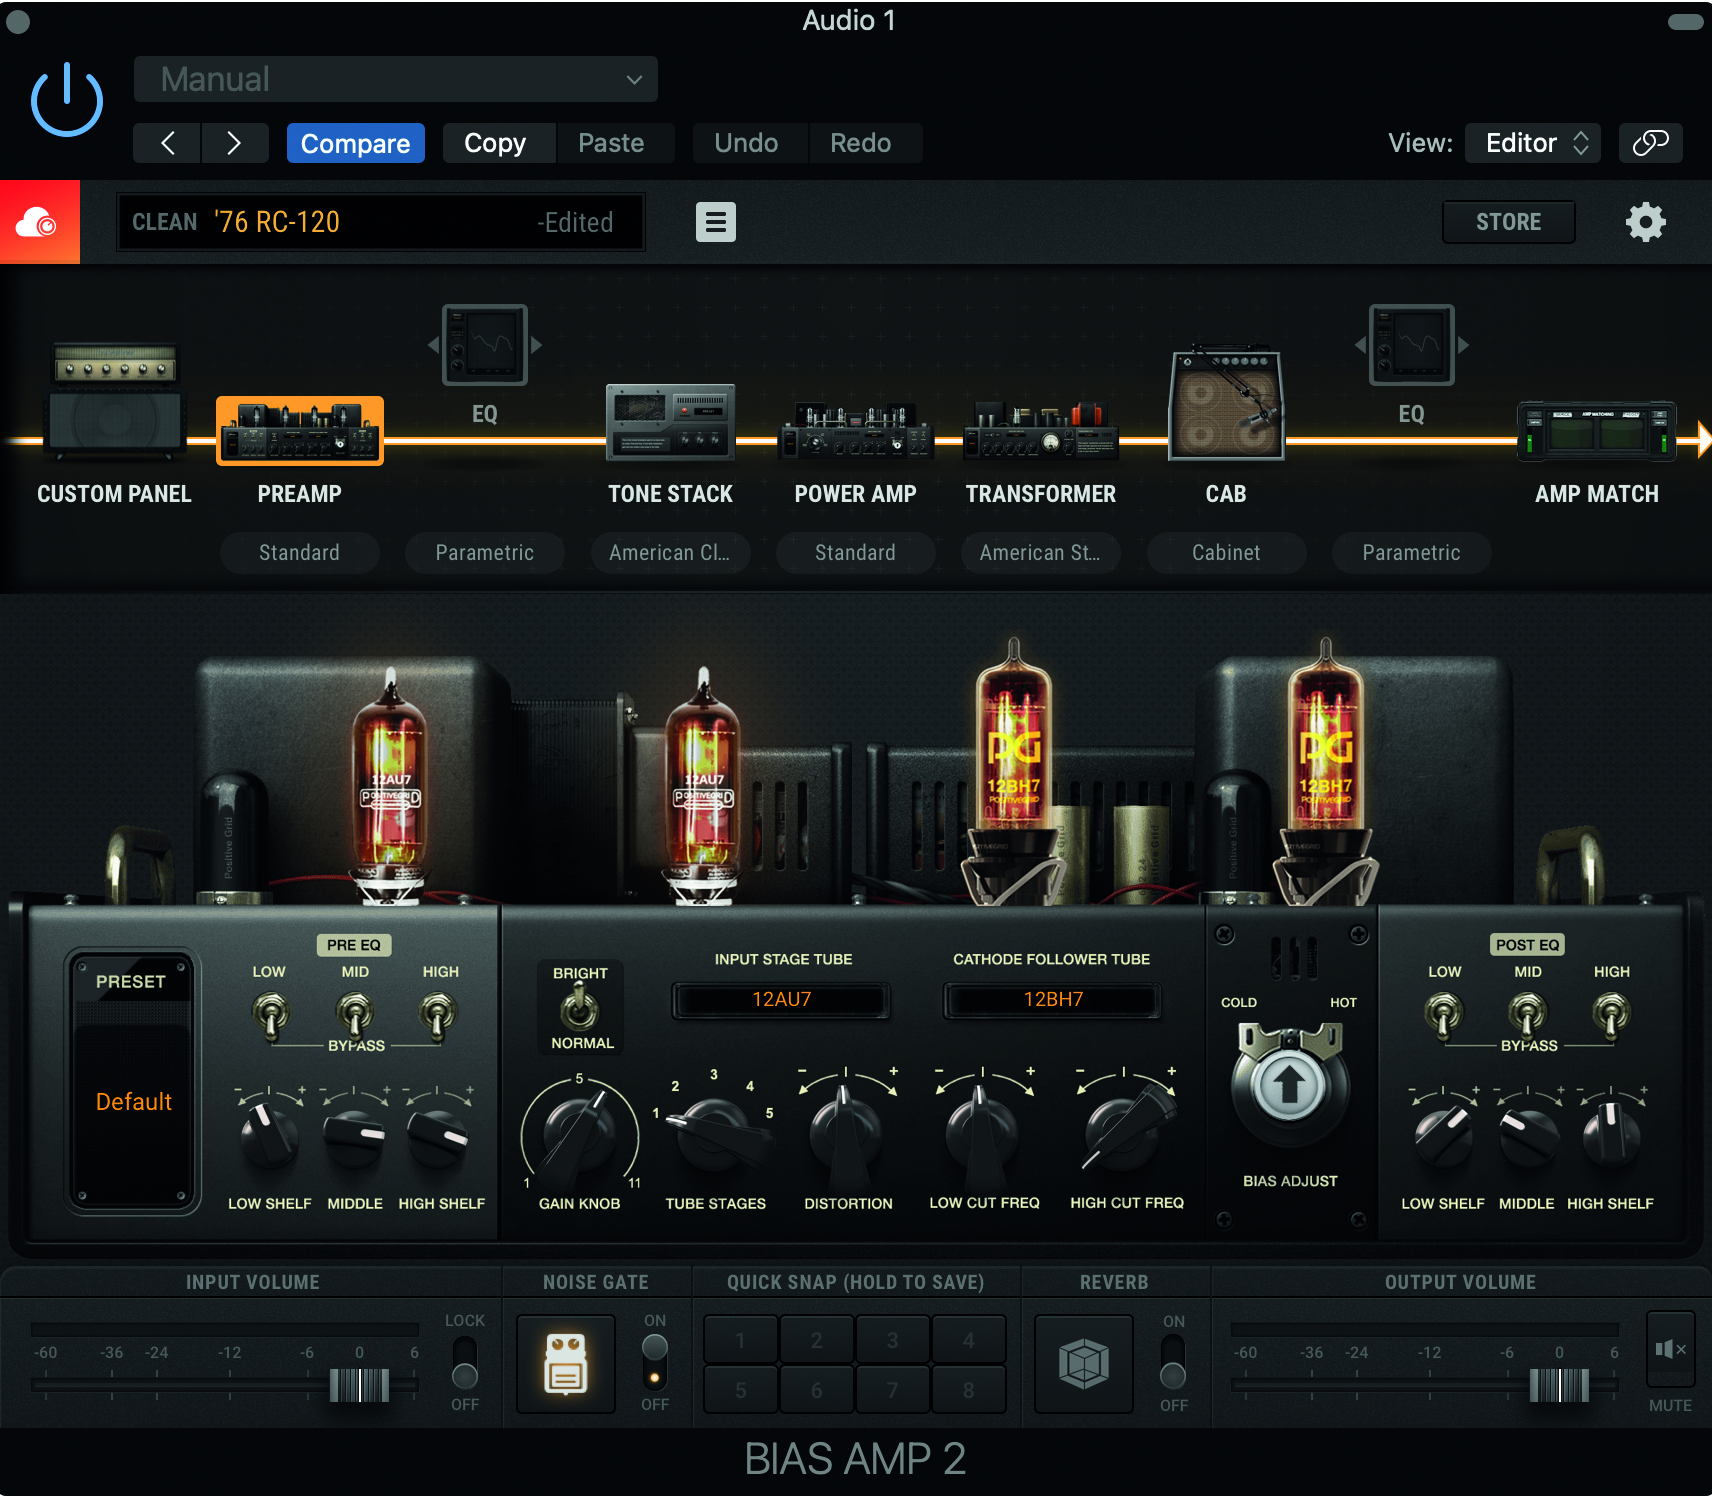
Step 4: Different tube sounds impart different levels of warmth to your tone. Using this combination of 12AU7s on the input stage tube and 12 BH7s gives us a much more midrange-located sound, and a greater dynamic balance, which is perfect for our rhythm guitar track.
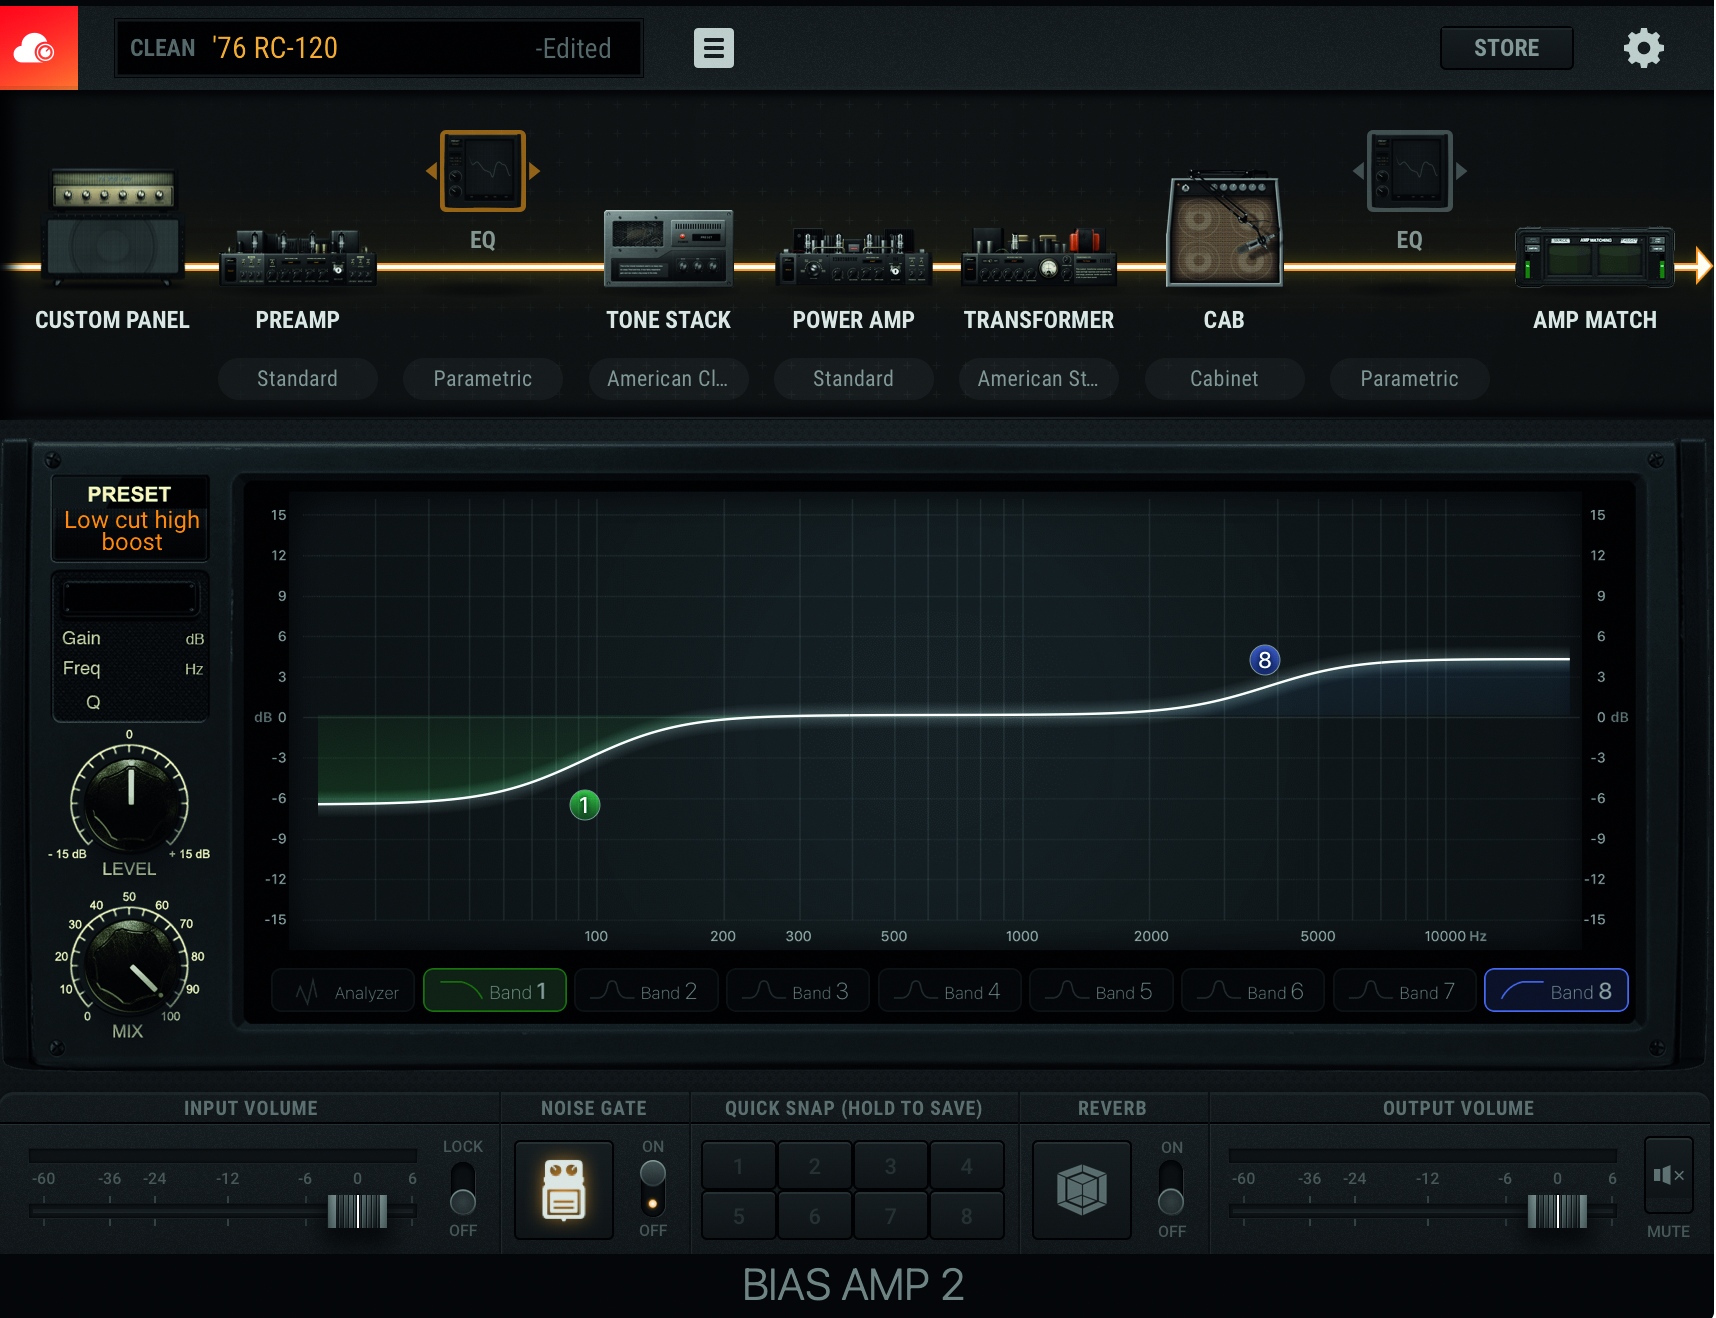
Step 5: We can boost our pre-EQ and post-EQ via the preamp window too, as well as bypass certain frequencies from the process. This is dependent on what you’re after in your track, but we’ve added low shelf filter to our midrange rhythm guitar, as we don’t want our tone to wander too far into the low end.
Get the MusicRadar Newsletter
Want all the hottest music and gear news, reviews, deals, features and more, direct to your inbox? Sign up here.
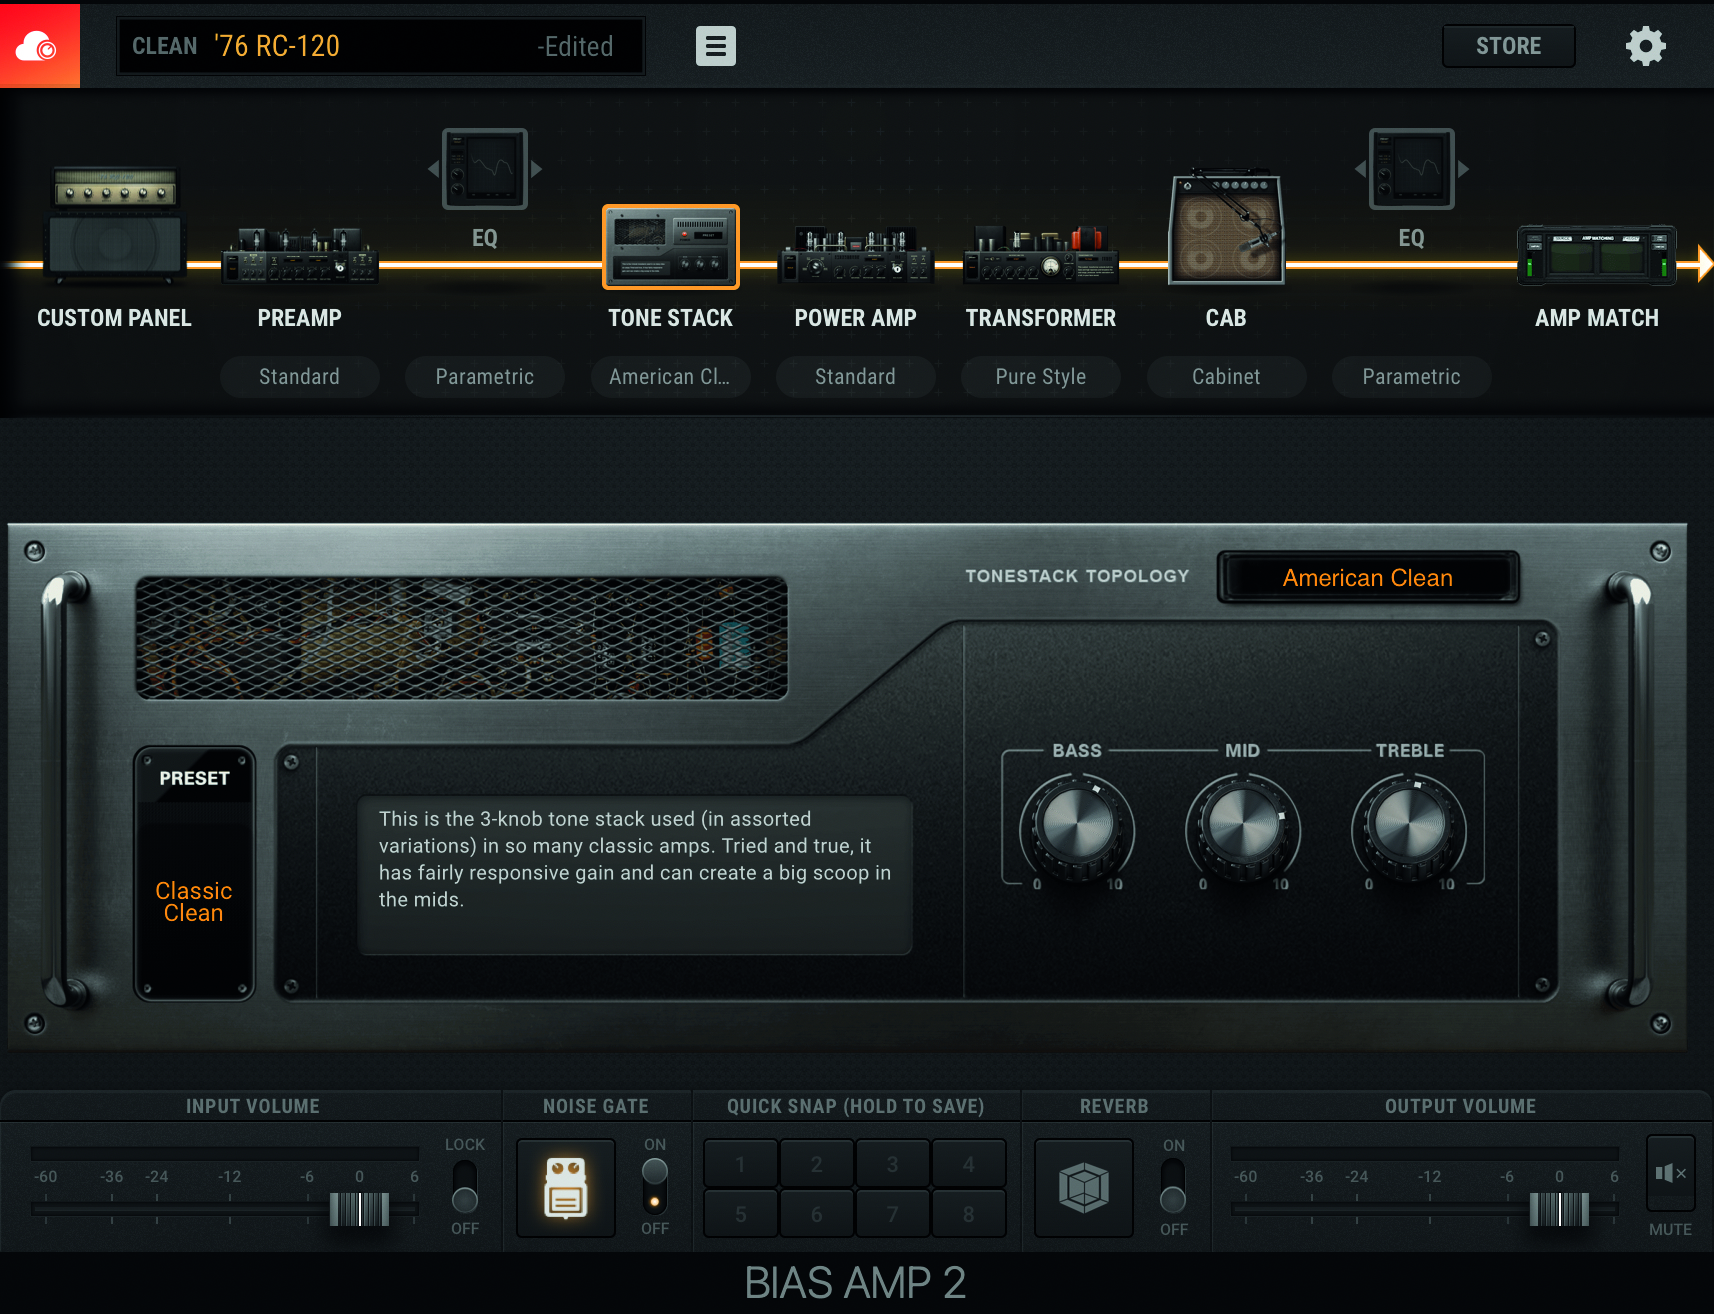
Step 6: You can further frequency-sculpt via the 3-knob tone stack to create a big scoop in the mids should you require (this is particularly handy if you’ve got an overdrive earlier in your effects chain). The power amp is the main driver of your sound, and here is where you can shape the power gain, distortion levels, resonance and presence.
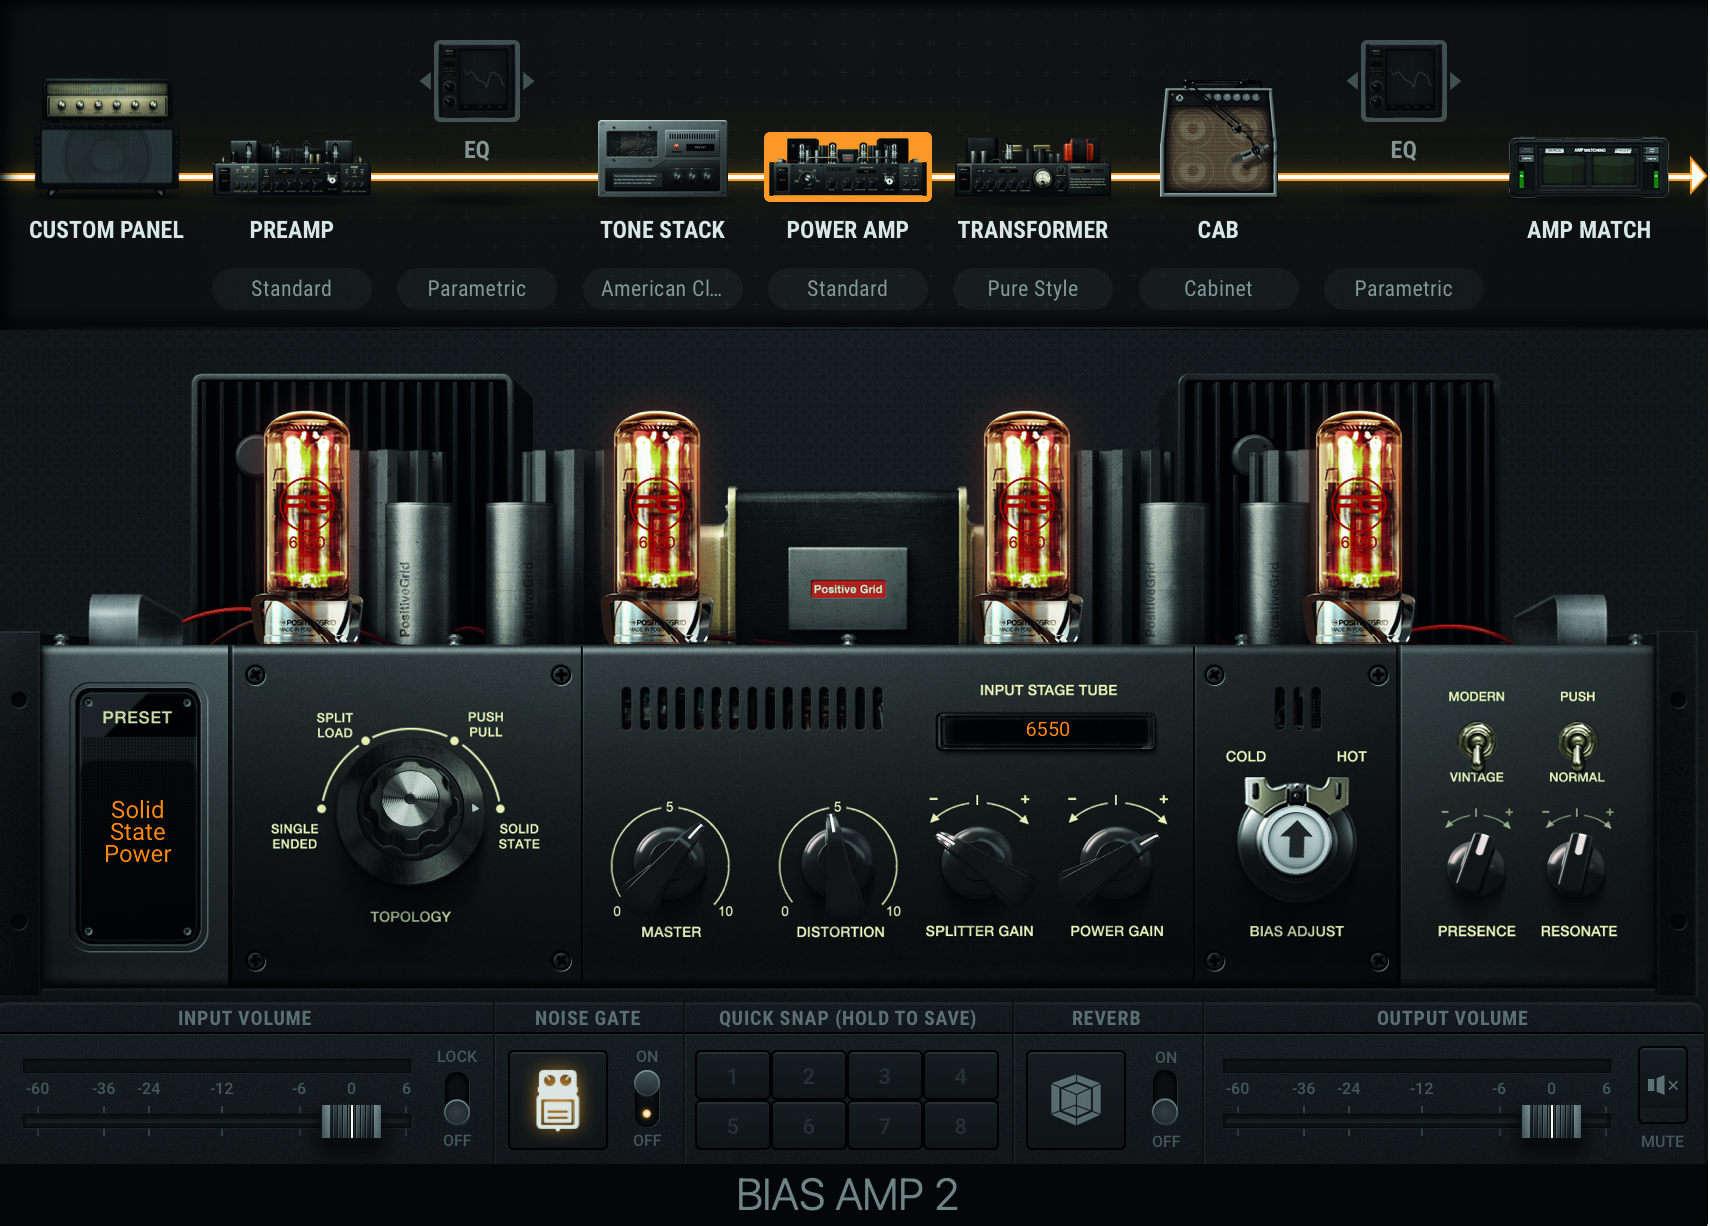
Step 7: Starting with the Solid State Power preset, with our input stage tubes switched to the 6550s (which give a clean sound with a slight edgy kick), our rhythm guitar sound is now sounding like a more hearty element of the surrounding mix.
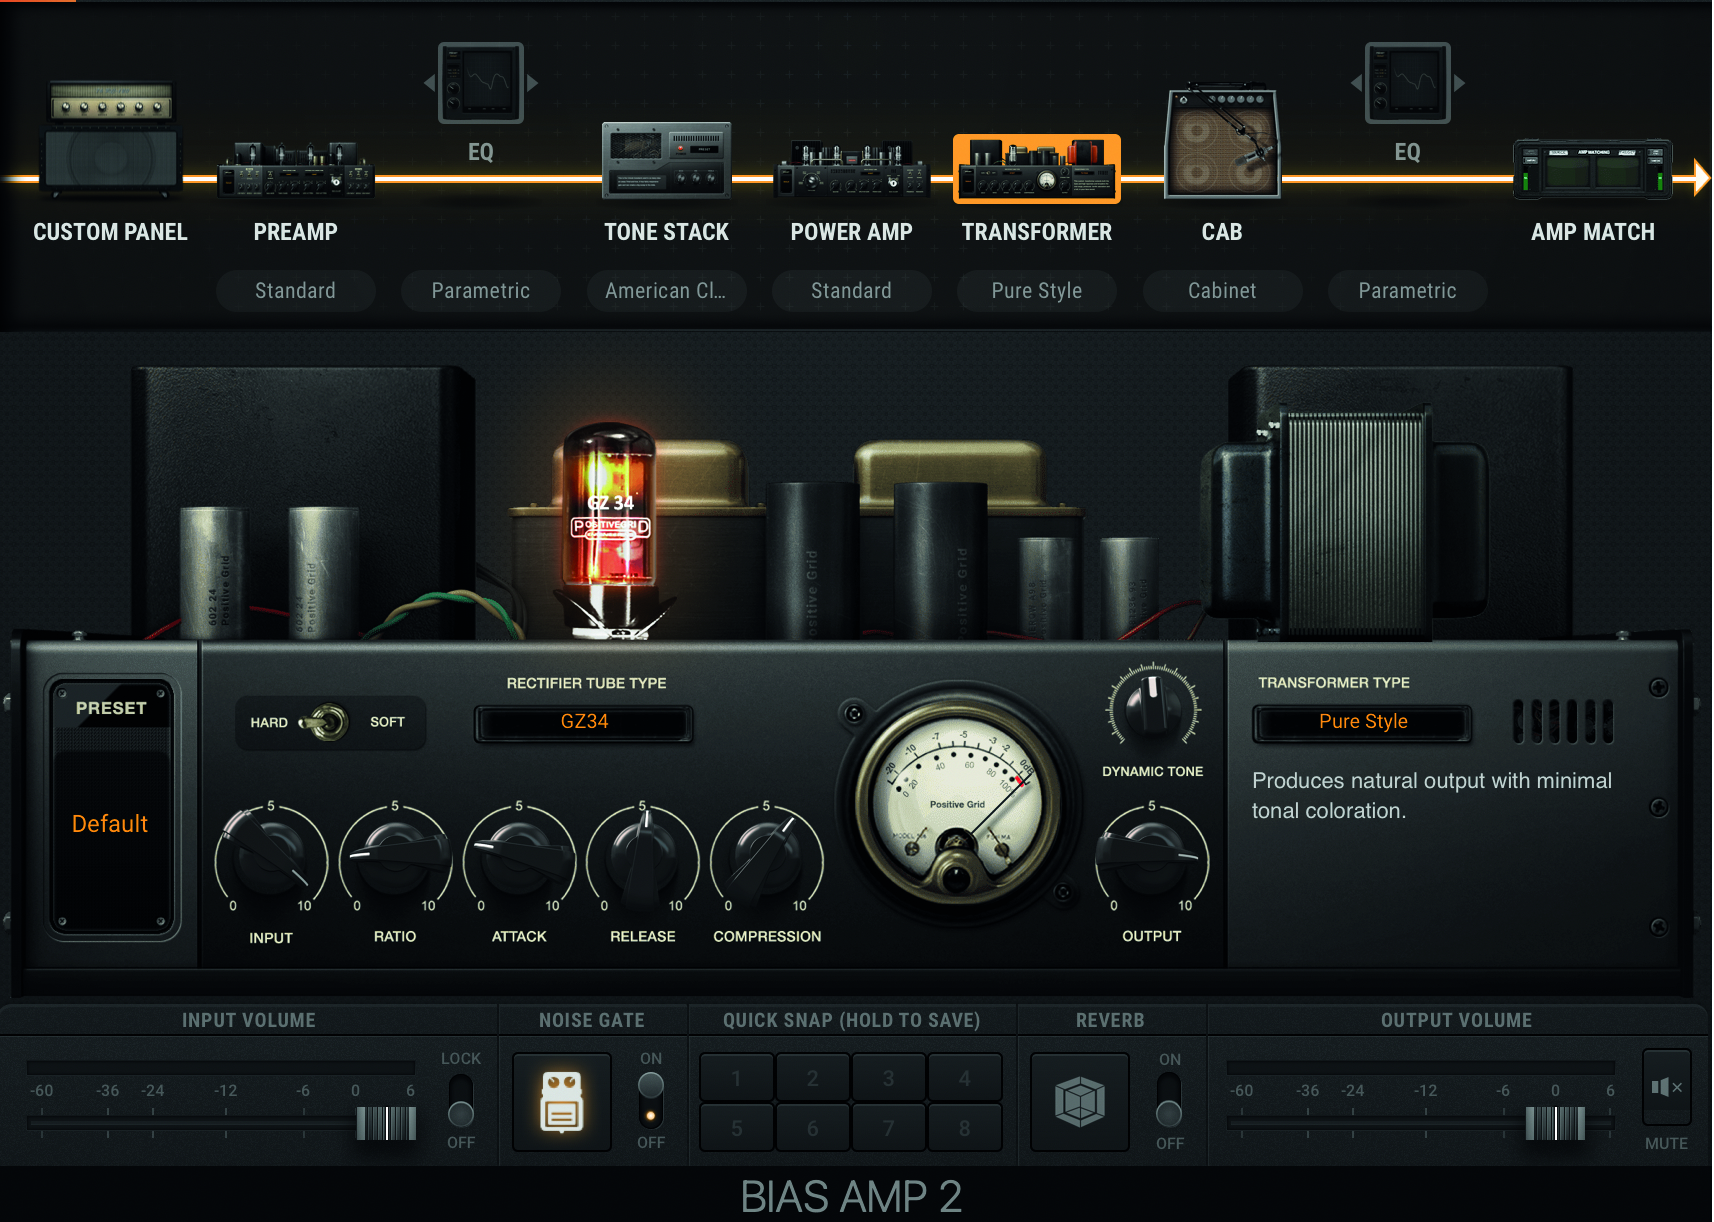
Step 8: The Transformer section lets you enhance your amp tone further, without changing any fundamental characteristics. When scaling its presets (American, British etc), we hear major shifts in overall presence and warmth.
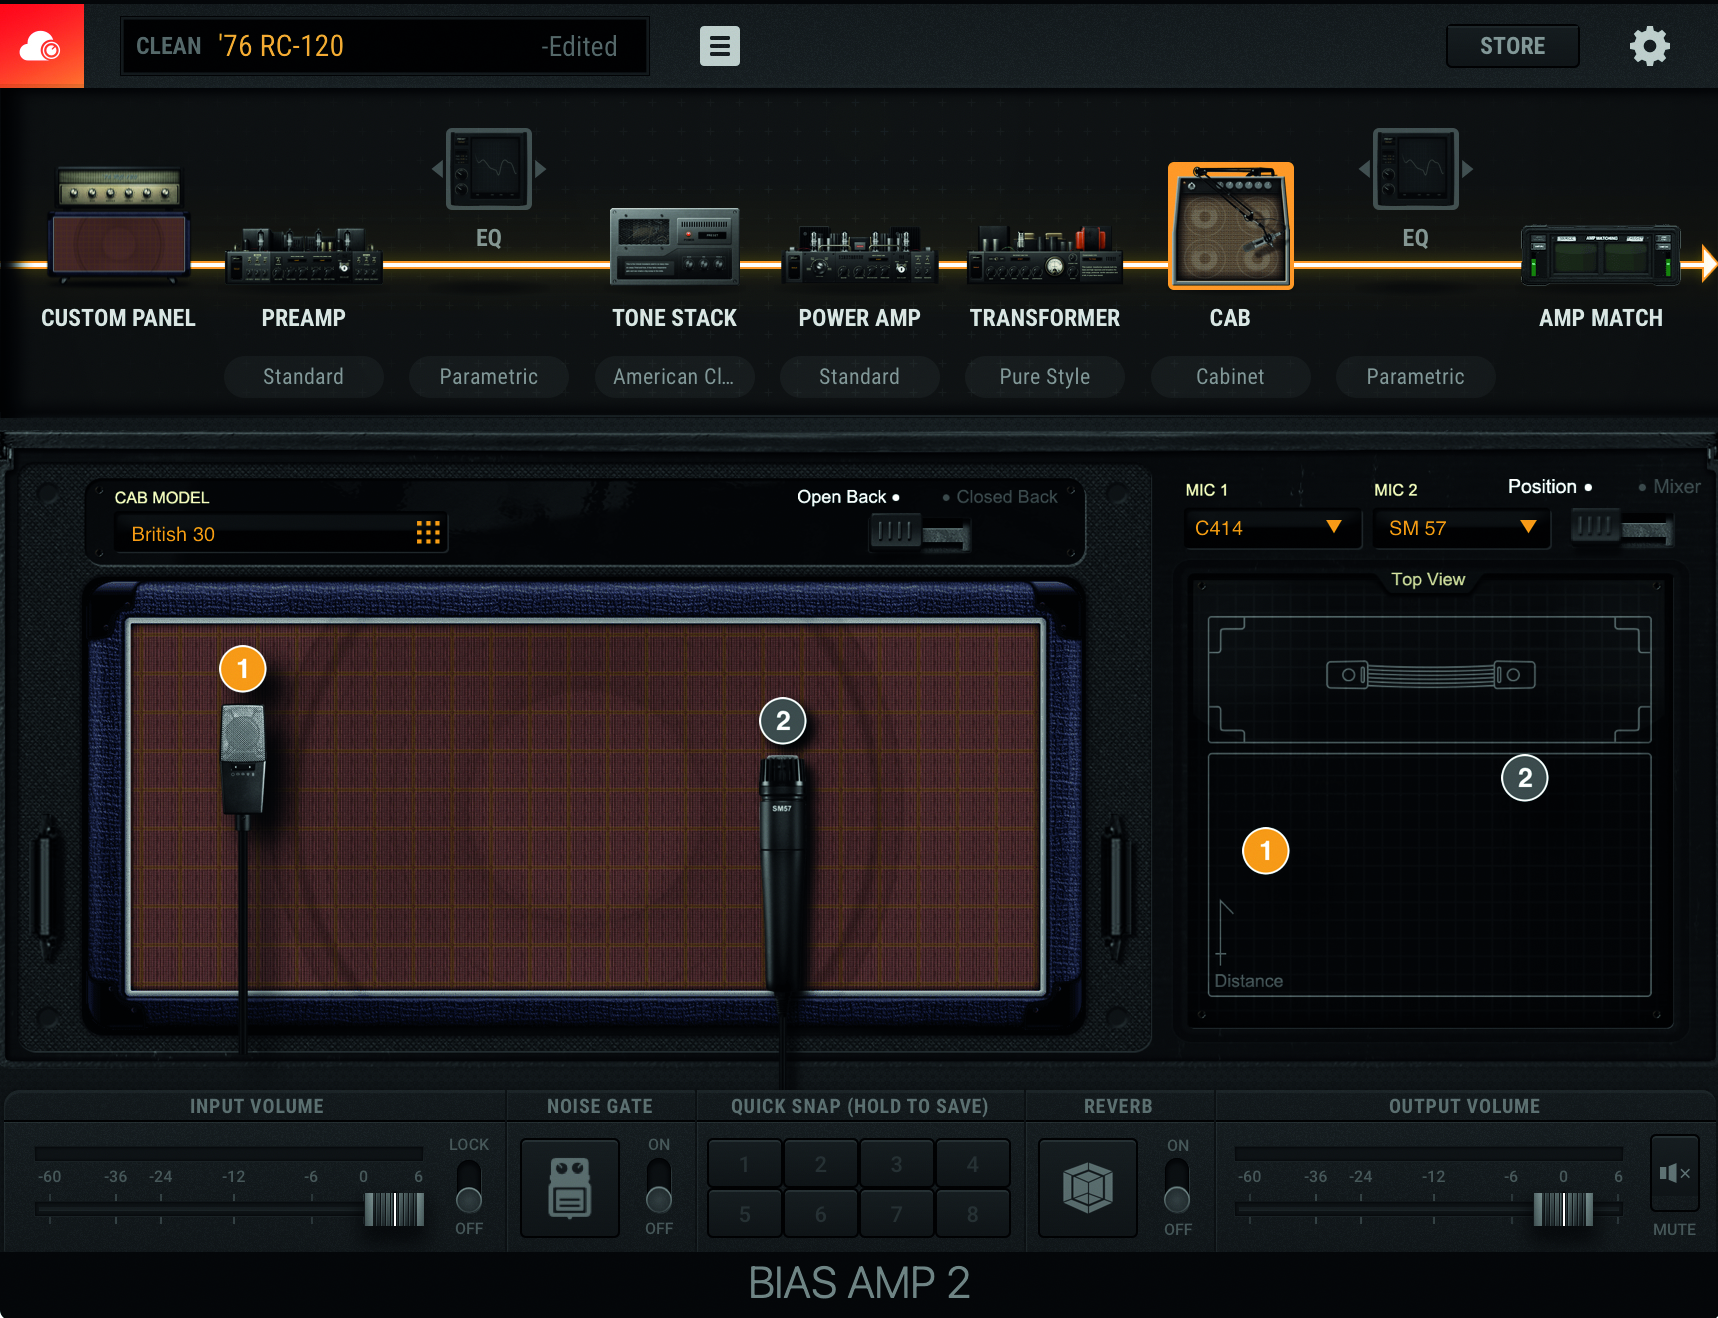
Step 9: The cab section is where true dark magic can be dabbled with, choosing and then moving your virtual mic(s) around your chosen cab can change your tone vastly, with the best sounds often being the result of blends between two different mics. Endless fun awaits!


Computer Music magazine is the world’s best selling publication dedicated solely to making great music with your Mac or PC computer. Each issue it brings its lucky readers the best in cutting-edge tutorials, need-to-know, expert software reviews and even all the tools you actually need to make great music today, courtesy of our legendary CM Plugin Suite.
“From a music production perspective, I really like a lot of what Equinox is capable of – it’s a shame it's priced for the post-production market”: iZotope Equinox review
"This is the amp that defined what electric guitar sounds like": Universal Audio releases its UAFX Woodrow '55 pedal as a plugin, putting an "American classic" in your DAW

