Create your own simple synth bass sound in 6 easy steps
Synthesis is one of the quickest and, potentially, easiest methods of creating awesome, original bass sounds. Here’s how it’s done…
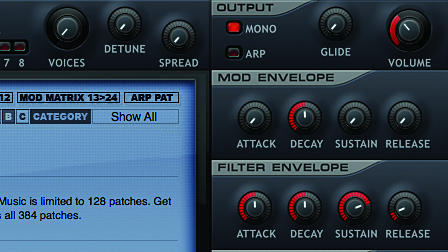
Samples and presets definitely have their place, but if you want to create an original bass sound that's particular and tailored to your latest masterpiece, you're going to have to build one from the ground up. The good news is that it's easy, and fun.
All you need is a basic understanding of the fundamentals of synthesis, which will result in much better-sounding foundations for your track. Ready? Let's go.
1. Grab a sawtooth
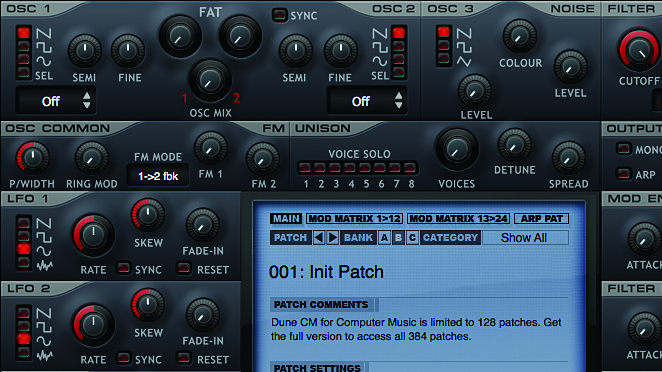
Step 1: Launch your DAW and load Dune CM or your synth of choice onto an instrument track. Initialise the synth by clicking the Bank B button in the centre panel. By default, Oscillator 1 is set to the sawtooth waveform, which generates both even and odd harmonics. It really fills up the frequency range, but we can turn it into a bass sound with a little filtering.
2. Take out the highs
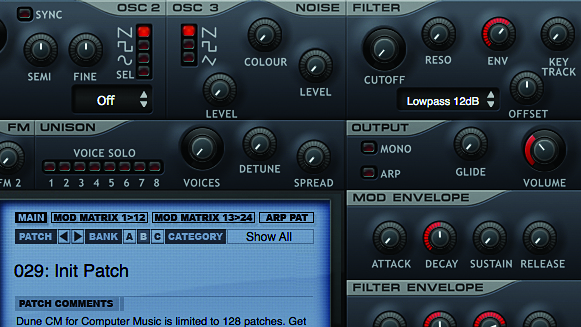
Step 2: Turn the Cutoff knob in the Filter panel down to 0%, and the Env(elope) up to 65%. The Filter Envelope now modulates Dune CM’s low-pass filter cutoff frequency. The envelope’s Sustain level is set to 100% by default, but turn it down to 75% and you’ll hear the Cutoff drop quickly at the start of each note. Taking out the high frequencies like this gives the sound a more bassy feel.
3. Smooth operation
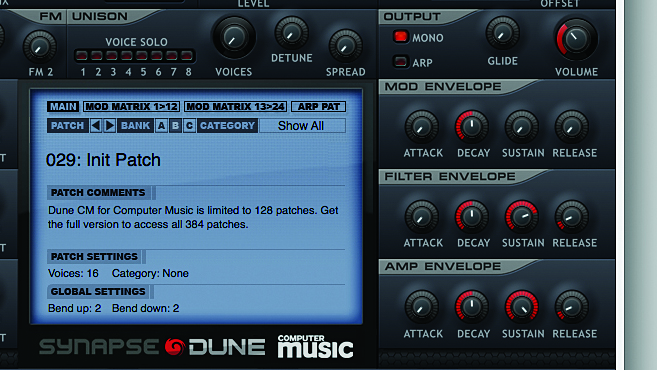
Step 3: This combination of sawtooth oscillator and low-pass filtering gives us a simple synthesis of a picked electric bass sound. We can smooth it out a little by turning the Amplitude and Filter Envelope’s Release times up to 10%. Activate the Mono button in the Output panel so that you can only play the sound monophonically – that is, one note at a time.
4. Key track setting
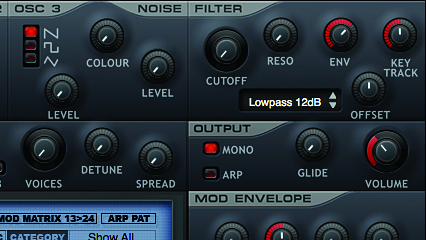
Step 4: You’ll notice that the further up the keyboard you play, the more muffled the sound becomes. This is because the low-pass filter cutoff remains at the same level. However, if you set the Key Track knob in the Filter panel to 50% the Cutoff will follow the note played, giving you a consistent tone across the entire keyboard.
5. Go square
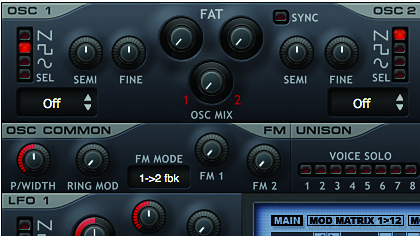
Step 5: We can get a generic synth bass sound by setting Oscillator 1’s waveform to a square shape – do this by clicking the Square icon in the Oscillator 1 panel. Square waves only use odd harmonics and have a rounder, bouncier tone that sawtooths, making them ideal for bass sounds.
Get the MusicRadar Newsletter
Want all the hottest music and gear news, reviews, deals, features and more, direct to your inbox? Sign up here.
6. Final tweaks
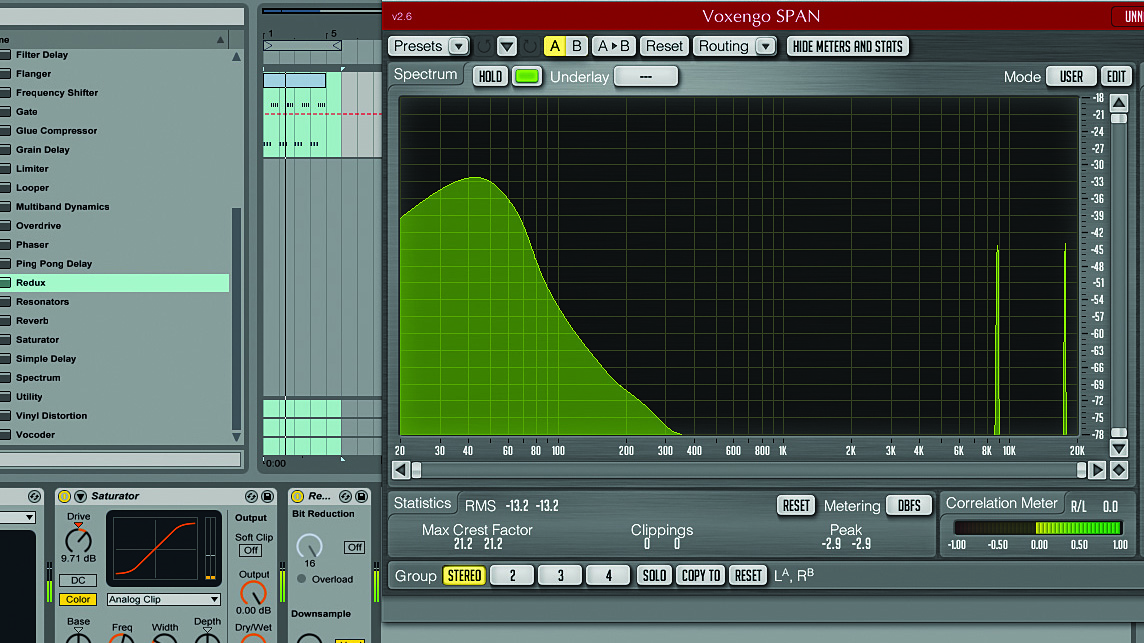
Step 6: The swift filter envelope movement gives the sound a burst of harmonics at the start that makes it feel percussive. We can customise the sound by adjusting the filter and envelope settings. For example, we can create a garage-style ‘reverse’ bass by setting the Filter Envelope’s Attack to 50%.
Computer Music magazine is the world’s best selling publication dedicated solely to making great music with your Mac or PC computer. Each issue it brings its lucky readers the best in cutting-edge tutorials, need-to-know, expert software reviews and even all the tools you actually need to make great music today, courtesy of our legendary CM Plugin Suite.


