The beginner's guide to compression
Above all effects, compression can make a great (or subtle) impact at every level of the production process, from recording to mastering. Here’s our complete guide…
Try to imagine riding the first ever bicycle, the legendary ‘boneshaker’. Without suspension, every lump, bump, ripple and pothole in the road was connected directly to one of the most sensitive parts of your body. Without compression, audio is the same – every click, thump and subtle nuance of the music is connected directly to another of the most sensitive parts of your body: your ears.
Sometimes, that’s exactly what you want. But in most modern genres, compression is an integral part of the sound of almost all the music we listen to. Just as good suspension smooths out the ride on your bike and car, compressors even out audio signals. This can make them gentler on the ear, or make them easier to balance in a mix, or add a unique ‘warming’ character to the sound.
Alternatively, like the suspension on a great racing car, they can be used for control and power, rather than comfort. Compressors can add punch and impact and enable you to push your music to its absolute limits.
The basics: manual compression
Sometimes the simplest approach is best
Electronic compressors as we know them only became widely used in the 60s. That doesn’t mean people weren’t using compression before then, though, they were just doing it ‘by hand’…
In the broadest possible sense, compression is about managing dynamic range. Dynamic range is the difference between the loudest and softest sounds in a song or performance. Voice, bass guitar and percussion all have a naturally wide dynamic range, whereas solo flute or sustained string chords tend to be much less ‘peaky’, that is, more consistent and with less dynamic range.
In any mix there will be an ideal dynamic range for each instrument – enough variety to keep interest and emotion, but controlled enough to remain audible, without getting lost or overpowering other elements.
Microphone technique
The very simplest and most direct way to manage dynamic range is at the source. A great example of this for singers is to use what is broadly described as ‘microphone technique’.
Get the MusicRadar Newsletter
Want all the hottest music and gear news, reviews, deals, features and more, direct to your inbox? Sign up here.
You’ll often notice a great live singer pulling the mic away for the loudest notes and bringing it close in for quiet, intimate moments. You can achieve the same thing by asking a singer to move in and out from the mic in the studio.
This strategy has pros and cons. On the plus side it’s immediate, effective and cheap. On the other hand it takes skill and practice to get right. Many singers overdo it and removing the effect can end up being more time-consuming than using our second manual compression option…
Riding the fader
In a nutshell, you can turn anything that is too loud down and anything that is too quiet up. Just like microphone technique, there are pros and cons to this approach. As with microphone technique it’s free, and it sounds very natural. The mixer chooses the ideal level for every phrase, and so long as the level doesn’t change, the part sounds entirely natural.
On the downside, this is a very time-consuming method. Even with modern computer-based automation technology, it can take many runs through a track to get everything just right. Also, like the mic technique, it doesn’t have that distinctive compressed sound that a lot of genres require. More on that later.
It’s worth experimenting with though. We’ve done a few mixes using only minimal compression, with everything else being done by hand; the results can be superb. In particular, riding a fader into a compressor can get great results – you can get even more control and the compressor doesn’t have to work as hard.
Often there are times when manual compression isn’t enough, though, or is simply too time-consuming. For example, if a vocal can be balanced line by line, that’s great, but the human voice is one of the most dynamic sound sources you can record and often we need much finer control. In such cases, it’s time to break out a compressor.
Compressor controls explained
Like manual methods, a compressor also manages dynamics by reducing level, but it does it automatically, depending on the settings you choose. To help understand how this works, let’s keep the car suspension analogy in mind. The suspension is a compressor, of sorts, controlling the ‘dynamics’ of the road’s surface – the bumps, peaks and troughs.
Smooth it over
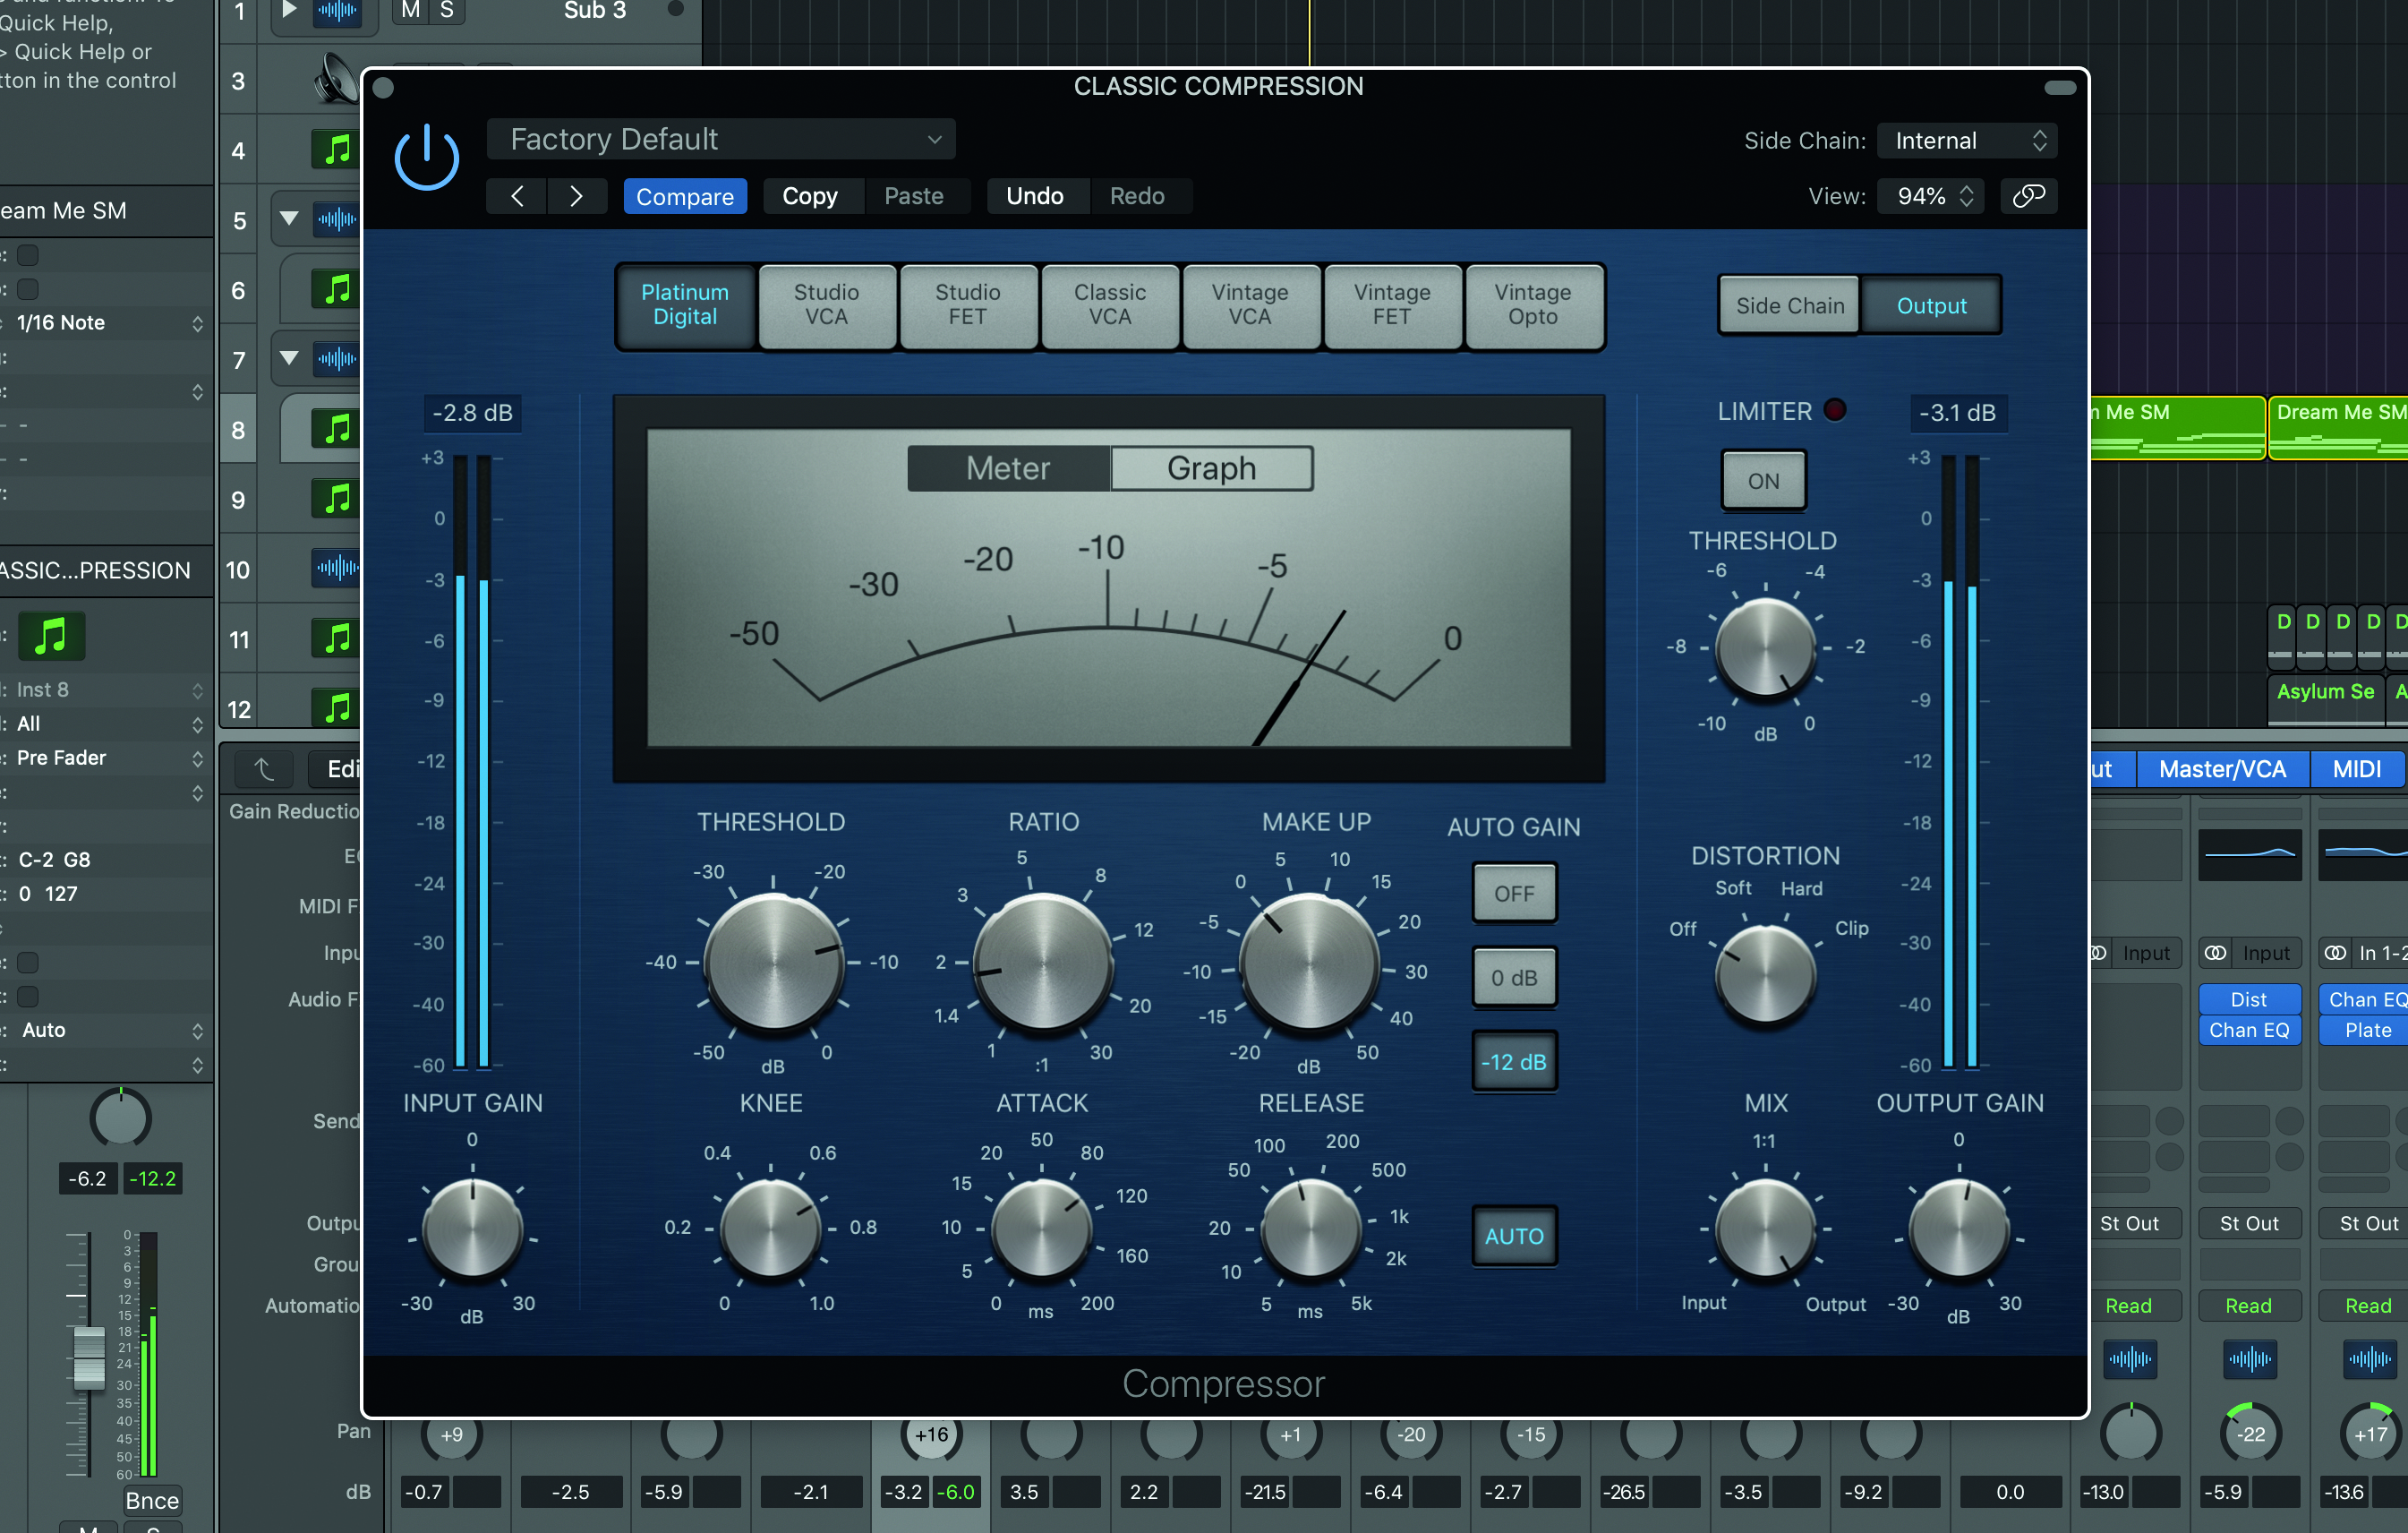
The overall smoothness of the ride is determined by the stiffness of the springs in the suspension. If you lean on the car, how easily does it sink down to absorb the weight? In a compressor, this overall ‘softness’ is determined by the ratio.
A lower ratio gives you a smoother ride; most family cars have their suspension set up this way, but there’s more movement in the car and less control for aggressive driving. Higher ratios are analogous to a sports suspension in a car, where the smoothness of the ride is less important than control.
Next up is the speed with which the suspension reacts to bumps in the road. In a compressor, the attack and release times determine how quickly a compressor reacts to the input signal (attack) and how quickly it relaxes afterwards (release). The attack time needs to suit the material. Imagine a car hitting a speed bump too fast – the suspension can’t react fast enough to smooth out the thump. The same thing happens with audio if the attack time of a compressor is too slow.
The final crucial setting is the threshold. The threshold determines when a compressor starts working, depending on the input signal.
Make-up gain
One setting on a compressor that doesn’t fit the car analogy is make-up gain. Compressors control the dynamics of the input signal and usually reduce its dynamic range. Loosely speaking, they turn the louder stuff down.
This means that when you first patch an analogue compressor in, it will probably make the overall signal sound quieter. To avoid having to keep pushing the fader up to compensate, most compressors allow you to add make-up gain. This is just a way of lifting the signal back up to balance the reduction in the dynamic range caused by the compressor.
You may not have seen this control if you use a compressor plugin, though – many digital compressors now include automatic make-up gain as standard – so the effect you hear as you dial in more compression is simply that the quieter signals get louder, with the peaks staying roughly the same. This can make using them quicker and easier, but it can also lead to them being over-used.
Our ears tend to assume that anything louder sounds better. With automatic make-up gain, we keep piling on more compression, thinking it sounds better, and being distracted from the negative aspects: reduced dynamic range, pumping and even unnecessary distortion.
Gain reduction
One way to avoid this is to keep an eye on the compressor’s metering: the overall gain reduction. How much gain reduction is needed is dependent on what you’re recording; vocals and bass may need heavy compression while keyboard sounds and strings hardly need any.
As a rule of thumb, though, pay close attention if you start to see more than 8-10dB gain reduction. If you wind the threshold control down further and don’t hear any real changes, you should probably ease it off and try some different settings.
Knee
The knee of a compressor refers to when and how the ratio starts to change when the compressor starts to take effect. A ‘hard knee’ means the compression becomes immediately active as soon as the input signal hits the threshold, whereas a ‘soft knee’ means the compression becomes audible more gradually. A soft knee also means gentle compression starts happening further below the threshold.
If a car’s suspension bushes start to wear out, you’ll feel something like a ‘hard knee’ effect. Normally they smooth out the smaller bumps that aren’t big enough to involve the main springs. As they become worn, however, they don’t do this as effectively and the action of the suspension becomes more abrupt.
Four types of compression
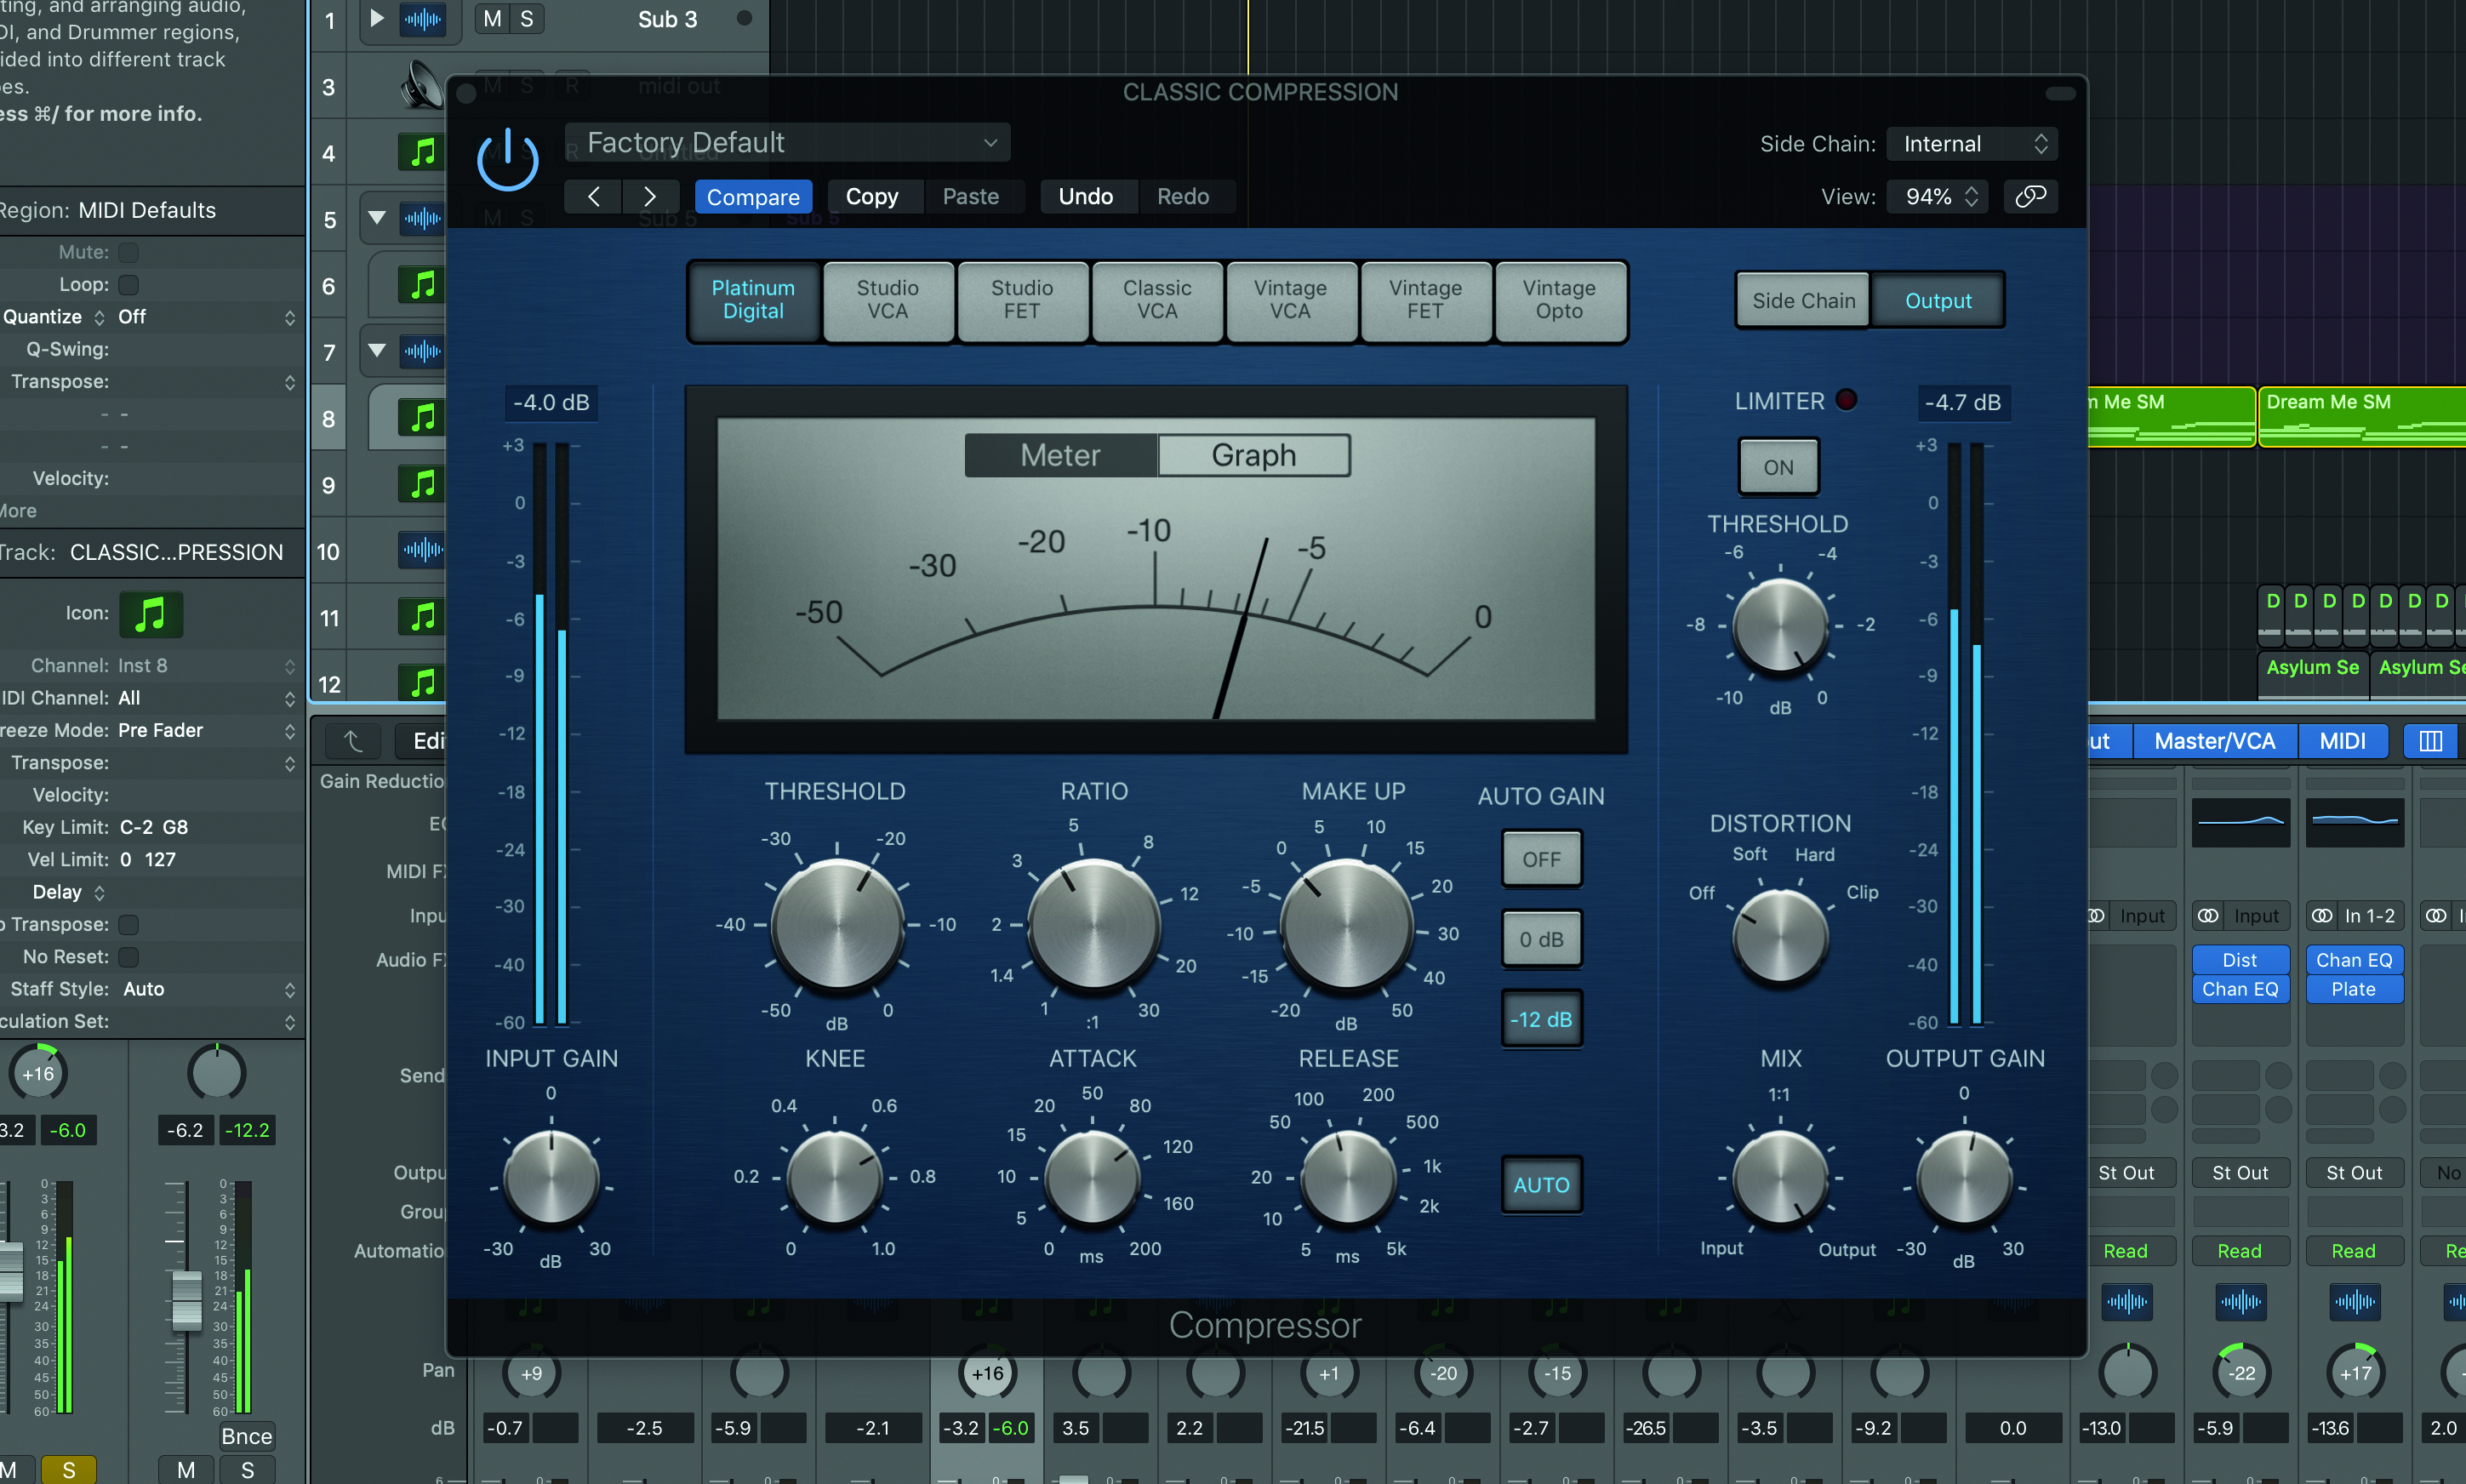
For a natural sound, use slower attacks (longer than 75ms), gentler ratios (less than 2:1) and always allow the compressor to ‘relax’ back to zero several times a bar.
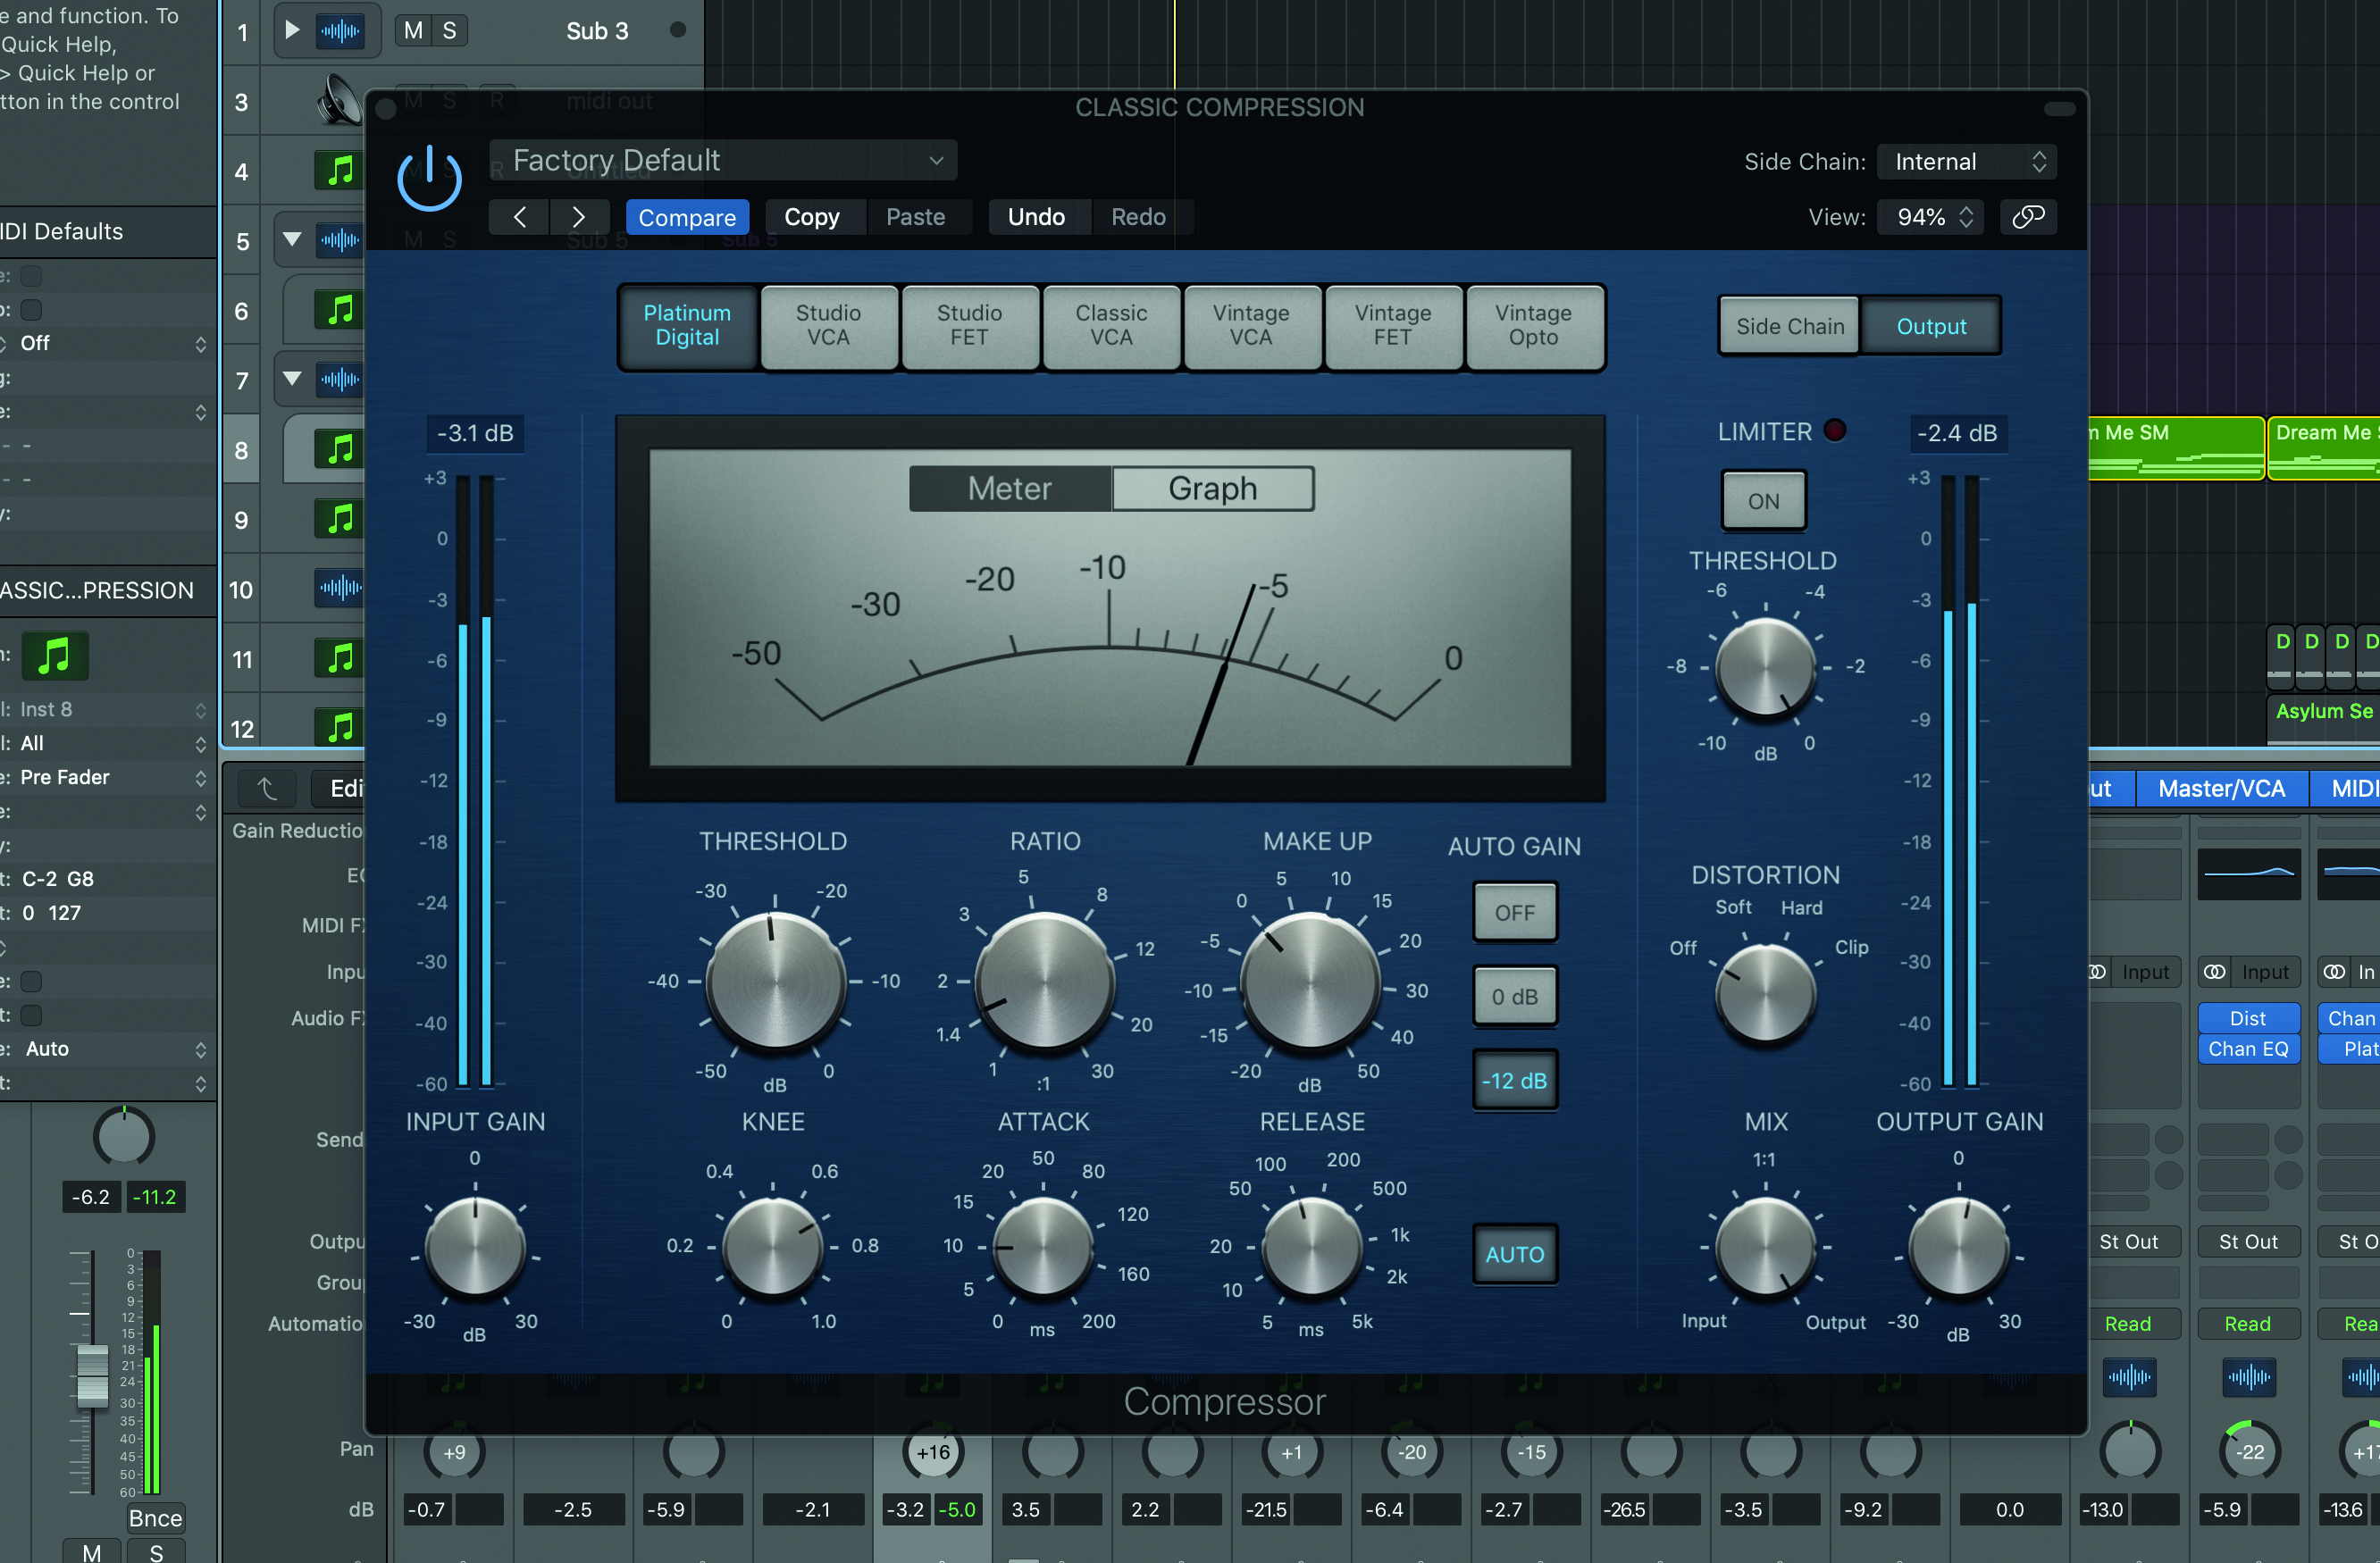
For a harder, punchier sound, use higher ratios and thresholds, but make sure you keep an ear out for distortion.
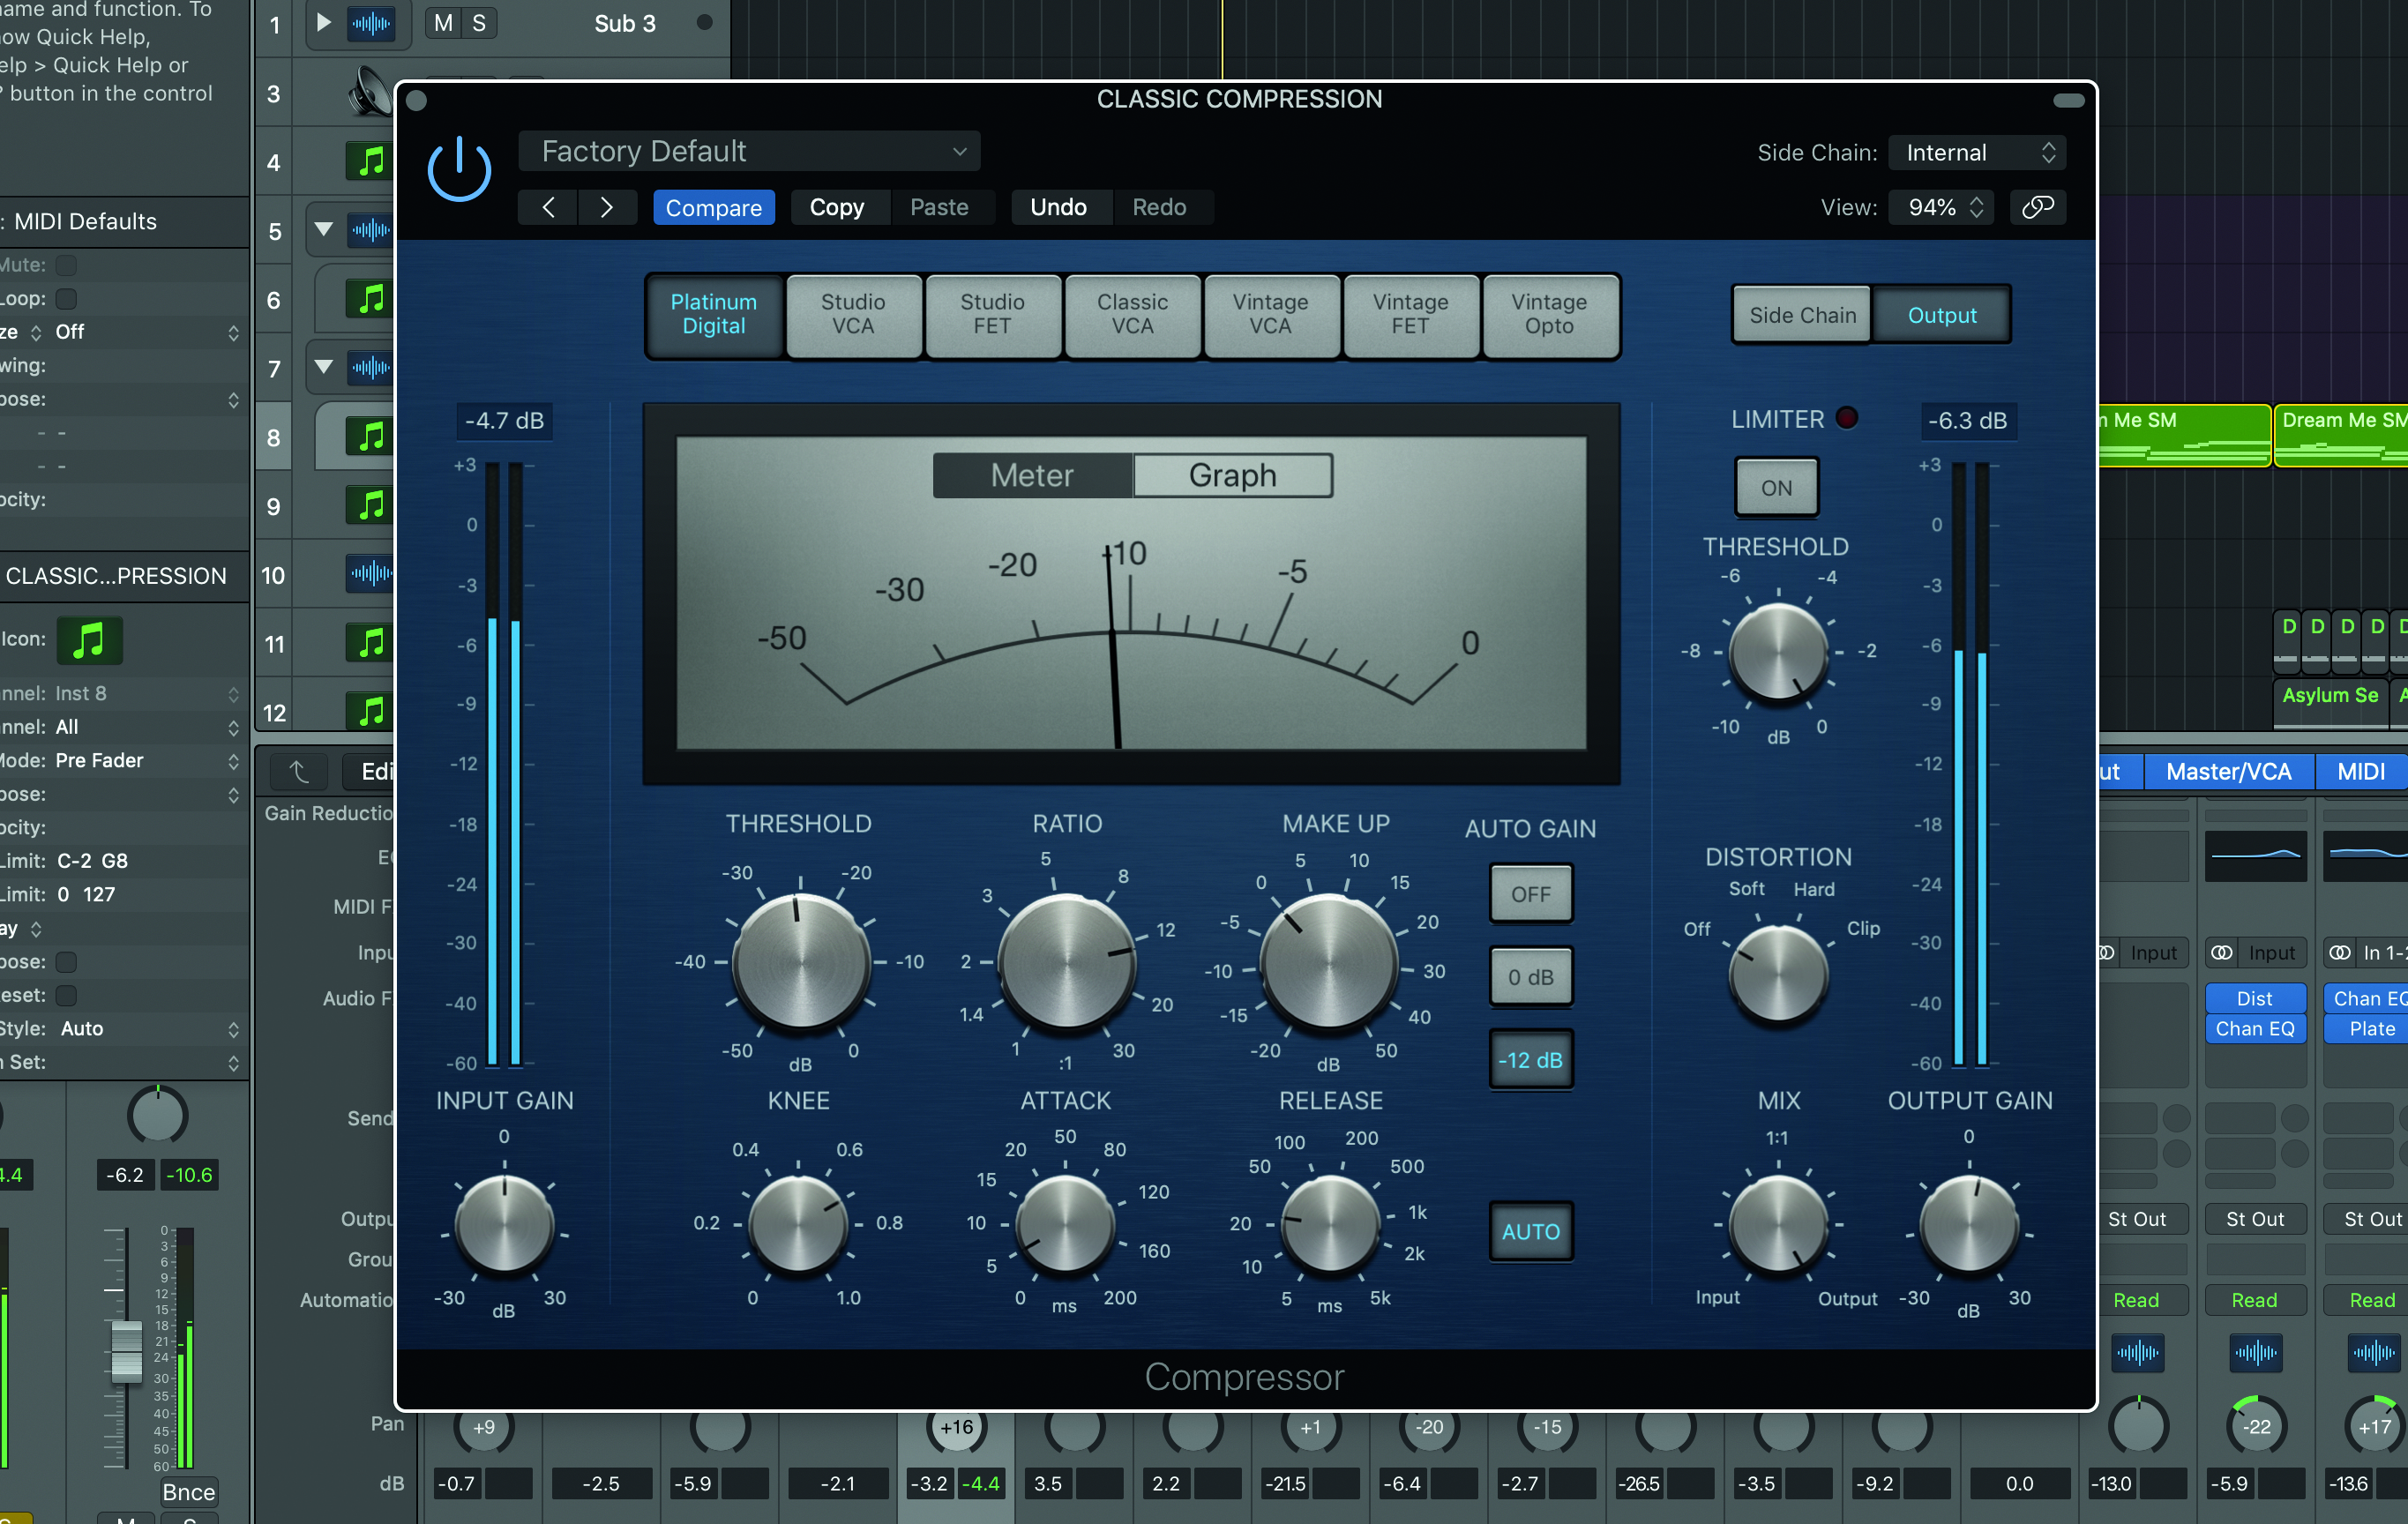
For a thicker, denser sound, use faster attacks, medium ratios and lower thresholds. Be prepared to see much more gain reduction, though.
For an overstated, ‘pumping’ effect, use fast attacks, high ratios and a longer release time. Use it on a stereo buss to affect only part of the mix (e.g. bass and drums) and make sure the effect works in time with the music.
Complex compression
Compression is a complicated system. The controls interact with each other and give different results depending on the source signal. They need to be carefully balanced to get the sound right, making learning compression tricky. Let’s look at some examples.
A family car needs a soft suspension. The ratio needs to be high enough to absorb energy and smooth out the ride, but if it’s too high the suspension will feel stiff and you’ll be jolted around. In music, the ratio needs to be high enough to control the signal level in the way you want, but not so heavy that the life and energy of the music is squashed out.
A car’s suspension needs to react fast to bumps. If it has a slow ‘attack time’, you’ll feel the bump before the springs have had time to absorb the shock. It needs a fast release time, too, to allow the wheels to follow the surface of the road, otherwise you’ll get a noticeable ‘bounce’ afterwards. Similarly, the attack time of a compressor needs to be fast enough to catch the changes in level, while if the release time is too long you’ll hear it ‘bounce’ afterwards.
The threshold needs to be set so that a car suspension works when it’s needed. If the car is heavily loaded, it may be sitting low on the suspension with the springs already working. If you hit a bump there may not be enough play left to absorb the impact. This would be equivalent to setting the threshold level too low on a compressor. If the threshold is too high, the compressor hardly does anything. This would be like a car that wasn’t heavy enough to bring the springs into play.
Exploring the subtleties
Not all compressor settings are car suspension-friendly… Imagine you want that classic ‘pump and suck’ sound that Daft Punk used on One More Time. That is achieved using a compressor with a high ratio, fast attack and a long release. In car suspension terms, that’s the equivalent of the car dropping down suddenly on hitting a bump, then gradually smoothing out.
So, the rules of thumb we’ve discussed so far are only the beginning of the story. Like all processing in audio recording and mixing, it’s just as valid to ignore the rules as it is to do things by the book. If it sounds right, it is right!
Compare a handful of compressors and they will sound different when used on the same signal, even with the same settings. In this way, some engineers use compression to add ‘character’ to the sound, rather than to control it.
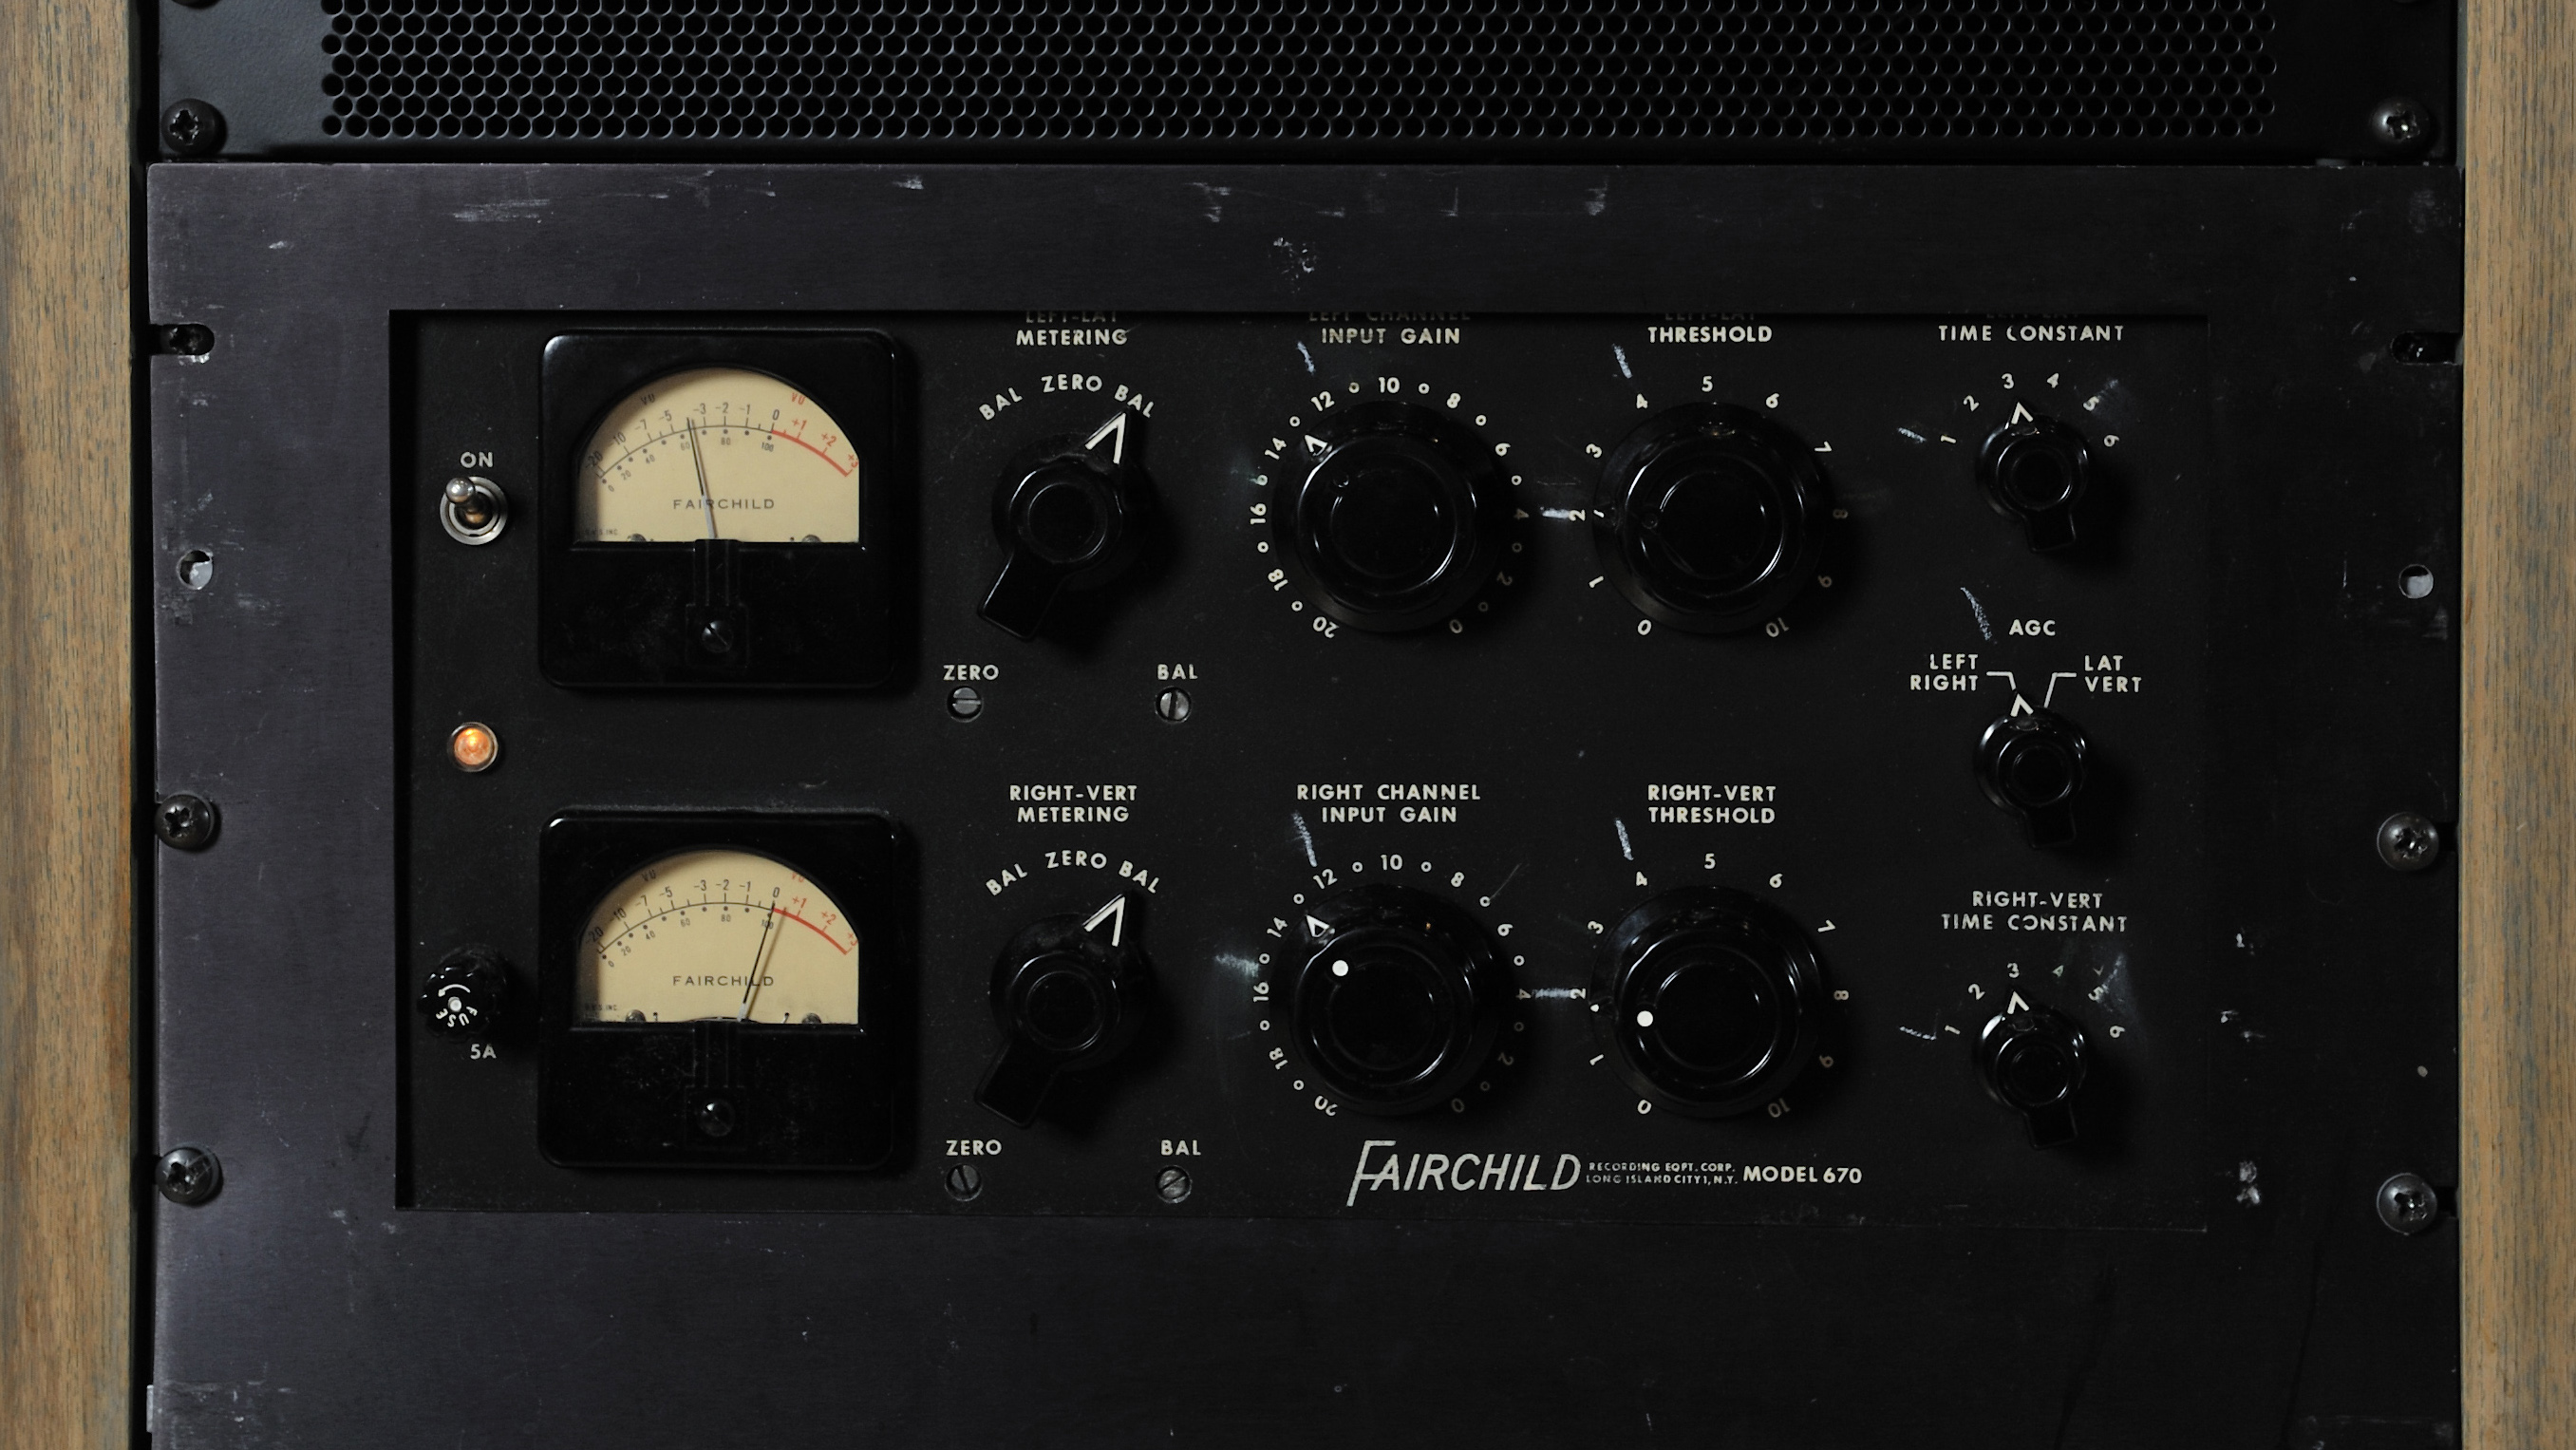
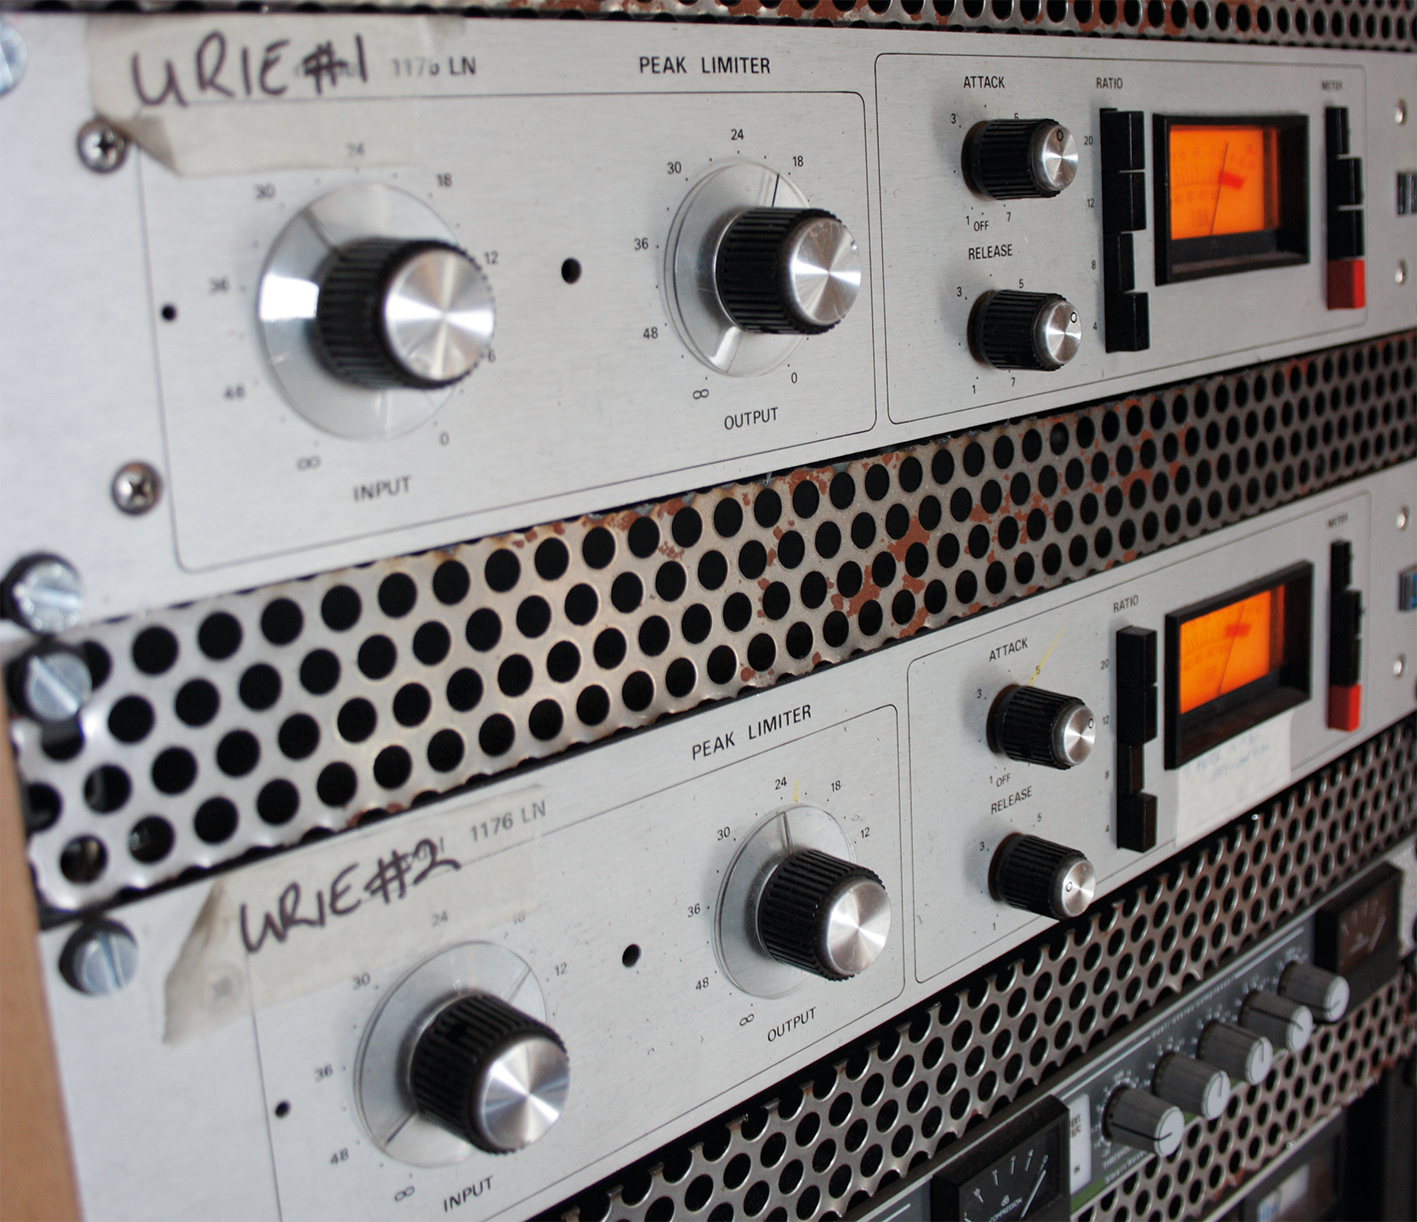
Character can mean the effect that dynamic control has on the sound (a well-compressed vocal can sound full, warm and intimate, when the original sounded thin, hard and distant). It can also mean the sonic characteristics of a hardware compressor – the valves of a Fairchild, or the lightning-fast attack time of a Urei 1176. Remember, the rules of thumb suggested here apply to ‘mathematical’ software compressors. Don’t expect a 4:1 ratio on Logic’s compressor to sound the same on a classic hardware unit, or even a modern software emulation.
Finishing touches
Five top tips...
1. Decide what you want to achieve
Are you looking to control a dynamic signal or add punch and impact? Or do you want to change the sound and create an unusual effect? Keep listening with your final goal always in mind. Choose a neutral starting point. We suggest a ratio of around 2:1, 75ms attack time and around 100ms release.
2. Overdo it to begin with
Wind down the compressor’s threshold until it starts working – it can be useful to start with an exaggerated version to get the settings right. You can hear how the attack and release is working at the more extreme settings. If you find yourself having to turn the threshold a long way down,
3. Listen!
Fine-tune the settings, remembering the goal you have in mind. Once you’re getting close, you can adjust the threshold to get just the right amount of compression to achieve the effect you want.
For a smoother sound, try a faster attack time and higher ratio, but be sure to keep enough energy in the sound. To reduce ‘bounce’ (where you can hear the level duck as the compressor cuts in and then spring back up when it releases) try a shorter release time and easing off the threshold, or try using a lower ratio.
To add punch, experiment with higher ratios, slightly longer attack and shorter release times, but watch out for ‘pumping’ (where the end of the note is louder than the start) and any distortion that’s introduced.
4. ...listen again!
How does it sound? Balance the different settings against each other. For example, higher ratios usually need higher thresholds if you want to avoid a heavily over-compressed sound. But maybe you don’t…
5. Don't be afraid to experiment
Some of the greatest sounds in popular music owe their existence to the use of compressors – and some of the most unpleasant, too! Using too much compression when it’s not needed is almost always worse than too little.
At the end of the day, though, there’s no right or wrong when it comes to compression settings – only what sounds right to you.
Computer Music magazine is the world’s best selling publication dedicated solely to making great music with your Mac or PC computer. Each issue it brings its lucky readers the best in cutting-edge tutorials, need-to-know, expert software reviews and even all the tools you actually need to make great music today, courtesy of our legendary CM Plugin Suite.
"If I wasn't recording albums every month, multiple albums, and I wasn't playing on everyone's songs, I wouldn't need any of this”: Travis Barker reveals his production tricks and gear in a new studio tour
“My management and agent have always tried to cover my back on the road”: Neil Young just axed premium gig tickets following advice from The Cure’s Robert Smith


