9 ways to create better drum mixes
Power your beats up to commercial standards with these essential techniques

MIXING WEEK: If there's one thing guaranteed to undermine an otherwise good track faster than any other production or engineering failing, it's badly mixed drums. Fortunately, today's software tools give the computer musician a huge advantage in this department - as long as they know how best to put them to use, of course.
With this collection of pro tips by your side, you have access to a range of tried and tested techniques sure to get your beats sounding their best.
For more drums-related tutorial action, pick up the January edition of Computer Music.
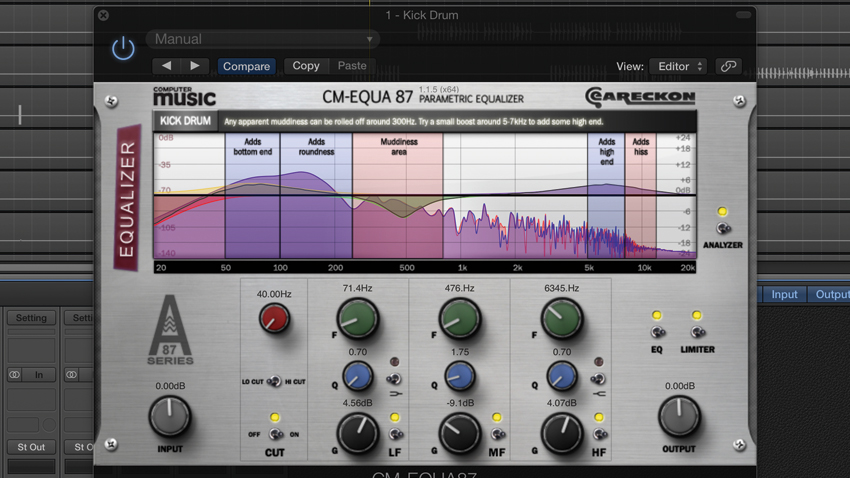
1. Know your frequencies
Instead of blindly EQing, get to know what frequencies are responsible for which aspects of the drum sounds in the genres you work in. For example, with an acoustic snare drum, you can safely high-pass around 100Hz, as all you’ll find below there is bleed from the kick and toms. The 150-300Hz area can be boosted with a broad bell for warmth and ‘oomph’. A cut around 300-700Hz can cure boxiness and ringing. Attack and clarity can be added by boosting 2-4kHz.
The exact settings vary depending on the recording and the desired outcome, but knowing where to start and what each frequency component sounds like gives you a great headstart.
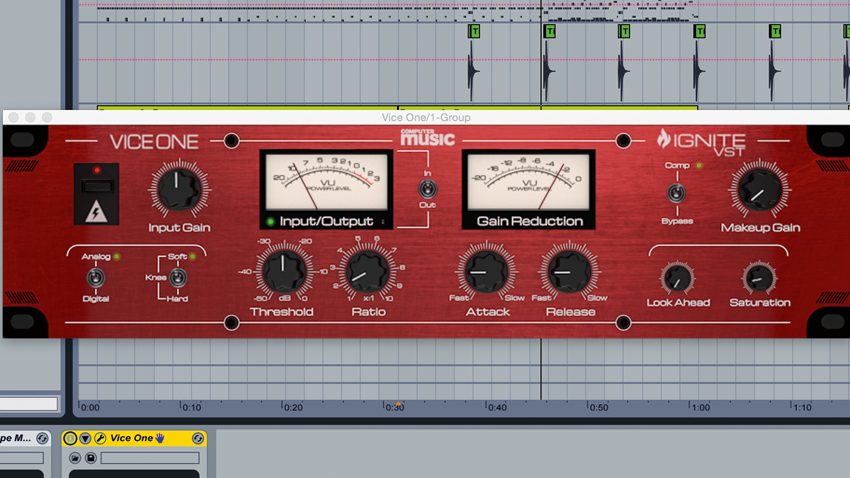
2. Bus master
To gel drums together, route them all (or all but the kick) to a group bus for processing as one. Compression is the most common process, often with a fairly modest ratio – try 2:1 as a starting point, with the threshold set to give just a few dB of gain reduction. The aim is to make the drums more cohesive rather than audibly transforming them.
Grouping the drums also makes it easy and quick to EQ them in one go - great if you have a tendency to mix drums too bright, with too much lower midrange, and so on. Bus saturation, clipping and limiting can be employed to add warmth and/or control peaks.
Get the MusicRadar Newsletter
Want all the hottest music and gear news, reviews, deals, features and more, direct to your inbox? Sign up here.
Another trick to try is bussing the kick and bass, squashing them together with compression.
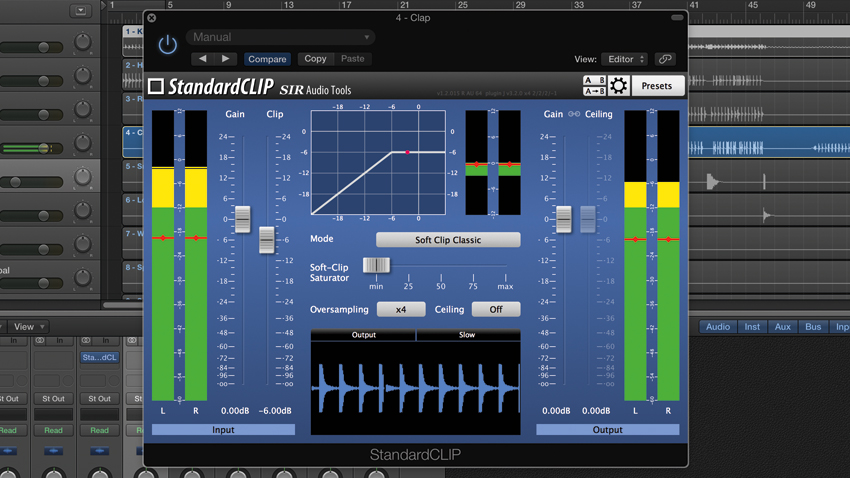
3. Max headroom
Managing drum transients can be a real headache. We all want punch, snap and impact, but if transient peaks are too strong, they could drive your master limiter crazy and ruin your mixdown. There are solutions, though.
First, compare your mix to good quality reference tracks – it may be that you’ve made your drums way snappier than they should be. Short fades at the starts of samples can help here, or try a transient shaping plugin like Computer Music's free TS-1 CM to reduce the attack. If the sound is right but the peaks are still too high, try putting a limiter, clipper or saturator on individual drum tracks - shaving off a few dB across multiple channels can get things under control with no audible side effects.
4. Chain reaction
There’s a good reason why sidechaining is constantly recommended as a mixing technique: it works! The most common approach is to put a compressor on the bassline channel, feed the kick into its sidechain, then use a fast attack and quick release, and adjust the threshold and ratio so that the gain is reduced by a few dB every time the kick hits. This allows the kick to cut through without clashing with the low-end frequencies shared by the bassline.
Also try running all of your drums except the kick to a group bus, then routing the kick into the sidechain of a compressor on this group, allowing the kick to pop through the percussion.
You can take the concept further, such as ducking a percussion loop when the snare hits, and the effect can be as subtle or as obvious as needed. Check out alternatives to traditional sidechain compression, too, such as Vengeance Sound Multiband Sidechain, Cableguys VolumeShaper 4 and Xfer LFOTool.
5. Style guide
A drum mix that’s perfect for one genre could sound completely out of place in another, so it’s vital to understand the parameters of the genre you’re working in. This goes right back to the source - if you’re expecting to EQ the drums from your Insane Euro Gabber Beetz sample pack and turn them into smooth retro house grooves, then you need to think again!
With the right sounds in place, you can carry the ethos through to the mixing stage. Retro genres could sound good with the treble rolled back, warming tape saturation liberally applied, and rough edges left in place. For up-front EDM and DnB, you may need to clinically pare back the drum tracks, cutting clashing frequencies and dead air before/after the hits to achieve separation and clarity. Compare often to your favourite reference track to make sure your beats hit the right spot and that you haven’t gone too far.
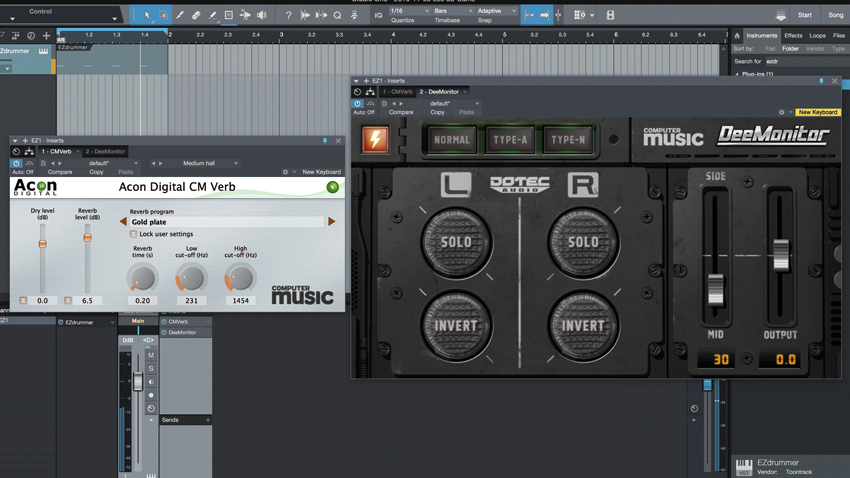
6. Reverb magic
For super-subtle enhancement of any percussive sound, use ultra-short (eg, the minimum setting) reverb time, then dial up the wet amount until you hear a non-intrusive 3D effect. This can bring flat, mono samples to life. To add artificial sustain, ‘oomph’ and emphasis, increase the reverb time very slightly, then use the reverb’s filters to focus the tail on the range you want extended, such as the mids on a snare. Adjust stereo width if the results are too wide or narrow.
By applying reverbs in this way as inserts on individual drum tracks, you can enhance the kit where needed without it sounding like you just drowned the whole thing in cheesy hall reverb.
7. Parallel universe
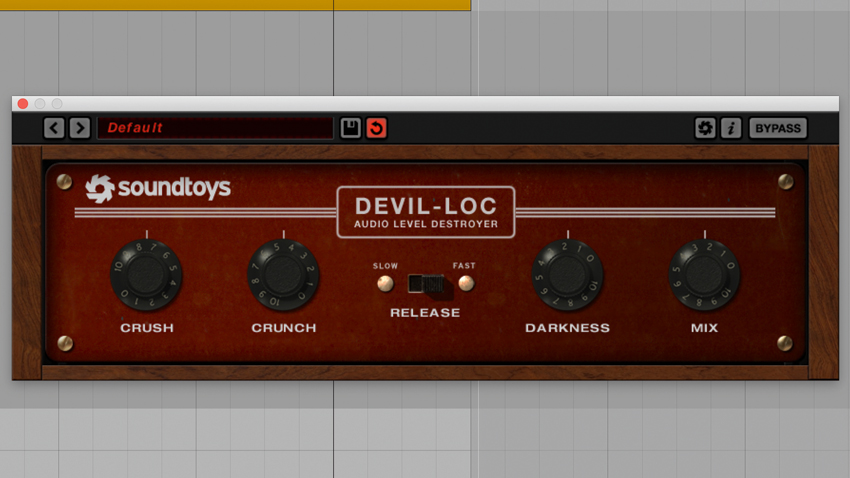
Sometimes we love the sound of a strongly applied effect, but we just want less of it in the mix. This can be achieved through parallel processing - most often used with compression. Many compressors feature a dry/wet control precisely for this purpose, so find a flavoursome one and dial in aggressive settings (eg, super-fast attack and release, strong ratio, low threshold). Now adjust the dry/wet amount until the crushed wet signal fills out the quieter parts of the beat, retaining the original punch.
8. Hit tune
Just nudging a sound up or down a semitone or two could be enough to improve its interaction with surrounding elements. For hits that coincide, such as when a kick and snare play together, the technique can improve punch. Also try tuning the drums to the key of the song - this can be especially effective with the kick drum, as it can sound jarring if the kick is playing a note that’s not in the same key as the bassline.
With sounds that have an obvious pitch (eg, claves), tuning can help the sound become less obtrusive. With cymbals, tuning is rarely important in a melodic sense, but it can be used to alter timbre.
9. Don't do it!
After reading these tips, you might be raring to slap EQs, compressors, reverbs, clippers, limiters and transient shapers on every drum channel and bus. But these are just suggestions - you should never compress, EQ or apply reverb ‘just because’. Are you compressing to shape the attack, regulate volume levels… or just because you read that you should? Use your ears to determine what your drums actually need. And remember, many sampled drum hits have already had these processes expertly applied. They may need only the lightest of EQ tweaks to fit them with the other sounds in your mix - doing much more could just make them worse!
MusicRadar's Mixing week is brought to you in association with Softube. Check out the Mixing week hub page for more mixing tutorials and tips.
Computer Music magazine is the world’s best selling publication dedicated solely to making great music with your Mac or PC computer. Each issue it brings its lucky readers the best in cutting-edge tutorials, need-to-know, expert software reviews and even all the tools you actually need to make great music today, courtesy of our legendary CM Plugin Suite.


