8 widescreen cinematic sound design tips
Cinematise any production with these pro soundtrack tips and techniques

Cinematic soundtrack producers are spoilt for choice when it comes to the technology they get to use in every production. Producers and sound designers have a slightly different rulebook for scoring sound for picture than do regular music producers, but we can still co-opt these techniques to inject drama and energy into our music.
Here are eight ways you can give your productions that cinematic edge, whether you're adding extra tension to a regular track or scoring a soundtrack of your own.
1. Crank the reverb right up
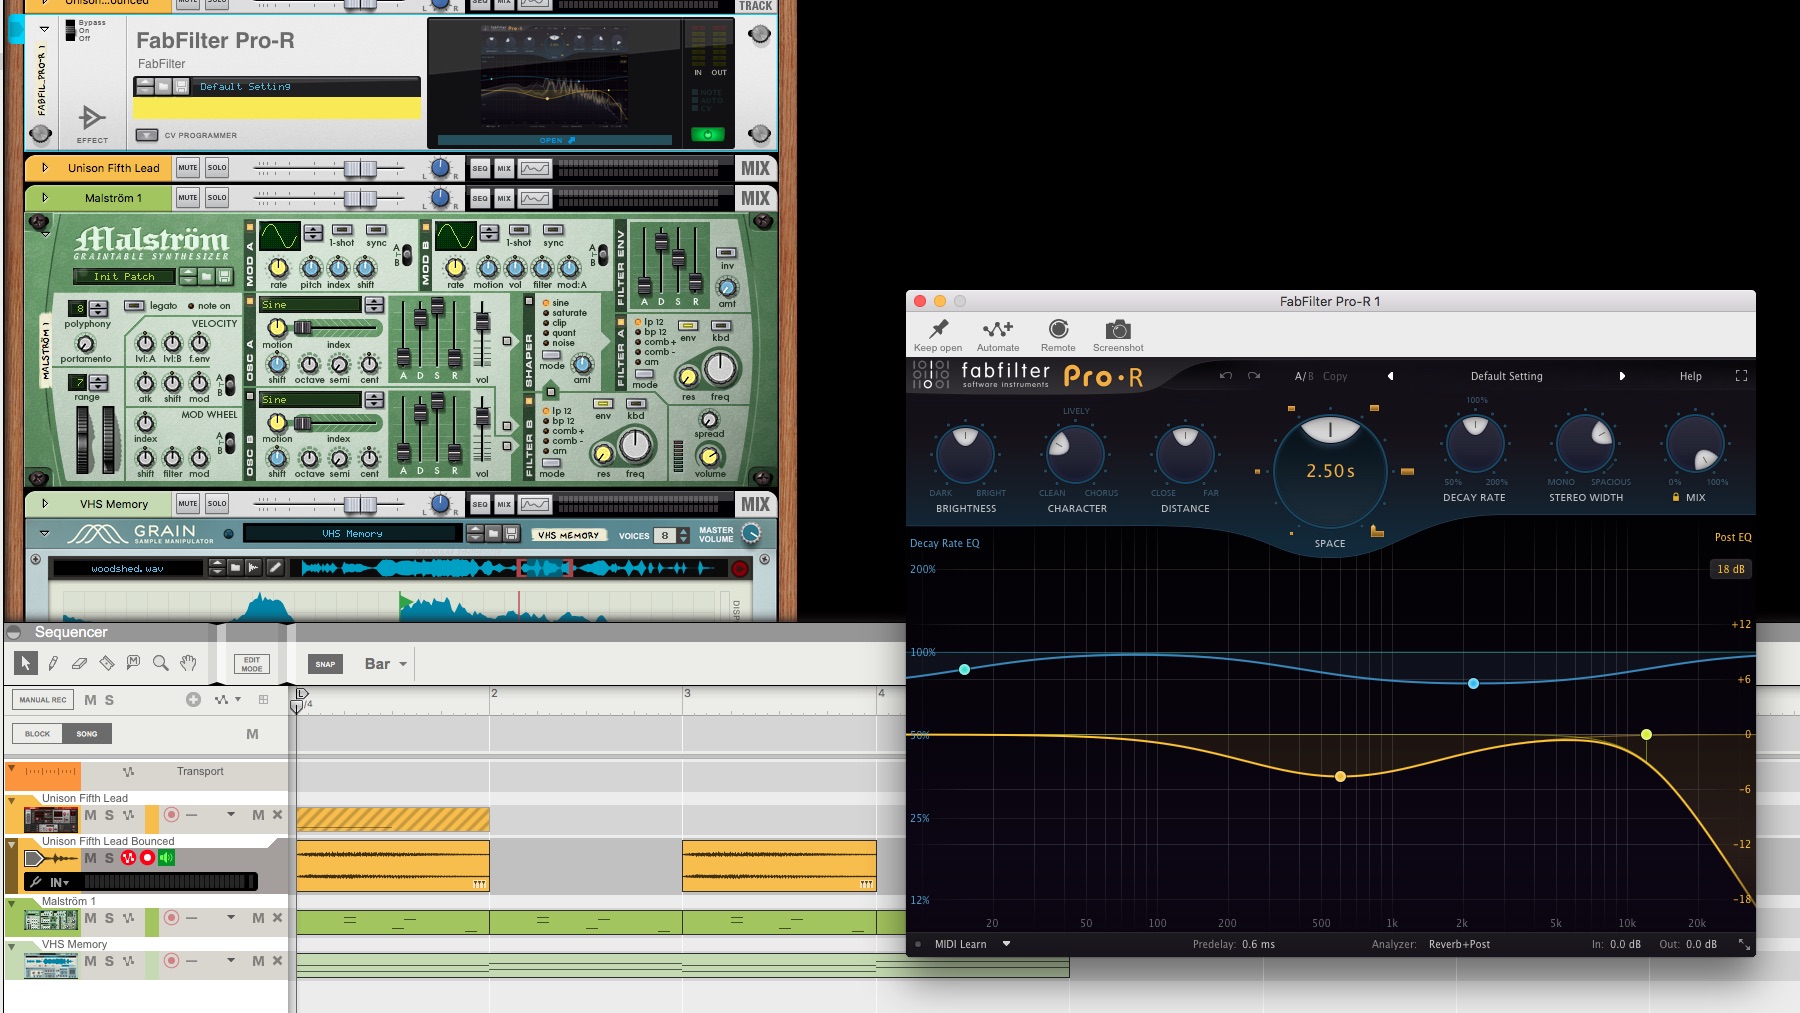
Experiment with long and dense reverbs on impactful hits, even if they’re rich in bass. There’s an old (and often inaccurate) rule that you can’t add reverb to bass tones, but in the world of cinematic transitions, lengthy reverb tails on hits and booms are highly encouraged.

2. Render to get more control
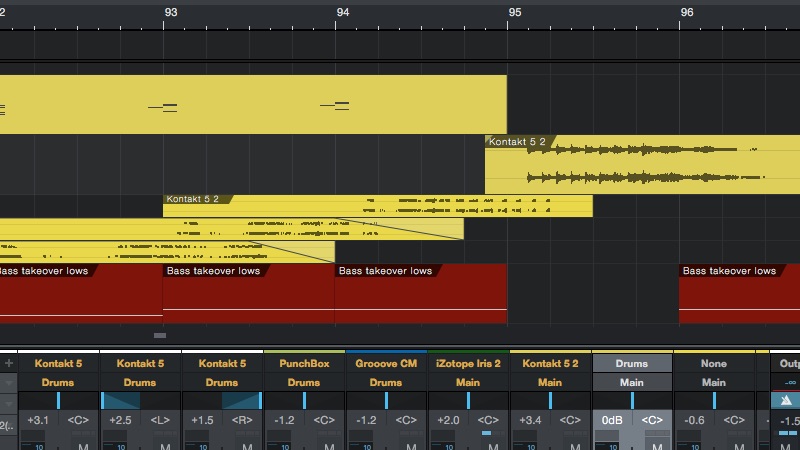
Don't be afraid to render your ‘massed transition effects’ to a single stereo file to manage volume contours precisely. Often this can be beneficial to create a fade in, or manage long reverb tails with basic audio effects which apply to the ‘whole’ sound, rather than just its constituent elements.
3. Time sub drop pitches properly
There's always a great bass response on a cinema sound system, and soundtrack producers are used to using it to their full advantage. Sub drop sounds are those descending low notes that drop the listener right from the stomach to the bottoms of their feet,
When creating sub drops in tracks behind a fixed harmony, make sure your drops land on the ‘root’ note of the chord at the right moment. Getting things in key is always crucial, but especially so when you’re dealing with low frequencies.
4. Manage space in the virtual soundstage
Your source sounds, whether recorded, sampled or constructed within synthesizers, will form the backbone of your cinematic effects, risers and textures. But how they’re treated with ‘space’ will be just as central to their success. Tailoring reverbs to suit your tracks is fundamental, and you’ll find that each will benefit from its own spatial considerations.
Get the MusicRadar Newsletter
Want all the hottest music and gear news, reviews, deals, features and more, direct to your inbox? Sign up here.
For instance, if you’re making moody drones, long reverbs with the top end rolled out may well sound great, whereas white noise sweeps and other sounds rich in high-frequency content may well benefit from the extra fizz of a bright treatment.

5. Beef things up with parallel distortion
Distortion effects are a huge part of the world of sound design. Distortion introduces new harmonic content to sounds making them more present. However, simply inserting a Distortion plugin onto an audio file or instrument track can overwhelm that source sound, and even if you create a treatment you like, it will only be available to that one sound.
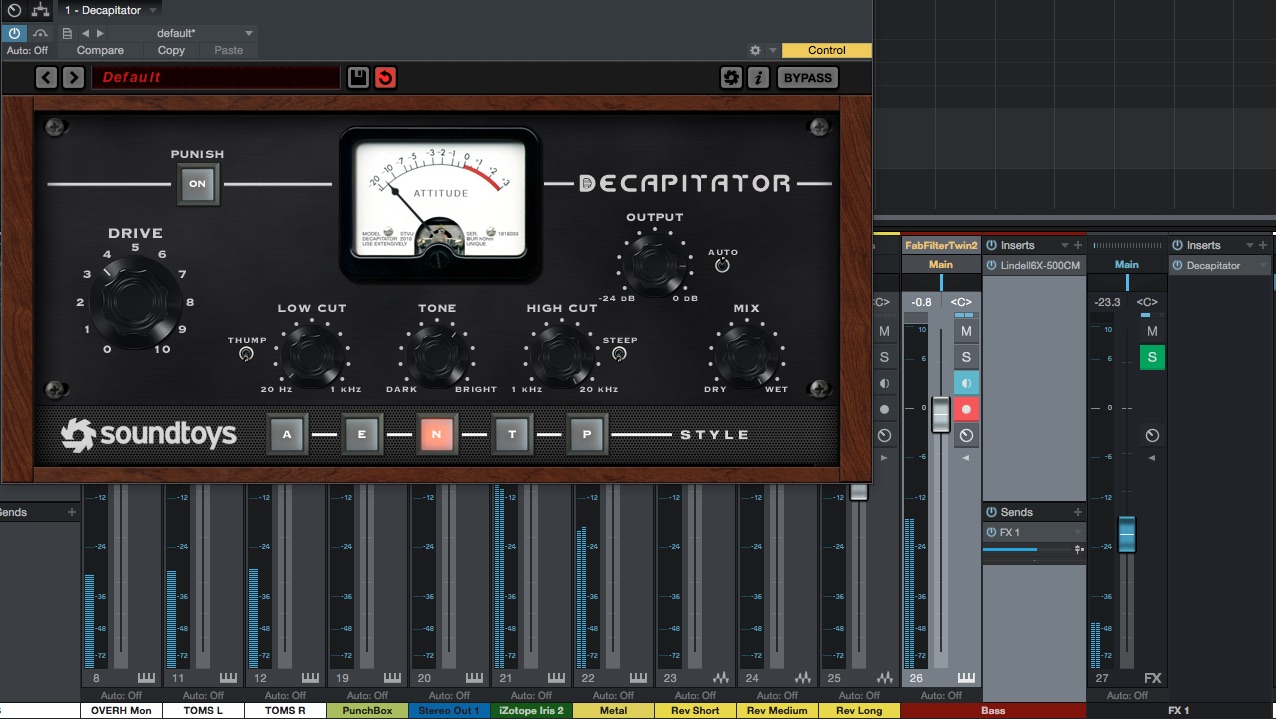
Configuring a parallel distortion treatment on an Auxiliary, so that individual sounds can be sent to it in differing amounts, often works better and provides more power too; you’ll hear all of the original sound as well as the parallel distortion channel too.
6. Underpin your impact hits
If you’re creating a huge cinematic ‘hit point’ sound, it’s worth underpinning your brighter, angrier, more metallic sounds with deep dark hits. Combinations of low-pitched drum sounds, treated with similarly dark, long reverbs can be hugely effective.
Try blending a deep Taiko sample with an orchestral bass drum, an 808 kick and possibly a low tom as well. Spend some time finessing velocities (often quieter ones work better than the loud ones) to help set the relative volume balance of these sounds, then some EQ before reverb. Try this sound under your brighter hits and they’ll pack much more punch.

7. Line up reversed sounds
Reversed sounds can create a disturbing, powerful effect, but be careful with the placement of these sounds in your cinematic effects.
Suppose you’ve decided you’re using a deep piano octave as a long tension builder into a specific hit point. It’s highly likely that the bright attack portion of the original piano recording, now at the end of the audio file once you’ve reversed it, won’t sound great, but trimming it off will leave your sound finishing ‘early’, before the hit point.
To combat this, move your playback bar to the hit point, zoom in as far as you can and move the trimmed audio file along until it ends at the right spot. Then add a 2ms fade-out to ensure it doesn’t click.
8. Build your own sample libraries
As you make recordings of found sounds, don’t just use these as sounds to be used within your current project but take time to curate them as sample libraries so that you can use them again in your future work. It doesn’t matter which sampler you use, but try to get into the habit of saving every interesting sound you’ve come up with, either in its processed or raw form, so that it can be recalled instantly.
This isn’t to advocate using the same sounds over and over again in every new project you begin, but rather to have great sounds at a fingertips for when inspiration strikes, as well as having a ready source of great sounds which you can layer, enhance, re-imagine or add to whenever the need arises. For impactful hits, you can even import these into drum sample libraries like NI’s Battery 4, so that they’re easy to layer with other percussion sounds.
For plenty more cinematic sound design techniques, grab your own copy of Future Music issue 322 in print or digital formats.
Future Music is the number one magazine for today's producers. Packed with technique and technology we'll help you make great new music. All-access artist interviews, in-depth gear reviews, essential production tutorials and much more. Every marvellous monthly edition features reliable reviews of the latest and greatest hardware and software technology and techniques, unparalleled advice, in-depth interviews, sensational free samples and so much more to improve the experience and outcome of your music-making.


