6 ways to customise distortion with EQ
Use EQ before and after your distortion plugins to take total control of those wild harmonics
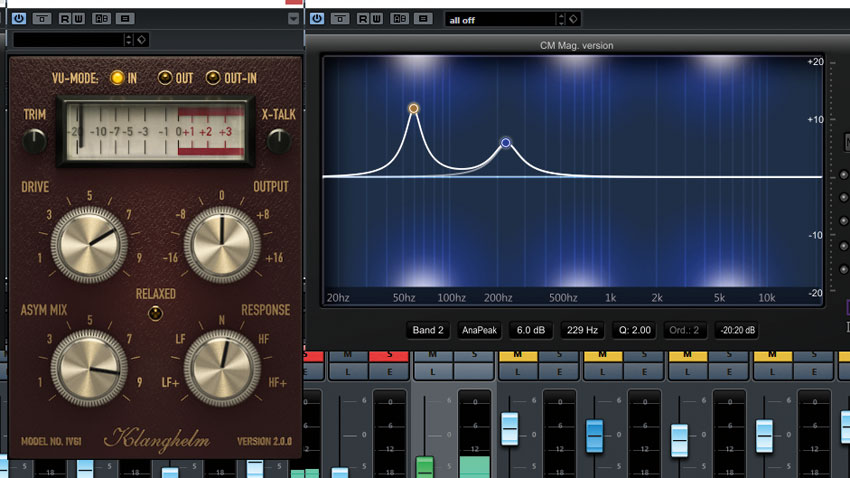
If you think you need more saturation and distortion plugins, try this technique first: a seemingly infinite range of distortion colours can be created from even the simplest of distortion plugins, simply by EQing the sound both before and after the drive stage.
This is not a new concept. Vinyl records are all cut with signals that have been pre-filtered with a standard RIAA curve to dramatically cut the bass and boost the treble, as vinyl is inherently bad at representing low frequencies. On playback, this gets corrected with an equal and opposite filter in the phono preamp stage. This method is exactly what inspired the mix processing techniques we’re going to show you here.
In theory, you can run equal and opposite EQ curves each side of the distortion, and they'll cancel each other out completely, even including their phase response. The result is no actual EQ at all - just a change in the response of the distortion plugin itself. This tends to work best with digital-style EQs like FabFilter Pro-Q 2, as some analogue-modelled EQs won’t let you set up complementary cuts and boosts, and so won’t cancel out perfectly.
Some DAWs might allow you to set up linking between your EQ plugins, so that settings in the first EQ are automatically mirrored and cancelled by the second. For example, use an FX Chain in Reaper with a pair of linked Pro-Q 2 instances, or package your effects within a custom Audio Effect Rack in Ableton Live, and map opposing EQ moves to the Rack’s Macro knobs.
But this is not necessary if you’re just searching for a new timbre: set the pre- and post-EQs by ear, and don’t worry about them cancelling perfectly - just make it sound good.
For more pro mixing tips and techniques, see the April edition of Computer Music.
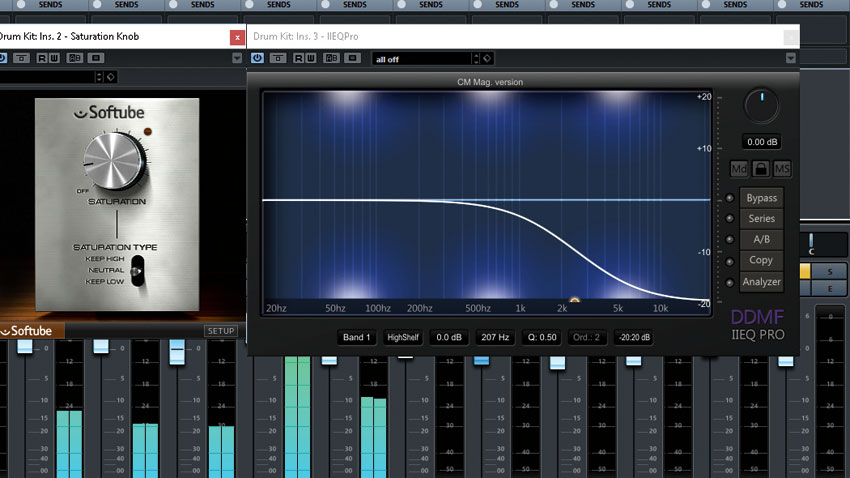
Step 1: Boost high frequencies with a high-shelf EQ boost before distortion, then attenuate the same frequencies again with a high-shelf cut afterwards. Saturating just the high frequencies can make them sound softer, silkier or smoother, assuming you’re using a good quality saturator with oversampling.
Get the MusicRadar Newsletter
Want all the hottest music and gear news, reviews, deals, features and more, direct to your inbox? Sign up here.
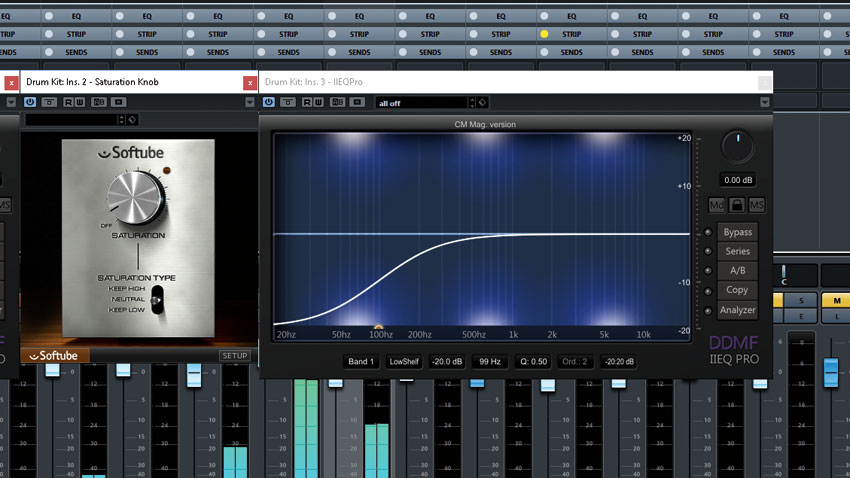
Step 2: Do the same as in step 1, but with a pre-drive low-shelf boost and post-drive low-shelf cut instead. Concentrating the saturation or distortion on the lower frequencies allows you to add more harmonics to that region, which can make the bass seem richer, thicker or brighter, and can help to make low frequencies more audible on small speakers.
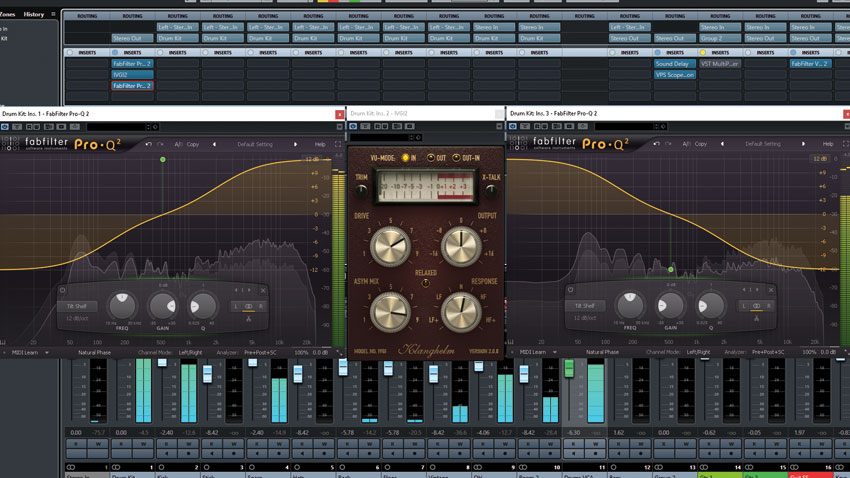
Step 3: Try cutting the bass and boosting the treble before the distortion. Or do both at once with a ‘tilt shelf’ EQ. We’re using FabFilter Pro-Q 2 here. This allows you to profoundly change the character of the distortion by just balancing the gains for two pre- and post-tilt EQ bands.

Step 4: Crank up your distortion until something sounds bad. then hunt down the bad sounding frequencies with a bell shaped pre EQ band, cut them hard before the distortion, and restore them again with a post-distortion boost. This is a great way to add maximum extra harmonics to a part with minimum obvious distortion.
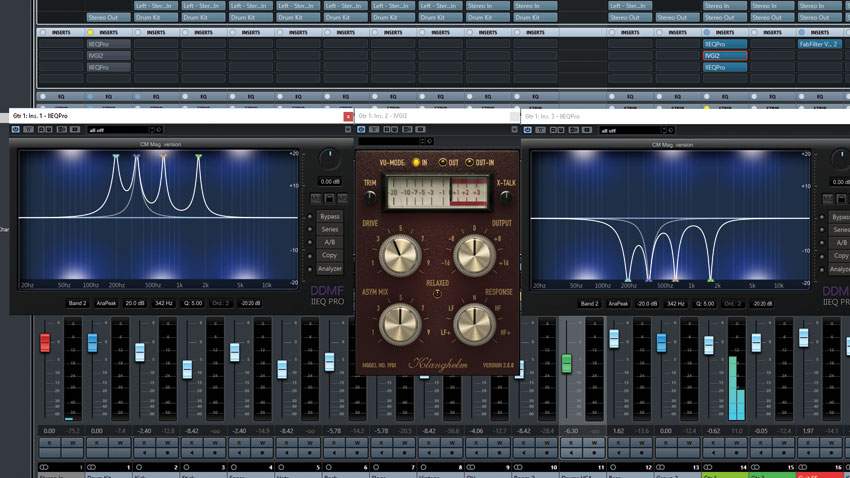
Step 5: Set up a relatively modest amount of saturation, then use narrow pre EQ boosts to push certain parts of the sound up into audible distortion. This can be a great way to add extra character to guitars, synths or Rhodes pianos - anything that can sound good run through a guitar amp, basically.
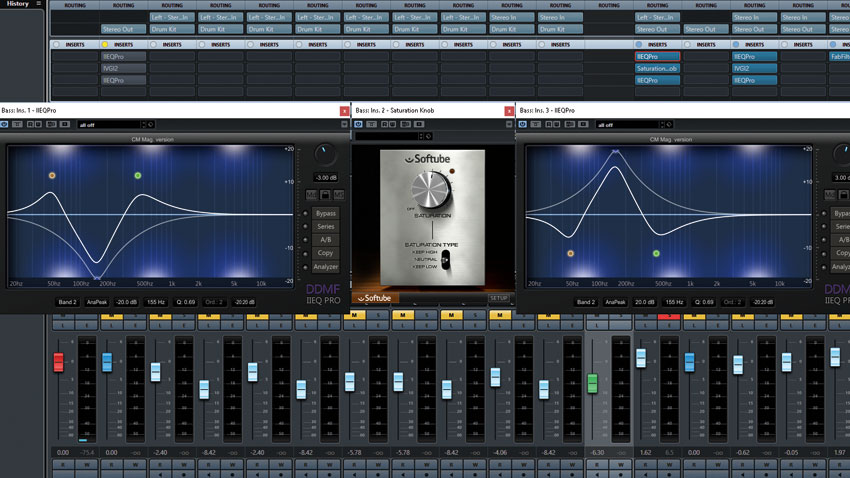
Step 6: Try these settings on bass parts: boost the sub bass around 50Hz pre-distortion to saturate that region and add extra harmonics. Then cut around 100-150Hz to avoid ‘farty’ distortion over the meat of the sound. Then boost again in the low-mids between about 250-500Hz - whatever sounds good. Then do the opposite after the distortion.
Computer Music magazine is the world’s best selling publication dedicated solely to making great music with your Mac or PC computer. Each issue it brings its lucky readers the best in cutting-edge tutorials, need-to-know, expert software reviews and even all the tools you actually need to make great music today, courtesy of our legendary CM Plugin Suite.
“From a music production perspective, I really like a lot of what Equinox is capable of – it’s a shame it's priced for the post-production market”: iZotope Equinox review
"This is the amp that defined what electric guitar sounds like": Universal Audio releases its UAFX Woodrow '55 pedal as a plugin, putting an "American classic" in your DAW


