6 things you need to know about stem mastering (and why you should care)
Make your mastering process easier with this empowering engineering technique and our advice
The on-trend process of 'stem mastering' simply means bouncing stems for mastering rather than a stereo mix in a single file.
The ability to independently tweak each main element of the mix - drums in one stem, vocals in another, etc - gives the mastering engineer (be it you or a hired gun) far more control over the sound of the final master than a traditional stereo premaster ever could.
It's a technique that's well worth trying, so here are half a dozen tips to get your started.
1. Be prepared

How to prepare a session for stem mastering
Preparing a finished mixdown for ‘regular’ mastering is simple: make sure your track doesn’t peak above -2dB, export the track down to a stereo file, then send it to the mastering engineer. Easy!
However, prepping your mix session for stem mastering takes a bit more consideration. You’ll want to sum your collection of tracks down to a handful of stems that will facilitate the engineer’s job down the line, and as every mix has its own unique characteristics, it’s vital that you understand how to take full advantage of this approach.
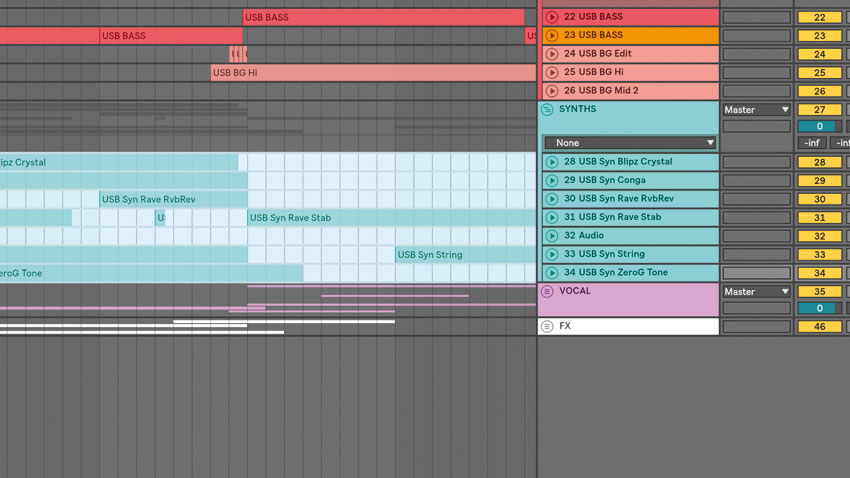
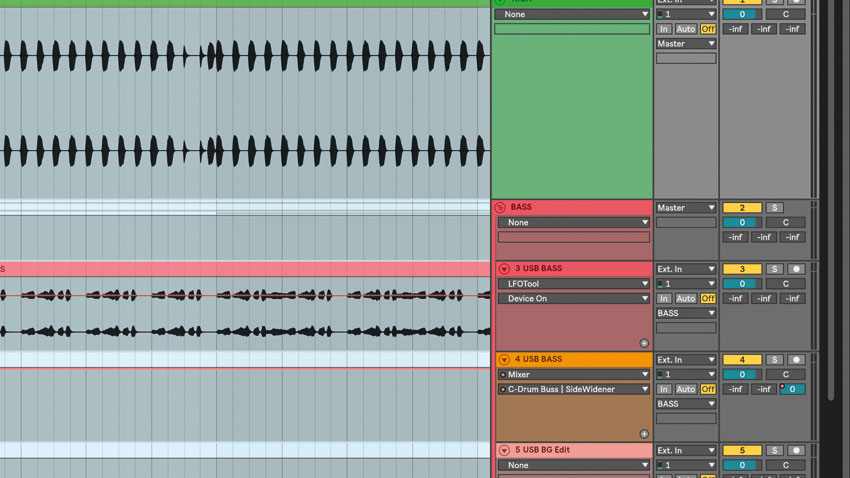
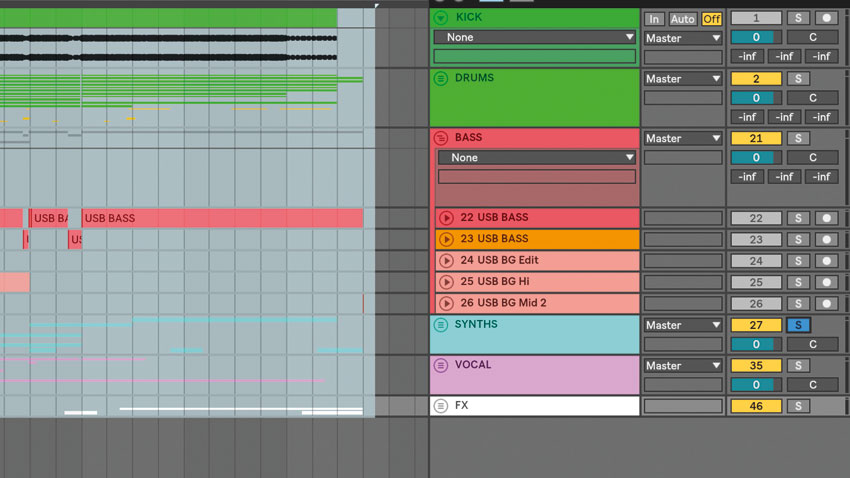
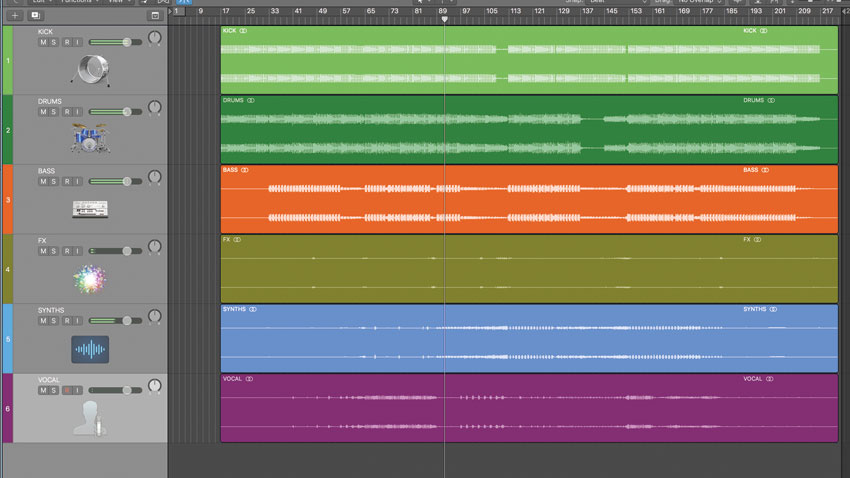
The best way to do this is to create five or six group channels (ie, buses) in your DAW, route signals into them, then label them all appropriately. These groups will then be your stems, and you can solo each in turn and export them. This will neaten up the final mix session, and ultimately will also allow you to keep track on your groupings.

Step 1
It makes a lot of sense to render your kick and bass down to two separate files. This will allow the mastering engineer to refine the balance of these two all-important low-frequency parts, then optimise their separation and interaction if required.

Step 2
Frequency balance must be considered when grouping track elements. If you bundle bright, fizzy synths with darker parts, it’ll be harder to brighten the latter sounds without introducing harshness. Instead, group and export sounds that sit in similar tonal regions.

Step 3
If your mix contains auxiliary effect channels (delays, reverbs, etc, on send/return busses), it’s a good idea to include these signals in with the original source sounds. To export these properly, solo your groups and render them out, to ensure said effects are baked into the stems.
2. Don't be a prima donna
As a rule, creative input decreases as a track goes through the various stages: the artist and/or producer provide the artistic vision, the mixing engineer sweetens and sculpts the mix’s sonics, and the mastering engineer optimises it for final output. Note - stem mastering isn’t mixing, so respect the artist’s vision!
3. Know your limits
When dialling in master bus limiting, overly spiky or dynamic elements can trip gain reduction too early, resulting in less-than-ideal loudness levels. When stem mastering, simply head to the offending stem and apply limiting earlier in the chain. Multiple stages of subtle limiting give a more controlled overall sound.
4. Carry that weight
If a particular stem is getting lost in the overall song, you can easily turn it up. If it’s not quite ‘dense’ enough, try mixing in some transparent RMS weight with parallel compression.

5. Easy housekeeping
Just as you would with a single-file premaster, it’s a good idea to run through a few basic routines to make sure your stems are delivered to the engineer correctly. First, make sure all your stems are of identical length, and that all ‘lead-in’ elements and reverb tails aren’t lopped off, so that they all line up perfectly when the mastering engineer drops your audio files into their project. To retain maximum resolution and headroom, export them out in 24- or 32-bit, at the same sample rate as your mix project. Also, bounce out the master channel along with the individual stems.
Get the MusicRadar Newsletter
Want all the hottest music and gear news, reviews, deals, features and more, direct to your inbox? Sign up here.
Before you send, open a fresh session in your DAW and import the stems. Listen and compare the stem mix to that master export, ensuring that everything sounds identical and looking out for any weird exporting errors.
6. Master that master
As with any mastering process, when stem mastering, try to use as little processing as possible. 0.5-2dB of EQ boost or gain reduction should do. If you need to go further, it probably means the mix needs addressing at source.
Future Music is the number one magazine for today's producers. Packed with technique and technology we'll help you make great new music. All-access artist interviews, in-depth gear reviews, essential production tutorials and much more. Every marvellous monthly edition features reliable reviews of the latest and greatest hardware and software technology and techniques, unparalleled advice, in-depth interviews, sensational free samples and so much more to improve the experience and outcome of your music-making.
“I just treated it like I treat my 4-track… It sounds exactly like what I was used to getting with tape”: How Yves Jarvis recorded his whole album in Audacity, the free and open-source audio editor
Waves makes 7 plugins available for free, including convolution reverb, FM synth and tube saturator


