6 mix-sweetening tricks for custom ear candy
There's no end to the sonic wizardry that can be performed in today’s DAW - here are half a dozen tricks well worth trying…
‘Ear candy’ is one of those vague, subjective terms that can mean anything - but you know it when you hear it! Typically, it will in some way confound your expectations, at least the first time around, and make your ears prick up and pay attention.
Ear candy can be a vocal or lead line, in which case we tend to refer to it as a ‘hook’. Or it can be part of the arrangement, like an unusual rhythmic motif. In the context of a mixing tutorial, though, we’re probably more interested in effects or post-production tricks.
These are often technology-driven: abusing Auto-Tune, for example, is a trick that lost its novelty value long ago. Many of us are aware of the compressed and gated reverbs of the 80s, and the vocal stutter effects that came into vogue when samplers first became available. Beware that jumping on the latest craze might have a tendency to date your mix, though!
Fortunately, the modern DAW provides a huge range of creative options, even before you reach for third-party plugins, so it should always be possible to find novel ways to sprinkle aural fairy dust over a part, yet still avoid becoming a cliché. In this walkthrough, we'll explore a few of them.
For more high-level mixing techniques, get your mitts on the April edition of Computer Music.
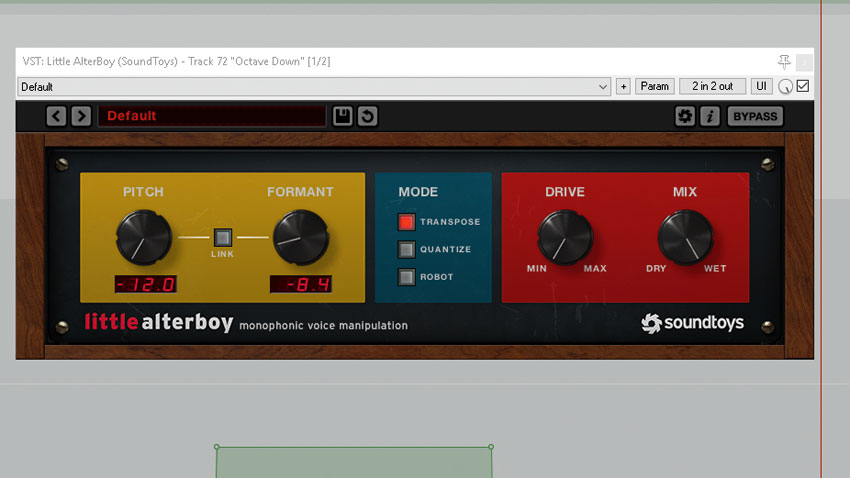
Step 1: Pitchshift a vocal or lead part down an octave, blend it with the original, then fly it in for certain words or phrases to add emphasis. Use your DAW’s pitchshifting, or a plugin like Soundtoys Little AlterBoy, and make sure you play with formant shifting where available.
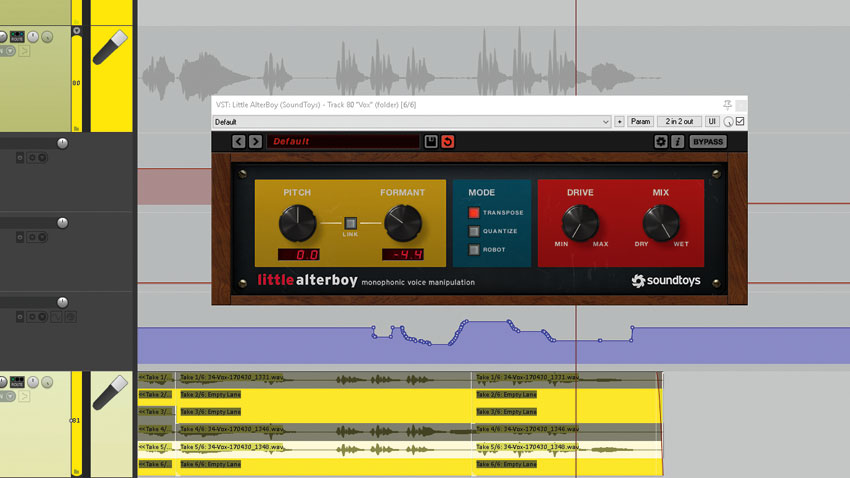
Step 2: Now try using the formant shifting features on their own: make a male voice sound more female for a phrase, or vice versa. Try rhythmically stepping through different formants during a long sustained note. Formant shifting is also a good way to add tonal variety to backing vocals overdubbed by the same singer.
Get the MusicRadar Newsletter
Want all the hottest music and gear news, reviews, deals, features and more, direct to your inbox? Sign up here.
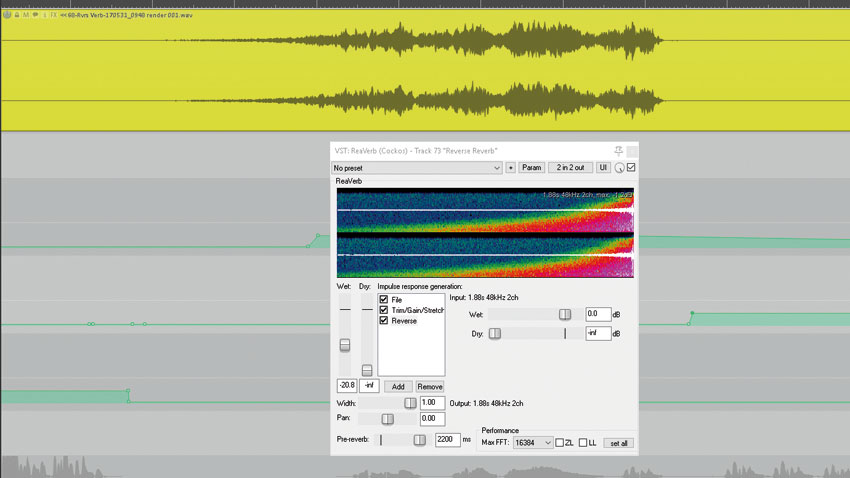
Step 3: Reverse reverb isn’t new, but it’s a lot easier to create than it used to be! Simply reverse the part, apply reverb and print, then reverse the result. For convolution reverbs, try reversing the impulse response. It’s a good way to add an eerie, otherworldly feel, or create a big entrance for a part.
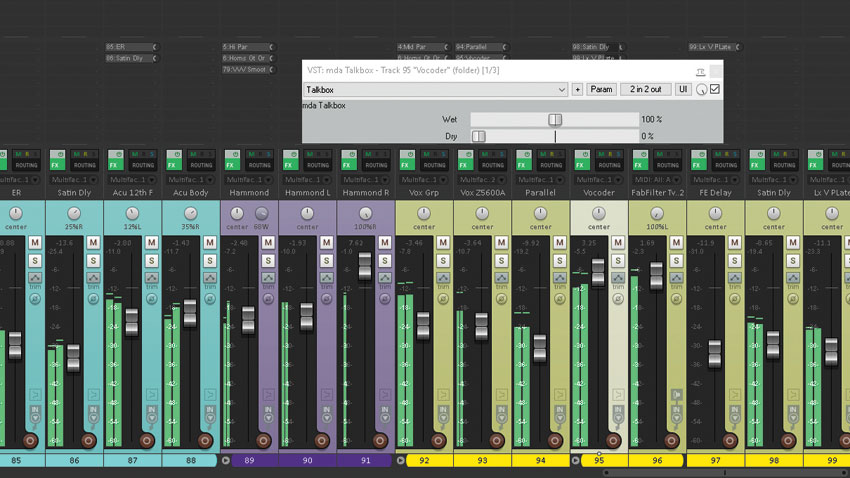
Step 4: Also nothing new, but vocoders will always be cool! The risk of cliché is reduced by the infinite variety of carrier signals available: any sound that’s rich in spectral content will work, like synths, distorted guitars, or noise to create a ‘whisper’ vocal effect. As the carrier can be anything at all, you’re also free to add extra harmonies or counter-melodies.
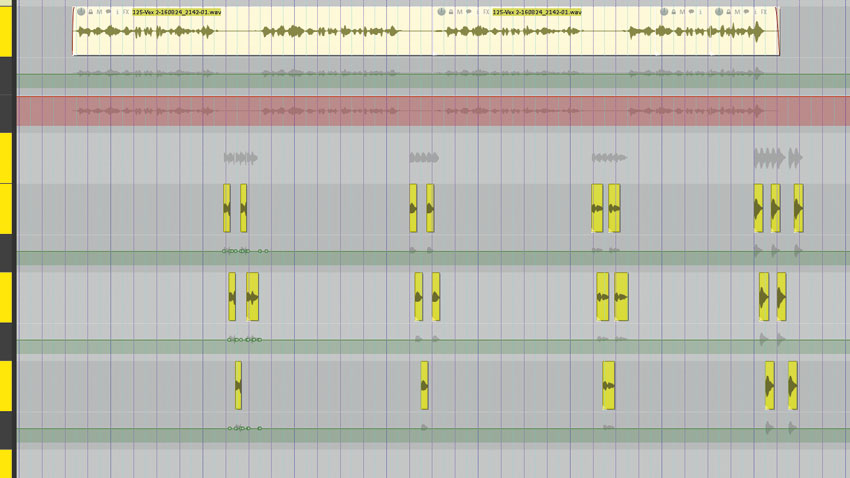
Step 5: Multi-tap delays are great for spot effects, making certain words or phrases bounce around dramatically, then suddenly stop. Lots of plugins exist to do this for you, but don’t forget your most powerful option: do it manually in your DAW! Create a few extra tracks, pan and add effects, then shift copies of the clip around till you get something you like.
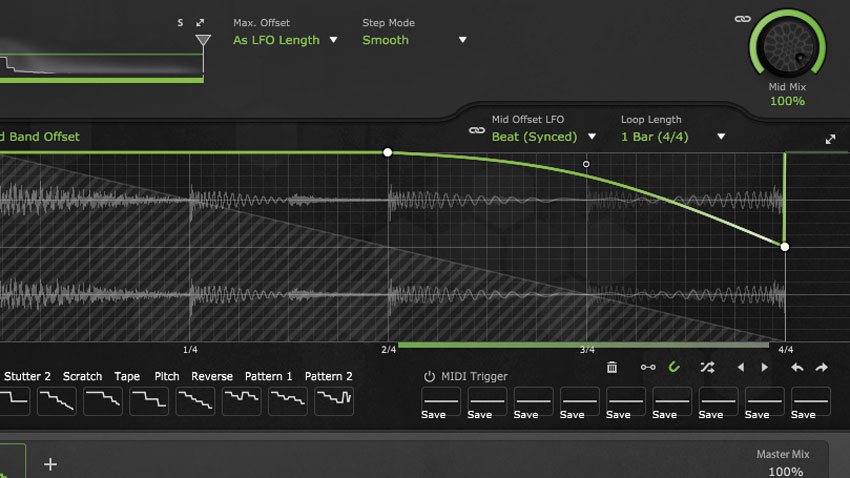
Step 6: The master channel is a great place for dramatic spot effects: a sudden brief cut to silence can be very effective when applied to the whole mix, or everything but the vocal. But you can go further with stutter or glitch effects, pitch swoops or slowdowns, filter sweeps and so on - they’ll all have more impact when applied to the whole mix.
Computer Music magazine is the world’s best selling publication dedicated solely to making great music with your Mac or PC computer. Each issue it brings its lucky readers the best in cutting-edge tutorials, need-to-know, expert software reviews and even all the tools you actually need to make great music today, courtesy of our legendary CM Plugin Suite.


