20 seriously juicy FL Studio power tips
Make your studio sessions more fruitful with these indispensable pearls of wisdom

FL Studio has a strong and vocal fanbase - one that propelled it to another victory in our vote to find the best DAW in the world last year.
The software may be easy to pick up if you're a music production novice, but there are plenty of power features on offer, too. Here are 20 tips for getting more out of Image-Line's fruity beast.
1. Database freedom
The plugin database is comprised of just a couple of folders on your hard drive, so you can add, move, rename, and copy entries just using Windows Explorer. They’re only presets, and you can save over them to define your new favourite load-state. You can nest folders in folders, too.

2. Ride the DirectWave
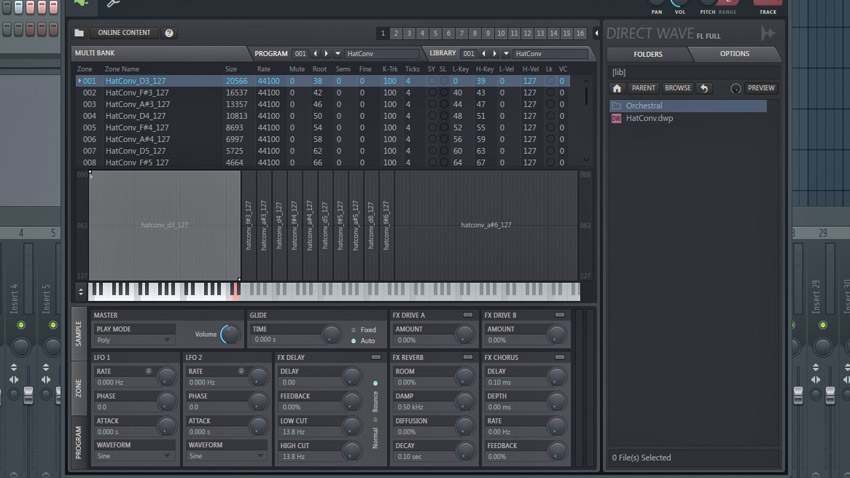
Consolidate your sound by resampling! In FL Studio 12.5 and later, you can right-click channels and use Create DirectWave instrument - even with huge sample libraries - to cut them down to size for the road or when sharing projects.
3. Lightbulb moment
Finding the perfect loop points in a sustained sample can be tricky, but Edison makes it a snap. Make a selection, then press Alt+L to create loop points and Ctrl+L to bring up the Tune Loop options.
4. It must be Love Filter
Fruity Love Philter can be used as an envelope-based ‘sidechain’ effect. Select Vol and Pat to draw your own shapes, and check the Sidechain Low Frequency preset for inspiration.

5. Convolution revolution
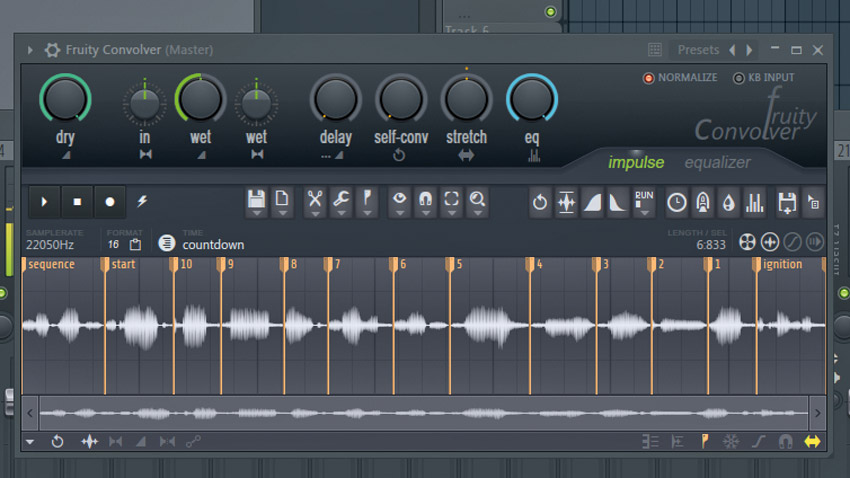
FL’s Fruity Convolver isn’t just for reverb! You’re not restricted to using traditional ‘sampled spaces’ - load regular samples from instruments, loops, and dialogue into Fruity Convolver to get weird and unexpected special effects unavailable anywhere else.
Get the MusicRadar Newsletter
Want all the hottest music and gear news, reviews, deals, features and more, direct to your inbox? Sign up here.
6. Fruit of the zoom
Right-click and drag anywhere in the scrollbar track to horizontally zoom in the Playlist, Piano Roll and event Editor - drag up to zoom in and down to zoom out.
7. Send it on
Fruity Send enables you to route signals from anywhere in the FX chain. Audio sent via Fruity Send will continue to be routed to the target track even if you mute the source track (unlike routing in the mixer). This can also be useful for isolating the send channel.
8. Easy on the eye
A picture is worth a thousand words. Right-click an empty mixer slot to instantly open the Plug-in Picker in all its graphical glory. Much nicer than staring at a long list of plugin names!
9. Declick and correct
When chopping audio clips in the playlist, you might find that you need to apply short volume fades between them. Double-click a clip to bring up its channel settings. Choose Declicking: Transient, Generic, Smooth or Crossfade for increasing lengths of fade. Zoom in to see a visual representation of the fade.
10. Spiritual awakening
Ghost notes can be useful for humanising performances, and they’re especially effective in snare drum patterns. In the Piano roll, go to Menu > Helpers > Editable Ghosts to enable moving and editing of ghost notes. It’s almost spooky how this can bring a dead performance back to life!
11. Instant access
If you need to edit an instrument’s sound while working in the piano roll, simply right-click the plugin name in the title bar to open its interface.
12. Easy conversion
When you’ve created a Piano Roll sequence you like and you want to convert it to a pattern, all you need do is select Tools > Dump score to selected pattern.

13. More mixer
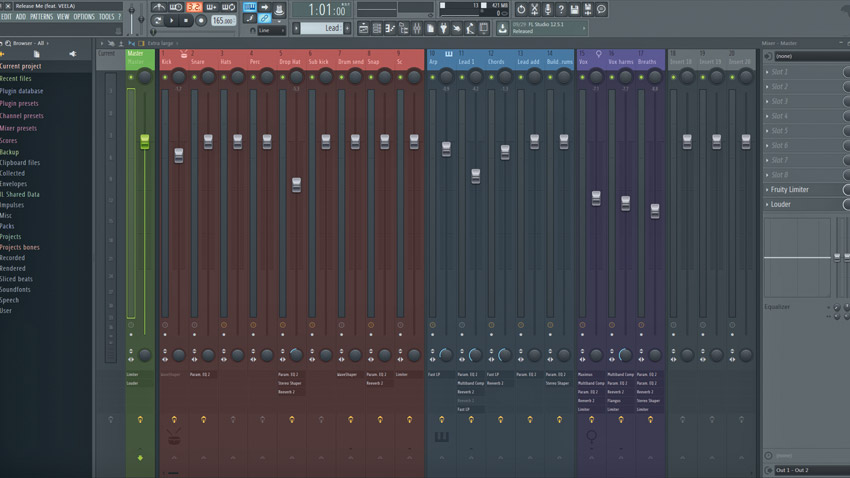
Don’t overlook the Mixer’s various view options - some are quite useful! For example, the Extra Large Mixer view can show you all the plugins on all mixer tracks at once with direct access to their context menus. Access them by clicking the downward arrow in the title bar in the upper-left of the Mixer.
14. Picker power
Use the Picker Panel to easily send all of the instruments in a pattern to the Playlist in a single motion. Right-click the clips in the Picker, select Split by channel, then drag the group to the Playlist.
15. Resize matters
In FL Studio 12.5 and later, use the Tools > Macros > Unlock all Playlist tracks from content > Also resize all playlist tracks to default size command to resize all Playlist tracks to 100%.
16. No messing
Keep your playlist tidy by clearing out any unused junk. Hop into Playlist Options, then right-click Picker Panel Icons. Choose Select Unused > Patterns, Audio or Automation.
17. Patch and go
Patcherize everything! Put your frequently used effects chains (or instrument and effects chains) in Patcher presets for quick reuse in any project; and use Control Surface to make custom interfaces for the frequently used controls.
18. Start as you mean to go on
Get the jump on new projects by creating and saving your own personal project templates. Make more than one! For example, you could create separate prefab templates for beat production, mixing stems and songwriting sketchpads.
19. Visual aids
FL Studio provides loads of tools to help you visualise your signals, and you can set them up for easy access. To add spectrograms, oscilloscopes, special dB meters and other visualisers to the C (Current mixer track), click C to select. Now your analysers will switch to visualising the selected mixer track’s audio output.
20. RTFM
Read the effin’ manual! You needn’t slow the flow when you want info on the go. Press F1 to instantly access the FL Studio manual at any time. It’s context-dependent and will open at the page relevant to the last thing you selected in the DAW.
Computer Music magazine is the world’s best selling publication dedicated solely to making great music with your Mac or PC computer. Each issue it brings its lucky readers the best in cutting-edge tutorials, need-to-know, expert software reviews and even all the tools you actually need to make great music today, courtesy of our legendary CM Plugin Suite.


