10 ways to get more out of your MPC hardware
These tips and shortcuts will have you flying around your MPC, expert and novice alike
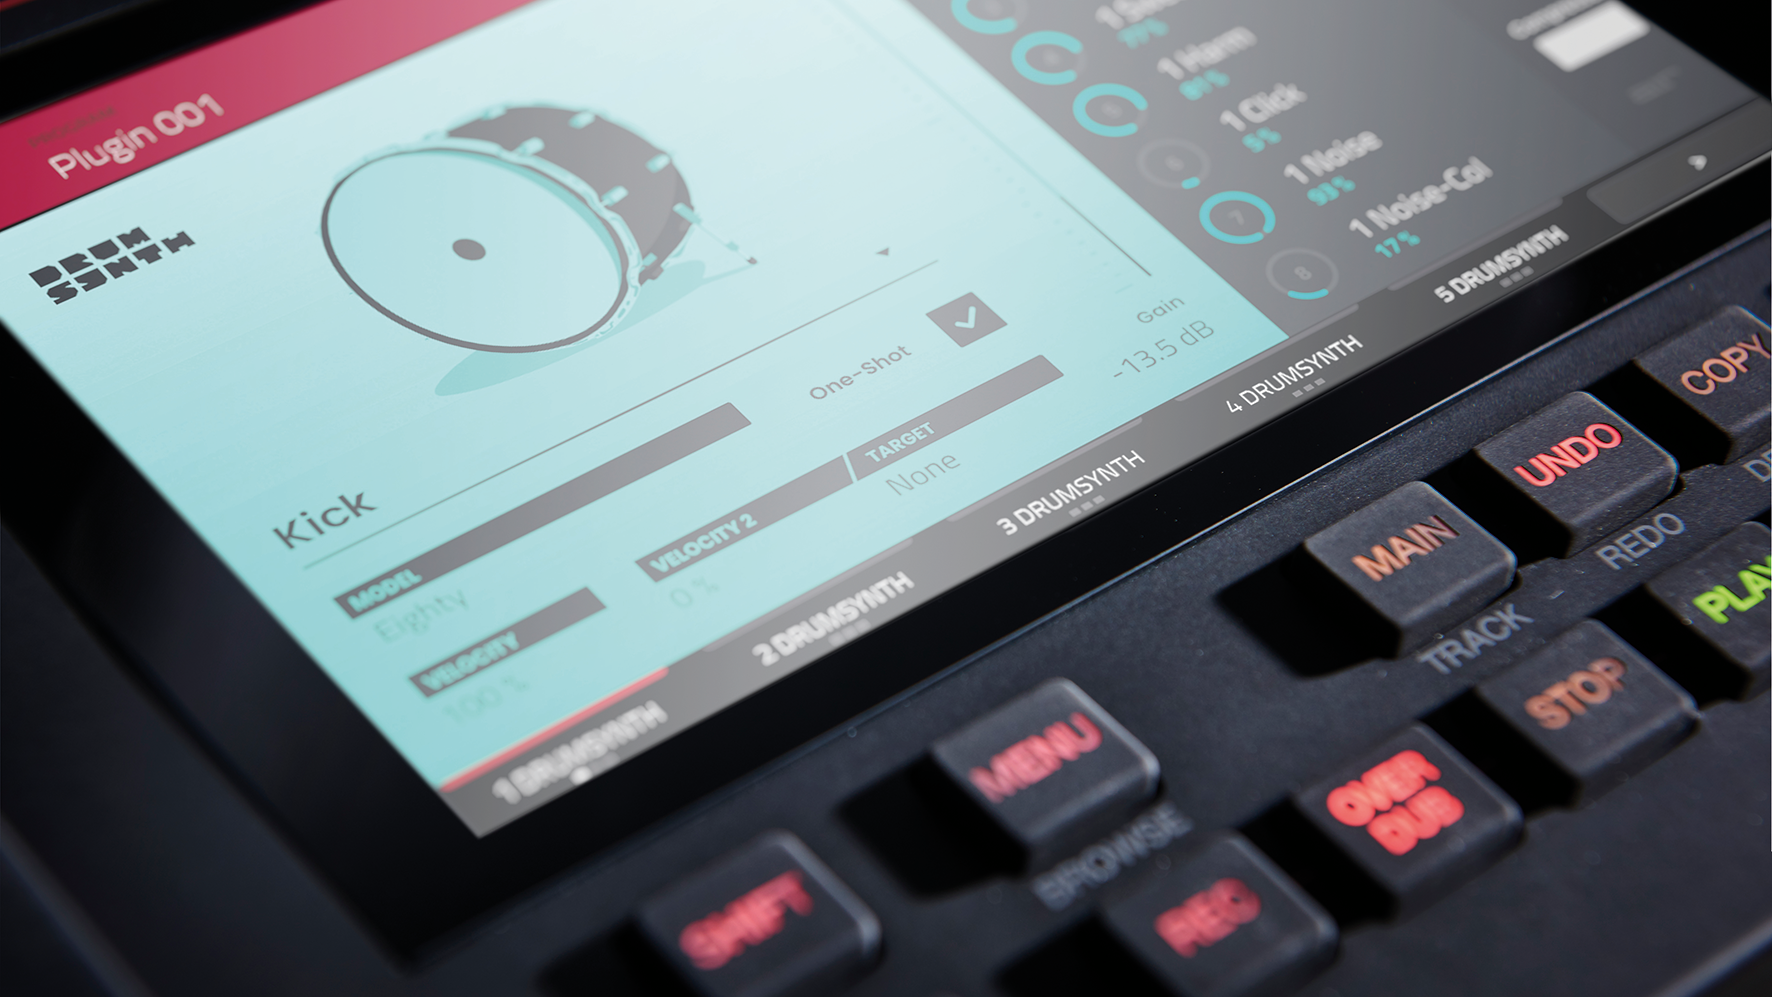
If you own one of Akai's MPC controllers - whether it's the MPC One, MPC Studio, MPC Live II or MPC X - read on for 10 ways to supercharge your workflow and truly make the most of your instrument.
1. Maximum connections
One of the most significant changes in the 2.10 OS update from Akai that was recently released is the ability to use an external audio interface instead of the built-in I/O on your MPC. This is especially impactful for MPC One owners, who previously were left with just a single stereo out (if they were using Standalone mode; more on Controller mode later).
Now with OS 2.10, any Linux Class Compliant audio device that runs at 44.1k will work with the MPC. To change the audio device, go to Preferences by hitting the Menu button twice (or shift tapping it) and scroll down to Audio Device. If a device is connected, you should see it in the dropdown list.
Selecting 32 inputs and outputs will slightly increase CPU usage but may be worth it for those complex studio setups where you have a lot of gear you’d like access to quickly, all from within the MPC.
2. Stay organised
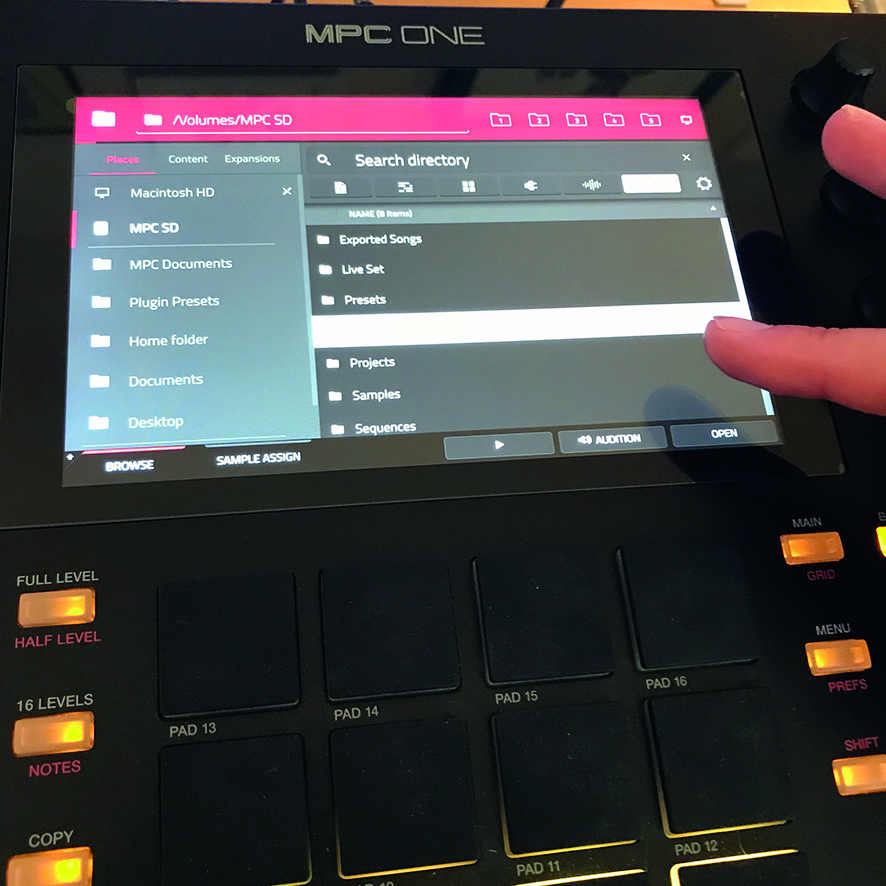
Organising files on the MPC is one of the most important factors for expediting workflow. There’s nothing worse than losing time searching for that one synth preset you saved that would have been perfect for the track you have in progress.
In order to combat this, save all projects into one folder, save your sample library into a different folder, and save your preset files into yet another folder. This will make finding files easier, especially with the updated search functionality now present in 2.10, which allows for recursive searching.
3. Pad colours
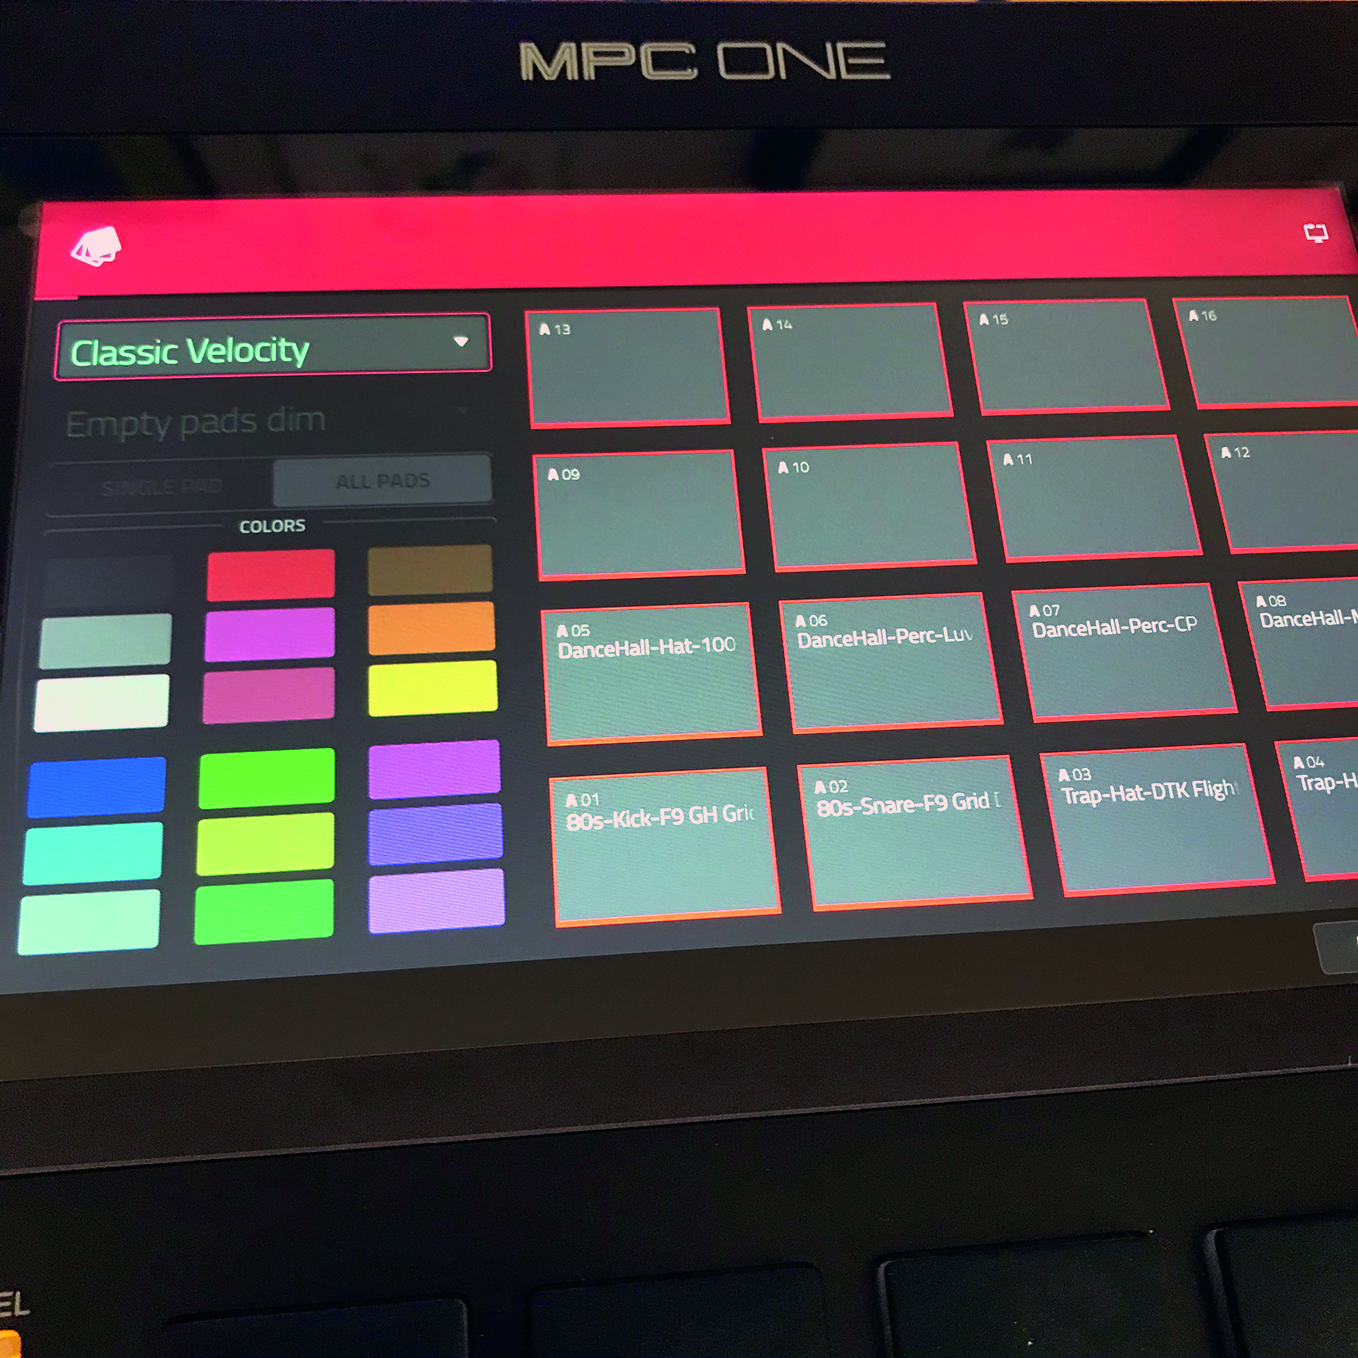
To help you remember which sample types are where in your Drum Programs, use custom pad colouring. Reach this screen by selecting Menu once again, and then selecting ‘Pad Color’ on the bottom right.
Get the MusicRadar Newsletter
Want all the hottest music and gear news, reviews, deals, features and more, direct to your inbox? Sign up here.
Akai already have a stock colouring scheme for their own drum kits – red for kick drums, yellow for snare drums, purple for melodic elements etc, but it’s totally up to you.
4. Global programs
One of the key things to know to reach true ninja status on these MPCs is something brought from previous MPC OSs: the fact that Programs function is at a per-project level! What does this mean? Well, any changes you make to a Program will be implemented across any sequence that uses it!
If you tweak something in a Program that you use in many different sequences and track ideas, note that that change will be heard on all of those tracks. This can be to your advantage, as essentially Programs can act as presets.
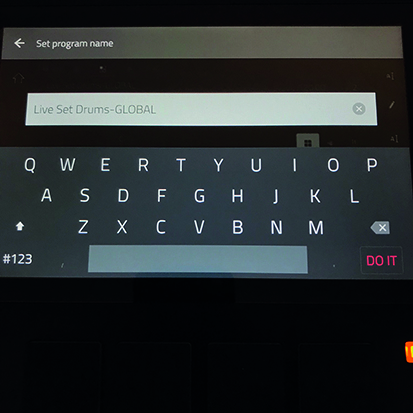
But it can also fully change the sound of an old idea you had saved. Instead, save Programs with names that refer to the Sequence used; or name Programs with the subtag ‘global’ to remind yourself other ideas use this Program.
5. More control
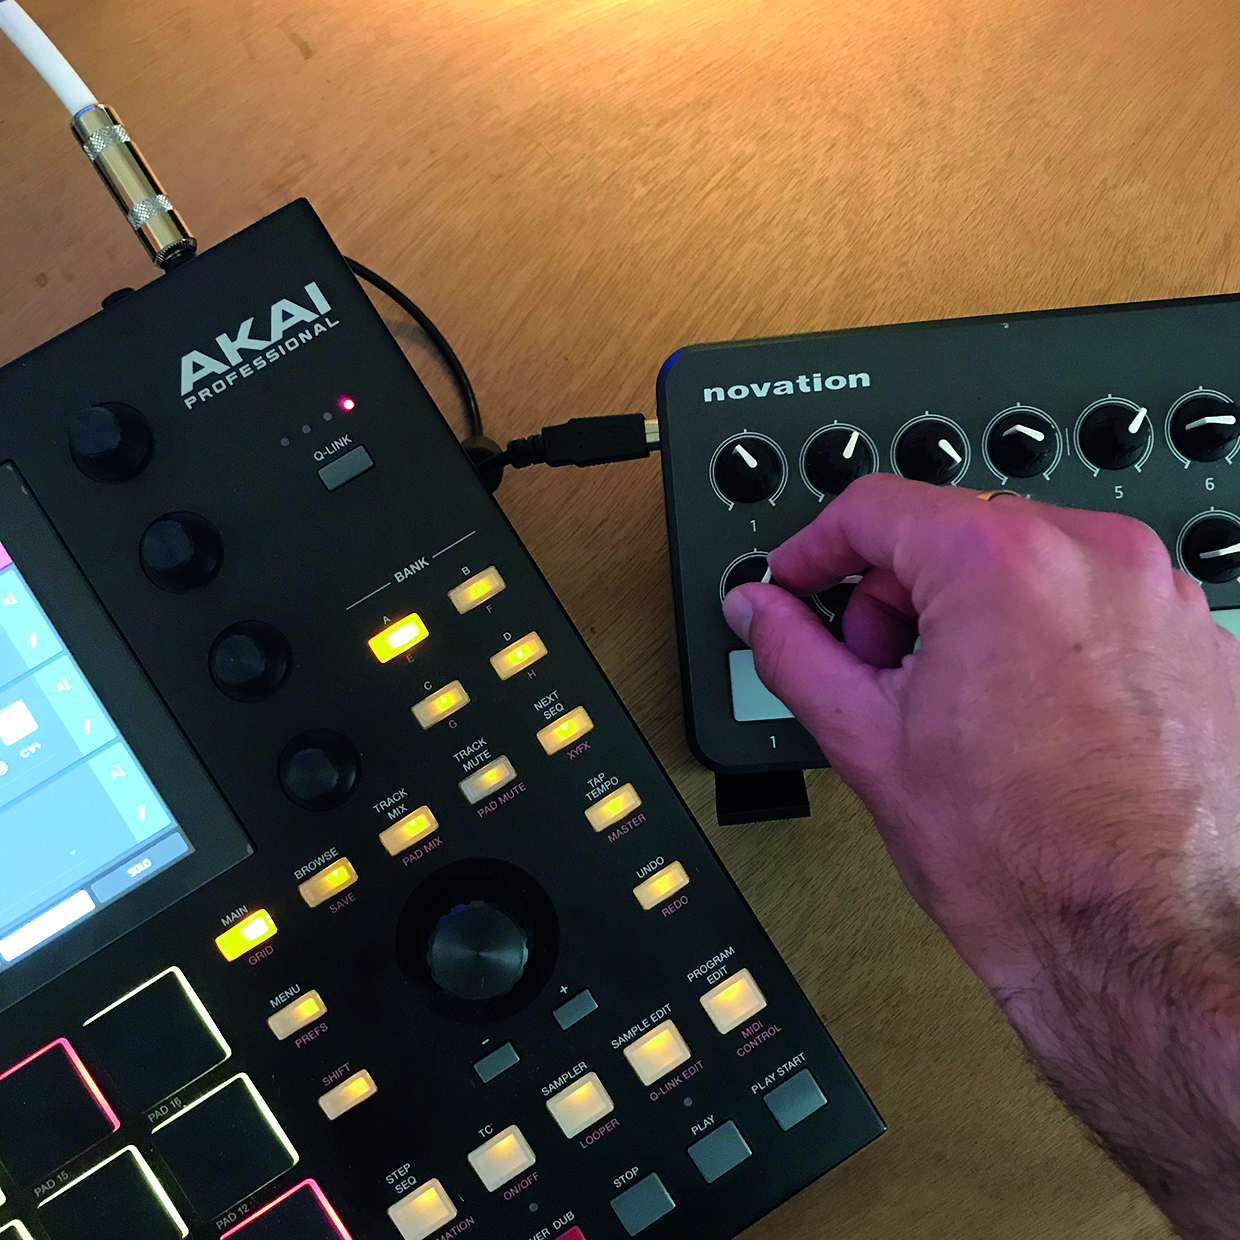
Especially if you’re using the Live II or MPC One, using a MIDI controller to expedite your Q-link workflow is great. (The MPC X already has four times the amount of Q-link knobs, though an extra controller certainly wouldn’t hurt!)
Even better, use a multi-port USB hub so that you can use several MIDI controllers at once, just like you would with a DAW-based setup. This really opens up the performance possibilities of the MPC, especially when mapping things to the Global Mix Bus.
6. Easy mapping
The “Source” parameter is whatever you’d like to affect inside in the MPC. This can be a Program, MIDI track, Audio Track, Return track, or even something on the Master. Target is the exact parameter you’d like to control.
Hit the Learn button on the top of the screen and then toggle a knob; you should see the assignment show up in the window to the left. This list can hold a lot of Mappings.
7. Save yourself
New in version 2.10 for MPC One users is a small but still very important workflow time-saver – the ability to access the SD card from the computer when you’re using the MPC in Controller Mode.
In previous versions of the OS, MPC One users had to save the project on an SD card, eject it, connect it to a card reader and then to the computer, and then open that same project with your computer using either the standalone MPC 2 App or the plugin version.
Now, you can access that SD drive as a docked drive on your computer’s hard drive, a much requested fix. Because of this, keeping all your files on an SD card will allow you to access those same projects when in Controller mode.
8. Automation
To make the most out of your sequences on the MPC, use the read/write automation feature.
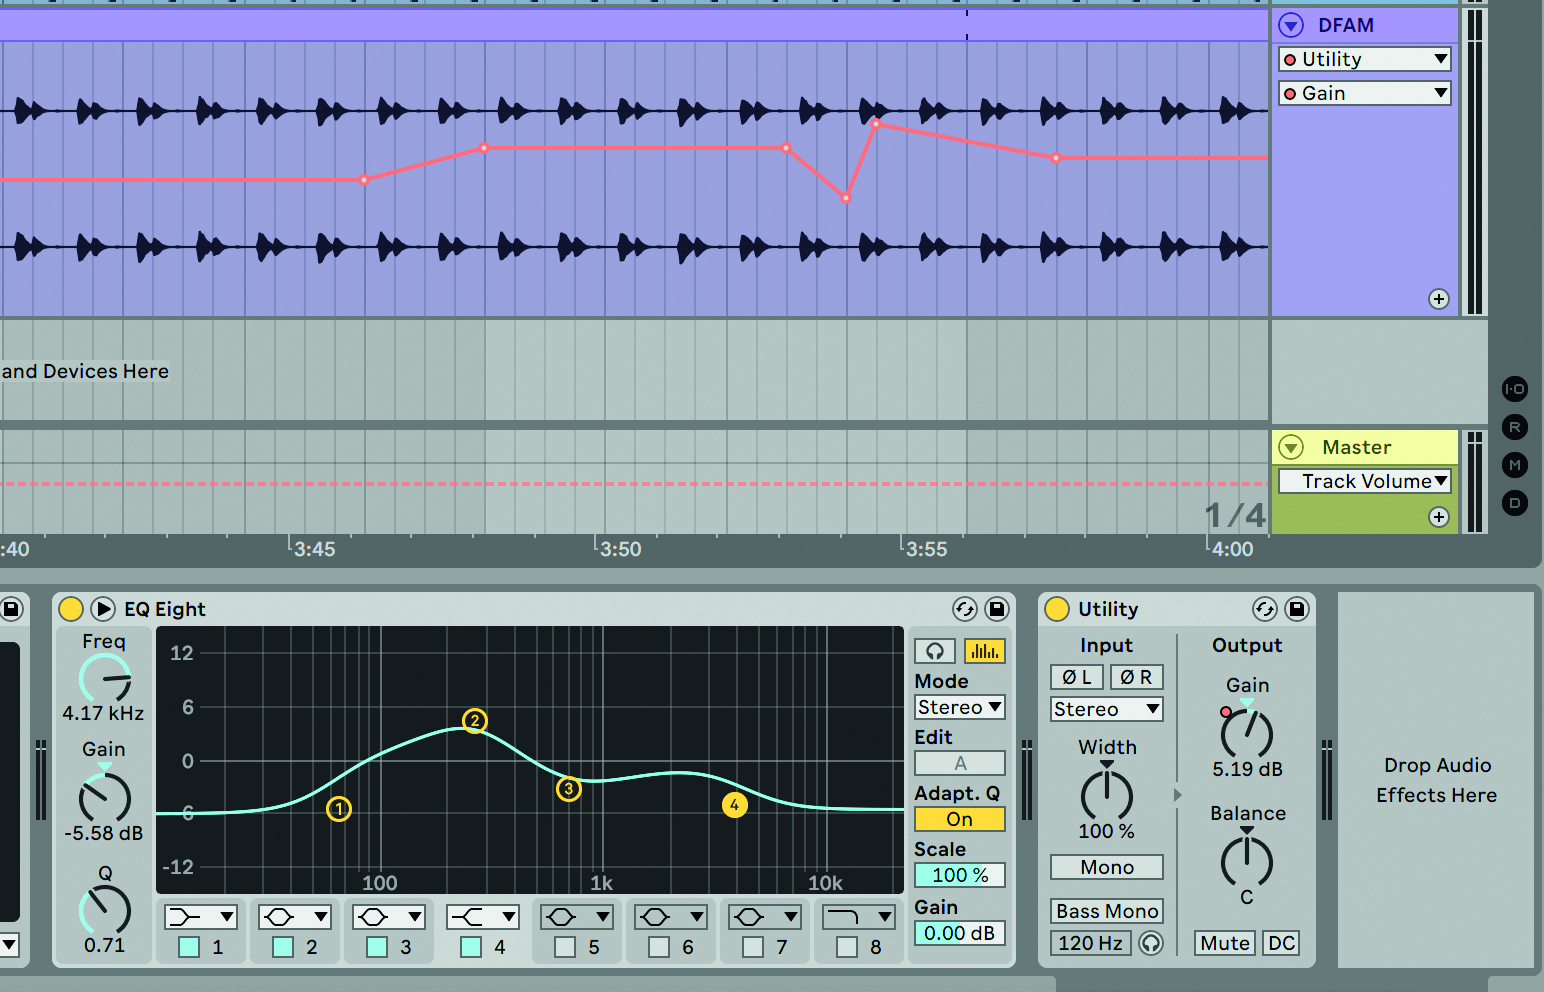
To access automation, ensure that the small icon in the top right is illuminated. Red means you’re in Write mode. Any changes you make while Record or Overdub are on will be written into your sequence.
Tap the automation button again to switch over to Read mode, which will turn the button green. Automation can be turned off completely by holding shift and tapping that same button. This is a handy way to effectively store two ‘versions’ of your sequence – one that’s with automation changes, one without.
9. Impeccable timing
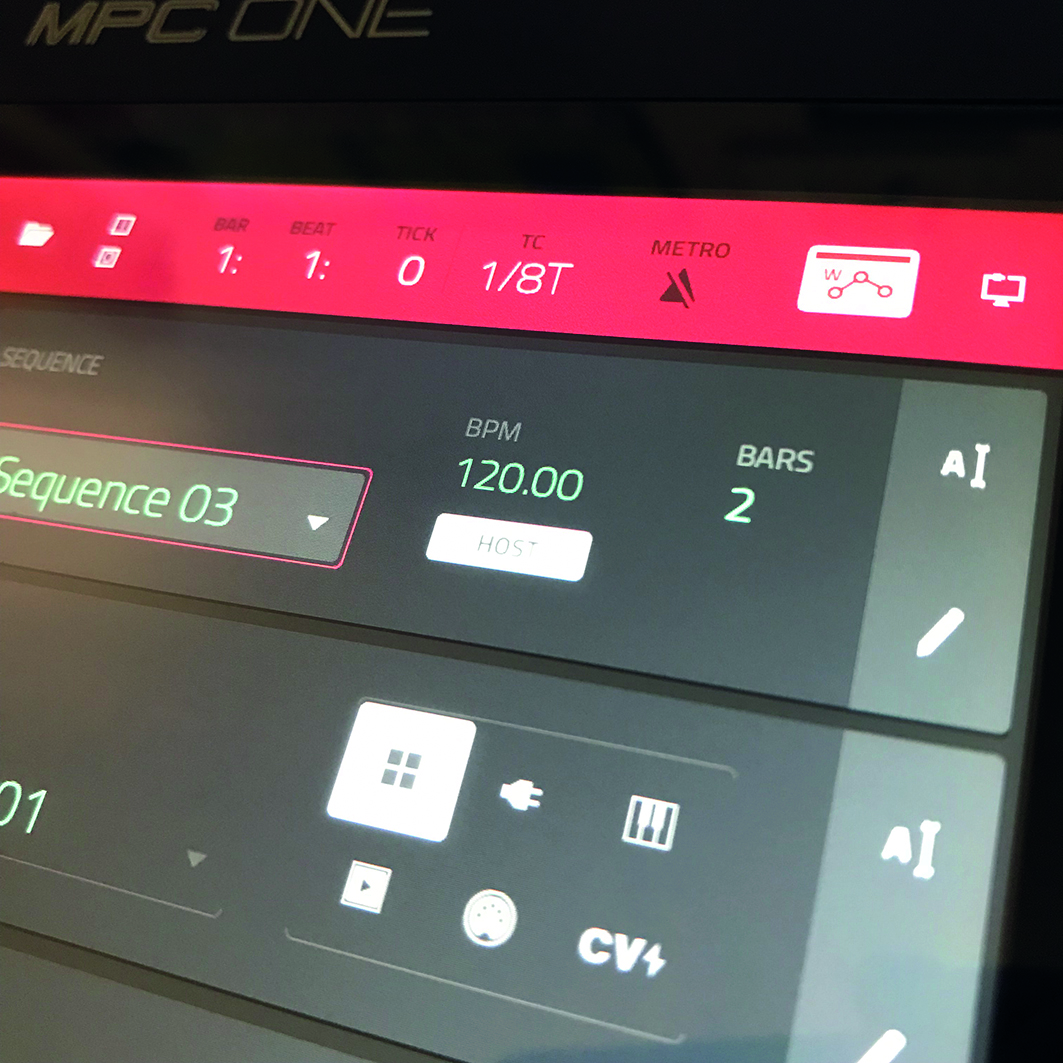
Your Timing Correct settings can be different per track. Change the TC settings based on what you are recording, ie keep kicks tight on the grid, snares with a bit more swing and looseness, and melodic elements without any time correction at all.
Just because the timing correct feature is there doesn’t mean that every single element needs to be tightly quantised to the grid. Use your best judgement instead of relying on tried and true methods.
10. MIDI control
First connect your MIDI controller or keyboard to the USB port on the rear of the MPC One. You should see your device turn on, as the MPC powers any devices plugged into this port, which is quite handy.
To start assigning parameters to your MIDI device, go to Menu and then MIDI Control (the shortcut for which is Pad 2, for those who like using the pads to choose options on the screen). In the MIDI Control screen, select the MIDI Learn panel. Make sure “Enable Mapping” is selected.
